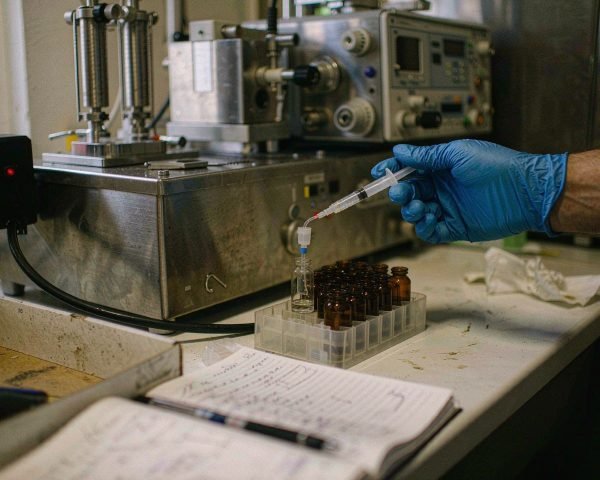

A customer asked me last month why his column died after 400 injections while his colleague’s identical column lived past 2,500. Same method, same instrument model. The difference? His colleague filtered every sample. He didn’t. That conversation is the reason for this article.
Filtering a sample before injection removes particles that would otherwise lodge in the column inlet frit, the autosampler needle, and the valve seats. A 0.22 or 0.45 µm syringe filter takes seconds to use and protects parts that cost hundreds of times more than the filter itself.
If you only change one habit this quarter, make it this one. Below I’ll walk through what particles actually do to a system, when you can honestly skip the filter, and how I pick one without overthinking it.
What Particles Actually Do Inside Your HPLC
Most sample particles are invisible. You can hold a vial of “clean-looking” serum supernatant up to the light and see nothing, yet it still carries dust, glass shards from the vial edge, fibers from wipes, and fragments of precipitated protein.
These particles go where the flow goes. First stop is the inline filter or the column inlet frit. A 0.5 µm frit clogging with sub-micron junk doesn’t fail dramatically. It fails slowly: the back pressure creeps up over a week, your retention times shift, and one morning the system over-pressures mid-sequence.
I once watched a lab burn through three guard columns in two weeks before someone noticed the analyst was injecting crude plant extracts straight through. Each guard cartridge cost more than a box of 100 filters. The math is not subtle.
There’s a secondary problem people miss. Particles that squeeze past the frit settle on the column head and create channels in the bed. Peak splitting follows, then tailing, and no amount of re-equilibrating fixes it. At that point the column is finished.
The Four Places Particles Do Damage
• The needle seat and needle. Particles score the seat surface, and a scored seat leaks and carries over. Carryover shows up as tiny peaks in your blanks, which in a regulated lab means an investigation.
• The injection valve rotor seal. This is a precision-machined part with tight tolerances. Grit in the sample acts like sandpaper every time the valve switches. A rotor seal replacement is routine maintenance; doing it twice as often because of unfiltered samples is pure waste.
• The column frit. Already covered, but it deserves repeating because it’s the most expensive casualty. See my guide to choosing the right syringe filter size for matching filter diameter to injection volume.
• Your data itself. Particles scatter light in UV detectors and foul MS sources. If you’ve ever cleaned an ESI source after a matrix-heavy sequence and found gray crust, that was unfiltered sample doing its work.
Regulated labs have a framework for this. Under 21 CFR 211.84, components and samples must be tested with methods that don’t contaminate the system; in practice, that means clean, filtered samples into validated instruments.
When You Can Honestly Skip the Filter
I’m not going to pretend every injection needs a filter. If you run a fully dissolved standard in HPLC-grade solvent, and the vial came from a clean pipette tip, the particle load is nearly zero. Many labs inject mobile-phase blanks unfiltered without issue.
Samples that genuinely need filtration:
• Anything biological: serum, plasma, lysates, fermentation broth
• Tablets or capsules prepared by extraction (excipient fines everywhere)
• Environmental samples: soil extracts, wastewater
• Anything that has been frozen, because freeze-thaw precipitates proteins
• Samples in high organic content where salts crash out
Instrument makers bundle the same advice with their consumable lines; Agilent’s vial and sample containment selection guide frames filtration as part of sample containment, not an optional extra, and it’s a useful cross-check when you’re building a lab standard.
My rule of thumb: if you’d be embarrassed to show the vial contents to your column vendor, filter it.
One more honest note. Filters are not perfectly inert. Studies on filter extractables show that the first milliliter through a fresh membrane can carry low-level leachables that interfere with sensitive LC-MS work. That’s why labs discard the first portion of filtrate, and why I always wet the membrane and dump the first few drops. The published work on syringe filter extractables and leachables is worth a read if you run trace-level MS.
How I Pick a Filter Without Overthinking It
For routine reversed-phase HPLC, I use a 0.45 µm PTFE or PVDF filter, 13 mm, in a syringe format. For UHPLC or anything with sub-2 µm particles in the column, I step down to 0.22 µm because the column frits are finer and clog faster.
Membrane chemistry matters more than brand. Aqueous samples want a hydrophilic membrane: PES, PVDF, nylon (with caution, since nylon binds proteins). Strong organic solvents want PTFE. The comparison in my nylon vs PTFE vs PVDF vs PES guide covers the details.
Two practical tips from mistakes I’ve made:
1. Don’t force the plunger. If filtering is slow, the membrane is loading up with junk, which is exactly the proof your sample needed filtering. Swap to a fresh filter instead of blasting particles through.
2. Pre-rinse with 1 to 2 mL of sample and discard it. You condition the membrane and pull off most surfactant-type extractables in one move.
One thing people forget when sizing filters: the membrane holds liquid. A 13 mm filter retains roughly 50 to 80 µL of your sample after you finish pushing, sometimes more with a thick membrane. If you filtered a precious 300 µL extract, that loss is real. Choose the smallest filter diameter that handles your volume, and expect the membrane to keep 50 to 80 µL no matter how carefully you push.
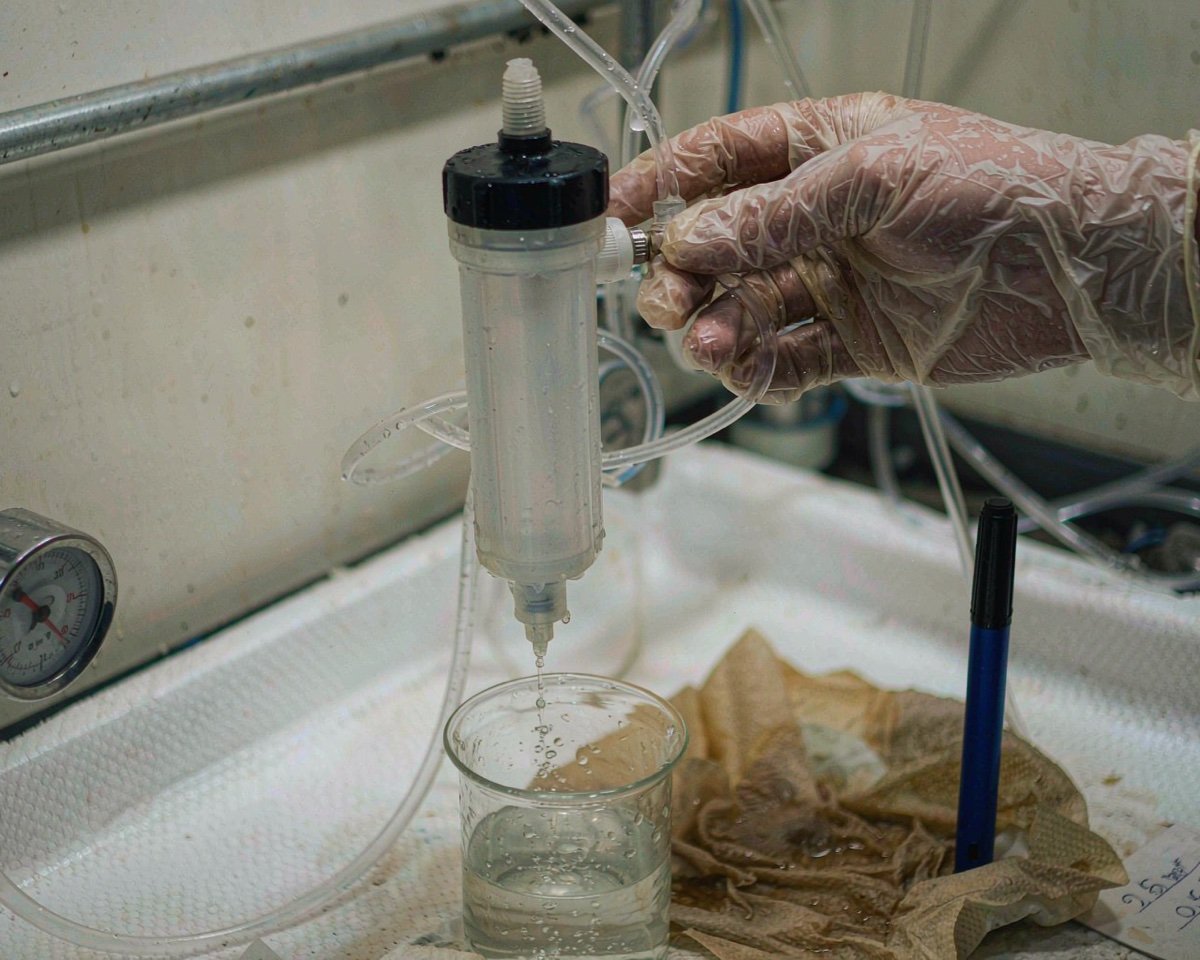
If your volumes are large, syringe filters become tedious. That’s when a bottle-top filter or a filter holder with a vacuum flask saves your wrist.
Conclusion
Filtering samples before injection is the cheapest insurance you can buy for an HPLC system. Particles that ride in unfiltered samples clog frits, score valve seals, scatter detector signal, and quietly shorten column life from years to months. The filter itself costs pennies per sample and takes seconds to use, and skipping it only makes sense for genuinely particle-free standards. If your samples are biological, extracted, frozen, or simply cloudy, use a 0.45 or 0.22 µm filter matched to your membrane chemistry and volume. Condition the membrane, discard the first drops, and let the filter do its job. Start with the complete syringe filter buyer’s guide to match a filter to your workflow, then keep a box at every bench where samples get prepared.
Frequently Asked Questions
Do I need to filter standards as well as samples?
If your standards are prepared fresh from clean solvents in clean glassware, filtration is usually unnecessary. Filter anything with matrix, anything extracted, and anything that’s been stored or frozen.
Can filtering change my results?
It can, in two ways. Some membranes adsorb analytes (nylon binds proteins strongly), which lowers recovery. And the first fraction of filtrate can carry extractables. Discard the first 0.5 to 1 mL and verify recovery once during method development.
Is a guard column a substitute for filtering?
No. A guard column traps debris that reaches it, but it clogs faster and costs more than filters. Use both: filter the sample, and run a guard column as the second line of defense. My guard column explainer covers sizing and replacement timing.
What pore size should I use, 0.22 or 0.45?
For standard HPLC with 3 to 5 µm particles, 0.45 µm is fine. For UHPLC with sub-2 µm particles, use 0.22 µm because the column inlet frits are finer. The tradeoffs come down to column frit fineness versus flow speed.