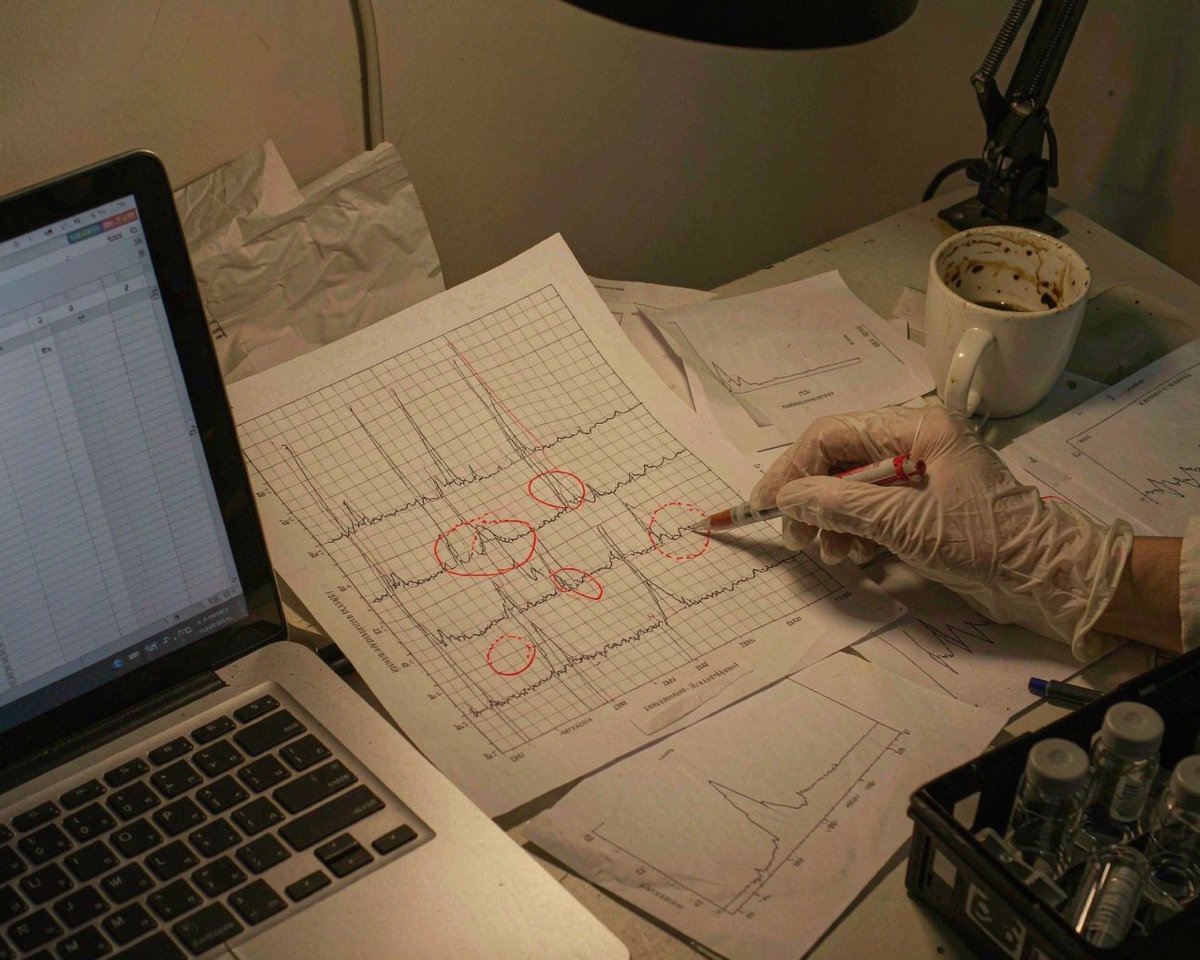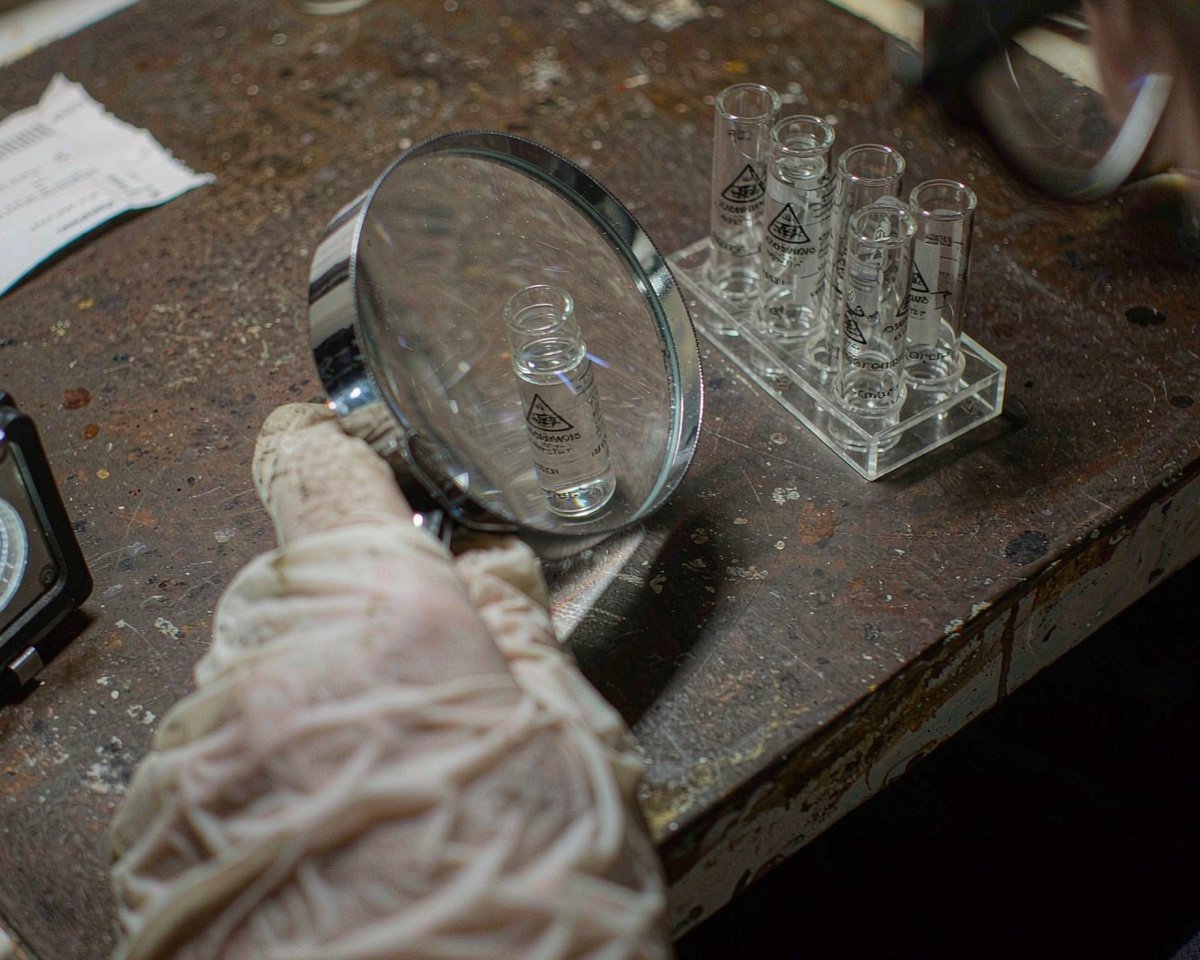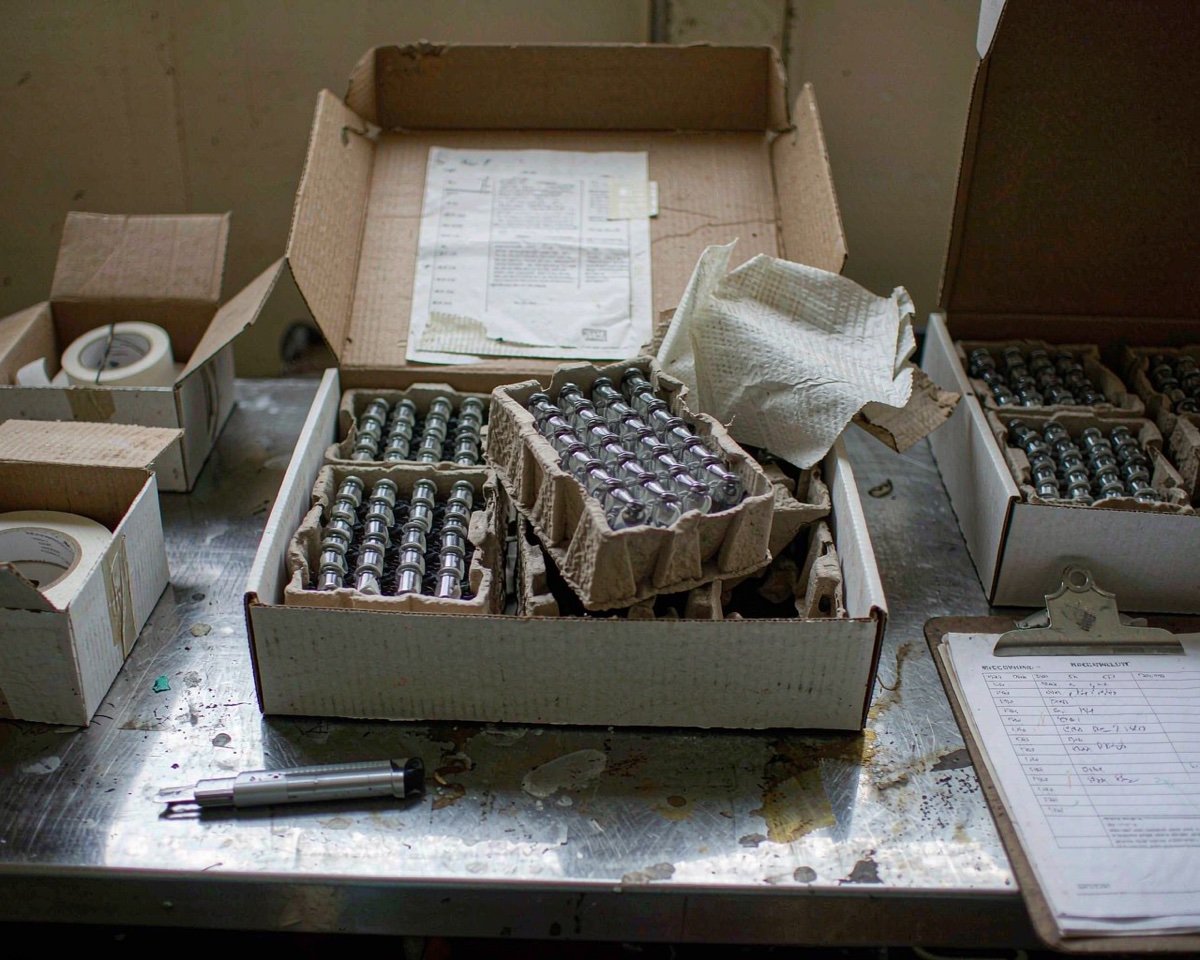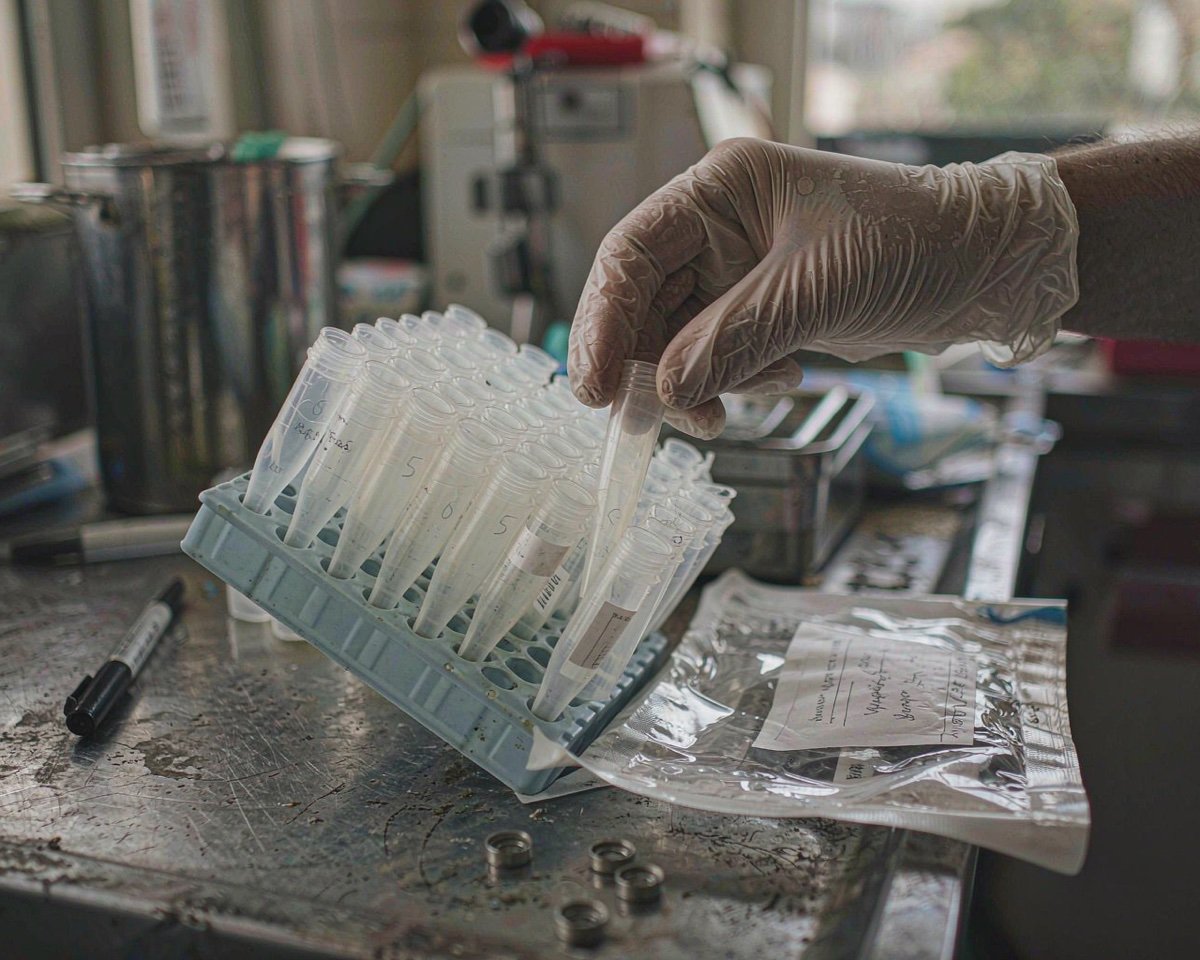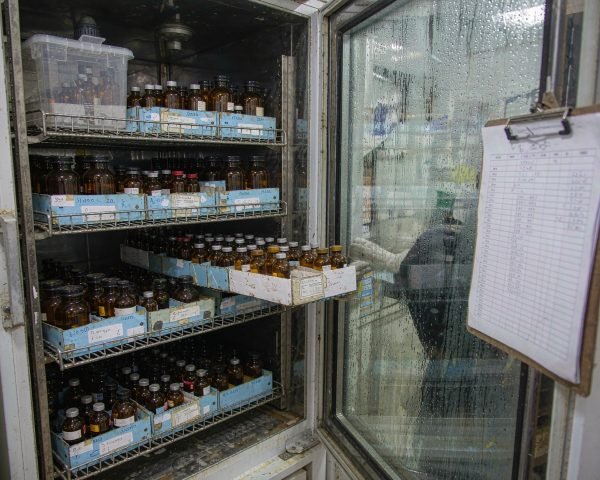

Stability testing is the marathon of the lab. A single study can run 6, 12, even 36 months, and every pull consumes the same small kit of items with zero tolerance for drift between time points. A colleague likes to say that a stability study is only as good as its most boring consumable. She’s right, and here’s what that kit contains.
Stability testing consumes time-point sample containers (usually amber vials), caps and septa rated for the storage condition, desiccants and packaging for controlled chambers, and the full analytical consumable set (filters, standards vials) for each scheduled pull. The trick is not the list. The trick is consistency across every pull for years.
Why Stability Is Different from Routine Analysis
A routine sample is injected the day it’s prepared. A stability sample carries a promise: whatever changes between time points belongs to the product, not to the container. That raises the bar on three fronts.
• The container must not add or subtract anything. Glass surface interactions, septa extractables, and evaporation all scale with time, so a vial that’s fine for a day of autosampler work can bias a six-month hold. USP’s container standards, notably USP 〈660〉 for glass containers, exist because containers genuinely change what they hold.
• Everything must be lot-consistent. Changing vial or cap lots between pulls adds a variable your stability report must then explain. If a change is unavoidable, qualify the new lot against the old and document the switch date.
• Documentation follows every pull. Under 21 CFR 211.166, stability programs must be written, followed, and documented, and that includes the materials in contact with the samples. The ICH quality guidelines at ICH.org frame the study designs behind those requirements, and they’re the reference your protocol almost certainly cites.
The Core Consumables
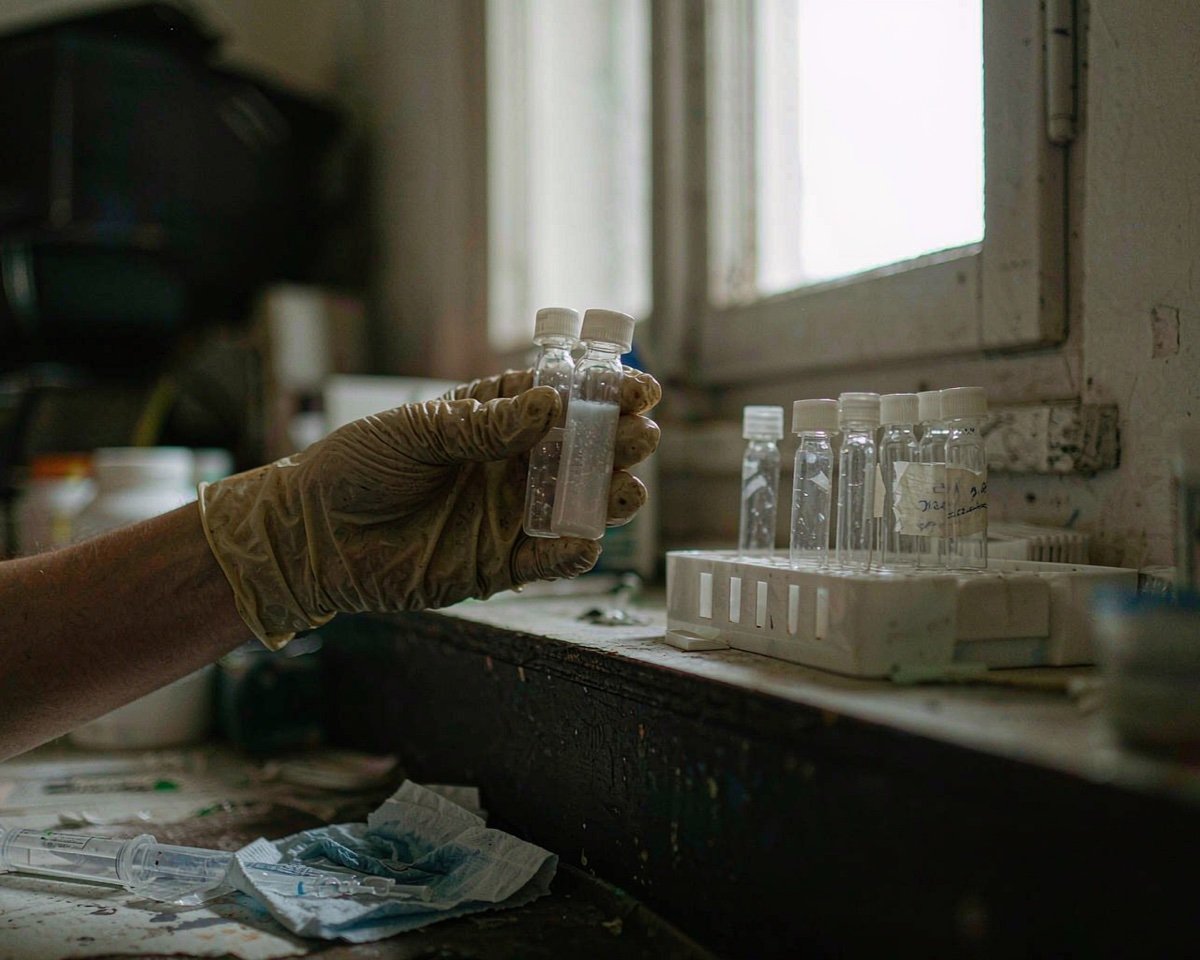
• Amber sample vials. Light protection is the default for stability work, since photolysis is a degradation pathway you don’t want your container to invite. Type 1 borosilicate amber vials, 2 mL for analytical pulls and larger bottles for bulk, are the standard. My clear vs amber vials guide covers when amber earns its keep.
• Low-evaporation closures. Time-point vials sit sealed for weeks between pulls, sometimes in chambers at 40°C and 75% humidity. PTFE-faced caps with good liners, crimped or screwed to spec, keep volatile losses out of your degradation data. My evaporation prevention guide covers the seal details.
• Larger containers for bulk time points. Many protocols pull enough volume for multiple tests, so 20 to 60 mL amber glass bottles with PTFE-lined caps sit beside the small vials in every chamber.
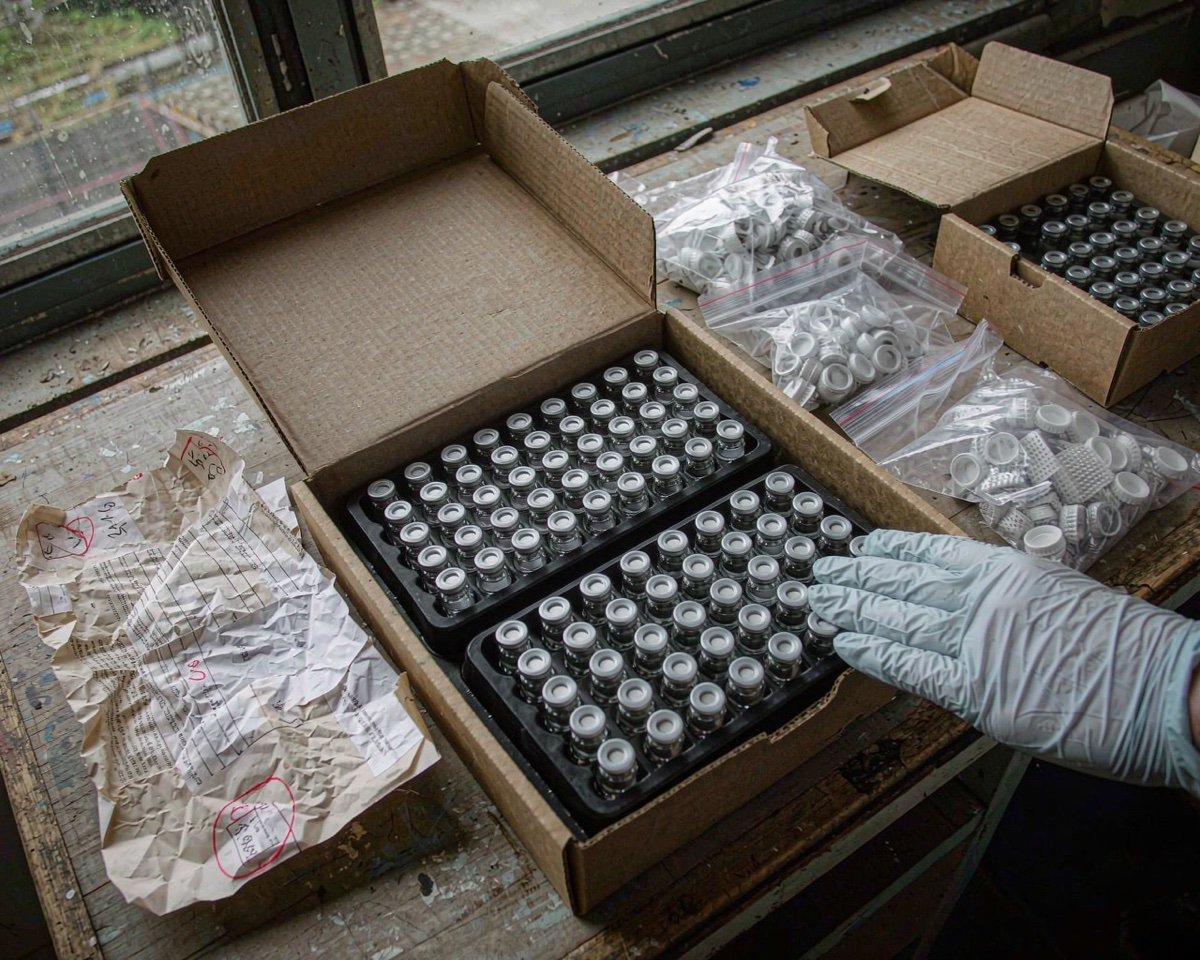
• Chamber accessories. Desiccant, chamber monitoring vials, and the sample boxes that keep inventory legible at 6 a.m. on pull day. Physical organization fails more studies than chemistry does, and a labeled, dedicated box per study costs nothing.
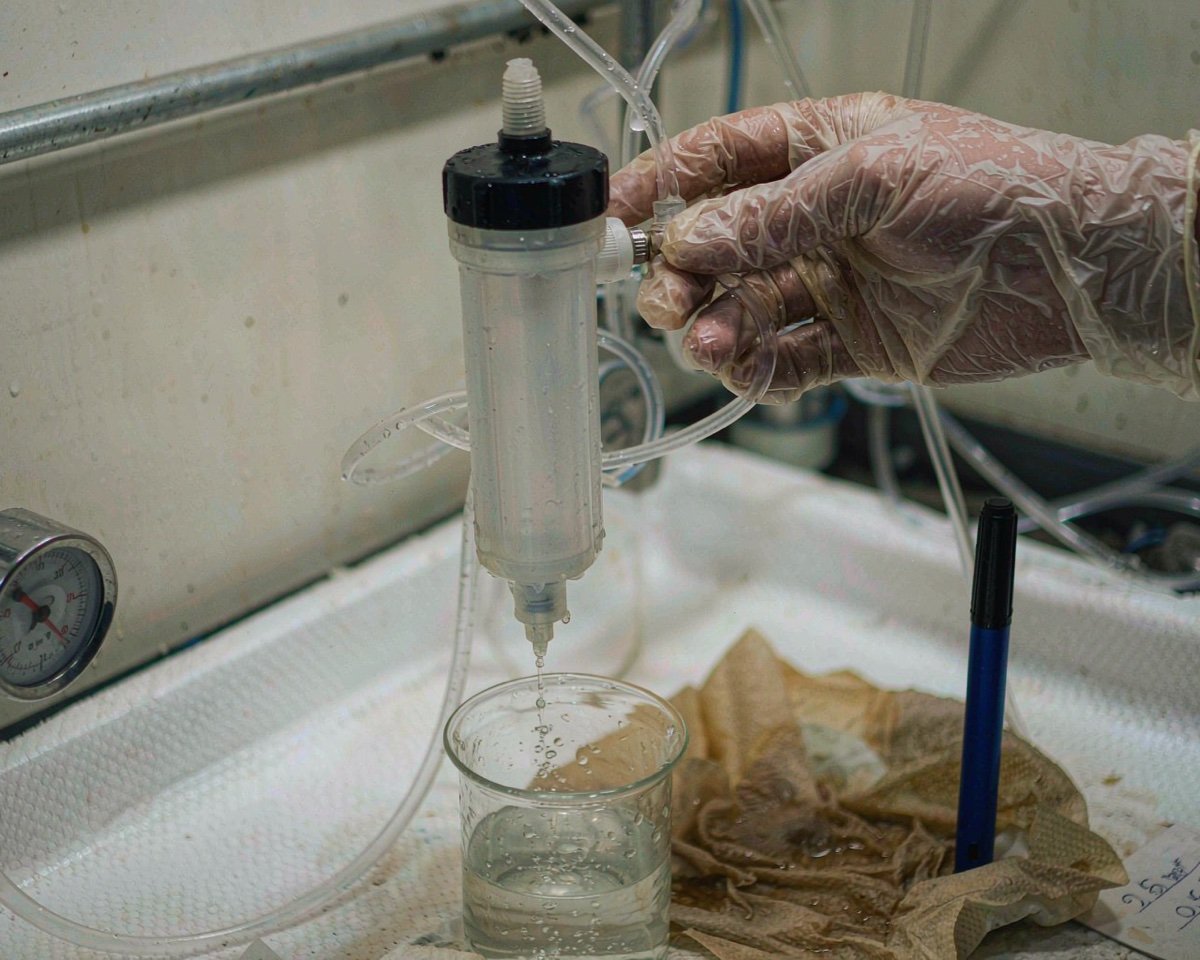
• Analytical consumables per pull. Each time point runs like a normal analysis: filters verified not to adsorb the analyte, fresh standards, quality autosampler vials. The filtration choice deserves special care, because a membrane change mid-study can masquerade as degradation; pin the filter and lot before the first pull and buy the whole study’s supply.
Planning Quantities Without Over- or Under-Buying
Stability consumption is predictable, which makes planning easy and failure inexcusable:
• Time points × vials per point × replicate sets, plus 20 percent for breakage and rework
• One closure lot for the whole study where possible; commit that quantity with your supplier up front so the lot never changes mid-study
• Filters for the full study purchased in one lot, stored per vendor guidance, and dated on opening
A food lab I advised once ran out of its study’s exact amber vial format at month nine. The substitute lot differed just enough at trace level that the report needed an explanatory section nobody enjoyed writing. Buy the study up front, and negotiate single-lot supply using the lead-time realities vendors actually face.
Common Stability Consumables Mistakes
• Mixed lots across pulls. Already covered, but it’s the number one audit finding. Document any forced change and bracket it with control pulls.
• Wrong cap for the chamber condition. A cap fine at 25°C can soften or weep at 40°C/75% RH. Check the cap and septa material ratings against your worst chamber condition.
• Refilling instead of re-pulling. Topping off a vial that evaporated contaminates the time point with guesswork. If it evaporated, the time point is compromised; my sample hold-time guide covers the honest limits.
A Pull-Day Checklist Worth Copying
The failure mode of stability programs is not chemistry; it’s logistics on pull day. A laminated checklist at the chamber door keeps every pull identical:
• Chamber logged and at condition before the door opens
• Samples out in rack order, time recorded to the minute
• Each vial inspected: fill level, cap seal, label legible
• Consumables for the pull pre-staged (filters, fresh autosampler vials, gloves)
• New storage vials capped and documented before samples return to the chamber
• Lot numbers for every consumable used, written on the pull record
None of these lines is clever. Together they make the thousandth pull identical to the first, which is the entire definition of a valid stability study. The labs I’ve seen pass inspections effortlessly all had some version of this list taped up; the ones that scrambled all relied on memory and good intentions, which age poorly across a 36-month protocol.
Conclusion
Stability testing consumes a deceptively small kit: amber Type 1 glass vials and bottles, low-evaporation PTFE-faced closures, chamber accessories, and the analytical consumables for each pull. What makes stability different is the time dimension, which turns every consumable property (extractables, seal integrity, light protection) into a potential source of fake degradation. Buy the study’s consumables up front in single lots where possible, document any forced lot change, verify closures against your harshest chamber condition, and never refill an evaporated vial. Do those four things and your 12-month report writes itself; skip them and every anomaly becomes an investigation. Start with the container and closure choice, since everything else in the kit inherits from them.
Frequently Asked Questions
Why do stability labs prefer amber vials?
Amber glass blocks the UV and short visible wavelengths that drive photodegradation, removing one degradation pathway your protocol didn’t intend to study. Clear glass stays fine for light-stable products.
Can I change vial suppliers mid-study?
You can, but you shouldn’t without controls: qualify the new lot against the old, note the switch date, and bracket affected time points. Unplanned mid-study changes are a classic audit finding.
How much headspace should a stability vial have?
Minimize headspace for volatile or oxygen-sensitive analytes, but leave enough for thermal expansion if samples see temperature swings. A quick fill-volume check against your chamber’s highest setpoint prevents cracked vials and evaporative losses alike.