
The Short Answer
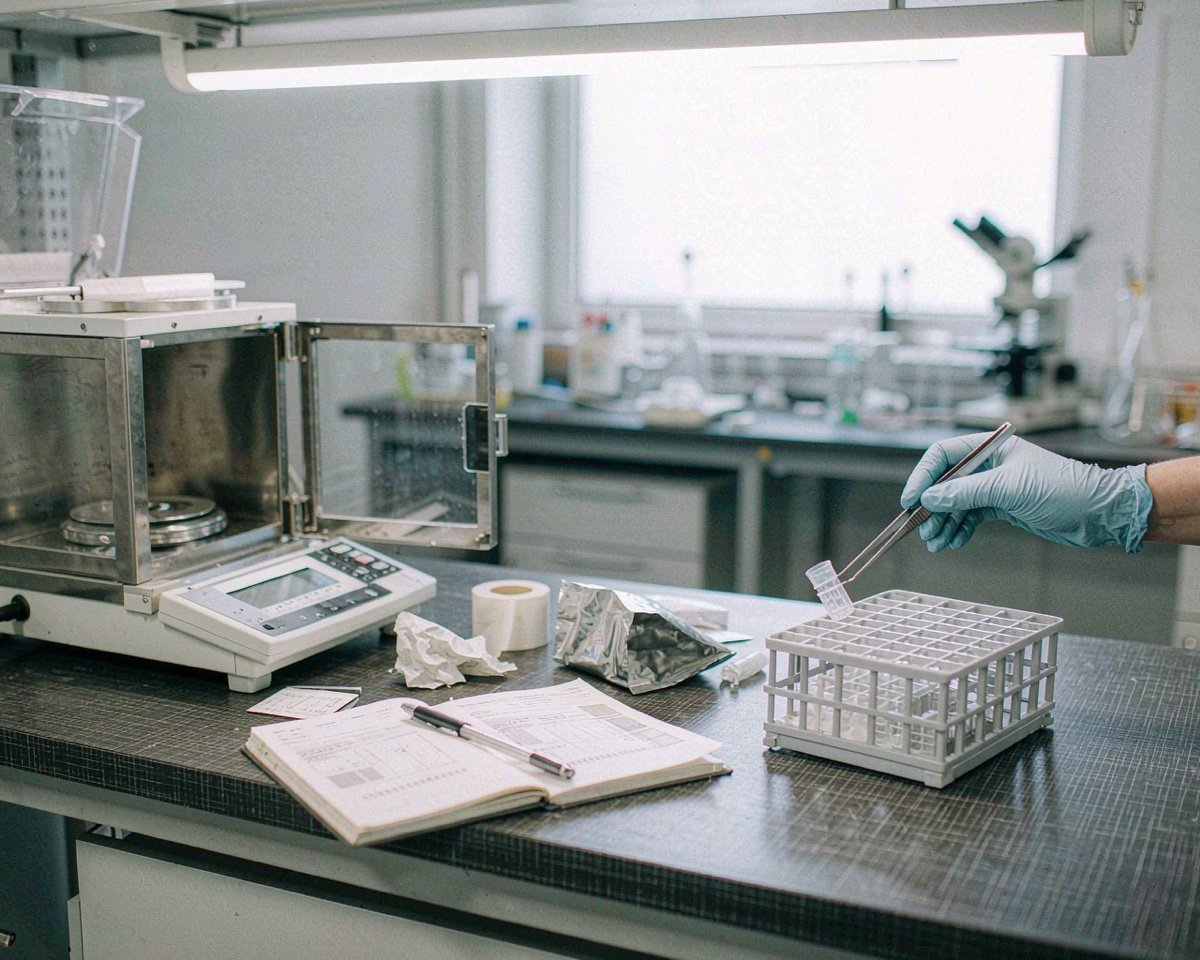
A beverage QC lab lives on reagent and media bottles, pipette tips, membrane filters, petri films, cuvettes, pH buffers, and a steady stream of headspace vials for GC work. The right stock keeps every batch testable on schedule; the wrong stock stops your release decisions dead.
This guide maps every common beverage test to the consumables it actually burns through.
Read on if you’re setting up a brewery, winery or distillery lab, or if your current bench keeps running out of something at 4 PM on packaging day.
Why Beverage Labs Burn Through Consumables Faster Than They Expect
Analytical labs consume supplies. Beverage labs consume them at production speed.
A mid-size craft brewery tests incoming water, wort every brew, yeast at pitching, beer through fermentation and maturation, and finished packages before release. Each of those test points is small on its own. Add them up and a single 30-batch month can move through the bench thousands of times.
The Thermo Fisher beer quality testing hub organizes the workflow the same way: incoming water, fermentation monitoring, pre-packaging analysis, and wastewater. Four phases, four different sets of consumables, one storage shelf.
I toured a craft cidery lab last spring, eight staff and one very tired QC technician. Her complaint wasn’t instruments. It was that she had three suppliers for the same 250 mL bottle and none of them could hold stock through harvest season. Consumables planning is production planning in this industry.
A Day of Testing, Mapped to Supplies
Before listing products, it helps to see where they’re consumed. A typical brewery day:
- 6:30 AM: cell count from the propagation tank (microscope slides, stains, dilution tubes)
- 9:00 AM: wort gravity and pH (density vials, pH buffers, beakers)
- 11:00 AM: fermentation monitor samples (syringe filters, sample bottles)
- 2:00 PM: microbiology plating from the filler (sterile membrane filters, media, petri films, swabs)
- 4:00 PM: packaged DO and carbonation (seal-tight sampling, DO vials)
- 5:00 PM: bitterness and color on yesterday’s packages (cuvettes, iso-octane, volumetric glassware)
A winery calendar shifts with crush and bottling but has the same shape. The OIV methods of analysis collection defines the reference procedures for wine, from density to organic acids, and every one of them assumes certain containers and reagents are on hand.
Now let’s go test by test.
Consumables by Test Type
Density, Extract and ABV
Alcohol by volume starts with density or specific gravity, usually a digital density meter or a hydrometer. Consumables:
- Density meter U-tube cleaning and calibration solutions
- Sample syringes and filters for degassing and clearing
- Volumetric flasks for distillation-based ABV, mandatory for spirits in most jurisdictions
- Hydrometer cylinders and thermometers if you’re still manual
Distilleries lean hardest here. Proof measurement for spirits typically requires distillation of a measured sample and bring-to-volume in a Class A flask. Those flasks get chipped, and a chipped flask is a recall of every measurement it touched. Buy more than you think you need, then add one more box.
pH and Titratable Acidity
pH is checked at almost every stage: mash, wort, fermenter, finished beer, must, wine. Consumables:
- pH buffer sachets or bottles (pH 4.01, 7.00, 10.01)
- Electrode storage solution and cleaning solutions
- Sample cups or small beakers, ideally disposable during crush when throughput spikes
- Titration consumables: sodium hydroxide titrant, indicator, volumetric glassware
Beverage samples are aggressive on electrodes, proteins and tannins foul them fast. Stocking electrode cleaner alongside buffers saves more measurements than the buffers do.
Dissolved Oxygen and Carbonation
Nothing kills shelf life faster than oxygen pickup at packaging. DO meters are instruments, but the sampling around them is consumable-dependent:
- Sealed sampling vessels for package DO measurement
- CO2 or N2 purging supplies for the sampling port
- Cleaning solution for optical DO caps (they’re consumable sensor parts on their own schedule)
The bench mistake I see most: the technician opens a bottle, pours it into a beaker, and measures. The result reads the room air as much as the beer. Package DO testing wants the probe in the package or in a sealed, purged sampling chamber. The Thermo beer hub’s packaging section makes the same point with nice visuals for preventing contamination in packaged beer.
Bitterness, Color and Haze
International Bitterness Units come from a solvent extraction of acidified beer with iso-octane, then absorbance at 275 nm, per the ASBC Beer-23 method in the ASBC Methods of Analysis collection. Consumables:
- Iso-octane (2,2,4-trimethylpentane), reagent grade
- Glass cuvettes, matched pairs, or disposable PMMA/cuvettes if your solvent and wavelength allow
- Centrifuge tubes for the extraction step
- Hydrochloric acid and other small-volume reagents
Color (ASBC SRM, EBC) and haze are also absorbance or scattering measurements, which makes cuvettes the hidden consumable of the spectrophotometer bench. Scratched cuvettes are invisible on the shelf and obvious in the data. Inspect weekly, replace generously.
An equipment overview from a brewery hardware supplier, the Micet Craft QC equipment guide, lists spectrophotometers and GC-MS among the core brewery lab instruments, which tracks with what I see in working labs.
Microbiology: The Biggest Consumable Eater
If one bench eats 60% of the consumables budget, it’s micro. Beer spoilage organisms (Lactobacillus, Pediococcus, wild yeast) are checked at the filler, in tanks, and on packages.
Stock list:
- Sterile membrane filters, 0.45 µm, compatible with alcohol-containing samples
- Manifolds and sterile forceps (equipment, but they consume the filters)
- Prepared media bottles or dehydrated media to reconstitute
- Petri films (like Raka or similar beer-specific films) for rapid counting
- Sterile swabs and sample bottles for environmental monitoring (filler nozzles, hoses, drainers)
- Autoclave bags and indicators
Sterile packaging of the filters matters as much as the pore size. A non-sterile 0.45 µm membrane defeats the purpose, so buy individually wrapped, gamma-irradiated or autoclave-safe formats depending on your workflow.
Sample volume is the quiet variable here. Filler and environmental swabs come in small volumes, but tank samples for micro run 100 mL or more through a single membrane. If the membrane loads up with trub or yeast before it finishes, you get a false negative for spoilage organisms, which is the worst kind of result. Pre-clearing hazy tank samples through a coarse filter or letting solids settle in the refrigerator overnight keeps the capture membrane working.
The filtration step follows the same logic as any membrane filtration workflow. Our syringe filter buyer’s guide covers membrane chemistry selection, and the same match-the-membrane-to-the-sample thinking applies to beer, where ethanol and hop acids stress certain polymers.
Winery micro work spikes at crush and again at bottling. Spirits labs test less often but can’t skip it, because low-ABV liqueurs and pre-dilution water lines are genuine spoilage risks. Whatever your beverage, budget roughly one membrane filter per micro sample plus 20% for repeats, and never let the sterile stock fall below one full sleeve.
Yeast Propagation and Viability
Yeast health drives fermentation consistency. The tests are cheap; the consumables add up:
- Hemocytometer coverslips and dilution fluid
- Methylene blue or newer viability stains
- Microscope slides and lens paper
- Serological pipettes for cell counts and pitching-rate calculations
- Media and flasks for forced fermentation tests (small-format fermentations that preview behavior)
A pitching decision made on a sloppy cell count costs more than a semester of slides. This is a good place to buy premium consumables and never think about it again.
GC and HPLC: Volatiles, Congeners and Off-Flavors
This is where a beverage lab intersects with everything else we write about on this site.
GC headspace analysis catches the compounds that make or break a beverage: diacetyl in beer (that buttery note), DMS, ethyl acetate, fusel alcohols in spirits, sulfur compounds in wine. Headspace GC needs:
- 20 mL headspace vials, crimp or screw, in volume you burn fast
- PTFE/silicone septa rated for the equilibration temperature
- Aluminum crimp caps or screw caps with consistent seals
- Matrix modifiers and internal standard solutions in clean containers
For spirits especially, congener profiles are a regulatory and authenticity matter, not just flavor research. A distillery running daily GC can easily consume 50-100 vials a day once you count standards, blanks, and re-runs.
HPLC covers sugars, organic acids, and in some labs hop acids. That means filtered samples in 2 mL vials, syringe filters (0.45 µm for most beverage matrices), and mobile-phase bottles kept clean.
Septa quality earns its price on this bench. A headspace vial equilibrates at 60-80°C, and a cheap septa that cores or weeps silently changes your diacetyl numbers between vial 1 and vial 40. Buy septa rated for the temperature, change them every injection schedule, and treat a re-run as a septa suspect first.
Wine labs follow the OIV method collections for the same work, and the consumable overlap with pharma-style chromatography is nearly total once you’re at the instrument.
Choosing Containers: Bottles, Vials and Cuvettes
Container choice in beverage labs has one consideration that surprises chemists from other industries: light.
Beer is photophobic. Riboflavin plus sulfur compounds under 350-550 nm light produces the skunky compound 3-MBT, the infamous lightstruck character. That’s why beer ships in brown bottles. It’s also why your QC samples of light-exposed product shouldn’t sit in clear glass on the bench while waiting for the GC.
The amber-versus-clear decision we documented for reagent bottles in amber vs clear reagent bottles applies directly to hop acids, iso-alpha-acids standards, and any light-sensitive sample.
Format matters as much as color. Match the container to the instrument’s appetite: density meters want clean, degassed sample in a syringe or small vial, spectrophotometers want matched cuvettes filled above the beam window, and autosamplers want exactly the vial format their trays were built for. Mismatched formats generate adaptation work at the bench, which is where transcription errors and identity swaps breed. A rack that holds the vial your instrument actually uses, filled to a consistent level, is a quiet quality control measure in itself.
For bulk media, buffers, and CIP solutions, the workhorse is borosilicate media bottles with GL45-style caps. Our reagent and media bottles guide walks through sizes, thread types, and where the cheap ones fail.
How Brewery, Winery and Distillery Labs Differ
The three industries share an analytical core but weight it very differently, and your consumables shelf should reflect that.
Brewery labs are production-paced. Every brew day generates wort checks, and every fermentation generates daily gravity, pH and cell-count samples. The rhythm is high frequency, low complexity. Gravity, pH, cell counts and micro plating dominate, so the burn rate concentrates in sample bottles, buffers, slides and membranes. GC work matters for flavor stability but often runs weekly rather than daily in smaller breweries.
Winery labs are seasonal. Crush consumes everything: more samples of must and juice in six weeks than the previous six months combined. Then the calendar stretches through barrel aging with low sample volume until bottling spikes micro testing again. A winery lab that stocks flat all year will run dry in September. Titratable acidity, SO2 by aeration-oxidation, and ethanol checks drive the consumable list, plus a heavy bias toward small-volume glassware during harvest.
Distillery labs are regulation-heavy. Proof and ABV determinations are legal measurements, often with TTB or equivalent requirements, which pushes demand toward Class A volumetric glassware, calibrated thermometers, and documented reagent lots. Congener profiling by GC is closer to a compliance activity than a research one, so headspace vial and septa quality carries audit weight. Fermentation monitoring still exists (mash conversion, wash pH), but the chromatography bench is the center of gravity.
Cideries, seltzer producers and kombucha facilities sit between these poles, usually with brewery-style rhythm and wine-style microbial risk (wild yeasts love sugar). If you’re stocking a lab for a hybrid producer, borrow the brewery starter kit below and add the winery micro emphasis.
One practical consequence: the same supplier order looks different for each. A brewery’s biggest line items are films and filters. A winery’s are small glassware and titration reagents. A distillery’s are vials, septa and certified glassware. Buying “general lab consumables” without that weighting is how labs end up with four years of beakers and no membranes.
Cleaning, Sterilization and Reuse
Beverage labs reuse more than pharma labs, mostly because the samples aren’t GMP samples. Sensible reuse rules:
- Glassware for ABV and titration: wash, acid rinse where needed, oven dry. Inspect volumetric glassware chips every wash; retire anything doubtful.
- Media bottles: autoclave cycles are fine for borosilicate with PP caps, and our guide to sterilizing reagent and media bottles covers caps, venting and cycle limits.
- Cuvettes: matched glass cuvettes can last years with careful wiping; disposable cuvettes trade cost for zero carryover anxiety.
- Anything touching microbiology samples goes one direction only. No washed petri dishes, no reused swabs, no “it looks clean” sample bottles.
Peracetic acid and alkaline CIP chemistries deserve respect at the bench scale too. A bottle that held peracetic concentrate is not a bottle that should hold your calibration standard after one rinse.
Storage and Shelf Life on a Beverage Bench
Three storage problems are specific to beverage labs:
- Heat and light near the packaging line. Consumable shelves drift into bright, warm spaces because that’s the warmest space in the building. Buffers degrade, media pre-expires, and iso-octane evaporates through loose caps.
- Humidity during crush and brewhouse cleaning cycles. Dehydrated media cakes when it absorbs moisture. Keep the tub sealed with desiccant and date it when opened.
- Cold rooms. Sampling bottles stored in the cellar fridge pick up condensation that dilutes your first sample. Store containers where they’ll reach sampling temperature with the sample.
A fourth one is easy to miss: pipette tips and tubes stored near the bottling line collect aerosols from cleaning sprays and CO2 vents. Keep tips in closed racks or drawers, and never stage open tip boxes in the sampling path between the filler and the bench. Two minutes of walking the room with fresh eyes, looking at where consumables actually live versus where the chemistry assumes they live, usually surfaces two or three of these problems.
Media and buffer bottles need opened dates and expiry tracking like anywhere else. Those principles transfer exactly from other industries: cool, dark, dry, sealed, dated.
Records, Lots and Traceability
Beverage labs rarely run under GMP, but traceability still pays when something goes wrong with a release decision.
Three record-keeping habits cover most of it. First, date everything that opens: media bottles, buffer stocks, stains, titrants. An opened date next to the expiry date catches most silent degradation. Second, keep lot numbers for the consumables that touch compliance measurements, which means the volumetric glassware certificates, the membrane filter lots, and the standards used in ABV and congener work. When a regulator or a customer asks how you proved that alcohol statement, the paperwork trail is the answer.
Third, tie consumable lots to test results where it’s cheap to do so. A simple bench logbook line (“batch 214 micro plates: filter lot 2245, media lot 0881”) turns a mysterious spike in background growth into a solvable problem instead of a panic. I watched a cidery chase wild yeast contamination for two weeks before someone connected it to a new media lot that had been stored next to the CIP station. The lot note found it in minutes.
None of this needs software. A bound notebook and a shelf label system outperform the memory of even an excellent technician, and they survive staff turnover.
Buying Strategy: Par Levels and Kits
Small labs over-buy some things and starve others. A workable system:
- Set par levels from actual burn rate: count what a month consumed, stock 1.5 months plus one emergency cycle.
- Buy micro consumables on a schedule (they’re predictable), chromatography consumables on a reorder-point (they’re batch-driven).
- Kit the boring stuff: a “brew day box” with gravity sample bottles, pH cups, and a buffer sachet set, refilled after every use.
- Consolidate suppliers where you can, because a single 250 mL bottle from three vendors means three minimum orders and three shipping cycles.
Test the par system quarterly. Burn rates move when production moves: a new tank, a second filler line, a pilot batch program all change the math. Fifteen minutes comparing a quarter’s orders against actual consumption keeps the shelf honest.
Distilleries and wineries should add one more rule: seasonal demand is real. Crush and holiday production runs consume media, filters and vials in bursts. Order ahead of the season, not during it. Vendors hold stock better for standing customers than for panicked ones, which is a commercial fact worth remembering when you choose where to consolidate.
For consumables with long lead times, sterile membranes and certified glassware especially, keep a second unopened reserve pack. The cost of carrying it is trivial next to a week of untestable product.
Training Bench Staff on Consumable Discipline
Consumable problems are usually people problems wearing a lab coat, and a 30-minute training covers most of it.
Teach the why before the what. “Don’t reuse that membrane” sticks better when the trainee has seen one false-negative micro plate. “Fill to the line” sticks when they’ve watched a DO reading ruined by a sloppy pour. Ten minutes of failure demos beats an hour of rules.
Then make the right way the easy way. Color-coded shelves for buffer sachets, a laminated card on the micro bench listing the exact filter and media for each sample type, and a refill checklist taped inside the consumables cabinet. If following the system requires memory, the system will fail during crush or a double brew day.
Rotate the stock. New boxes go behind old boxes, opened boxes get dates, and the person who opens the last one writes the reorder on the whiteboard. That last habit alone prevents most stockouts in small labs, because stockouts are almost never a purchasing failure, they’re a communication failure.
Finally, give one person ownership of the shelf. Not exclusively, but named. Shared responsibility means nobody checks the desiccant, and the dehydrated media finds that out the expensive way.
A Starter Kit for a Craft Brewery QC Bench
For a new QC setup testing water, wort, fermentation and packages:
| Item | Starting Quantity | Notes |
|---|---|---|
| 250 mL PP sample bottles, sterile | 200 | Filler and tank samples |
| 20 mL headspace vials + caps/septa | 500 | GC off-flavor work |
| 2 mL HPLC vials + caps | 500 | Sugars, acids, hop acids |
| Syringe filters, 0.45 µm, mixed membrane | 200 | Sample clearing |
| pH buffers 4/7/10 sachets | 50 each | Weekly calibration |
| Cuvettes, matched glass | 12 | IBU/color bench |
| Media bottles, 100-500 mL | 20 | Micro media, buffers |
| Membrane filters, 0.45 µm sterile | 200 | Micro plating |
| Petri films (beer spoilage) | 100 | Rapid micro |
| Serological pipettes, sterile | 500 | Cell counts, plating |
| Volumetric flasks, Class A | 6 | ABV distillation |
| Nitrile gloves, powder-free | case | All benches |
Scale the numbers to your batch count. A winery swaps some rows (more SO2 and acid titration items), a distillery adds distillation glassware and proofing hydrometers.
Five Mistakes Beverage Labs Make With Consumables
- Storing media next to the packaging line. Warm and bright kills shelf life. So does the CIP fog from the next room.
- Using one syringe filter type for everything. Beer, must and spirit samples have different solids and solvent loads. Match the membrane.
- Measuring package DO from an open pour. The number is fiction. Sample sealed and purged.
- Ignoring lightstrike during sampling. A clear bottle of IPA on a sunny windowsill for an hour is a different beer by the time it reaches the GC.
- No opened-date discipline. Media, buffers and stains all pre-expire on the bench, not on the label.
Conclusion
Frequently Asked Questions
What consumables does a small brewery QC lab need first?
Are regular HPLC vials suitable for beer and wine samples?
How often should media bottles and buffers be replaced?
Do I need different filters for beer versus spirits samples?
Why do headspace vials matter so much for off-flavor testing?
Diacetyl, DMS and sulfur compounds are measured at parts-per-billion levels, and vial seals directly affect reproducibility. Use quality septa rated for your equilibration temperature and never reuse vials or septa, since residual sample carryover ruins low-level quantitation.