
# What Consumables Does Feed and Grain Testing Need?
If you run QA at a feed mill or an independent grain lab, your results are only as good as the consumables behind them. Probes, dividers, and cleanup columns rarely get a line in the equipment budget, yet they decide whether a number survives an audit.
A feed or grain lab runs on probes and triers, sample dividers, mills with sieve plates, mycotoxin extraction reagents and cleanup columns, vials for high-moisture samples, NIR subsampling cups, and QuEChERS kits for pesticide and heavy metal prep. Match every item to your accredited method.
Below I break down each category, the failure modes that come with it, and where the regulatory lines sit. One bad composite can sink a shipment worth tens of thousands of dollars, so this list is worth ten minutes of your day.
The Consumables That Actually Matter
Feed and grain testing carries a wider consumables footprint than most people expect. You are working with bulk agricultural material, so sampling hardware comes first and analytical consumables come second. A single truckload of corn might get probed ten times, composited into one bag, divided down, ground, then split again for moisture, mycotoxin, and residue work. Every one of those steps consumes something.
The categories fall into five buckets: sampling tools, sample reduction, sample preparation, analysis, and containment. Sampling covers probes, triers, canvases, and bags. Reduction covers dividers that cut a composite without bias. Preparation covers mills, sieve plates, and NIR cups. Analysis covers extraction bottles, cleanup columns, and QuEChERS salts. Containment covers vials and jars, including ones rated for wet samples.
I will admit a bias here: most labs overspend on detectors and underspend on everything that happens before the extract reaches them. No LC-MS/MS can rescue an extract that was compromised by a dirty mill or a skimmed sample.
Sampling Probes, Triers, and Dividers
Probes and triers
Mycotoxins and damaged kernels never distribute evenly in a truck or barge, so the probe does the heavy lifting. USDA’s Grain Inspection Handbook spells out the technique: insert the probe at a 10-degree angle from vertical with the slots closed, open the slots, move the probe up and down in two short strokes, then withdraw it by the outer tube, never the handle. Standard double-tube probes run a 1-3/8 inch outer diameter and come in 5 to 12 foot lengths so they can reach the bottom of the carrier. The details live in USDA’s Grain Inspection Handbook, Book I, which I would print and keep at the scale house.
I learned the probe-length lesson the hard way. Early in my career we sampled a corn shipment with the only probe on the rack, a 5-footer, on a load that needed 10 feet. Our aflatoxin result came back clean, the buyer’s probe at discharge did not agree, and the lot got reconditioned at port. The probe that reaches the bottom of the carrier is not a nicety, it is the whole game.
Dividers and composite handling
Ten probe pulls from a truck add up to roughly a kilogram of grain. You cannot scoop a cup off the top of that bag, because fines and broken kernels migrate downward during handling. A Boerner or cargo-style divider splits the composite into representative halves, which is how official inspection services cut large samples down to lab size. USDA explains the logic behind increment and systematic sampling if you want the statistics.
Keep the cheap items stocked too: heavy paper sample bags (not plastic, so moisture does not condense against the grain), a few sampling canvases, spare ticket stock, and marker pens that survive a wet scale house. They cost pennies and they close the chain-of-custody argument before it starts.
Mycotoxin Testing Consumables
Mycotoxins are usually the regulatory driver in feed testing. FDA’s action levels for aflatoxin run from 20 ppb for dairy feed and feeds of unknown use up to 300 ppb for corn and peanut products destined for feedlot beef cattle, as laid out on the agency’s action levels guidance page. Those limits are tight enough that extraction and cleanup consumables need to be method-grade rather than whatever is on the shelf.
The consumable chain runs from extraction bottles for methanol-water blends, through filter funnels and paper, into either a rapid SPE cleanup column or an immunoaffinity column (IAC) ahead of HPLC, fluorometry, or LC-MS/MS. Romer Labs illustrates the trade-off well on its cleanup column overview: push-through columns clean an extract in about 30 seconds, while antibody-based IACs capture and concentrate the toxin for trace-level confirmation.
One more reason to test at intake: FDA notes that mycotoxins are not destroyed by most processes used in animal food production, so pelleting will not save you. The agency’s animal food chemical hazards page lists aflatoxin, DON, fumonisin, ochratoxin A, and zearalenone as the core watchlist. I compared column formats in more depth in what consumables does mycotoxin testing need.
Moisture and NIR Subsampling Cups
Moisture is the highest-volume test in any grain operation, and NIR has mostly taken over routine intake work. The instrument, however, is unforgiving about presentation. A USDA review of NIR methods puts the main source of error at the sample itself: its selection, its preparation, and the way ground material gets loaded into the cell. Particle size and packing density both shift the spectrum, and so does the surface layer the instrument actually sees. The review is here (PDF) if you want to go deep.
Stock subsampling cups matched to your analyzer’s optics, spare caps, and airtight containers for the portions that still go to the oven. A note from our bench: cups with scratched or cloudy windows quietly drag moisture predictions, and nobody notices until a proficiency round comes back off target. Replace them on a schedule, not on appearance.
Grinding Mills and Sieve Plates
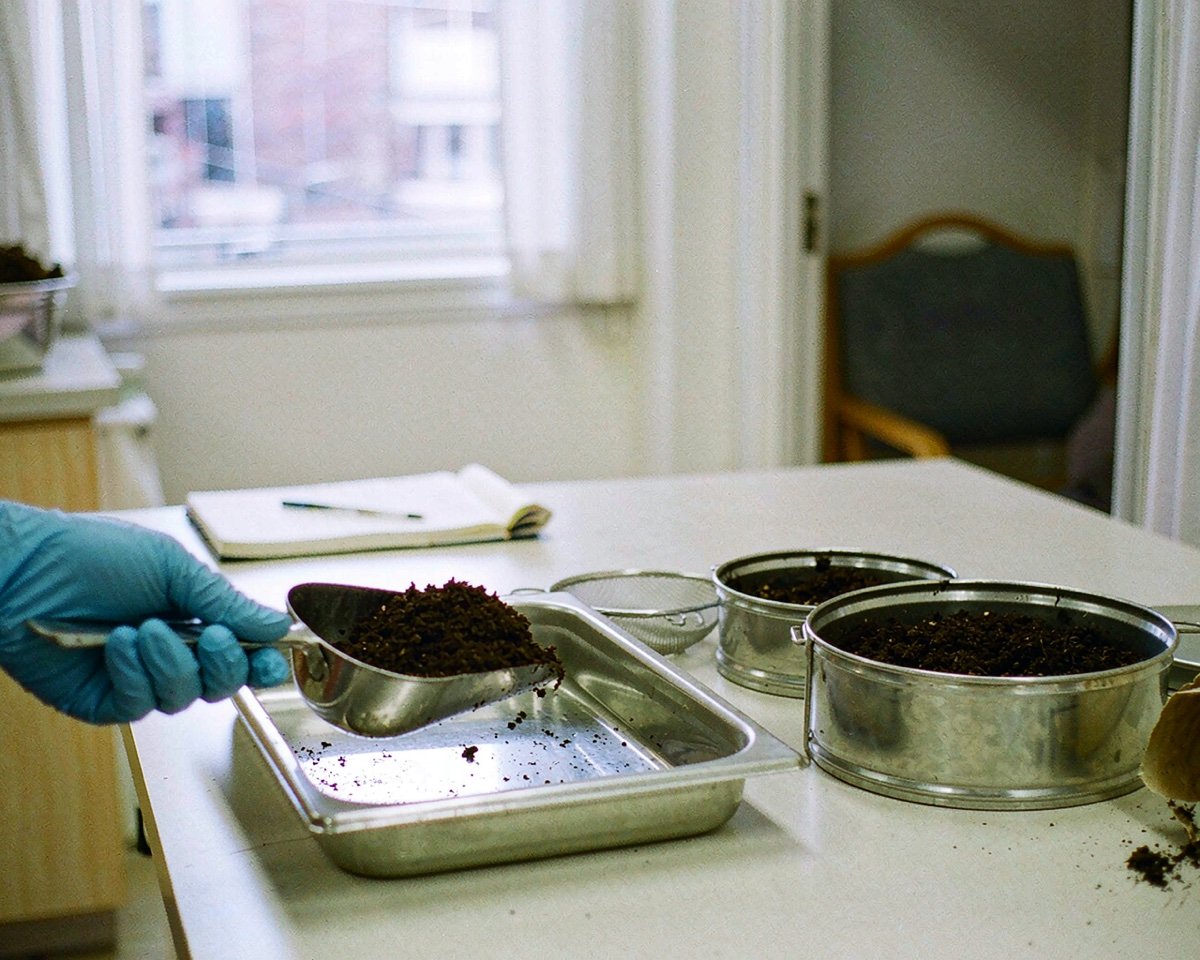
Grinding sits in a gray zone between equipment and consumables, and that is exactly where labs get caught out. Screens wear and knives dull, and a mill that still runs can still be ruining your data. For mycotoxin prep, grind through a fine screen (1 mm is a common target) so the test portion stays homogeneous. NIR work might tolerate a coarser cut, but a compliance extract will not.
Treat sieve plates, knives, and screens as wearing parts with a replacement calendar. Keep at least two screen sizes per mill on the shelf, and clean or flush the mill between a suspect high-mycotoxin sample and a clean one, because cross-contamination is a classic audit finding.
Pesticide Residue and Heavy Metals Prep
Residue work leans on QuEChERS: extraction salts built around magnesium sulfate and PSA, centrifuge tubes in 15 and 50 mL formats, dispersive SPE cleanup tubes, and autosampler vials that actually fit your GC-MS and LC-MS/MS. Feed matrices run dirtier than most food matrices, so cleanup strength matters more here than it does for a clean cereal sample. If veterinary drug residues are also on your scope, the tube and vial overlap is large, and I mapped it in what consumables does veterinary drug residue testing need.
Heavy metals prep carries its own kit: microwave digestion vessels and liners, acid-resistant pipette tips, and blank-certified tubes. Contamination at the digestion stage is the usual explanation when a clean feed sample returns a phantom lead value. The QuEChERS side has enough moving parts that we wrote a dedicated guide to what the method actually needs.
Storage Vials for High-Moisture Samples
Silage, wet distillers grains, and high-moisture corn are the awkward samples in any feed lab. They spoil and they keep metabolizing between the field and the bench. Refrigeration or freezing slows that down, which means your storage stock needs freezer-rated bags and jars, not just paper envelopes.
What works in practice: freezer-grade sterile bags, wide-mouth jars with lined lids, labels that survive frost, and the freezer discipline to make sure nothing sits at bench temperature overnight. With wet matrices, every hour at room temperature might let mold keep producing toxin, which quietly moves your result. Cheap consumables, expensive consequences.
Conclusion
Feed and grain testing is won or lost at the sample level, long before the instrument prints a number. A probe long enough to reach the bottom of the carrier, a divider that cuts the composite fairly, cleanup columns matched to your regulatory limits, and storage that respects moisture will do more for your data than any detector upgrade. My advice is simple: list every method you are accredited for, then map each consumable in this article against that list before you place the next order. When the scope grows toward the field side, our soil and agriculture testing lab consumables guide covers the adjacent needs, and it pairs well with this one.
Frequently Asked Questions
What equipment do I need to sample grain from a truck?
A double-tube compartmentalized probe long enough to reach the bottom of the carrier, a sampling canvas, and heavy paper bags. USDA’s handbook specifies a 10-degree insertion angle and a prescribed pattern of probe pulls per carrier.
How much sample does mycotoxin testing need?
Official programs typically build a composite of several pounds from multiple probe pulls, then divide it down and grind it before the lab takes a test portion. Mycotoxins concentrate in hot spots, so a single scoop from the top of the bag will understate the risk.
Are plastic bags okay for grain samples?
Not for dry grain, because trapped moisture condenses and shifts your moisture and quality results. Heavy paper bags are the standard for transport, while freezer-rated bags or jars make sense for wet samples like silage.
What sieve size should I grind feed samples to?
For mycotoxin extraction, a fine grind around 1 mm is common because it keeps the test portion homogeneous. NIR calibrations might accept a coarser cut, but consistency from sample to sample matters more than the exact size.
How should I store high-moisture feed samples before testing?
Refrigerate or freeze them in airtight, freezer-rated containers, ideally within hours of sampling. That slows spoilage and stops the mold from adding more mycotoxin before your analysis runs.