
I spent years on the supply side of soil testing lab consumables, and the labs that get clean data have one thing in common: they match the consumable to the method, not the other way around.
The Short Answer
Soil testing labs need consumables at five stages: sampling (bags, probe liners), prep (drying trays, 2 mm sieves, grinding vials), extraction (acid-resistant digestion vessels), analysis (ICP, IC, and autosampler vials plus filters), and QC (certified consumables with lot documentation). Pick materials your method can tolerate, and demand a CoA for every lot.
That sentence covers a lot of ground, so let’s walk through each stage the way a bench tech actually experiences it: sample arrives, sample gets prepped, sample gets extracted, sample gets read. Miss a step and the whole panel is suspect.
What Soil and Agriculture Labs Actually Test
Before you buy a single bag or vial, you need to know what the lab is measuring. The consumable list flows from the analyte list.
Fertility panels: NPK, pH, and micronutrients
The bread-and-butter work of an ag lab is the fertility panel. Nitrogen (usually nitrate-N), phosphorus, and potassium, plus secondary nutrients like calcium, magnesium, and sulfur, and micronutrients like zinc, iron, manganese, and copper. Most US labs extract phosphorus and micronutrients with Mehlich-3 or DTPA, then read the extract on ICP-OES. AgSource, a large Midwest ag lab, runs exactly this workflow on ICP-OES instruments, as Agilent’s customer story on agricultural soil analysis describes.
pH and electrical conductivity (EC) get measured on a 1:1 or 1:2 soil-to-water slurry. Consumables here are humble: beakers, stir bars, calibrated pipettes, buffer solutions. But cheap plasticware that leaches can shift a pH reading at the margin, and at the margin is where lime recommendations live.
Salinity, sodicity, and lime requirements
Irrigated regions add a second layer of chemistry. Salinity screening uses the EC of a saturated paste extract, and sodicity (the sodium adsorption ratio, or SAR) needs sodium, calcium, and magnesium from that same paste extract. The saturated paste itself is a consumable-driven procedure: vacuum extractors, ceramic or plastic filter funnels, and collection tubes, all sized around a paste that must be neither soupy nor crumbly. Gypsum and lime requirement tests (SMP buffer, Sikora, or the newer lime requirement methods) add buffer solutions and the tubes to hold them.
None of this is exotic, but the consumables constrain throughput. A lab running 200 saturated pastes a day lives or dies by whether its extractor hardware and filter stock are consistent from lot to lot.
Heavy metals and contaminants
Environmental and compliance work targets lead, arsenic, cadmium, chromium, and friends. The standard prep route in the US is EPA Method 3050B, the acid digestion procedure for sediments, sludges, and soils, which uses hot nitric acid and hydrogen peroxide before ICP-OES or ICP-MS reads the digest. That method dictates your digestion vessel material, your acid storage bottles, and your sample tubes. We’ll get to why.
Pesticide residues
Herbicide and insecticide residues in soil usually go through solvent extraction and cleanup, then GC-MS or LC-MS/MS. The dominant prep approach worldwide is QuEChERS, and Restek’s QuEChERS product line shows the consumable anatomy of the method: pre-weighed salt packets, 50 mL extraction centrifuge tubes, and dSPE cleanup tubes with PSA, C18, or graphitized carbon black sorbents.
Moisture, organic matter, and soil health
Moisture content (loss on drying at 105 °C) and organic matter (loss on ignition or Walkley-Black) round out most reports. Soil health testing has expanded this list: respiration, aggregate stability, active carbon, and more. The USDA Soil Quality Test Kit Guide covers the field-side versions of these tests, including pH, EC, and nitrate screens that many labs validate against. Every one of those indicators depends on samples collected and stored consistently, which is the unglamorous truth behind comparable soil data worldwide.
Sampling Consumables: Where Data Quality Starts
Everything downstream inherits the quality of the sample that went into the bag. A lab can run a perfect ICP scan on a compromised sample and produce a confident, wrong number.
Soil sample bags
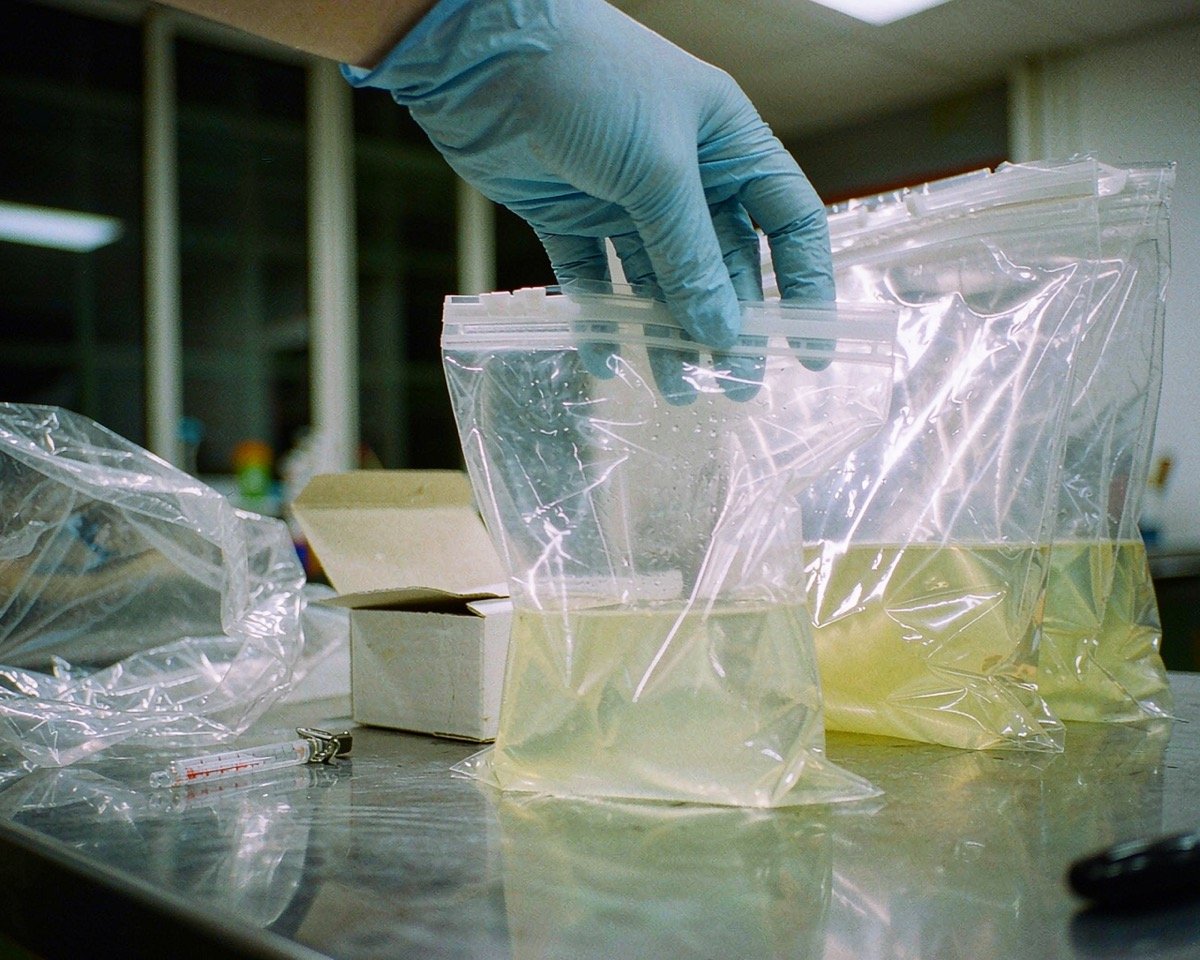
The workhorse is a 4 mil (about 100 µm) polyethylene zip bag, usually in 4 × 8 inch or 6 × 12 inch sizes depending on sample weight. Standard fertility samples run 500 g to 1 kg of field soil, so bag strength matters. I’ve seen cheap bags split along the seam when a tech scoops heavy clay, and the resulting spill mixes samples on the bench. That’s a worst-case failure: two farmers get each other’s lime recommendations.
Paper bags have a niche. They breathe, so they work when samples will sit for days before drying and you’re worried about condensation. They fail for wet samples that will leak, and they tear when the soil is rocky. Most labs stock both and let the sample type decide.
Sterile sampling bags and probe liners
Microbiology work (soilborne pathogens, biological soil health assays) needs sterile bags, typically gamma-irradiated Whirl-Pak style bags with write-on strips. If your lab reports microbial indicators, non-sterile bags invalidate the result before analysis begins.
For mechanized sampling, hydraulic probes drop a core directly into plastic sleeve liners, often 2 inch diameter tubular polyethylene cut to length. Cores stay intact in the liner from field to bench, which keeps depth-resolved sampling honest. When a client asks why their horizon-by-horizon results look blurred, the first question I ask is whether the cores were slid, dumped, or mixed. Liner thickness matters too: thin liners collapse under deep-clay pressure, and a folded liner is a core you can’t log cleanly. Labs running rocky ground should also stock spare probe tip parts, because a chipped tip compacts the core and biases bulk-density readings before the sample ever sees a bag.
Composite sampling gear
Most advisory samples are composites: 10 to 20 cores from one uniform field zone, mixed in a clean pail, then bagged. That mixing step needs a dedicated bucket (HDPE for chemical work, never galvanized steel, which sheds zinc into the very panel you’re running), and core-residue cleaning between fields matters more than field crews believe. Labs that supply field kits to their clients control this variable directly: a bucket, a probe or auger, pre-printed bags, and a one-page sampling instruction sheet in every kit. If you sell testing services, the kit is your first consumable decision, made on your client’s behalf.
Labeling and chain of custody
Bags need write-on panels that survive damp fingers and cold trucks. Cryo-grade labels or puncture-resistant tags beat ballpoint-on-plastic. If your tracking workflow is loose, sample swaps show up later as “impossible” duplicates in the dataset, and nobody can trace which of 200 bags failed. A printed bag with a lot-controlled number beats a hand-written one every time it matters.
Sample Prep Consumables: Drying, Sieving, Grinding
Prep is the least glamorous stage and the biggest source of quiet cross-contamination. ISO treats it seriously: ISO 11464 specifies the pretreatment of soil samples for physicochemical analysis, covering drying, crushing, sieving, dividing, and milling. Your consumables should support each of those steps deliberately.
Drying trays and cabinets
Air drying happens in trays: stainless steel or polyethylene pans (aluminum works too), shallow enough (2 to 3 inches) for air to move through the soil. Ovens run at 30 to 40 °C for air-dry equivalent prep, or 105 °C for moisture determination. Plastic trays rated for low heat work fine for air drying but warp near 105 °C, so labs that do both need both. The trays also need to be non-reactive; recycled-plastic trays of unknown provenance are a gamble with micronutrient blanks.
Sample dividing and moisture tins
Between sieving and grinding, the sample gets divided into analytical portions. Riffle splitters (chute-style dividers) and spin rifflers give the most representative split; cone-and-quartering on a clean mat works for smaller labs. The consumables are the mats, the scoops, and the sample tins: lidded aluminum or steel tins for moisture determination, weighed empty, weighed filled, then oven-dried at 105 °C. Moisture tins get reused hundreds of times, and dented tins with warped lids quietly change headspace drying behavior. Cheap tins are a false economy.
Also worth stocking: coarse-crushing hammers and bag rollers for breaking up dried clods before sieving. Prep benches that improvise with whatever is nearby (a beaker, a hammer meant for the shelf bracket) end up with chipped glassware in the soil and an uncontrolled contamination source.
The sieve problem nobody mentions
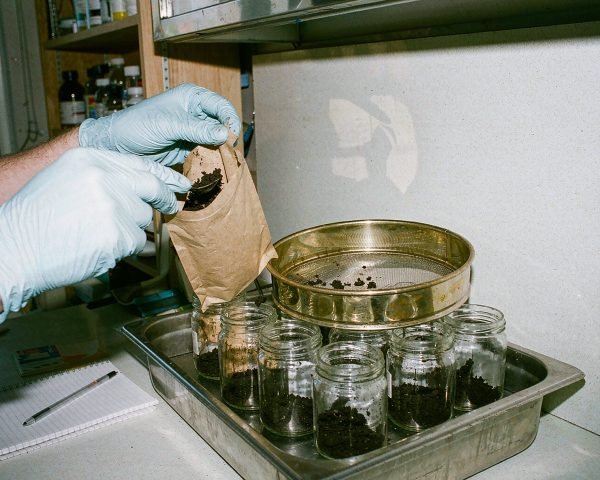
The 2 mm sieve is the universal gatekeeper: “soil” in most reports means “fraction passing 2 mm.” And the 2 mm sieve that always clogs with clay is a genuine bench character in every ag lab I’ve visited. Wet clay smears across the mesh, the tech scrubs harder, and two things go wrong: the mesh deforms and the effective aperture changes, and clay particles get forced through as dust that contaminates the next sample. Brass and stainless sieves are the standard; stainless wins for trace-metal work because brass sheds copper and zinc. Yes, a brass sieve can contaminate your Cu and Zn results. It’s a real, documented failure mode, and it’s invisible in the report.
Have a stack of spare mesh screens on hand? Most labs don’t, and they keep using deformed sieves for months.
Grinding vials and mills
After sieving, subsamples get ground for homogeneity. The container material is a chemistry decision:
| Grinding vessel material | Best for | Watch out for |
|---|---|---|
| Agate | Trace metals, trace elements | Slow grinding, high cost |
| Tungsten carbide | Hard soils, high throughput | Can add W and Co traces |
| Zirconia | Metals work, general prep | Cost, chip risk |
| Polypropylene/polyethylene | Fertility panels, pH, OM | Can’t grind aggressive media, wear particles |
The table is shorthand for a simple rule: the mill wears, and what it sheds lands in your sample. A tungsten carbide vial is superb for routine grinding and catastrophic for a cobalt speciation study.
Wide-mouth jars for storage and shipping
Ground and unground samples get archived in wide-mouth glass jars, typically 250 mL or 500 mL with PTFE-lined lids, so a tech can scoop with a spatula without a funnel. For samples destined for organic analysis, amber glass beats clear (light degrades some residues) and the liner needs to be solvent-rated. The same liner-compatibility logic that applies to reagent bottles applies to sample jars, so it pays to check the liner spec before ordering a pallet.
Extraction and Digestion Consumables
This is where consumable choice stops being convenient and starts being chemical. Two very different workflows live here.
Aqueous extraction for fertility work
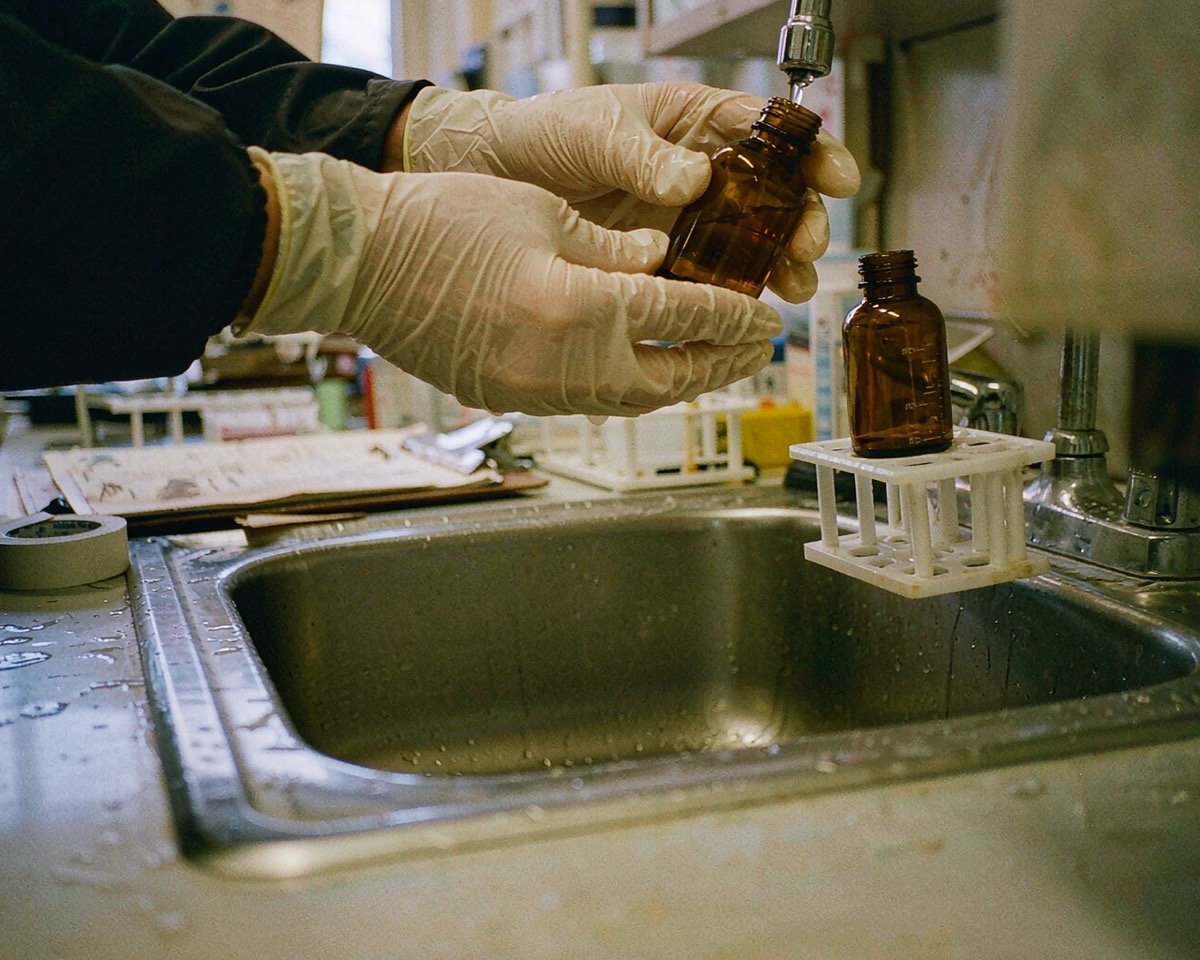
Mehlich-3, DTPA, Olsen, and saturated paste extracts are aqueous or mildly acidic solutions. The consumables: wide-mouth extraction bottles (125 mL and 250 mL PP or glass), mechanical shakers, and filter setups for the extracting solution. PP extraction bottles are the default because they survive shaking racks and cost pennies per unit at volume.
The extractant-to-soil ratio is method-critical (Mehlich-3 runs 10:1, most nitrate extractions run 2:1 or 5:1 with 2 M KCl), so extraction bottles need accurate graduations or labs pair them with bottle-top dispensers for the extractant. A dispenser that holds its calibration across a harsh KCl season is worth more than its price in reruns saved. For ammonium and nitrate-N specifically, KCl extraction into PP bottles followed by colorimetry or IC is the classic route, and the bottle’s cap liner needs to tolerate months of salt exposure without cracking.
Filtration after extraction usually means medium-porosity filter paper or 0.45 µm membrane filters. Whatman-type quantitative paper is standard for Mehlich-3; membrane filters come in when the extract feeds an instrument that hates particulates. If filtered extracts feed an autosampler directly, membrane chemistry and pore size deserve the same scrutiny you’d give a mobile-phase filter.
Acid digestion for metals
Metals work changes the rules. EPA Method 3050B digests use hot concentrated nitric acid and hydrogen peroxide, sometimes followed by HCl. Hot-acid work demands:
- Borosilicate digestion tubes and beakers rated for hotplate work
- PTFE (or PFA) vessels for microwave digestion
- Acid-resistant caps and watch glasses
- PFA or PP volumetricware for final dilution
Microwave digestion (EPA Method 3051A style) runs sealed vessels under pressure, and those vessels are precision consumables: membranes, rupture disks, and seals are replaced on a schedule, and a tired seal vents your sample into the microwave cavity along with your recovery data.
For the final digest solution headed to ICP-MS, the container matters more than most people expect. Trace-metal analysis at sub-ppb levels punishes leaching and adsorption, which is why labs use PFA or high-purity PP for low-level work and reserve glass for digests where boron and sodium don’t matter (hot acid leaches both from borosilicate). I once watched a nutrient panel get rerun three times because digests were stored in acid-washed but secondhand glass jars; the boron blanks crept up every run until someone thought to check the containers, not the method. PFA wins that comparison outright, and PP is the economical runner-up once concentrations are comfortably above trace levels.
Solvent extraction for residues
Pesticide residue work uses organic solvents (acetonitrile for QuEChERS, hexane/acetone for older Soxhlet-style methods). Consumables: amber glass extraction jars and vials (solvents attack most plastics), PTFE-lined caps, and the QuEChERS tube system mentioned earlier. One warning that saves money: PTFE-lined caps are fine for acetonitrile, but some liner materials swell in acetone and deposit plasticizer into your extract. Your GC-MS will happily show a mystery peak at the exact mass of your cap liner.
Analysis Consumables by Instrument
The extract is ready. Now it meets the instrument, and each instrument has its own consumable temperament.
| Instrument | Typical soil/ag use | Critical consumables |
|---|---|---|
| ICP-OES / ICP-MS | Total metals, digests; DTPA/Mehlich-3 micronutrients | Sample tubes, PFA vials, peristaltic pump tubing, nebulizers |
| IC (ion chromatography) | Nitrate, ammonium, chloride, sulfate in extracts | IC vials, filters, suppressor regenerant bottles |
| UV-Vis / colorimetric | Phosphate, ammonium, nitrate by wet chemistry | Cuvettes, reagent bottles, matched tubes |
| GC-MS / LC-MS/MS | Pesticide residues | Autosampler vials, septa, inserts, filters |
ICP-OES and ICP-MS
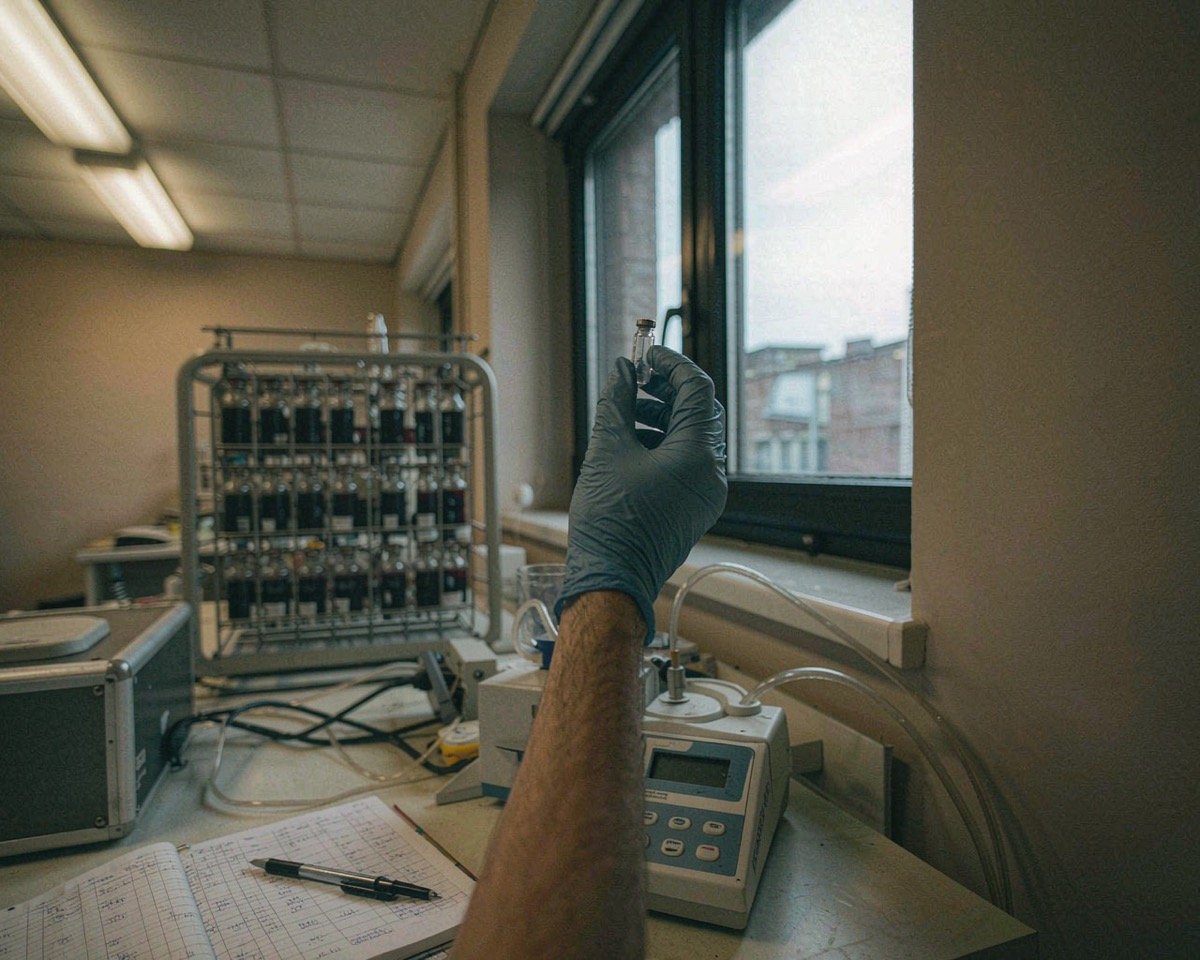
High-throughput ag labs feed hundreds of extracts per day into ICP-OES. The consumable that quietly controls uptime is peristaltic pump tubing; it wears on a schedule measured in hours, and a worn tube changes aspiration rate and drifts your calibration. Sample tubes for the autosampler rack (usually PP, 15 mL or 50 mL) should come from one lot per run when possible. For trace metals and low-level contaminants, the vial material rules from the digestion section apply: PFA for the lowest levels, PP for routine, glass only when boron and sodium are irrelevant. Stocking spare pump tubing and nebulizer washout solution is cheap insurance; running out of either mid-panel is the most preventable downtime in the building.
Soil respiration and incubation work
Biological soil health testing adds a wet-lab twist: incubations. Soil respiration tests (the 24-hour burst CO2 method popular in commercial soil health packages, or longer-term incubations) run in sealed jars with alkali traps or in vials read on infrared gas analyzers. The consumables are incubation jars with gas-tight lids, septum-capped vials for headspace CO2 sampling, syringes for gas sampling, and desiccators for pre-incubation equilibration. A leaky septum doesn’t just lose sample, it loses the pressure equilibrium your CO2 calculation assumes, so this is one place where paying up for a quality seal pays back fast.
Ion chromatography
IC is the workhorse for nitrate-N and ammonium in 2 M KCl extracts and for anions in saturated paste extracts. Thermo Fisher’s Dionex ICS-6000 HPIC system is a representative high-pressure platform, and its consumable chain (eluent bottles, vials, inline filters, suppressors) rewards labs that keep the aqueous side scrupulously clean. IC is exquisitely sensitive to contamination from cheap plasticware: a chloride-leaching cap liner shows up as a phantom chloride peak, and the fix is boring, consistent, food-grade-quality consumables on the entire aqueous path.
Colorimetric and UV-Vis
Wet chemistry for phosphate (molybdenum blue) and ammonium (indophenol) still runs in mid-size labs because it’s cheap and robust. Consumables: matched cuvettes or glass tubes, reagent bottles with good chemical resistance, and clean racks. The failure mode here is cuvette scratching; a scored cuvette shifts absorbance and nobody notices until QC drifts.
A quiet habit that separates good wet-chem benches from sloppy ones is how they treat blanks. Method blanks, reagent blanks, and a known reference soil should ride along with every batch, and all three belong in the same consumable lot as the samples. Running samples in lot A vials and your reference in a lot B tube is a small inconsistency that becomes a big mystery when the reference drifts but the samples don’t (or vice versa). Keep the lot discipline even in the low-tech corner of the lab.
GC-MS and LC-MS/MS for residues
Residue work uses standard 2 mL autosampler vials with the usual septa and insert logic, plus a soil-specific twist: extracts from soil carry fine particulates that clog 0.22 µm filters fast. Many labs prefilter with glass fiber (1 µm class) before the 0.45 µm or 0.22 µm final filter. If you’re seeing premature filter clogging on soil extracts, that two-stage approach is usually the fix. QuEChERS cleanup plus a sensible filtration sequence gets clean chromatograms; the QuEChERS consumables breakdown maps the full tube-and-sorbent system.
QC, Documentation, and Smart Sourcing
Consumables are part of your quality system whether your accreditation body says so explicitly or not.
Certificates of analysis and lot control
For consumables that touch the analytical pathway (vials certified for metals, filters with extractables claims, sterile bags), request a CoA per lot and file it. When an audit or an investigation of odd blanks happens months later, the lot number is the thread that leads somewhere. Labs that skip this are the ones rerunning panels at their own cost, and the difference between a CoA and a simple certificate of conformance matters more in regulated contexts than most buyers assume.
Lot control also has a practical bench side: open one lot of autosampler vials at a time, keep the box, and record which lot ran with which sample batch. A shift in blanks across lots tells you instantly whether to suspect the consumable or the method, and a quick lot-versus-lot filter comparison catches problems before samples do.
Buying soil testing lab consumables from China suppliers
A large share of the world’s vials, filters, bags, and bottles is manufactured in China, and the price gap versus domestic distribution is real. So is the variance. The labs that source well sample-test the supplier and pin the spec in writing before the first purchase order. Then they qualify each incoming lot against their own method, so a supplier’s process change surfaces in their QC instead of in their data. How to buy lab consumables from China without risk covers that vetting sequence step by step, and it’s worth reading before your first container, not after.
The single best money-saving habit I know: qualify two suppliers per critical consumable, not one. When a lot fails or lead times blow out mid-season, the second source keeps the bench running. The qualification cost is trivial next to one week of downtime in April.
Lead times, seasonality, and stock levels
Soil testing is brutally seasonal. Spring and fall sampling pushes can triple a lab’s consumable burn rate in a few weeks, and a supplier quoting a 30-day lead time in February is really quoting March delivery for your April crunch. Labs that survive this map their annual usage, place standing orders for the stable items (bags, tubes, bottles), and hold safety stock on the long-lead items (PFA vials, certified products, anything custom-printed). Minimum order quantities and lead times are negotiating points worth understanding before the season starts, and they favor buyers who plan in quarter volumes rather than panic-buying at the peak.
Conclusion
Soil and agriculture testing rewards labs that treat consumables as part of the method, not an afterthought. The path from field to report runs through bags, sieves, extraction bottles, digestion vessels, and instrument vials, and each stage has a material choice that either protects your data or quietly bends it. Stainless over brass when metals matter, PFA over glass at trace levels, sterile bags for biology, solvent-rated liners for residue work. None of these decisions is expensive individually. Together, they’re the difference between a panel you rerun once and a panel you rerun four times. If you’re building out an adjacent workflow, the environmental testing lab consumables guide and the ICP-MS sample prep consumables guide pick up where this one leaves off.
Frequently Asked Questions
What size soil sample bags do most labs use?
Standard fertility samples of 500 g to 1 kg fit well in 6 × 12 inch, 4 mil polyethylene zip bags. Smaller 4 × 8 inch bags work for subsamples and greenhouse media. For cores collected with a probe, sleeve liners replace bags entirely.
Do I need sterile bags for routine soil fertility testing?
No. Sterile sampling bags matter for microbiological testing such as pathogen or microbial biomass work. For chemical fertility panels, clean food-grade polyethylene bags are fine as long as they don’t leach contaminants into the sample.
Why did my copper and zinc blanks spike after sieving?
A brass sieve sheds trace copper and zinc as it wears, especially under aggressive scrubbing with clay soils. Switch to stainless steel mesh for any work involving trace metals, and keep spare screens so deformed sieves leave the bench immediately.
Which vial material is best for trace metals in soil digests?
PFA vials offer the lowest leaching and adsorption for sub-ppb work and tolerate hot acids. Polypropylene is the economical choice for routine digests at higher concentration levels. Avoid borosilicate glass when boron or sodium are analytes, because hot acid leaches both from the glass itself.
How often should I replace ICP peristaltic pump tubing?
Pump tubing wears on a schedule measured in operating hours, not calendar time, so track hours per tube. Replace on a fixed interval before drift appears, and recheck calibration after every change, because aspiration rate shifts with tube condition.