
# What Consumables Does Compost and Biosolids Testing Need?
Ordering consumables for a compost or biosolids lab looks easy on paper. Then the first QC batch fails, and a week of instrument time goes with it. I have watched that happen more than once, and in almost every case the problem traced back to one wrong bottle, bag, or roll of tape.
Quick Answer
Compost and biosolids testing needs sterile sampling bags, nitrile gloves, soil corers, drying pans, a 2 mm sieve, acid-washed polypropylene digestion vessels, Class A autosampler tubes, and PFAS-safe polypropylene containers. Skip PTFE items entirely for fluorinated analytes.
Below is the full kit, stage by stage, plus the traps that catch labs the first time through.
The Full Consumables List, Stage by Stage
What These Labs Actually Measure
Compost and biosolids samples go through a surprisingly wide set of tests. Nutrient panels cover nitrogen, phosphorus, and potassium (NPK), plus organic matter, moisture, and the carbon-to-nitrogen ratio that buyers use to judge maturity. Metals panels are the bigger headache: under the EPA’s Part 503 rule, land-applied biosolids are checked against ceiling concentrations for ten heavy metals, including arsenic at 75 mg/kg dry weight and mercury at 57 mg/kg (the plain-English guide to Part 503 lists them all).
Pathogen testing splits products into Class A and Class B, and a composting process generally needs to hold at least 55 °C for three days to reach Class A levels, per EPA’s composting fact sheet. Stability and maturity add another layer of respiration and germination work. PFAS is the fastest-growing panel on the list, which is why EPA and state agencies published joint principles for managing PFAS in biosolids. The consumables differ for each one.
Sampling Consumables
Biosolids and compost are heterogeneous materials, so composite sampling is the norm. That means a lot of basic supplies:
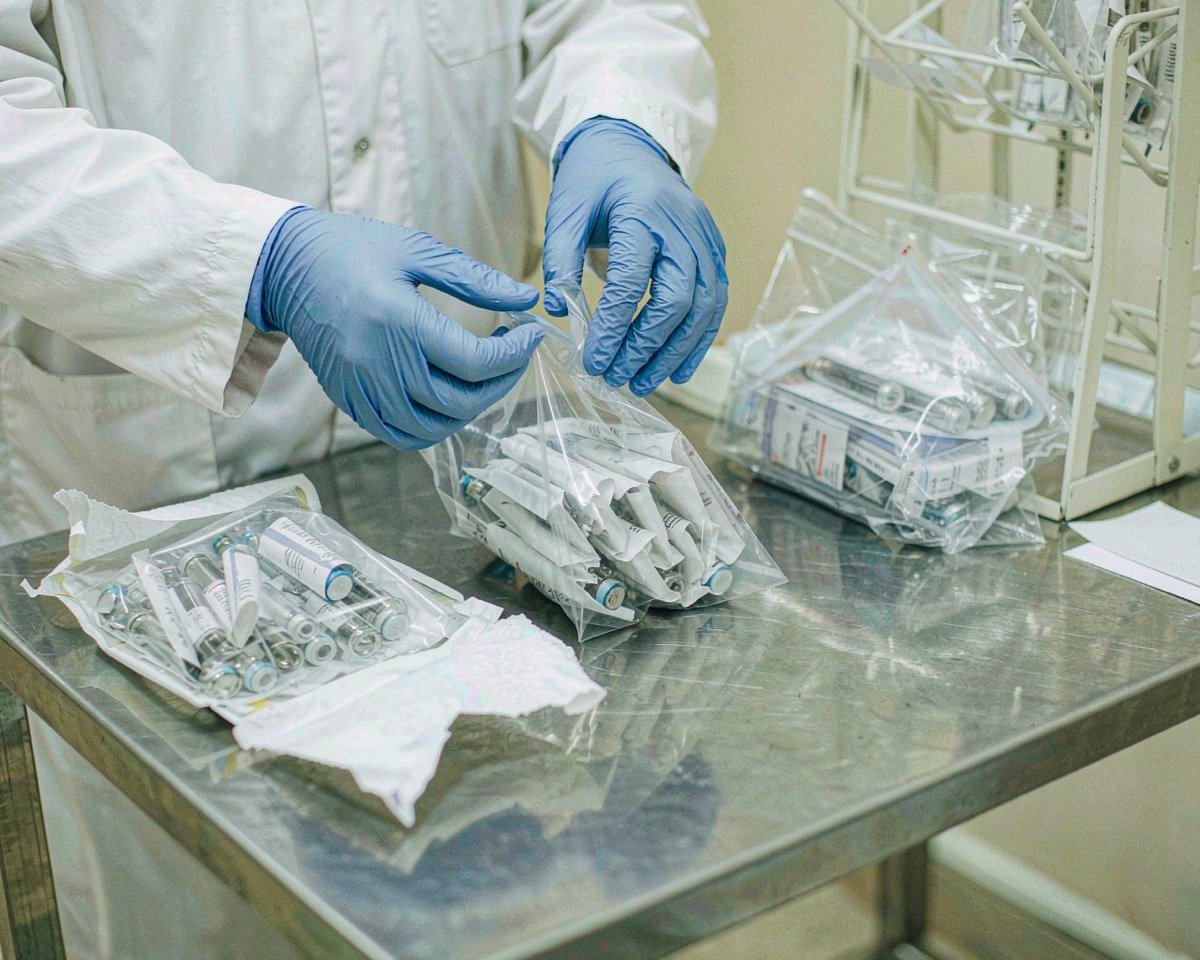
• Sterile sampling bags for pathogen and indicator organism work, since residue on a reused container could skew biological counts
• Powder-free nitrile gloves, changed between samples to prevent cross-contamination
• Stainless steel soil corers or augers for pulling consistent cores from windrows and stockpiles
• Coolers and ice packs to keep samples cold in transit
• Waterproof labels and custody seals, since a soaked paper label can cost you a sample’s identity
One tip from the field: order far more sterile bags than your sampling plan suggests. Wet biosolids get double-bagged more often than anyone predicts, and a field crew without spares sometimes improvises with whatever is in the truck.
Drying, Grinding, and Sieving
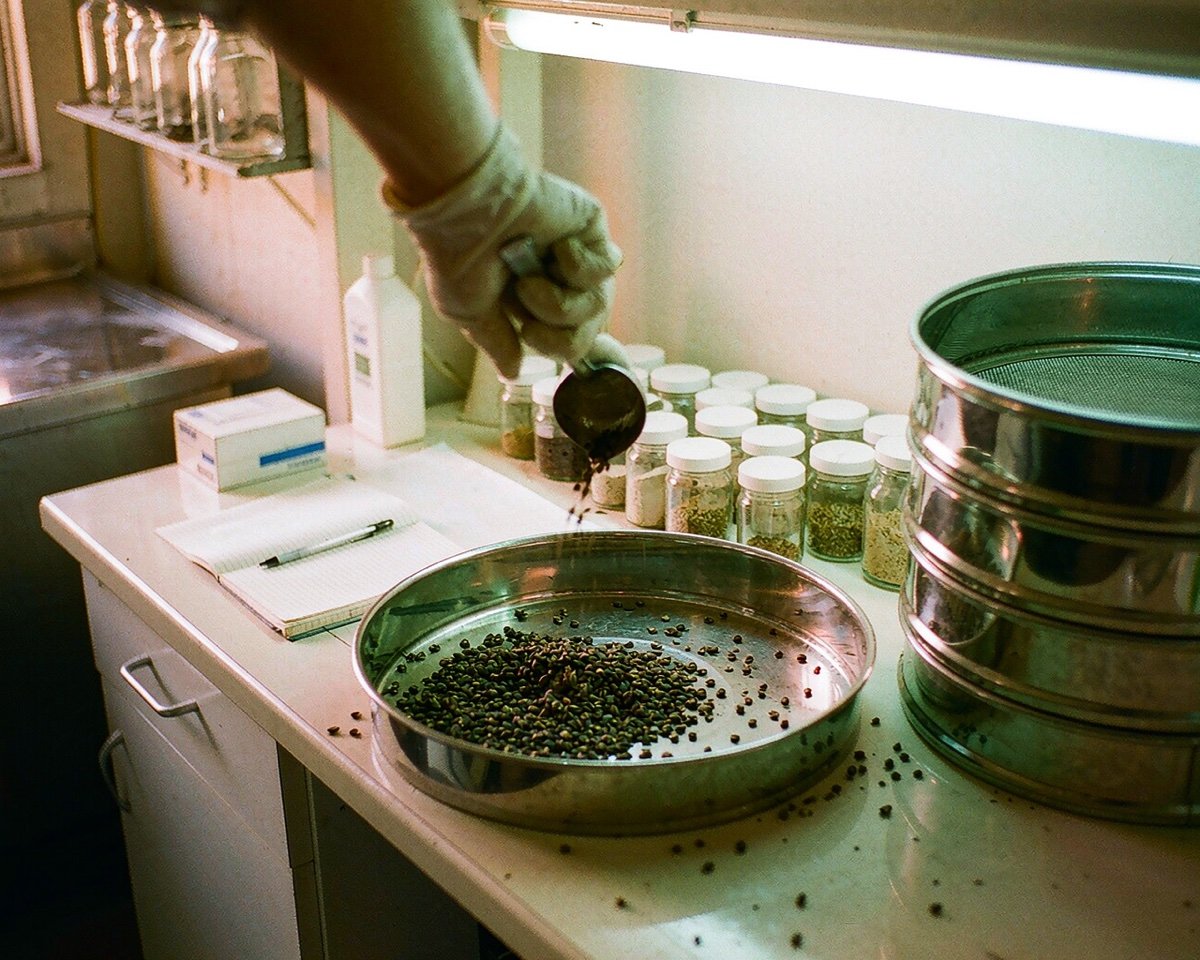
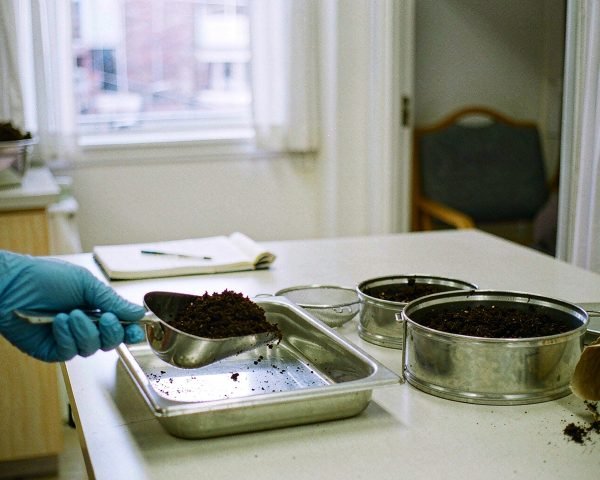
Before any metals or nutrient test, samples get dried, ground, and sieved. Total solids determination calls for drying to constant weight in the 103 to 105 °C range, per EPA’s biosolids management handbook. Stock corrosion-resistant drying pans or trays in bulk, because wet biosolids take their time releasing water.
Grinding is where cross-contamination hides. A stainless steel mill is standard, but it needs cleaning between samples or the previous batch’s metals show up in the next one. Keep desiccant on hand too, since samples cooled in open air pull moisture back and drift off their constant weight. For finished compost, a 2 mm sieve is the common particle-size cutoff before analysis, and it echoes the disintegration testing behind the ASTM D6400 compostability specification, which also relies on a 2 mm sieve residue check.
Digestion and ICP Prep
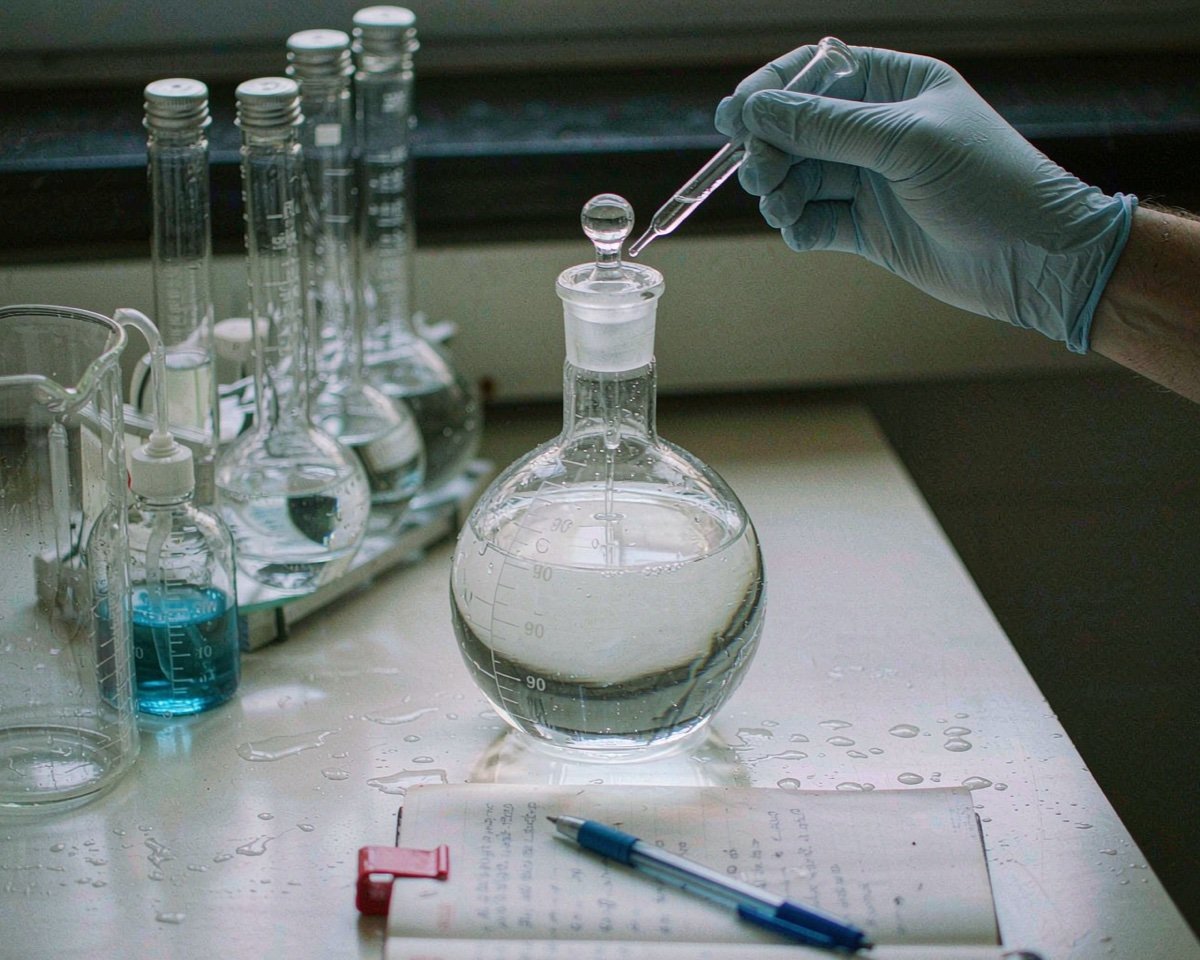
Metals analysis lives or dies at the digestion step. Hot block workflows use 50 mL polypropylene vessels with Class A volume accuracy and low metals background, plus reflux caps to limit acid loss. Microwave systems use sealed vessels, often PTFE-lined, which is acceptable for metals since fluoropolymers only interfere with fluorinated analytes.
Stock depth matters as much as vessel type. A single compliance batch of 20 samples can consume a full rack of vessels and tubes once you count duplicates, blanks, and spikes. I keep two extra racks’ worth on the shelf, because running out mid-batch leaves a digested sample sitting overnight, and re-digestion is cheaper than explaining a holding-time miss to a client.
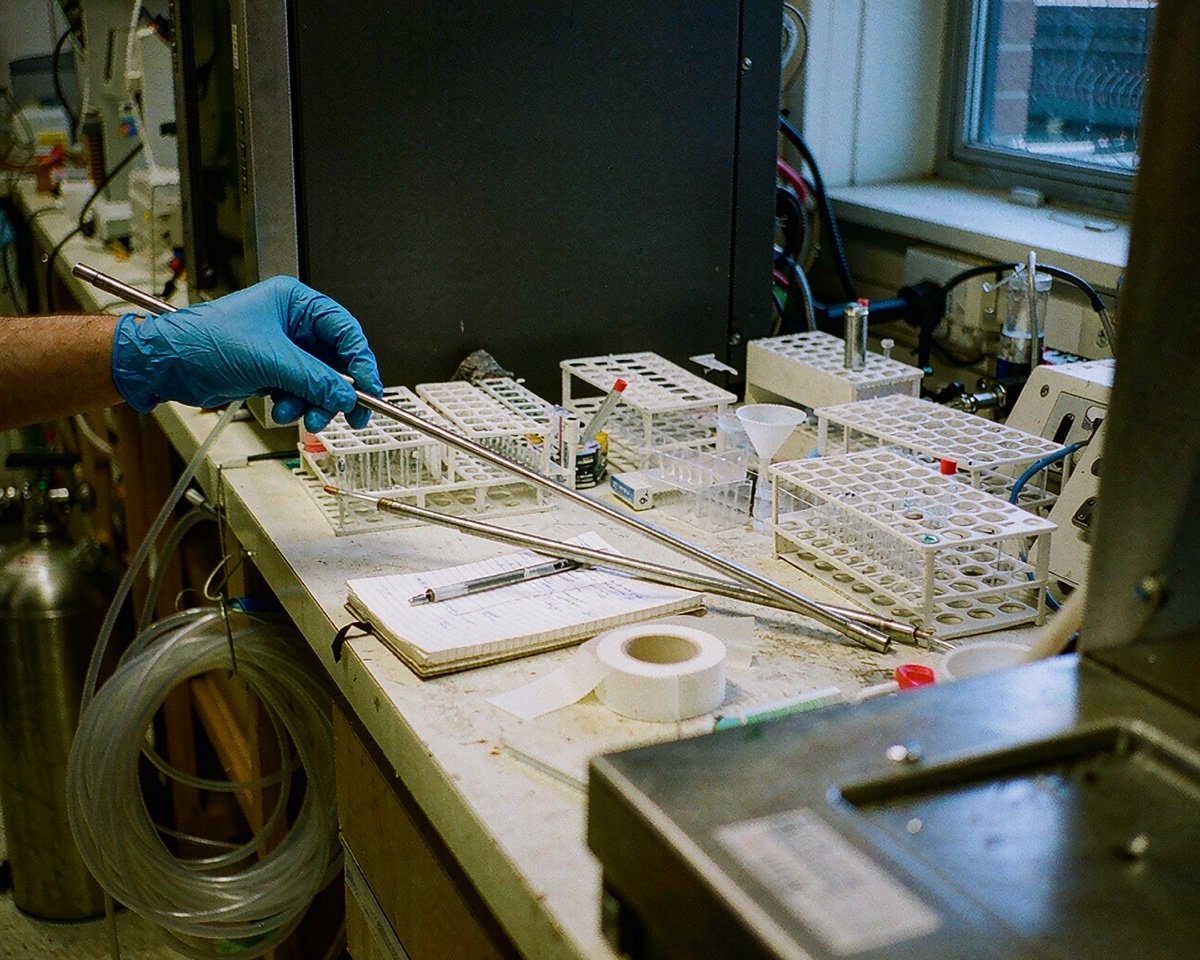
For the instrument side, Thermo Fisher’s environmental prep guidance recommends Class A, metal-free autosampler tubes and pouring acids from disposable beakers rather than dipping pipettes into stock bottles. Small habits like those protect your blanks. If you are building out a trace-metals workflow, our ICP-MS sample preparation guide covers the consumables in more depth.
The PFAS Trap
PFAS testing punishes the wrong consumables harder than any other panel. PTFE and other fluoropolymers shed background PFAS, so PTFE tape on bottle threads, PTFE-lined caps, and Teflon wash bottles can push method blanks over the reporting limit.
I learned this one the hard way. A technician sealed field bottle threads with PTFE tape, the same habit we had used for years on metals bottles. Every blank came back contaminated, the whole batch failed QC, and the samples were gone. Since a biosolids sampling campaign is hard to repeat, that single roll of tape cost us about a month of turnaround time.
The fix is straightforward. Use polypropylene or HDPE for samples and extracts, keep every fluoropolymer out of the workflow, and skip glass too, since it may adsorb longer-chain compounds. Our PFAS analysis consumables guide walks through the full do-not-use list.
Vials and Containers for Extracts
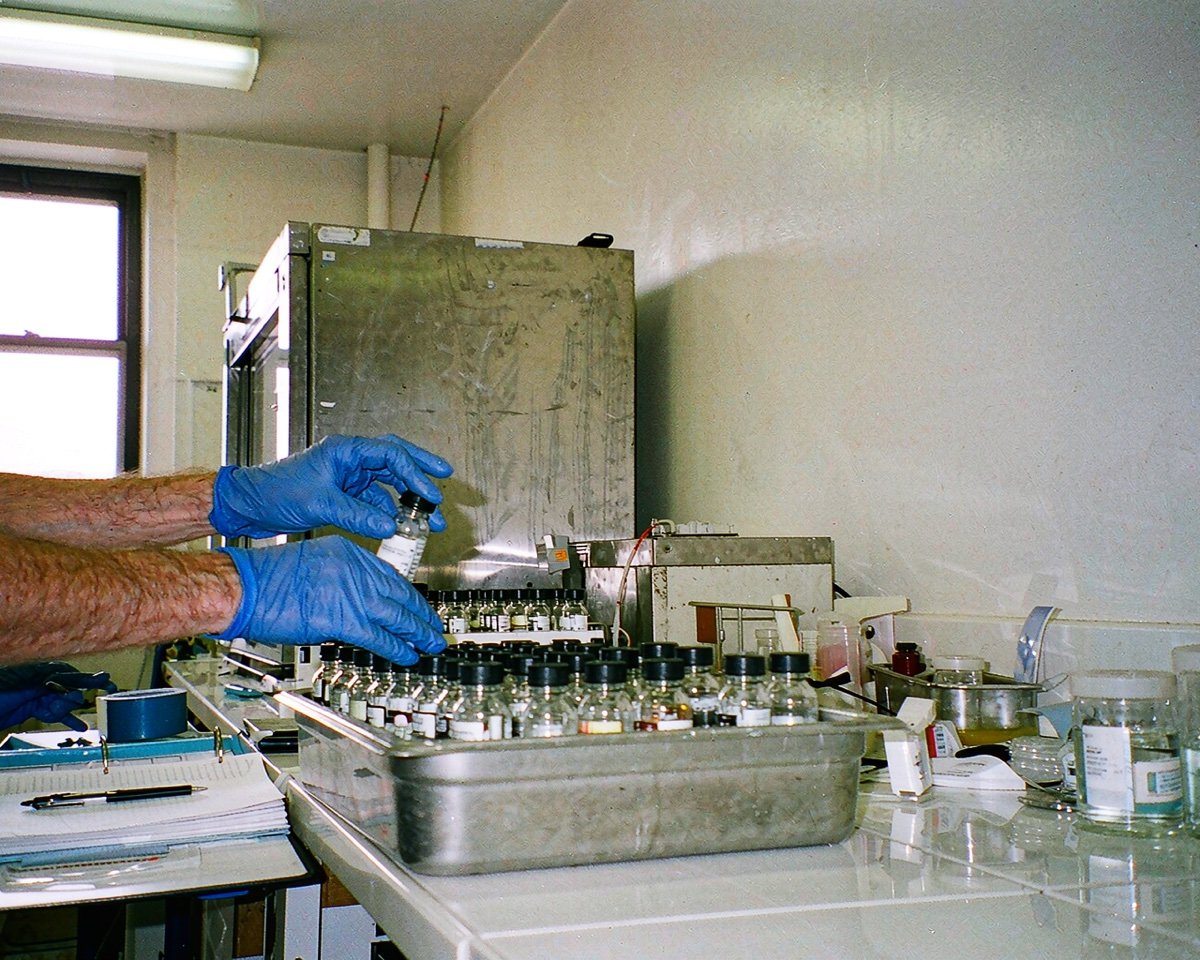
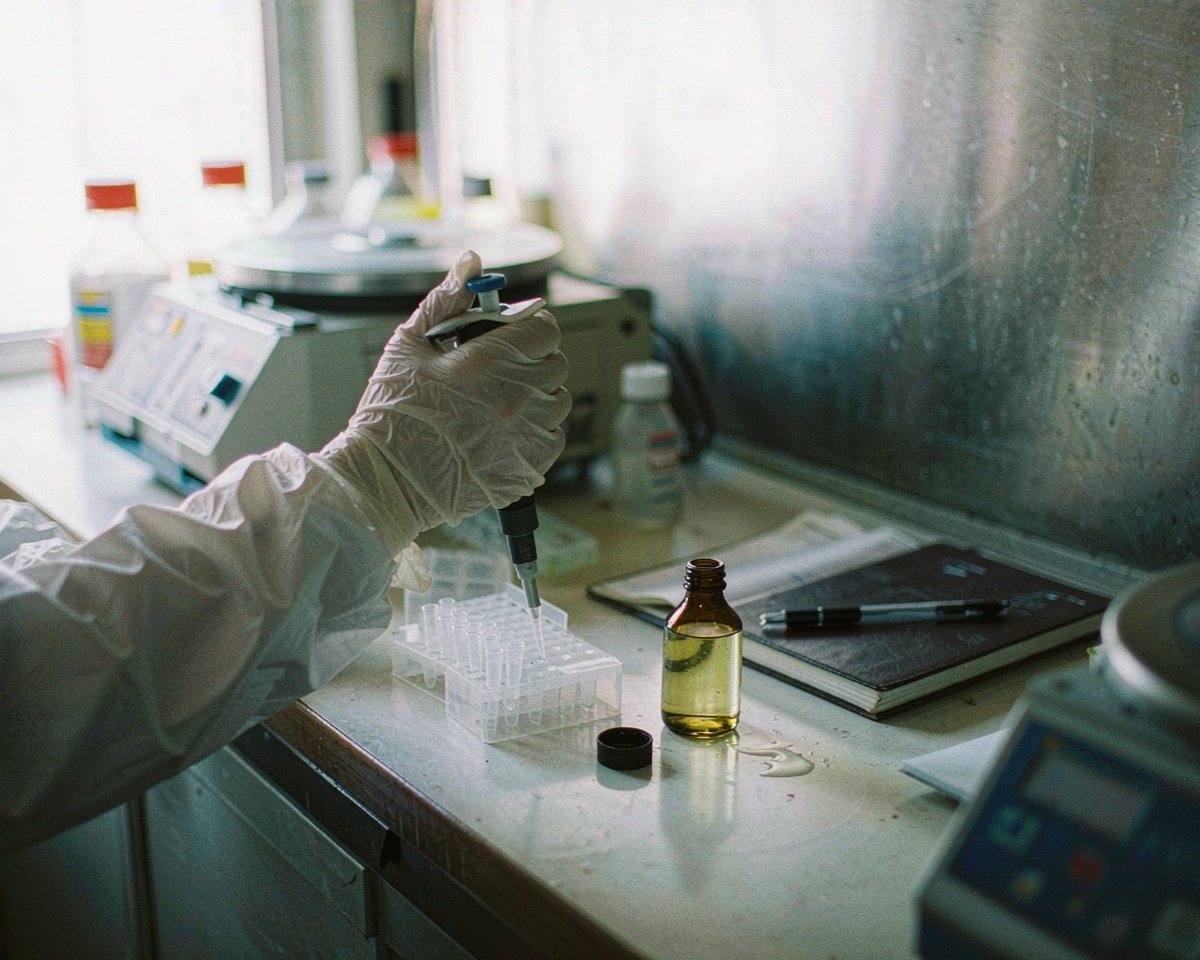
The last stretch of the workflow is small-volume handling. Digestates and extracts end up in autosampler tubes, centrifuge tubes, and storage vials before they reach an instrument. For ICP work, stick with the metal-free Class A tubes mentioned above. For PFAS extracts headed to LC-MS/MS, PP vials are the safer choice. Amber glass vials remain the norm for many other organic panels, so most labs stock both and label shelves clearly to keep the two workflows apart. Saturation extract and soluble-salt testing on compost also runs through small PP tubes, and those get consumed fast during harvest season.
Conclusion
A compost and biosolids testing program runs on unglamorous supplies: sterile bags, gloves, drying pans, sieves, digestion vessels, and vials. The trick is matching each consumable to the analyte, because the bottle that works perfectly for a metals panel can ruin a PFAS batch. Map your workflow from sampling through instrument before you place the order, and check every plastic against your test list. If you are expanding into trace metals, start with our ICP-MS sample preparation guide, and for broader matrices our soil and agriculture consumables guide covers the overlapping territory. Getting these choices right once saves you from repeating entire sampling campaigns later, and repeated campaigns are where lab budgets go to disappear.
Frequently Asked Questions
What containers are safe for PFAS testing in biosolids?
Polypropylene or HDPE bottles and centrifuge tubes are the standard choice. Avoid anything made of PTFE, including tape and lined caps, and skip glass containers since glass may adsorb longer-chain compounds.
Why do PTFE materials ruin PFAS method blanks?
PTFE is a fluoropolymer, and trace PFAS residues can leach from it into your samples. That background shows up in method blanks and can push results above the reporting limit.
What sieve size should I use for finished compost samples?
A 2 mm sieve is the common particle-size cutoff before laboratory analysis. It also matches the disintegration residue check used for compostability claims under ASTM D6400.
Do I need sterile sampling bags for compost?
For pathogen, indicator organism, or microbial stability testing, yes. Sterile single-use bags prevent residual contamination from skewing biological counts.
How often should ICP digestion vessels be replaced?
Replace polypropylene vessels when they become scratched, cloudy, or discolored, or when blanks show rising background. Many labs tie replacement to blank results rather than a fixed calendar date.