
Sterilizing media and reagent bottles sounds like the most routine task in the lab — until a bottle cracks, the media turns cloudy, or an autoclave cycle quietly fails to sterilize anything. I’ve watched all three happen. Here’s the practical playbook I use for getting glass and plastic bottles truly sterile without surprises.
The standard approach is steam sterilization in an autoclave at 121°C (250°F) and 15 psi for at least 15 minutes. Borosilicate glass bottles are the safest choice because they handle the heat and pressure swings, caps must be left loose or vented, and every load needs air gaps so steam can circulate. Heat-sensitive media should be filter-sterilized instead.
In this guide, I’ll walk through the cycle settings, the loading rules that actually matter, and the common mistakes that turn a “sterile” bottle into a contaminated one.
The short version: 121°C for 15 minutes
The gold standard for autoclaving laboratory liquids is 121°C (250°F) at 15 pounds of pressure for 15 minutes. Under those conditions, even bacterial endospores — the most heat-resistant organisms you’ll meet — are killed within 12 to 13 minutes, so the 15-minute hold gives you a real margin. Equipment manufacturers publish the same recipe: Hach’s laboratory procedure calls for sterilizing bottles and glassware at 121°C for 15 minutes, and longer cycles are common for large volumes.
Longer isn’t automatically better, though. Media can degrade if it’s “overcooked,” so the cycle time should match the volume and the load — not habit.
Why borosilicate glass is the safe default
Not every bottle reacts to an autoclave the same way. Borosilicate glass is the most recommended material because it tolerates sudden temperature changes without cracking. Soda-lime glass can be sterilized too, but it has a lower safety margin and a higher breakage risk. Plastic-coated glass bottles will survive, but the coating wears with every cycle.
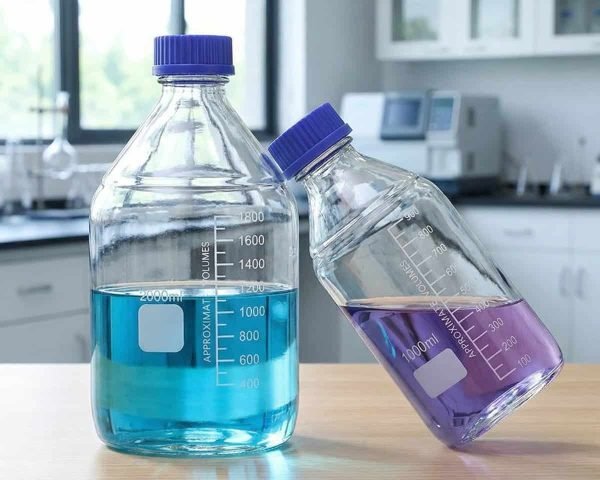
Borosilicate GL45 media bottles are the workhorse here — the wide GL45 thread gives you a stable footprint and easy pouring. If you’re new to the format, my GL45 media bottle guide covers sizes, closures, and which bottles actually stand up to repeated autoclaving.
The cap rule that prevents explosions
This is the rule I repeat to every new lab member: never fully tighten caps before autoclaving. If the cap is sealed, pressure builds inside the bottle as it heats, and the bottle can burst. Leave the cap loose by up to half a turn, or use a vented cap so steam can equalize the pressure.
Two more details from the same playbook:
– For large bottles (over 2 liters), use caps with connectors and sterile filters so air can escape during the cycle and nothing gets in afterward. – Aluminum foil over the mouth is common, but it must sit loosely — an airtight foil wrap blocks steam and leaves the contents unsterilized. And foil does nothing to protect the bottle after the cycle ends.
If you bottle media in glass with the right GL45 cap, you get a resealable, autoclave-safe closure that doesn’t fight you at every step.
How to load the autoclave so everything actually sterilizes
Loading matters more than most people think. Autoclave specialists recommend keeping bottle sizes and fill volumes roughly uniform, because a big, full bottle heats more slowly than a small one. If your load mixes a 2 L bottle with a 250 mL bottle, the small one reaches 121°C first and the timer starts while the large one is still warming — which can leave the larger volume under-sterilized.
The rules that matter:
– Leave air gaps between bottles so steam can circulate around each one. – Don’t pack bottles against the chamber walls. – Use a load probe (load-sense timing probe) inside a representative bottle so the cycle times off the liquid temperature, not the chamber temperature. – If you must mix sizes, put the probe in the slowest-heating bottle. – Fill to no more than 75% of capacity for water and buffers; for agar media, keep it under 50% so boiling agar can’t overflow.
Also, don’t overfill your autoclave. Steam needs room to move, and an overloaded chamber sterilizes unevenly.
Cooling: the step everyone rushes
The cycle ends when the timer hits zero — but the process doesn’t. Open the door too early and the sudden pressure drop makes hot liquid boil out of the bottles, sometimes violently.
The safe sequence: let the load cool naturally to just above 100°C, then let fans assist if your autoclave has them. Don’t open the door until the load temperature drops below about 80°C — not just the chamber temperature. Then remove bottles with heat-proof gloves and face protection. I’ve seen more scalding injuries from impatient door-opening than from any other autoclave mistake.
When plastic bottles make sense (and when they don’t)
Glass isn’t the only option. Some plastic bottles are perfectly autoclavable, and some absolutely are not — so read the label before you commit.
– Polypropylene and PPCO bottles are autoclavable at 121°C, which makes them a popular choice for buffers and aqueous reagents. Thermo Fisher’s Nalgene laboratory bottle selection guide lists which materials survive autoclaving and which don’t. – PETG media bottles are not autoclavable — they’re rated for use down to about 70°C. Instead of autoclaving, labs buy them pre-sterilized: Nalgene PETG media bottles are certified sterile and non-pyrogenic, radiation-sterilized at a 10⁻⁶ sterility assurance level. That’s why they’re so popular in pharma and biotech — no washing, no autoclaving, no depyrogenation steps.
If you’re choosing between glass and plastic for your media program, my guide to amber vs. clear reagent bottles covers the light-protection angle, and the material comparison matters for sterilization too.
Heat-sensitive media? Filter instead
Some media and reagents simply can’t take 121°C. Vitamins, antibiotics, and many biological buffers degrade at autoclave temperatures. For those, the standard alternative is filter sterilization through a 0.22 µm membrane, which physically removes microorganisms rather than killing them.
Filter sterilization works fine with glass or plastic bottles: autoclave the empty bottle and cap first, then filter the sterile media into it in a clean environment. Just remember that 0.22 µm filtration removes bacteria and fungi, but it’s not the right tool for spores in some applications — check your quality requirements.
If you want to understand the difference between pre-sterilized packaging and dust-free packaging (they’re not the same thing), my article on dust-free packaging vs. sterilization explains when each matters.
A sterilization checklist for media bottles
Print this and stick it on the autoclave:
1. Choose borosilicate glass (or confirmed-autoclavable plastic). 2. Clean bottles thoroughly and inspect for chips or cracks. 3. Fill to ≤75% (water/buffers) or ≤50% (agar media). 4. Loosen caps half a turn, or use vented/sterile-filter caps. 5. Load with air gaps; keep sizes and volumes uniform. 6. Use a load probe in the slowest-heating bottle. 7. Run 121°C for at least 15 minutes; use chemical or biological indicators to verify. 8. Cool below 80°C before opening the door. 9. Label with contents and date — never trust an unlabeled bottle.
Conclusion
Sterilizing reagent and media bottles is a skill, not a formality. Use borosilicate glass for anything you plan to autoclave repeatedly, keep caps loose, load evenly with room for steam, and respect the cooling phase. If your media is heat-sensitive, switch to filter sterilization or buy certified sterile plastic bottles instead of forcing a bad fit. Get these habits right and you’ll cut contamination events, broken glass, and rework in one stroke — and you’ll stop wasting entire batches of media on avoidable mistakes. The small rules, like never tightening caps and never rushing the door open, are the ones that prevent the dramatic failures. For the next step in building a clean media workflow, my GL45 media bottle guide is where I’d start.
Frequently Asked Questions
How long do you autoclave media bottles?
Run the standard cycle: 121°C (250°F) at 15 psi for at least 15 minutes. Larger volumes or denser loads may need more time, and you should verify each cycle with chemical or biological indicators.
Do you loosen the cap when autoclaving?
Yes — always. Fully tightened caps can cause pressure to build inside the bottle and the bottle can burst. Leave caps loose by half a turn, or use vented caps designed for autoclaving.
Can you autoclave GL45 bottles?
Yes. Borosilicate glass GL45 media bottles are designed for repeated autoclaving and are the standard choice in most labs. Plastic GL45 bottles vary — check the material (PPCO is autoclavable; PETG is not).
Why did my media bottle crack in the autoclave?
The usual culprits: soda-lime glass instead of borosilicate, a chip or scratch that acted as a stress point, caps sealed too tight, or putting a cold bottle into a hot chamber. Inspect bottles before every cycle and let them warm up gradually.
Can I sterilize media without an autoclave?
Yes — filter sterilization through a 0.22 µm membrane works for heat-sensitive media. You can also use pre-sterilized (radiation-sterilized) PETG bottles that skip the autoclave step entirely.