
# Crimping Headspace Vials: A Step-by-Step Guide
A loose cap on a headspace vial never announces itself. The method just drifts and the RSD climbs, so you spend the afternoon blaming the inlet. Crimping takes about five seconds per vial once your hands know the motion, and it is the cheapest leak fix in GC sample prep.
A good crimp comes down to four moves: fill the vial (usually no more than half full), seat the cap straight on the neck, squeeze the crimper in one slow, even stroke, then test-spin the cap. If the cap will not rotate freely but the septum stays flat, the seal is right.
Below is the full routine for 18mm and 20mm caps, the two failure modes that quietly ruin data, and the checks I run before any vial goes near the tray.
How to Crimp Headspace Vials, Step by Step
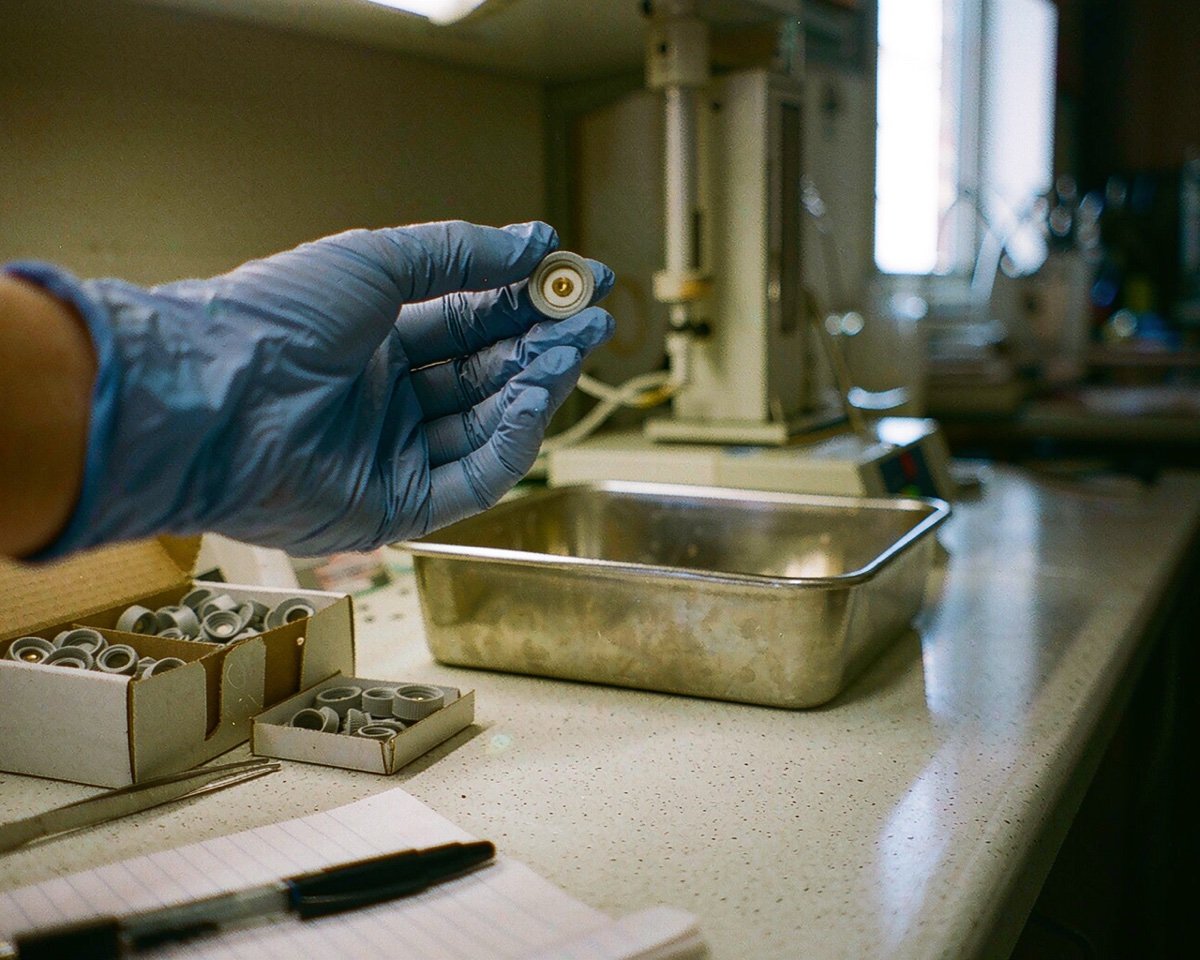
Most headspace vials use an 18mm or 20mm crimp neck. The 18mm aluminum caps (often magnetic) suit Agilent-style robotic samplers, while 20mm is the classic format for PerkinElmer, Tekmar, and similar systems. If you are not sure which your autosampler accepts, we broke down the common 11mm vs 20mm crimp cap sizes in an earlier guide. The crimping technique itself is the same for both headspace sizes.
1. Fill the vial first
Fill before you cap. Most headspace methods keep the vial half full or less, because the gas phase is where the analysis actually happens; some methods allow up to 75% fill, and your method’s phase ratio decides. Wipe the rim afterward. A drop of sample sitting on the glass lip keeps the cap from seating flush, and that tiny gap becomes a leak path at 80 °C.
2. Seat the cap straight
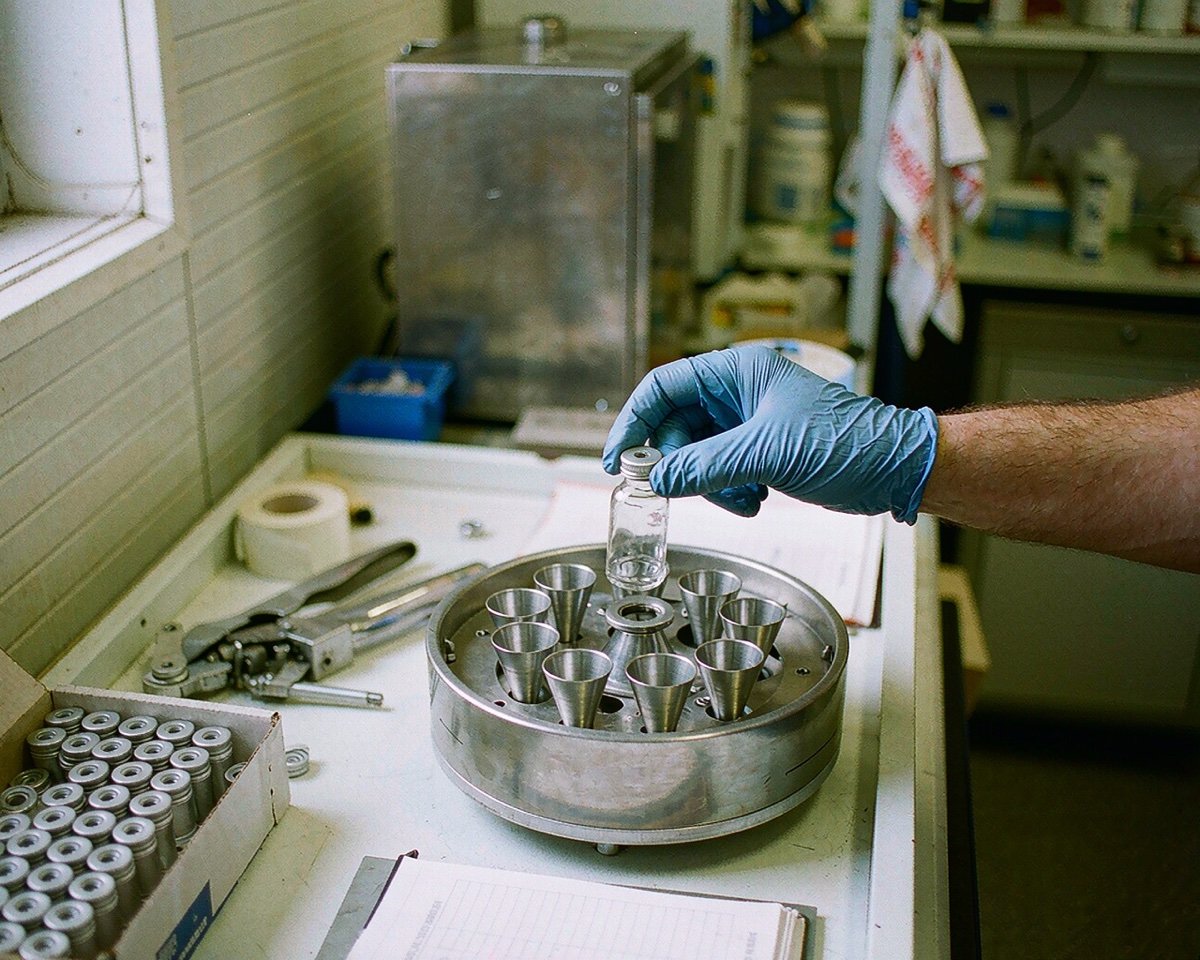
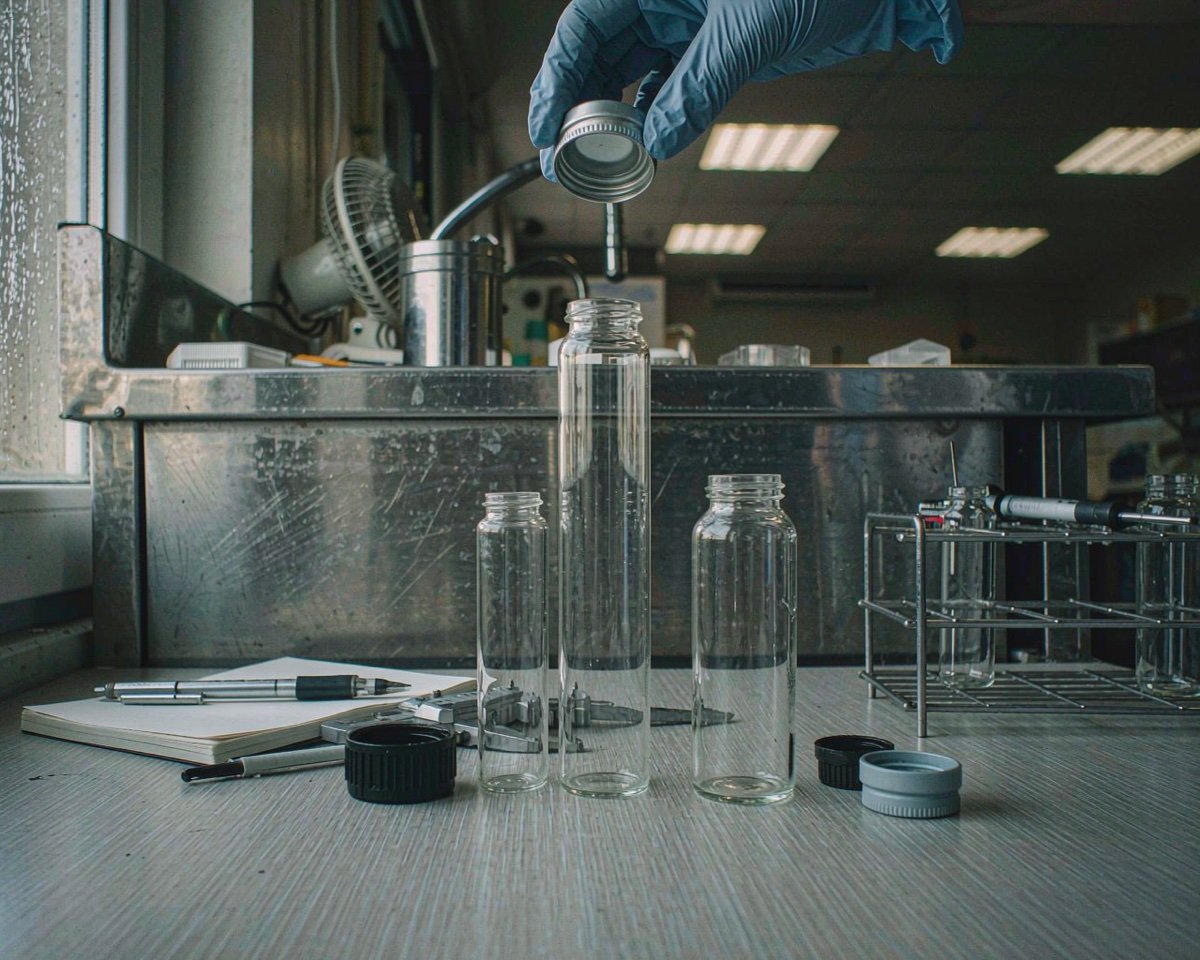
Place the septum into the cap with the PTFE face toward the vial. A trick from the Agilent 7697A headspace sampler manual: rest the cap upside down on the bench, septum facing up, then lower the filled vial onto it. Whatever method you use, the cap must sit level on the neck before you squeeze anything. A tilted cap gets crushed on one side and left loose on the other, and no crimper adjustment will fix that.
3. Center the crimper over the cap
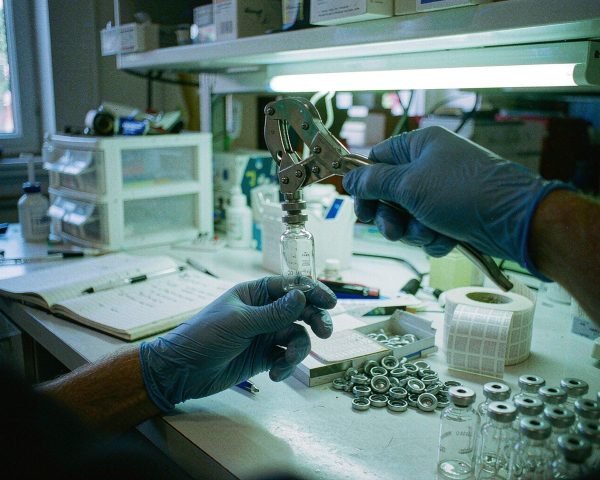
Set the vial in the crimper and check that the jaws wrap the cap skirt evenly, with the tool standing plumb over the vial. Hand crimpers exist in dedicated sizes; the Wheaton E-Z crimper line from DWK, for example, labels each size on the handle so a 20mm tool never ends up on an 18mm neck. On most adjustable hand crimpers, a stop screw controls jaw travel, which is what actually sets your crimp tightness.
4. Squeeze in one slow, even stroke
Squeeze with slow, steady pressure until the handles stop at the adjustment screw, then release. Do not pump the handles. With an electronic crimper, hold the trigger until the cycle finishes; releasing early retracts the tool mid-crimp, which gives you a half-formed skirt, per Agilent’s electronic crimping tools operating guide. Electronic tools earn their price in one place: the force does not depend on whose hand is on the tool, so crimp 20 or crimp 200 and the setting holds. Restek’s high-power electronic crimper, for instance, stores separate power programs per cap type and swaps 11mm and 20mm jaw sets.
5. Test-spin the cap
Grip the cap and try to twist it. You want resistance: a properly crimped cap should turn only under firm finger pressure, and a 20mm cap should spin without wobble yet refuse to slide off. A cap that rotates freely means the skirt never locked under the neck. Both Agilent and Restek make the same honest point about 20mm headspace vials: some sealing systems hold pressure perfectly well as long as the septum is compressed, so the twist test is a screening tool, not a pass/fail verdict. A free-spinning cap still fails my screen every time.
6. Run the crimp check
Look at three things before the vial enters the tray. The skirt should tuck evenly under the neck with no folds. The septum should sit flat and centered, with maybe a shallow dimple at the puncture point. And the cap should not rock when you press a finger on its edge. Agilent’s manual adds a useful repair for small folds: turn the vial about 10° and crimp again, then loosen the setting a click. Fair warning from the same manual: crimping the same vial twice does not always give the same result, and occasionally breaks the vial. If the seal failed on a standard or a real sample, I start over with a fresh cap. The vial costs less than the rerun.
I learned that last part the expensive way. A few years back, a residual solvents batch failed system suitability because the standards were crimped by a different operator than the samples. His caps looked fine at a glance. The twist test caught six loose seals out of 40, all of them standards, and ethanol recovery was down about 18% on the affected vials. Two minutes of test-spinning would have saved the whole rerun.
Under-Crimp vs Over-Crimp: The Two Ways This Fails
Under-crimping is the common one. The skirt never grips the neck, volatiles escape through the gap, and your data tells the story: falling recovery for light analytes, worse RSD, and autosampler leak-check failures. The cap spins easily and you can sometimes see daylight between the skirt and the glass.
Over-crimping does the opposite damage. Too much force crushes the septum into a dome, stresses the cap and the vial neck, and invites coring, where the needle punches out little plugs of septum that end up in your inlet or syringe. Agilent puts it plainly: a cap that is too tight distorts the septum and the vial can still leak. My quick visual rule: a flat septum with a slight dimple is fine, a septum that looks like a bowl is not. Loosen the crimper a click or two and crimp a fresh cap.
One more failure worth naming: the off-center crimp. If the crimper sits at an angle, one side of the skirt compresses hard while the other stays proud. It passes a casual glance and fails at 2 a.m. in the middle of an overnight sequence. Centering the tool takes half a second longer than not.
How to Check Seal Integrity Before the Run
Turn a filled vial upside down over a lint-free wipe and hold it there for a few seconds. Any wet spot on the wipe means re-crimp with a fresh cap. Then run your fingers around the cap edge feeling for folds, and give the cap the twist test described above.
If your instrument supports it, let the system do the judging. Agilent’s 8697 headspace sampler includes a built-in User Vial Leak Test: cap five practice vials with your chosen setting, run the test, and if they pass, write the setting down and use it for every future batch, as described in the 8697 operations manual. That single habit removes the guesswork when a new box of caps or a new septum lot arrives, because different lots compress differently and your crimper setting may need a click of adjustment.
Decrimping Without Breaking Vials
When a vial needs reopening, use a proper decapper jaw set rather than pliers or a flathead screwdriver. The 20mm decapper works by pinching the sides of the cap and pushing the glass free, while the 11mm style strips the cap off the neck. Wear safety glasses either way; Restek’s operating guide warns that the jaws can pinch severely, and they can. If you plan to reuse the vials, know that decapping stresses the glass lip, and Agilent notes the lip can break on reused or softer vials. I decap only empties for non-quantitative reuse. Anything that held a standard or a sample goes in the waste glass bin whole. For the tool itself, we covered when a dedicated vial decapper is worth buying.
When a Screw-Cap Headspace Vial Makes More Sense
Here is my honest default: for routine volatile methods, crimp caps still give the best seal per euro, and I see no reason to abandon them. Switch to screw-cap headspace vials if your lab matches any of these: several operators producing inconsistent crimps, more than a hundred vials a day wearing out hands, or heavy method development where you open and reseal constantly. Screw caps need no tool and give repeatable torque, at a higher price per closure. The full trade-off comparison lives in our crimp-top vs screw-top vs snap-top guide.
Conclusion
Crimping headspace vials is a small skill with outsized consequences. Fill the vial, seat the cap level, center the crimper, squeeze once with steady pressure, then spin and inspect before the vial earns a place in the tray. An under-crimp leaks volatiles and wrecks your RSD; an over-crimp dents the septum and feeds coring into your inlet. Adjust the tool, not the cap, and record the setting that passes a leak test so the whole team reproduces it. Get the motion right and it becomes muscle memory within a batch or two. If you are still choosing between vial formats for your headspace work, our complete headspace vials guide walks through sizes, glass, septa, and caps from the ground up.
Frequently Asked Questions
How tight should a crimped headspace cap be?
Use the twist test: the cap should resist turning under firm finger pressure but never spin freely, and the septum underneath must stay flat. If the cap rotates easily, tighten the crimper setting and seal a fresh cap.
Can I re-crimp a cap that failed the check?
You can, and Agilent even suggests turning the vial about 10° to fix small folds, but repeated crimping deforms the skirt and can crack the vial. For standards and real samples, I remove the cap and start with a new one.
Why is my septum dented after crimping?
That is over-crimping: the jaws traveled too far and crushed the septum into a dome, which leads to coring during injection. Loosen the crimper’s adjustment by one or two clicks and test on an empty vial.
Do I need an electronic crimper for headspace vials?
No, a well-adjusted hand crimper works fine for most labs. An electronic crimper pays off when you seal more than roughly a hundred vials a day or when multiple operators need identical, repeatable crimp force.
How do I know if my autosampler takes 18mm or 20mm caps?
Check the instrument manual or measure the vial neck finish with calipers. As a rule of thumb, Agilent headspace samplers use 18mm magnetic caps, while PerkinElmer and Tekmar systems traditionally use 20mm caps.