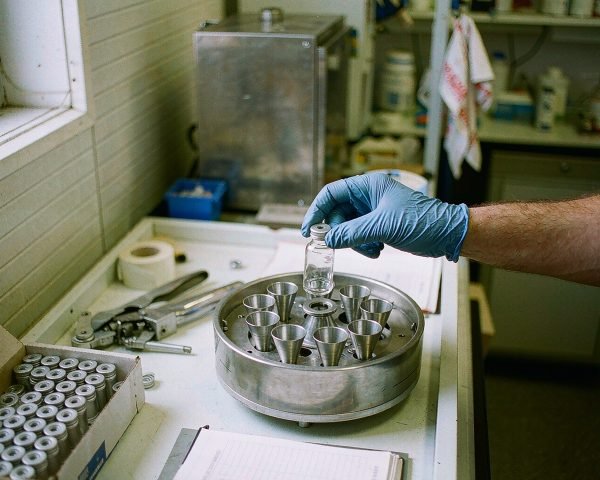

# 9 Headspace Vial Mistakes That Ruin Your GC Data
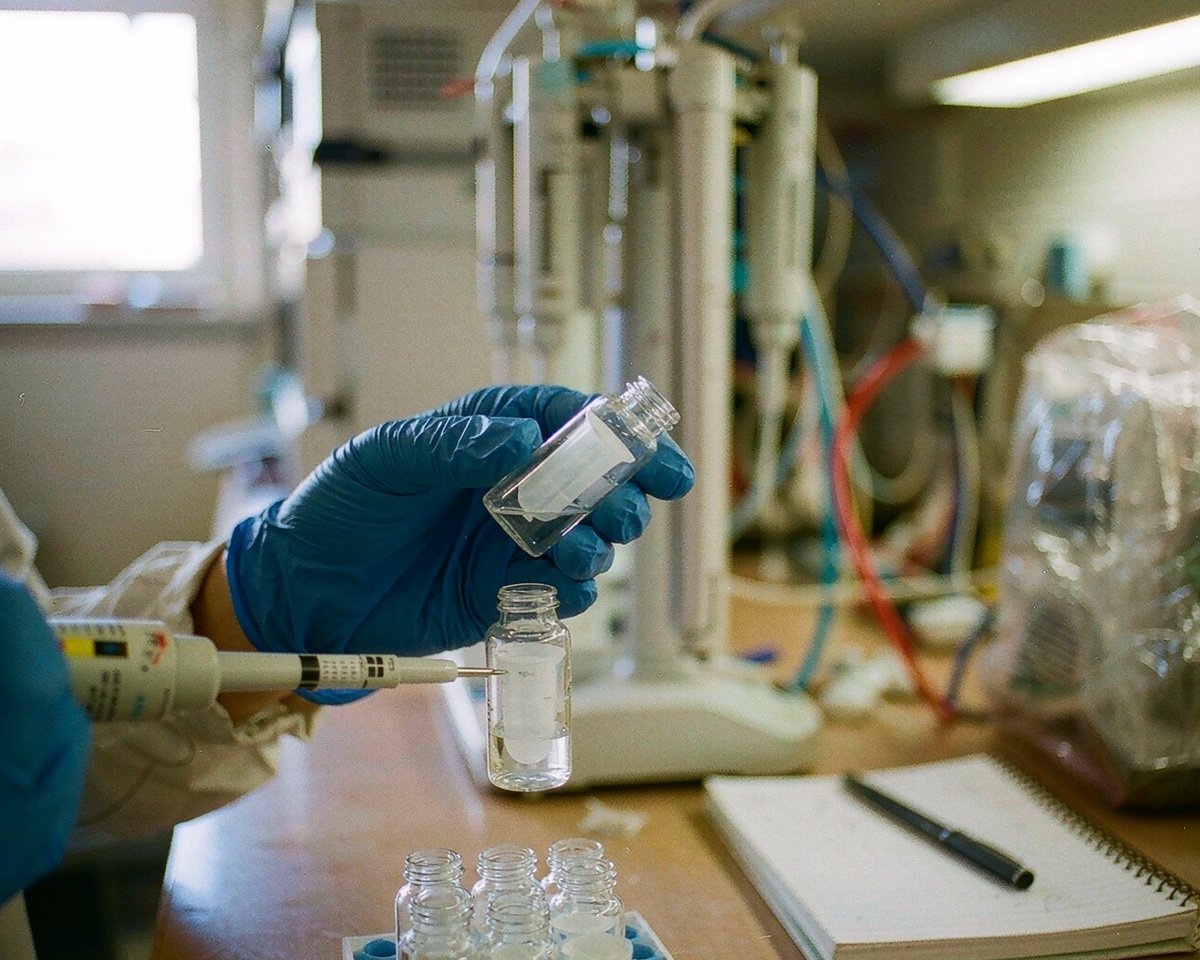
Most headspace GC problems I get asked about don’t start in the instrument. They start in a 20 mL vial that was filled, capped, or heated badly. The good news: nearly every one of these headspace vial mistakes is cheap to fix.
Headspace GC measures what evaporates from your sample into the vapor space above it. Anything that changes that vapor, through fill volume, heat, seals, or contamination, changes your numbers.
Nine mistakes cover almost every headspace failure I’ve seen in ten years of lab work. Each one below includes the symptom, the damage, and the fix.
1. Ignoring the phase ratio and dumping in too much sample
The symptom is easy to miss. Your low-volatility analytes give weak, noisy peaks while your volatiles look fine, so you chase the detector when the problem is sitting in the vial rack.
Here’s why it happens. In static headspace, the concentration of analyte in the vapor follows a simple relationship: the headspace concentration equals the sample concentration divided by the sum of the partition coefficient (K) and the phase ratio (β). Agilent’s headspace white paper lays this out clearly, and it explains why area counts only stay reproducible when K and β stay reproducible too.
The phase ratio is just the headspace volume divided by the sample volume. Fill more sample into the same vial and β drops, which helps compounds that already partition easily into the gas phase. For compounds with high K values, like ethanol in water, adding more sample barely moves the needle. You gain nothing but risk.
Published partition tables make this concrete. Hexane in water has a K of about 0.14 at 40 °C, so it floods the headspace no matter what you do. Ethanol sits near 1355 under the same conditions, and no realistic fill change rescues it. Two analytes in the same vial, two completely different responses to the same mistake.
The fix: follow the fill volume in your method and keep it identical across every vial, standards included. If you inherit a method, I’d write the fill volume on the bench sheet so nobody “tops off” a vial that looks empty. We cover the math in more depth in our guide to headspace phase ratio.
2. Overfilling the vial until there’s no vapor space left
The mirror image of mistake one. Someone wants more sensitivity, so they fill a 20 mL vial to the shoulder. A 20 mL vial with 18 mL of sample leaves almost no vapor space at 80 °C, and that causes three separate problems at once.
The analytes have nowhere to partition, so equilibration stalls. The liquid itself can wick up and touch the septum during shaking, where hot solvent attacks the liner material. And pressurized autosamplers can throw pressure faults because the thermal expansion of the sample leaves no room for the vial to pressurize.
In my experience the sneakiest damage is the septum contact. Hot matrix sitting against a rubber-backed septum for 30 minutes extracts all sorts of things you’ll spend the afternoon trying to assign as ghost peaks.
The fix is boring and absolute: leave at least half the vial empty for aqueous samples unless your method says otherwise. Residual solvent work under USP <467> fixes sample volumes precisely for this reason. If you need more signal, raise the equilibration temperature within your method’s validated range or add salt, don’t pour harder.
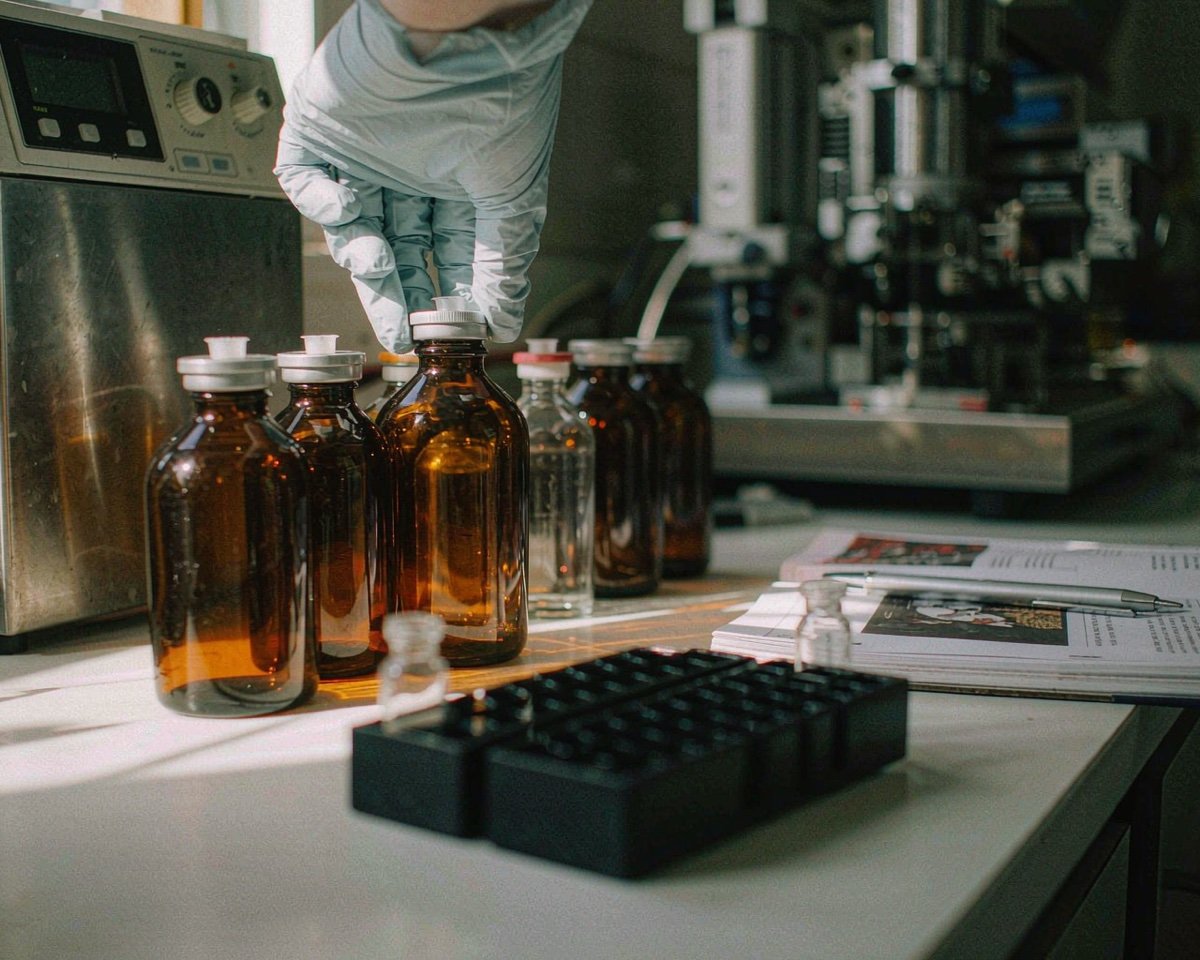
3. Using the wrong septa for the temperature
This one ruins data quietly. The vial heats to 80 or 90 °C, a standard septa formulation starts to bleed, and your chromatogram sprouts small unidentified peaks that drift in size from run to run.
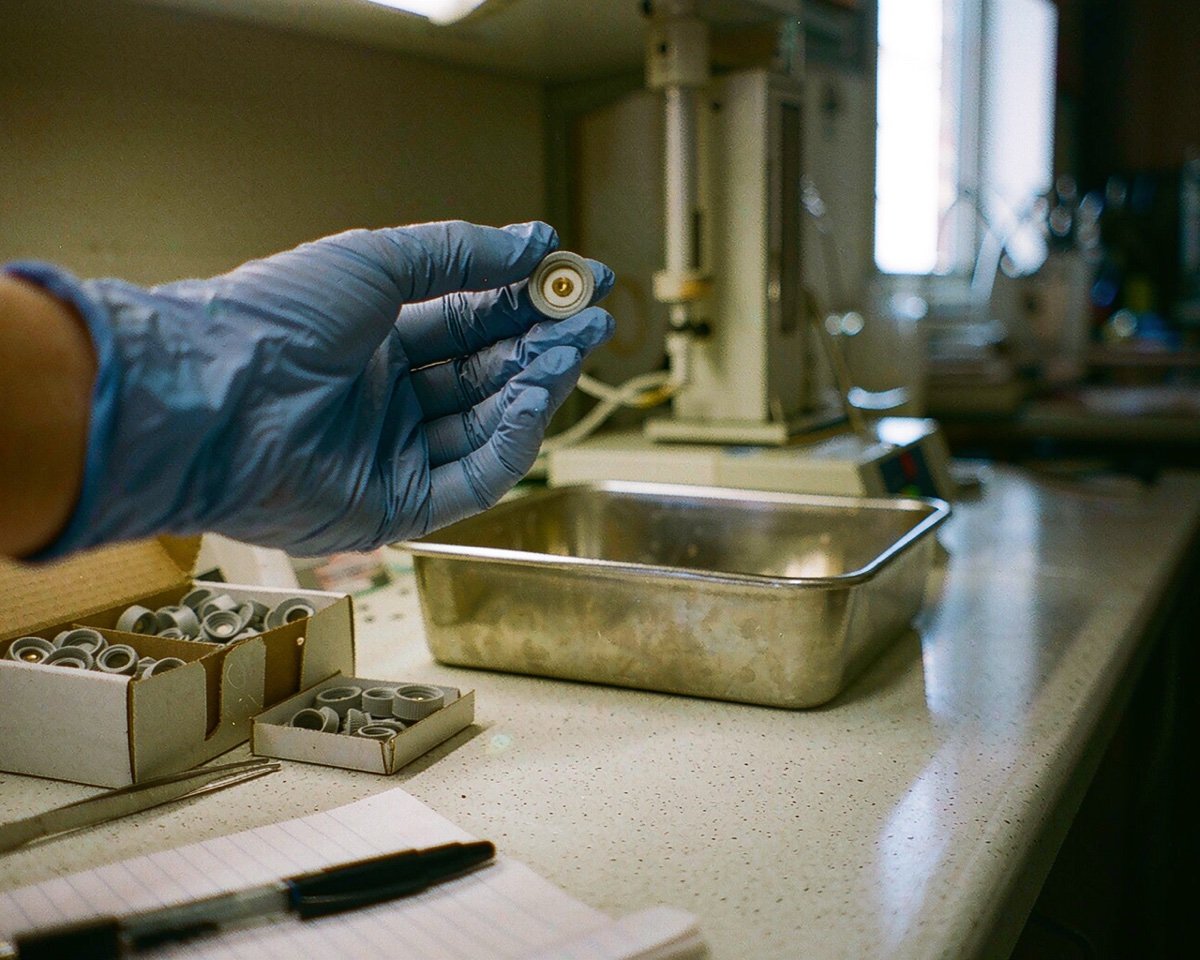
Not every septum survives headspace conditions. Silicone/PTFE laminates, the workhorse for liquid injection, are typically rated from about -60 to 200 °C, and Thermo Fisher’s septa selection guide recommends material by temperature and resealability. Push a septum past its rating and the rubber layer bakes, then bleeds.
Coring is the second half of this mistake. A dull or thick needle punches plugs of septum material, and those plugs end up in your inlet liner. A contaminated liner then adsorbs and releases analytes unpredictably, which shows up as wandering response factors.
The fix: use septa rated for your equilibration temperature and change them by schedule, not by failure. For high-temperature work, Shimadzu’s headspace consumables page shows what a low-bleed formulation delivers at 300 °C, and that’s the benchmark I’d shop against. Our guide to picking the right septum for headspace walks the material choices. If you only change one habit this month, make it scheduled septa replacement.
4. Reusing vials and septa
Headspace septa are single-puncture products. After the autosampler needle goes through, the PTFE face no longer shields the rubber layer, and volatiles from the sample can migrate into and out of the rubber. Restek’s headspace troubleshooting notes are blunt about this: PTFE-faced septa should not be re-used, because once punctured, contaminants from the rubber can reach the headspace and appear as unidentified peaks.
Reused vials cause a different problem. Washing rarely removes everything that adsorbed to the glass, especially polar compounds on an active glass surface. Those residues release during equilibration and produce ghost peaks that vary from vial to vial, which is the worst possible failure mode because you can’t subtract it out.
I once inherited a method where a colleague reused “clean” 20 mL vials for a 90-injection residual solvent sequence. Twenty-two samples later we had unexplained peaks at every low boiling point. We reran the entire sequence in fresh vials and the chromatograms came back clean. That rerun cost the lab two days.
The fix: treat headspace vials and caps as consumables. One fill, one puncture, done. The vial is the cheapest part of the analysis and the easiest place to lose a week of work.
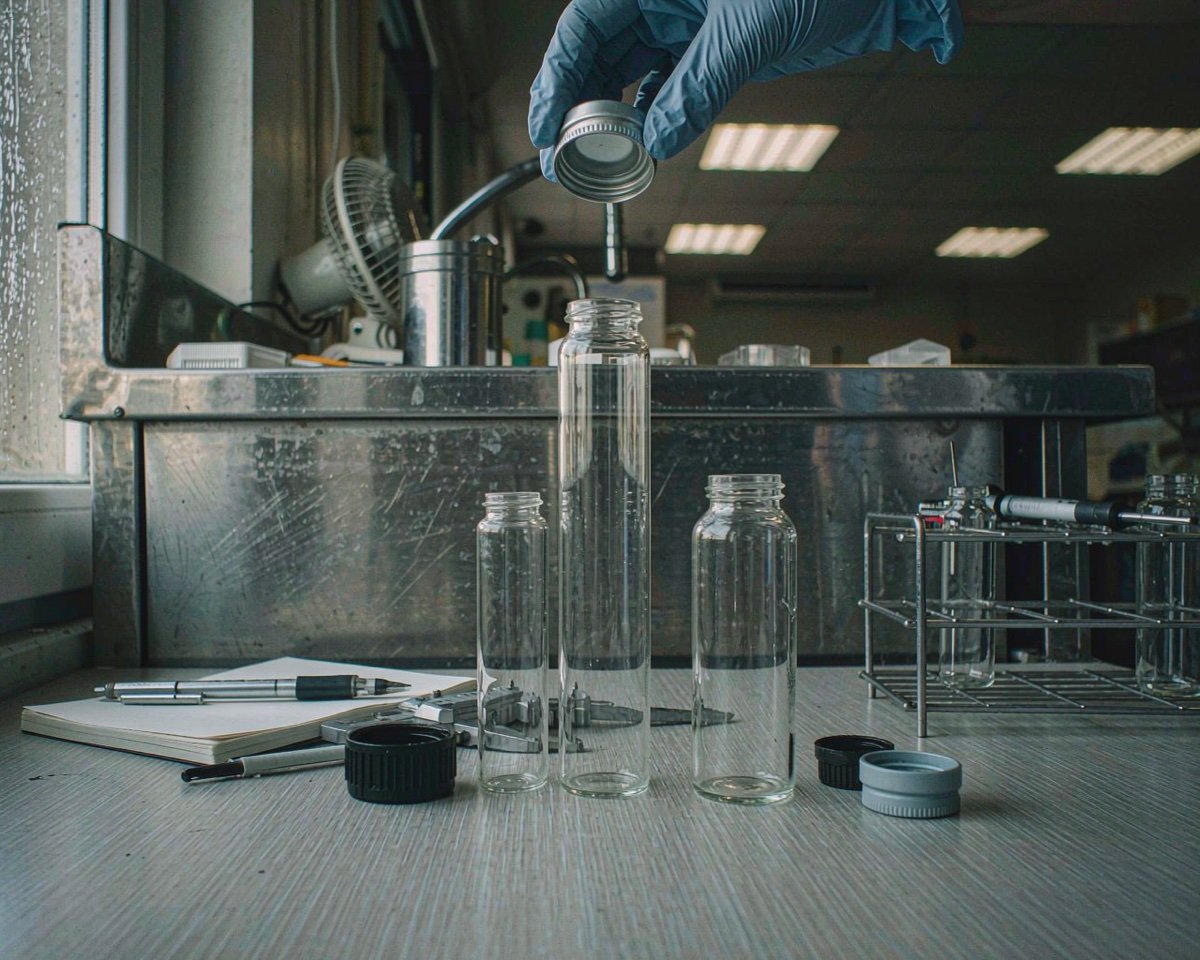
5. Poor crimping, both too loose and too tight
An under-crimped cap leaks. Light volatiles escape, internal standard and analyte escape at different rates, and your areas drift down through the sequence. An over-crimped cap crushes the septum, which can tear the PTFE face and dent the aluminum skirt so badly the seal never seats evenly.
How much does seal quality matter? Restek ran a direct comparison for headspace work, storing vials for six hours before analysis. Restek’s headspace cap comparison found that very volatile compounds like propane and butane escaped from screw caps measurably faster than from crimp caps, and even well-sealed crimp vials lost some of the lightest gases. That’s with a good seal. A sloppy one loses more, faster.
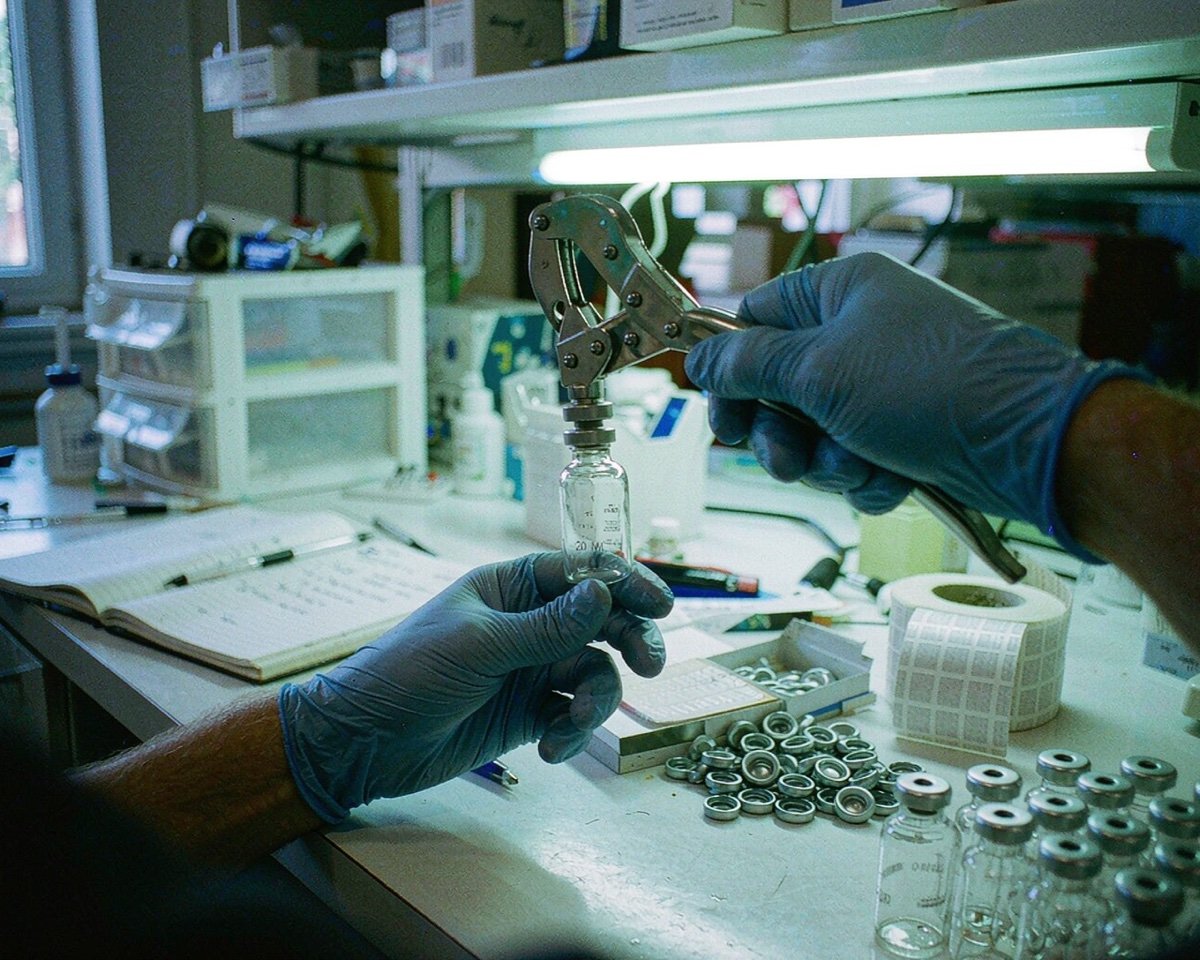
The fix takes ten seconds per vial. Crimp with an adjustable crimper set for the correct neck finish, then test: grip the cap and try to spin it. A proper crimp lets the cap rotate with slight resistance but doesn’t spin freely, and the skirt sits evenly under the glass lip with no wrinkles. If you can dent the septum center with a fingertip press, recrimp or discard.
Watch for the tilted crimp too. If the crimper goes on at an angle, one side of the skirt tucks under the lip while the other stays loose, and you get a leak that passes the spin test on one side only. Hold the vial up and check the skirt all the way around before the vial goes in the tray.
One more note: crimp quality is consistent only if your crimper jaws are unworn. Check them every few thousand vials.
6. Ignoring equilibration time and agitation settings
Headspace assumes equilibrium, or at least a repeatable fraction of it. Cut the equilibration time short and your earlier vials extract less vapor than your later ones would have, so a constant sample gives a rising baseline of areas across the batch.
Temperature and agitation both control how fast you get there. The effect can be dramatic: Agilent’s headspace fundamentals show ethanol in water going from a partition coefficient of roughly 1350 at 40 °C to about 330 at 80 °C. Equilibrium comes faster and the vapor carries more analyte at the higher temperature. Agilent’s headspace overview covers this temperature effect in detail.
Agitation matters because shaking exposes fresh sample surface to the vapor space. For viscous matrices, resting a vial quietly for the same duration can leave you well short of equilibrium.
How do you know your settings are too short? Run the same mid-level check standard as the first vial and again as the last. If the last one comes out 10 or 15 percent higher, your early vials never reached equilibrium and your whole calibration curve is tilted. I’ve seen this in protein-containing matrices especially, where equilibration crawls unless you shake.
The fix: set equilibration time and temperature from the method, and verify they’re actually being met. If your sequence queue is longer than your oven’s vial capacity, some vials may sit heated longer than others, which is fine for equilibrium but worth knowing about. My default is to let the autosampler’s shaker do its job at the method temperature rather than extending time and hoping.
7. Foaming matrices and difficult sample types
Foam is the failure nobody predicts. Shake a surfactant-containing sample or a proteinaceous matrix at 80 °C and the foam can rise into the needle’s path. Liquid gets drawn into the transfer line. The baseline spikes. And sometimes the needle stays contaminated for hours afterward.
High-water matrices cause a second, slower problem. Water vapor recondenses in cooler parts of the transfer path, and over a long sequence those condensate pools adsorb volatiles and release them in later runs. This is one reason methods for aqueous samples run transfer line temperatures higher than you might expect.
Salty or oily matrices bring their own surprises, since analyte solubility in the matrix changes how much reaches the headspace at all.
The fix: fill less for foaming samples, often 5 mL or less in a 20 mL vial, so foam has somewhere to go besides the needle. Add an antifoam only after checking it doesn’t contain volatiles of its own. For aqueous work, keep the transfer line hot and run a solvent-free blank after your highest matrix samples to confirm nothing is lingering.
8. Mismatched vial dimensions for the autosampler
Headspace vials are not interchangeable. The two common formats are the 18 mm screw-thread vial and the 20 mm crimp vial, and autosamplers are built for one or the other. Put a 20 mm crimp vial in a magnetic tray designed for round-bottom magnetic caps, or vice versa with flat-bottom vials, and the gripper misaligns. The usual symptoms are crushed caps and a scraping sound, or vials that never get pierced at all.
Cap style inside a format causes trouble as well. Magnetic caps come in round and flat bottom profiles, and trays and grippers are tuned to one of them. Mixing a shipment of flat-bottom caps into a method validated on round ones can stall a sequence at vial three.
Height and volume matter too. Common headspace vials come in 10, 20, and 22 mL formats, and a 10 mL vial in a method calibrated around 20 mL changes your phase ratio and your pressure behavior simultaneously. Every headspace sampler vendor documents its accepted vial formats, and the differences between them are real.
The fix: before a method transfer or a new consumables order, match vial format, volume, neck finish, and cap style to the exact autosampler model. Our GC autosampler vial compatibility guide lists what fits which instrument, and I’d check it against your order confirmation before the box ships rather than after.
9. Ignoring carryover and skipping blanks between runs
Carryover in headspace is quieter than in liquid injection, which makes it more dangerous. There’s no visible residue, just small peaks from the previous sample appearing in your blank at 20 or 30 percent of the original area. High-concentration samples are the usual culprit, and adsorptive compounds with long retention times are the worst offenders.
The volatiles hide in specific places. The sample needle, the loop, and the transfer line all hold onto heavy or polar compounds after the vial is long gone, and each subsequent vial’s pressurization gas can drag a little of that residue back out. Ambient lab air matters too, since a vial left uncapped near a solvent bottle loads its own contaminants before it ever reaches the oven.
The consequences compound. If vial 6 was your 5000 ppm calibration top standard, your post-sequence blank tells you whether vials 7 through 40 are trustworthy. Skip that blank and you can’t defend any of them.
The fix has three parts, and none of them cost much. Run samples from low to high concentration within a batch. Insert a blank after any known high standard or suspect sample, and always end a sequence with one. If carryover persists, bake out the transfer path and check the needle and loop, because those hold onto heavy volatiles longer than anything else.
Modern headspace samplers attack carryover aggressively with flow design, and it’s worth reading a vendor’s carryover specs to calibrate your expectation of what “clean” should look like.
Conclusion
None of these nine mistakes announce themselves. A phase ratio drifts, a septum bleeds, a crimp weeps, and your data gets worse a little at a time, usually in ways that look like instrument trouble. That’s what makes them expensive. Before you blame the column or book a service visit, walk this list against your last bad sequence and check the vials first. In my experience, filling consistently, capping correctly, using fresh temperature-rated septa, and blanking after high samples fix the large majority of headspace mysteries. Start with the two cheapest: scheduled septa changes and a blank after every high standard. When you’re ready to go deeper, our guide to 10 mL vs 20 mL headspace vials covers how vial size reshapes the whole method, and our headspace troubleshooting series keeps growing as new questions come in from working labs.
Frequently Asked Questions
How full should a headspace vial be?
For most aqueous methods, fill no more than half the vial, leaving generous vapor space for analytes to partition into. Always use the fill volume specified in your method and keep it identical across samples and standards, because fill volume changes the phase ratio and therefore your response.
Can you reuse headspace vials or septa?
No. Septa are single-puncture items, since the PTFE face stops protecting the rubber layer after the first needle pass and contaminants can then migrate into the vapor. Reused vials carry adsorbed residues that release as ghost peaks, so both are best treated as single-use consumables.
What temperature should headspace septa handle?
Match the septum rating to your equilibration temperature with margin to spare. Silicone/PTFE laminates are typically rated from about -60 to 200 °C, while specialized low-bleed headspace septa tolerate much higher temperatures for demanding methods.
Why do my headspace peaks drift through a sequence?
The two most common causes are inconsistent fill volumes, which change the phase ratio vial to vial, and a slowly failing seal that leaks light volatiles as the batch progresses. Check fill practice first, then crimp integrity, before touching instrument parameters.
How do I check if my crimp seal is good?
Try to rotate the cap with your fingers: it should turn with slight resistance but not spin freely. The aluminum skirt should sit evenly under the glass lip with no wrinkles, and the septum should not be visibly dented or compressed in the center.