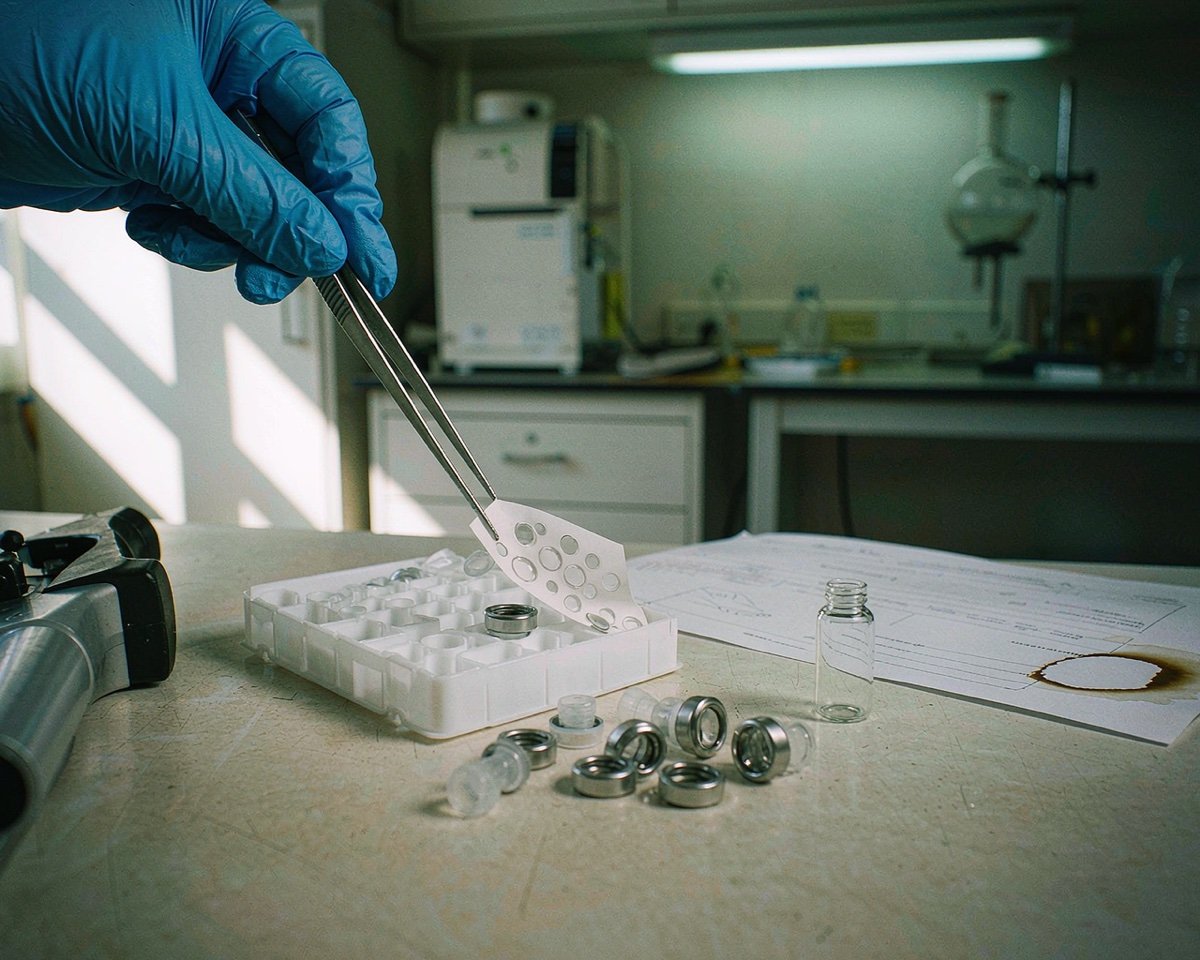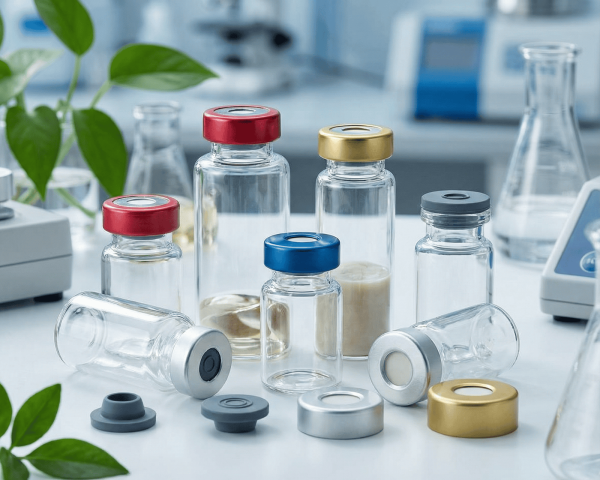

If you run headspace GC or GC-MS, the vial sitting in your autosampler tray does more work than most people give it credit for. Pick the wrong one and you lose volatiles, fight ghost peaks, or watch your seal fail under pressure. Pick the right one and your method just… works. This guide walks through every decision — glass type, size, bottom shape, cap, and septum — so you can choose headspace vials with confidence, whether you are buying for a pharma QC lab, an environmental lab, or a university teaching lab.
Headspace vials are thick-walled, high-volume sample containers (typically 6–27 mL) made of Type I borosilicate glass, designed to hold a sample at elevated temperature while volatile analytes partition into the gas phase above it for GC analysis.
Sound useful? Keep reading — by the end you will know exactly what to order.
What Is a Headspace Vial and Why Do You Need One?
A headspace vial is a glass container built for static headspace sampling. You place a liquid or solid sample inside, seal the vial tightly, heat it to a set temperature, and wait. Volatile compounds evaporate from the matrix and collect in the empty space above the sample — the “headspace.” The autosampler then pierces the septum, grabs a portion of that gas, and injects it into the GC.
Why bother with this extra step? Because it keeps the column and inlet clean. Non-volatile matrix components stay behind in the vial, so you inject only the volatile analytes you actually care about. That means less contamination, longer column life, and simpler sample prep compared to direct liquid injection of dirty matrices.
The vial itself is not a passive container. It has to survive heating cycles, hold internal pressure, release nothing of its own into the sample, and fit the autosampler’s gripper exactly. That is a surprisingly demanding spec sheet, which is why headspace vials differ from ordinary HPLC vials in almost every dimension — glass thickness, neck finish, volume, and closure.
How Headspace Analysis Works (and Why the Vial Matters)
Let me walk through the physics quickly, because it explains every design choice you are about to read.
You seal the sample in the vial and heat it. Volatile molecules migrate from the liquid or solid phase into the gas phase until the system reaches equilibrium — the point where the concentration in the gas phase stops changing. A portion of that gas is then drawn out through the septum by a gas-tight syringe or sample loop and delivered to the GC injector.
Two things follow from this:
1. The phase ratio matters. The ratio of gas-phase volume to sample volume directly affects sensitivity. Smaller sample volumes relative to the vial volume generally push more analyte into the gas phase, which improves detection limits. That is exactly why headspace analysis uses 10 mL and 20 mL vials instead of the 2 mL vials used for liquid injection. 2. Pressure builds up. Heating a sealed vial raises the internal pressure — typically up to roughly 3 bar during equilibration. Thin glass or a weak seal will not hold that. This is why headspace vials have thicker walls than standard autosampler vials and why the septum must reseal reliably after the needle pierces it.
The Agilent 7697A headspace sampler page shows what modern hardware expects: it supports 10 mL, 20 mL, or 22 mL vials “of virtually any style” and even runs an automatic leak check on every vial during pressurization. That leak check only passes if your vial, cap, and septum form a genuinely airtight seal — which brings us back to choosing them carefully.
Headspace Vial Materials: Why Type I Borosilicate Glass Wins
Every serious headspace vial I have seen is made from Type I borosilicate glass. The reasons are not marketing — they are chemistry and physics:
– Thermal stability. Headspace methods commonly heat vials to 80–200 °C. Borosilicate glass handles this without softening or warping. Its low coefficient of thermal expansion also means it survives repeated heating and cooling cycles without cracking. – Chemical inertness. Borosilicate releases almost nothing into your sample. Glass with higher alkali content (like soda-lime) can leach metal ions, which shows up as interferences in trace analysis — a real problem in USP <467> residual-solvent work where you are chasing parts-per-million targets. – Uniform wall thickness. Quality vials are manufactured to tight dimensional tolerances so heat distributes evenly and every vial in the batch behaves identically. Inconsistent wall thickness is one of those quiet killers of reproducibility.
Amber borosilicate is the variant to choose when your samples are light-sensitive. The amber tint blocks UV wavelengths that can degrade photolabile analytes while the vial sits on the bench or in the tray.
One more material note: never substitute ordinary soda-lime glass here. It lacks the thermal margin and chemical purity, and it can fail under the pressure cycling that headspace methods routinely demand.
Headspace Vial Sizes: 6 mL, 10 mL, 20 mL, and 27 mL
Headspace vials come in a small set of standardized sizes. The two workhorses are 10 mL and 20 mL, and their dimensions are essentially universal across manufacturers:
| Nominal volume | Outer diameter | Height | Neck opening | |—|—|—|—| | 6 mL | 22 mm | 38 mm | 20 mm | | 10 mL | 22.5 mm | 46 mm | 20 mm | | 20 mL | 22.5 mm | 75.5 mm | 20 mm | | 27 mL | 30 mm | 60 mm | 20 mm |
The 22.5 mm outer diameter is the de facto industry standard, and most autosampler trays are machined for it. Restek’s 10 mL headspace vial spec sheet, for example, lists a 23 mm diameter and 46 mm length with a 20 mm crimp cap — effectively the same footprint.
How do you choose between 10 mL and 20 mL?
– 10 mL is the default for most pharmaceutical and residual-solvent methods. It offers a good balance of sample volume and phase ratio, and it is what most USP <467> protocols assume. – 20 mL gives you more room for larger sample masses or when you need a bigger gas phase for sensitivity. Environmental labs often prefer it for soil and water matrices. – 6 mL and 27 mL are the edge cases — 6 mL for small samples and 27 mL for bigger matrices or methods that need a large gas volume.
Whatever volume you pick, buy from a supplier that certifies the dimensions. Tolerances of ±0.1 mm or better matter for robotic autosamplers that grab vials by the neck and read bar codes on the side.
Round Bottom vs. Flat Bottom
Headspace vials come in two bottom styles, and the choice is more than cosmetic:
– Round bottom distributes internal pressure more evenly and makes handling by robotic grippers easier. It is the standard for high-pressure and automated workflows. – Flat bottom sits flush on a heating block, which some instruments prefer for uniform thermal transfer. If your sampler or heater has a flat platen design, flat-bottom vials give you more consistent heating profiles.
There is no universal winner — the right answer depends on your autosampler and heating design. If your lab runs a mix of instruments, round bottom is the safer default because it is what most robotics are optimized for. Check your instrument manual before standardizing.
Crimp Top vs. Screw Top vs. Magnetic Caps
The closure is where headspace vials diverge most sharply from HPLC vials. You have three main families:
20 mm crimp caps. The classic headspace seal. An aluminum (or bi-metal) cap is pressed onto the vial neck with a crimping tool, compressing the septum against the glass rim. Crimp seals are mechanically uniform and excellent at holding pressure — which is why they dominate high-temperature headspace work. Bi-metal (steel-faced) crimp caps are magnetic, letting robotic arms like those on a CTC PAL move vials without gripping them.
18 mm screw caps. A precision-threaded metal cap you twist on by hand or with a small tool. Screw caps are easier to use, need no crimper, and give reproducible sealing torque — but only if you tighten them consistently. Under-tighten and you leak; over-tighten and you crush the septum. They are a great fit for method development and manual workflows.
Magnetic caps (either style). Any cap with a ferromagnetic face that autosamplers can pick up magnetically. For modern high-throughput headspace systems with robotic sample transport, magnetic crimp caps are strongly recommended — they eliminate the mechanical gripper that can drop or misalign vials.
Agilent’s guidance, echoed by most vendors, is that crimp caps tend to win for GC and GC-MS because of their superior pressure retention, while screw caps win on convenience. For automated headspace systems, add “magnetic” to the spec and you have the right answer for most labs. Thermo Scientific’s autosampler vials and closures range shows the same split — headspace vials offered with crimp seals or screw-thread finishes, with septa and caps available separately or as convenience kits — which is a good model to copy when you set up your own lab inventory.
Septa for Headspace Vials: Material, Thickness, and Hardness
The septum is the most failure-prone component in the whole system. It must seal against pressure, survive needle puncture, reseal afterward, and release essentially nothing into the sample. Three specs matter:
Material. PTFE/silicone is the default for good reason — the PTFE face resists solvents, and the silicone body reseals after puncture. For trace and residual-solvent work, PTFE/butyl is often preferred because butyl rubber shows lower background bleed, which means fewer interferences at low detection limits. High-performance septa rated to 300 °C exist for extreme methods, but they cost more and you usually do not need them. Agilent’s septa compatibility data is a handy reference here — it lists temperature ranges and chemical compatibility for every major septum family side by side.
Thickness. Headspace septa are typically 3.0 mm thick — noticeably beefier than the 1.0–1.5 mm septa used on 2 mL HPLC vials. That extra material provides the physical barrier needed to hold pressure during the heating cycle and reseal across multiple punctures.
Hardness. Silicone septa are typically specified at 45–50 Shore A. Soft enough to reseal and resist coring, firm enough to hold a seal under pressure. Softer septa core less but have lower temperature ceilings; harder septa tolerate heat but can shed fragments when punctured.
The Phenomenex septum selection guide sums up the trade-off neatly: PTFE/silicone offers “excellent resealing capabilities” for multiple injections up to 200 °C, while pure PTFE is a single-use, ultra-inert option. If you are buying one septum type for general headspace work, start with 3.0 mm PTFE/silicone and only switch to PTFE/butyl when bleed shows up as a real problem.
Cap and Septum Combinations: What Goes With What
Headspace closures are sold two ways — assembled (cap + septum already joined) and unassembled (buy them separately). Here is the practical matrix:
| Closure | Septum | Best for | |—|—|—| | 20 mm aluminum crimp | PTFE/silicone 3.0 mm | General headspace, routine methods | | 20 mm bi-metal magnetic crimp | PTFE/silicone 3.0 mm | Robotic autosamplers, high throughput | | 20 mm aluminum crimp | PTFE/butyl 3.0 mm | Residual solvents, trace analysis | | 20 mm pressure-release seal | PTFE/gray butyl | High-pressure or gas-producing samples | | 18 mm screw cap | PTFE/silicone | Manual workflows, method development |
The pressure-release seal deserves special mention. For samples that generate gas (fermentation broths, some chemical reactions), a standard crimp can bulge or blow off. Pressure-release seals vent excess pressure safely, protecting both the sample and your instrument.
One rule of thumb: match the septum diameter to the cap, and match the cap size to the vial neck. A 20 mm neck takes a 20 mm cap and a 20 mm septum; an 18 mm screw neck takes an 18 mm cap. Mixing sizes is the fastest way to leak.
Headspace Vials for Autosamplers: Compatibility Checklist
Before you buy in bulk, run through this checklist against your instrument model:
– Outer diameter. Confirm your tray accepts 22.5 mm OD vials. Most do; some older or proprietary trays want a different footprint. – Height. 10 mL (46 mm) vs. 20 mL (75.5 mm) racks are usually separate. Make sure the rack matches the vial height you are buying. – Cap style. Magnetic for robotic arms; plain aluminum for manual or gripper-style samplers. – Center hole. If the sampler uses a fixed needle, a cap with a 6–10 mm center hole keeps the needle path clear. If it uses a septum-piercing needle, the hole size still matters for needle alignment. – Bar-code readability. If your sampler reads vial bar codes, choose frosted write-on or bar-code patches in the position your instrument scans.
Agilent’s 7697A, for example, accepts “10 mL, 20 mL, or 22 mL vials of virtually any style” and runs an automatic leak test on every vial during pressurization — so dimensional consistency across your vial batch is what keeps that leak test from failing on a few outliers.
Headspace Applications: Pharma, Environmental, Forensics, Food
Headspace vials show up everywhere volatiles matter. A few of the biggest application families:
Pharmaceutical QC — residual solvents. This is the single most important headspace application. Pharmacopeias including USP <467> regulate residual solvent levels in drug products and excipients, and static headspace GC is the standard way to measure them. Labs run these methods daily, which is why headspace vials are a recurring consumable in pharma QC.
Environmental testing — VOCs in soil and water. Methods like EPA 5021A use equilibrium headspace to prepare soil, sediment, and solid-waste samples for VOC determination by GC or GC-MS. Environmental labs consume headspace vials by the case.
Forensics — blood alcohol. Ethanol in blood and other biological fluids is routinely measured by headspace GC because the matrix is messy and the analyte is volatile. The method is simple, the vials are disposable, and the data has to hold up in court — so lab managers buy vials they can trust.
Food and beverage — aroma and off-flavors. Headspace analysis of food matrices for flavor compounds, packaging-migration volatiles, and taints is common in food QA.
Flavors, fragrances, and polymers. Any industry that needs to fingerprint volatile profiles leans on headspace sampling.
Clinical and diagnostic screening. Breath analysis, organic acid profiling, and solvent exposure monitoring in occupational health all lean on headspace vials too.
The common thread: when your sample is dirty, your analytes are volatile, or both, headspace vials are the enabler. If you are newer to the technique side, our plain-language explainer on what gas chromatography is used for walks through the instrument side of these applications.
USP <467> and Residual Solvent Testing
If your lab does pharma QC, USP <467> is the method you will live with. It classifies residual solvents by toxicity (Class 1, 2, and 3) and prescribes limits for each. The standard approach uses static headspace GC with carefully chosen vial, diluent, and equilibration conditions.
Practical implications for vial choice under <467>:
– PTFE/butyl septa are frequently recommended over PTFE/silicone because their lower bleed profile minimizes interference at trace levels. – Vial cleanliness is non-negotiable. Buy certified-clean vials from a supplier with documented batch QC; a contaminated vial ruins a trace method faster than anything else. – 10 mL vials are the default in most <467>-style procedures, though some labs standardize on 20 mL. – Dimensional precision matters because the method is quantitative — you are comparing peak areas across many vials, and inconsistent geometry introduces variance.
If residual-solvent testing is your main workload, it is worth paying a little more for vials with batch traceability and a certificate of analysis.
Choosing the Right Headspace Vial: A Decision Framework
Here is the decision tree I actually use when someone asks me “which headspace vial should I buy?”
1. Match your autosampler first. Check the manual for accepted vial size, height, cap style, and center-hole requirement. This eliminates most options immediately. 2. Pick the volume by sample mass. Small samples → 10 mL. Larger matrices or sensitivity-hungry methods → 20 mL. 3. Choose glass color by the sample. Clear for routine work; amber for light-sensitive analytes. 4. Choose bottom by instrument. Round for robotic systems and high pressure; flat if your heater block demands it. 5. Choose cap by automation. Magnetic crimp for robotic samplers; standard crimp for manual or gripper samplers; screw for method development benches. 6. Choose septum by application. PTFE/silicone 3.0 mm for general work; PTFE/butyl for trace and residual solvents; pressure-release for gas-generating samples. 7. Buy certified. Dimensional tolerance, cleanliness, and batch traceability are worth the premium.
Common Headspace Vial Mistakes and How to Avoid Them
I have seen the same handful of mistakes in labs for years. Here is how to dodge them:
Mistake 1: Using HPLC vials for headspace. 2 mL vials lack the volume for a meaningful gas phase and the wall thickness for pressure. The result is poor sensitivity or, worse, a vial that fails during equilibration.
Mistake 2: Overfilling. Fill volume affects the phase ratio, and overfilling can push liquid against the septum or cause pressure problems. Follow the fill-volume guidance for your vial size.
Mistake 3: Poor crimping. An off-center or under-crimped cap leaks volatiles and fails the autosampler’s leak check. Use a calibrated crimper and inspect every seal visually. Our guide to perfecting your HPLC crimping covers the technique in detail — the same principles apply to headspace vials.
Mistake 4: Reusing septa too many times. Even a good PTFE/silicone septum has a finite puncture life. Beyond a few injections it cores, bleeds, or leaks. When in doubt, use a fresh vial.
Mistake 5: Ignoring septum bleed in trace methods. If ghost peaks appear at low levels, suspect the septum before the column. Switch to PTFE/butyl or a low-bleed formulation and re-run your blank.
How to Crimp Headspace Vials Correctly
If you are using crimp caps, technique matters:
1. Seat the septum in the cap, then place the cap on the vial neck so it sits level. 2. Use the correct crimper die for 20 mm caps. Hand crimpers work, but a bench-top crimper gives more consistent force. 3. Crimp once, firmly and evenly. Avoid re-crimping, which can damage the septum or deform the cap. 4. Check the seal — the cap edge should be rolled under the vial rim with no visible gap. 5. When pressure methods are in play, consider a pressure-release seal so the vial vents rather than ruptures.
If the thought “what if my seal is bad?” keeps you up at night, the Agilent 7697A’s automatic leak test is a great safety net — it validates every vial before analysis and fails the batch loudly if a seal is compromised.
Handling, Storage, and Cleaning Best Practices
Headspace vials are consumables, but how you handle them between the box and the tray still affects data quality.
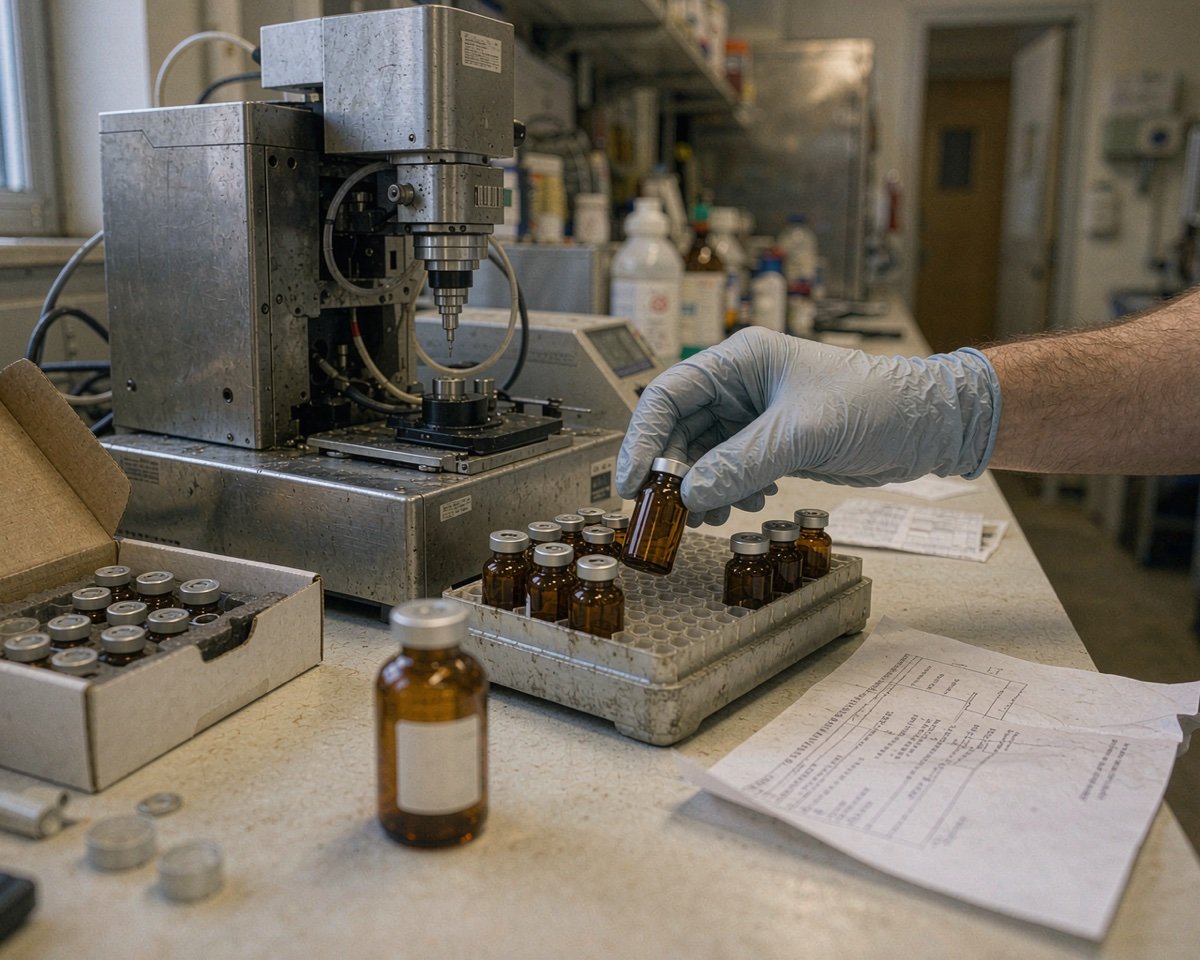
– Store sealed. Vials ship in clean packaging — keep them in the original box until use. Dust, fingerprints, and lab fumes are all potential contamination sources for a trace method. – Avoid extreme temperatures before use. Glass that is thermally shocked (moved from a cold storeroom straight onto a hot bench) can develop micro-fractures that fail under pressure. – Handle by the neck or wear gloves. Oils from bare fingers can leave residues that show up in blanks, especially in GC-MS work. – Check for damage at the rim. A chipped neck or a distorted rim will never seal properly, no matter how good the cap is. Inspect visibly and discard damaged vials. – Use them once for quantitative methods. Reusing vials for trace-level headspace work invites carryover and seal-integrity problems. The cost of a fresh vial is trivial next to a failed batch. – Do not over-tighten screw caps. Consistency beats force. A torque-limiting tool, if your lab has one, removes guesswork.
One question I get constantly: “can I just wash and reuse headspace vials?” Technically yes, and plenty of labs do it for method development. But for anything quantitative — residual solvents, blood alcohol, environmental VOCs — the risk of carryover and contamination simply is not worth it.
Where to Buy Headspace Vials (and What to Check)
When you are sourcing headspace vials, treat the supplier like a partner in your method:
– Ask for dimensional data. OD, height, neck finish, and wall-thickness tolerance should be documented. – Ask about glass grade. Type I borosilicate, clear or amber, with a stated thermal rating (200 °C is the standard benchmark). – Ask about cleanliness. Are vials certified clean? Is there batch traceability? For pharma, ask for the certificate. – Ask about septa. Confirm material, thickness, and hardness specs, not just “PTFE/silicone.” – Test before you commit. Run a small trial batch through your autosampler and check the leak test, peak shapes, and blank levels.
Suppliers who can answer all five questions without hesitation are the ones worth keeping. If you are comparing quotes, remember the real cost is not the vial — it is the failed runs and lost time when a cheap vial lets you down. A small price difference per vial disappears the moment a single sequence has to be repeated because of leaks or bleed.
Conclusion
Headspace vials look simple, but every spec on the label exists for a reason: Type I borosilicate glass for thermal and chemical stability, 22.5 mm OD for tray compatibility, thick walls for pressure, and a 3.0 mm PTFE/silicone or PTFE/butyl septum for sealing and resealing at temperature. Start your selection from the autosampler manual, then work through volume, bottom style, cap, and septum. Buy certified vials from a supplier who documents dimensions and cleanliness, run a trial batch, and standardize. If your lab is new to this, our guide to what headspace analysis is and how it works is a great next read, and the comparison of HPLC vials vs. headspace vials will help you keep the two product families straight when you order. Get the vial right and the rest of your method stands on solid ground.
Frequently Asked Questions
What size headspace vials should I buy?
Most labs standardize on 10 mL or 20 mL vials with a 22.5 mm outer diameter. Choose 10 mL for routine pharmaceutical and residual-solvent methods, and 20 mL when you need a larger gas phase or sample mass. Confirm the height fits your autosampler tray before ordering.
Are headspace vials the same as HPLC vials?
No. Headspace vials are larger (typically 10–20 mL vs. 2 mL), have thicker walls to withstand internal pressure during heating, and use 20 mm crimp or 18 mm screw closures with thicker septa. HPLC vials are designed for liquid injection at ambient pressure and are not a substitute.
Do I need magnetic headspace vials?
Only if your autosampler uses magnetic transport. Robotic systems like the CTC PAL move vials with magnetic caps, so bi-metal magnetic crimp caps are required for those instruments. If your sampler uses a mechanical gripper, standard aluminum crimp caps work fine.
What is the best septum for headspace vials?
For general headspace work, a 3.0 mm PTFE/silicone septum is the reliable default. For trace and residual-solvent analysis (e.g., USP <467>), PTFE/butyl septa are often preferred because they bleed less and interfere less at low detection limits.
How many times can you reuse a headspace vial septum?
A standard PTFE/silicone septum is typically good for 3–5 punctures before coring or leaking becomes a risk. Because resealing quality degrades with each injection, most labs use a fresh vial per analysis — especially for quantitative methods where seal integrity affects the result.