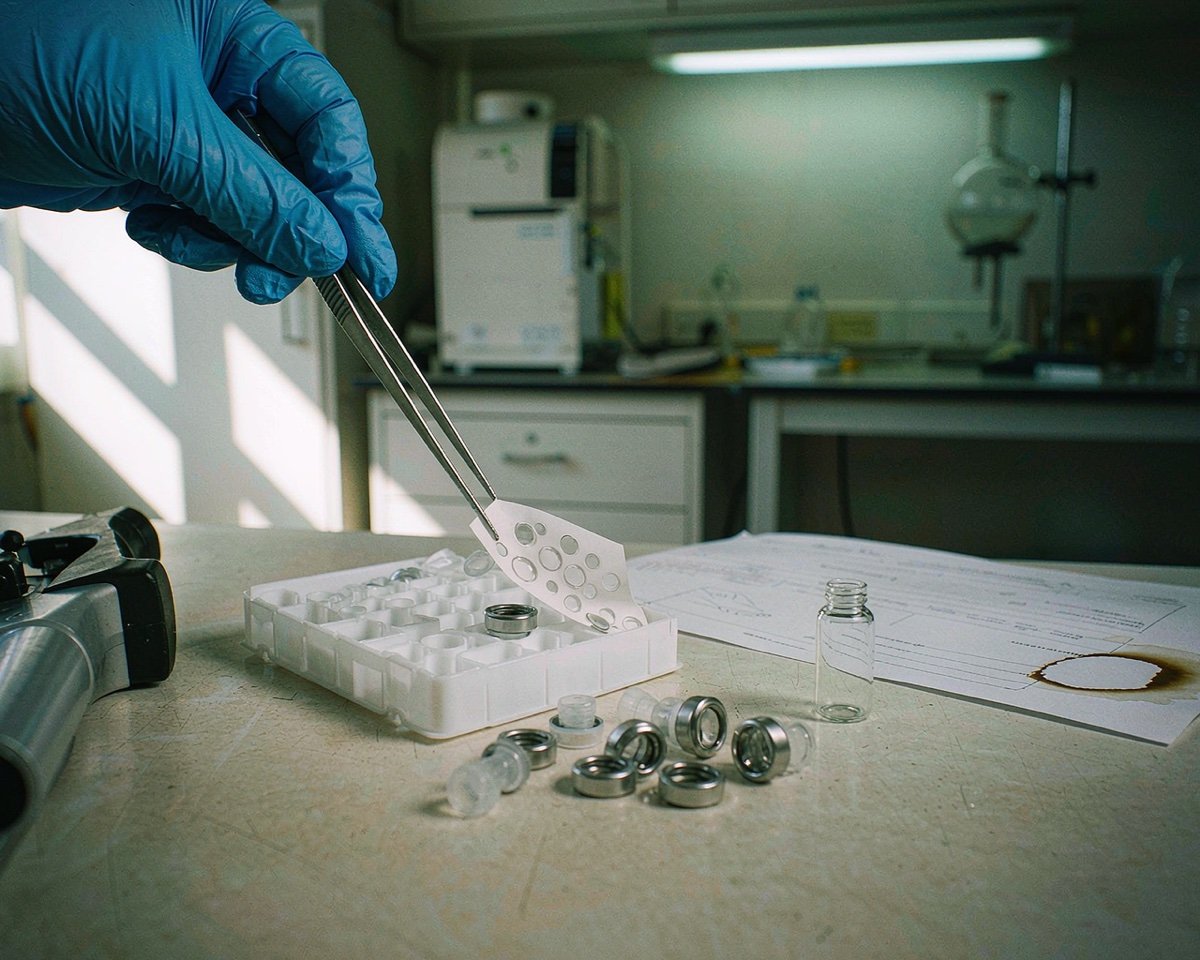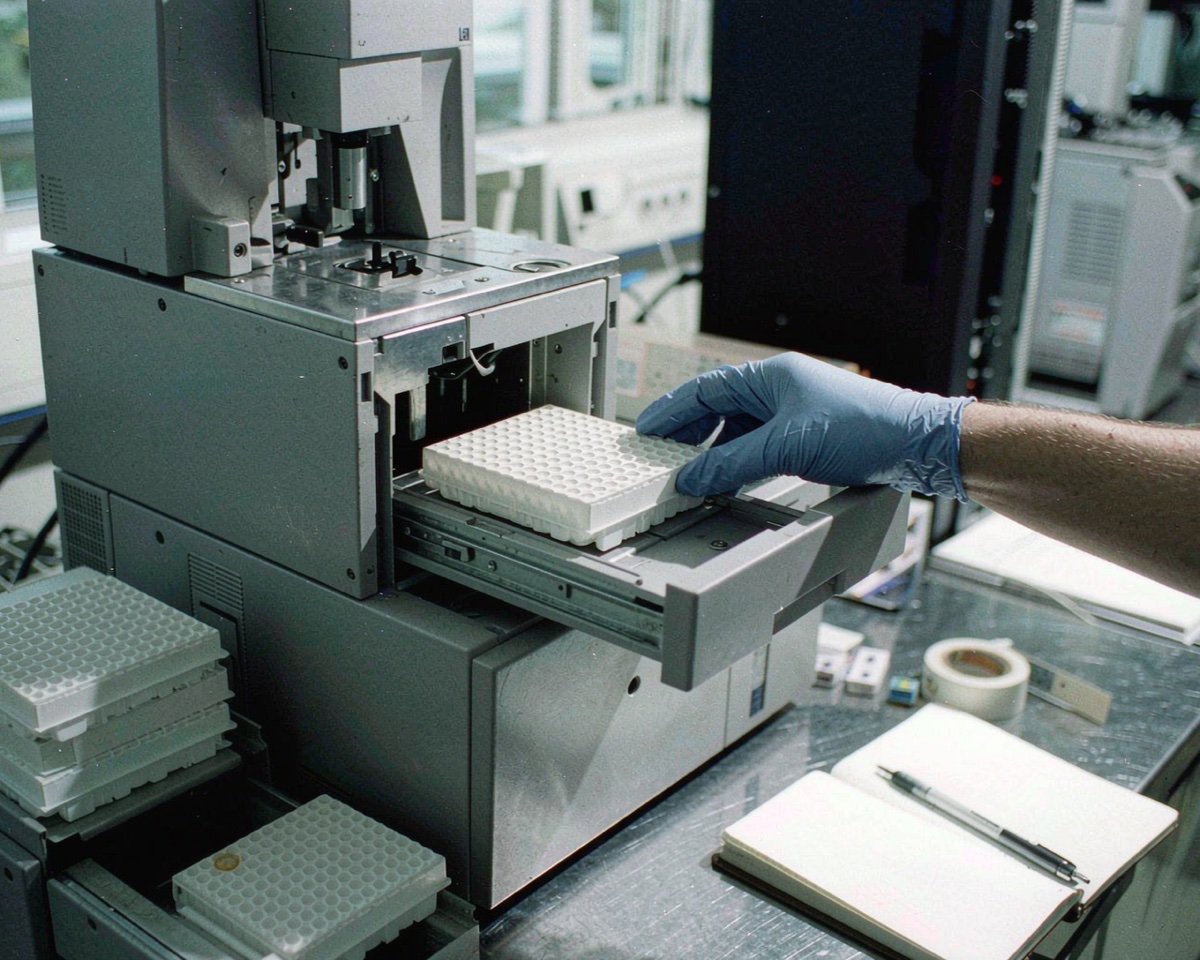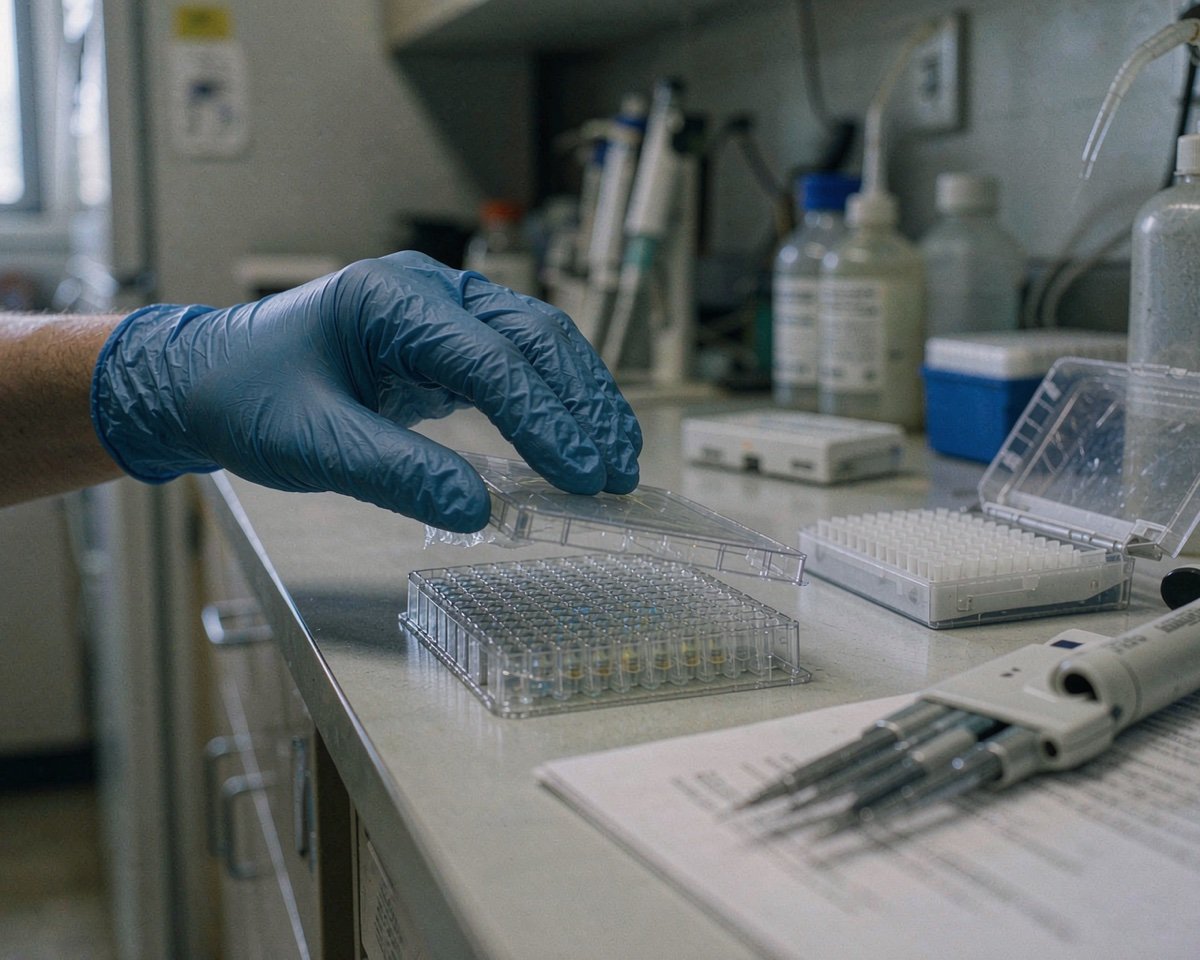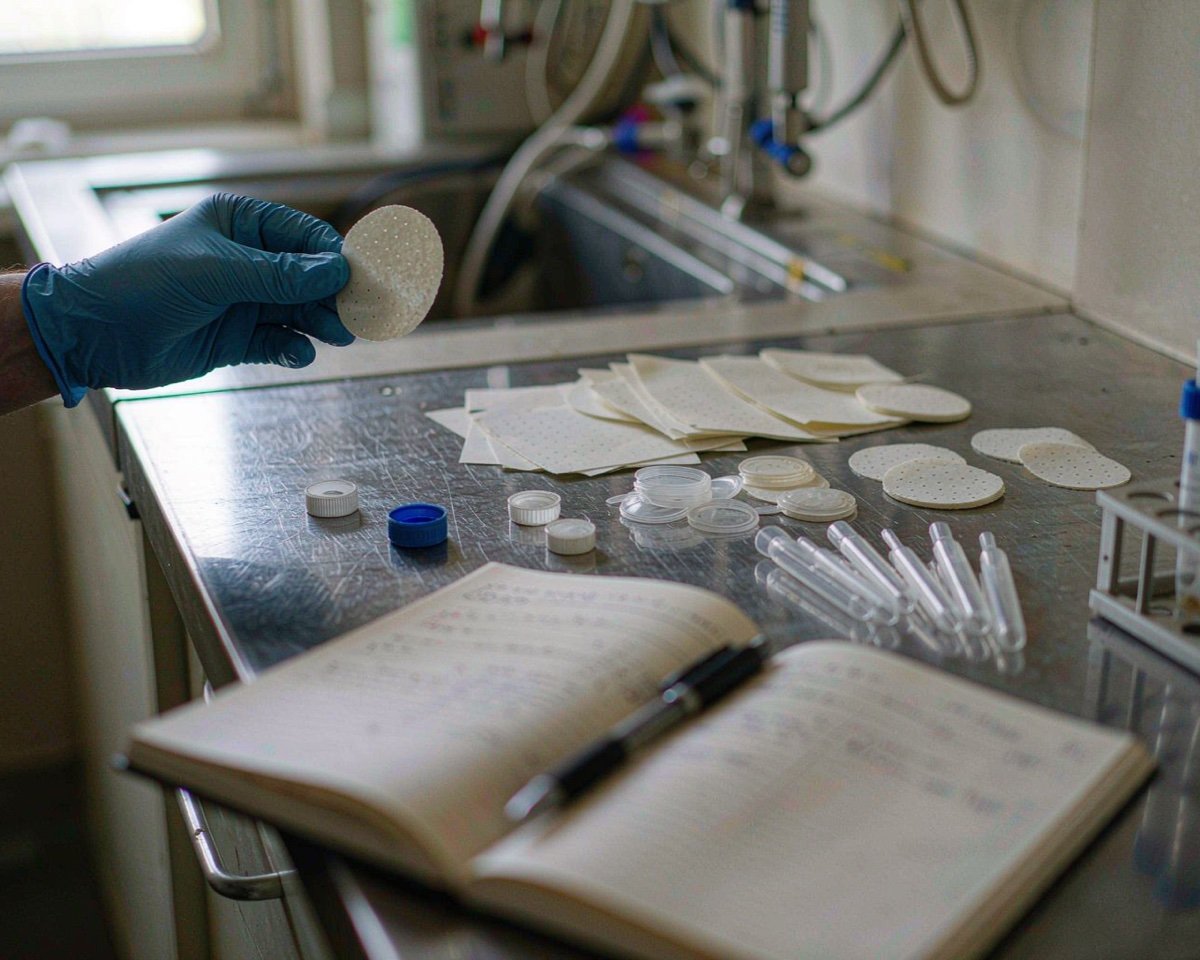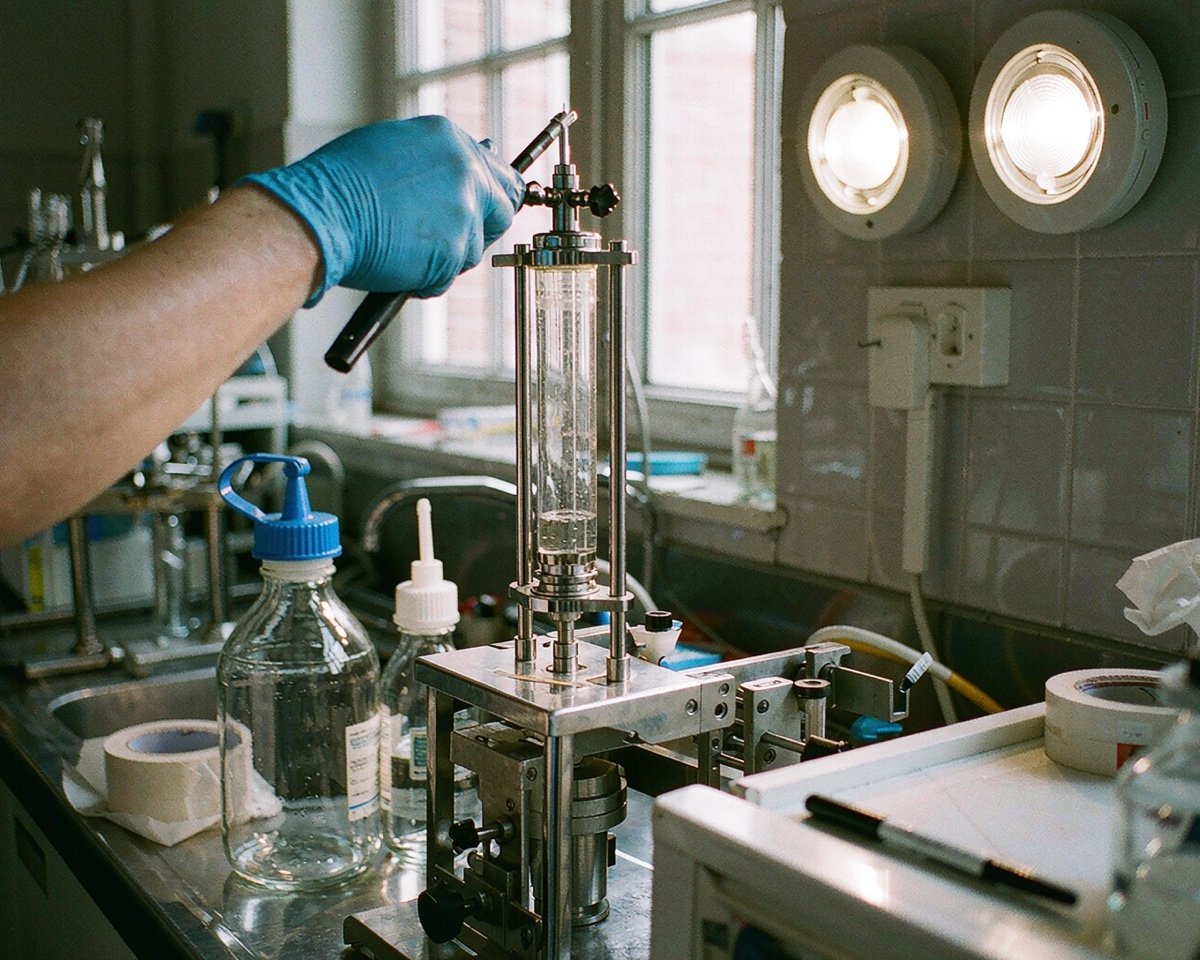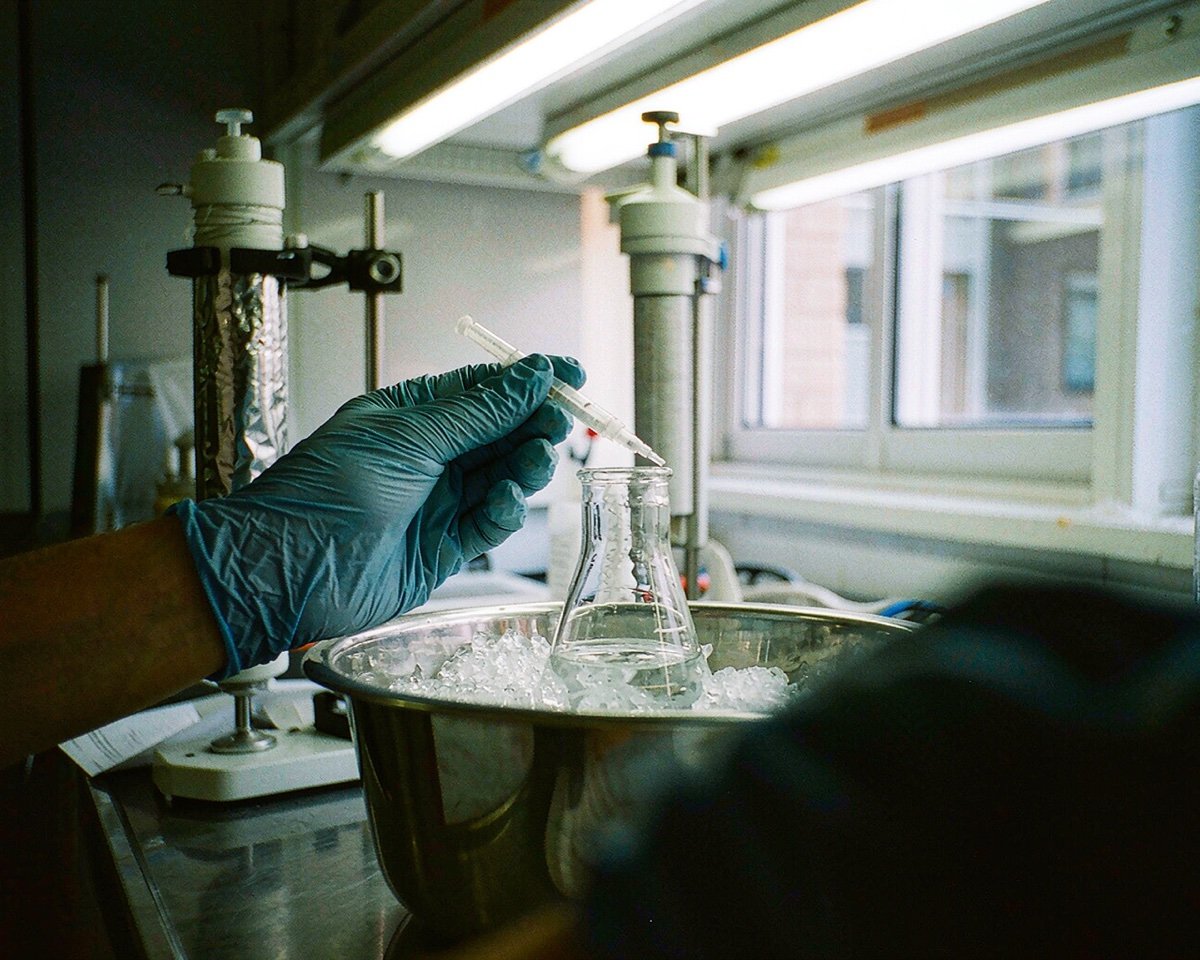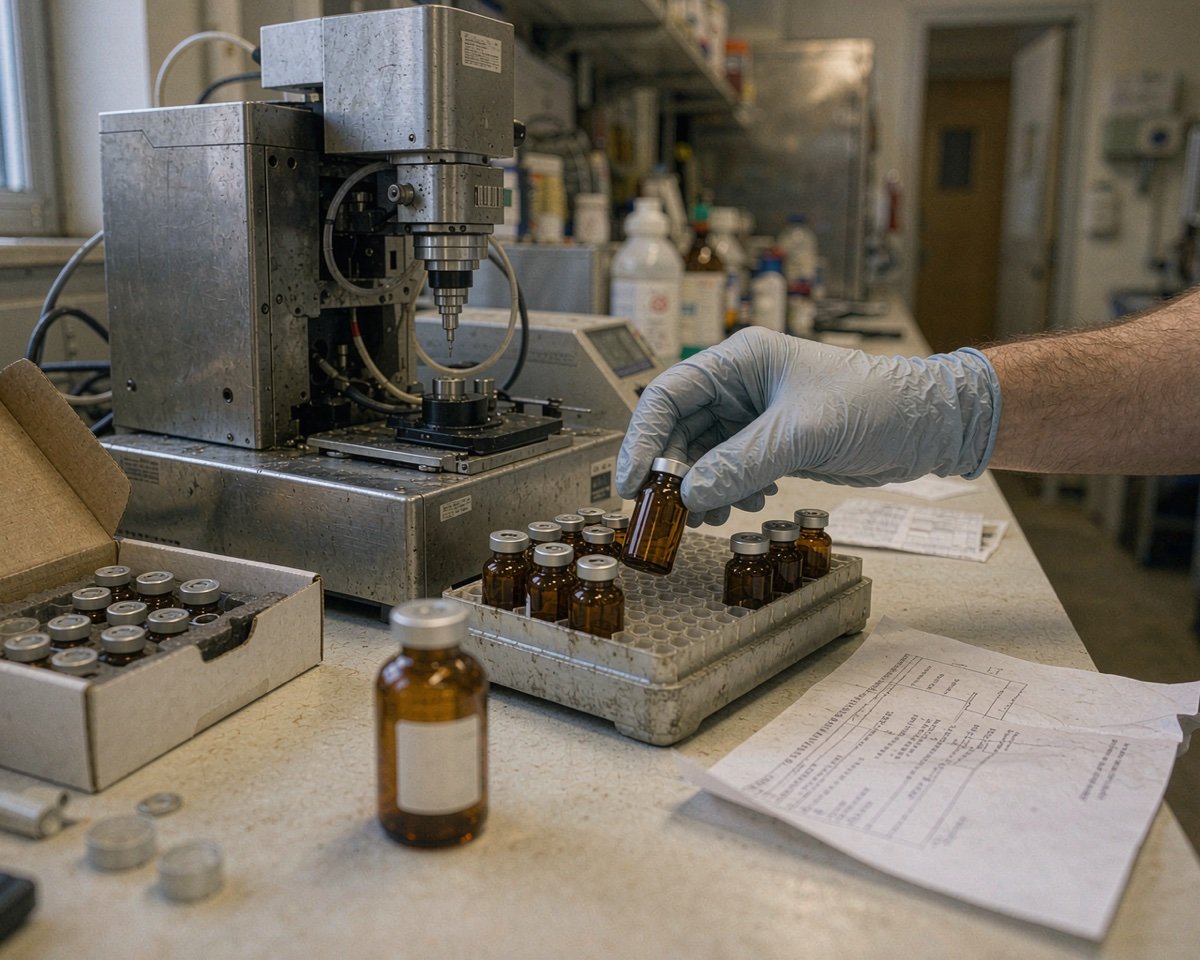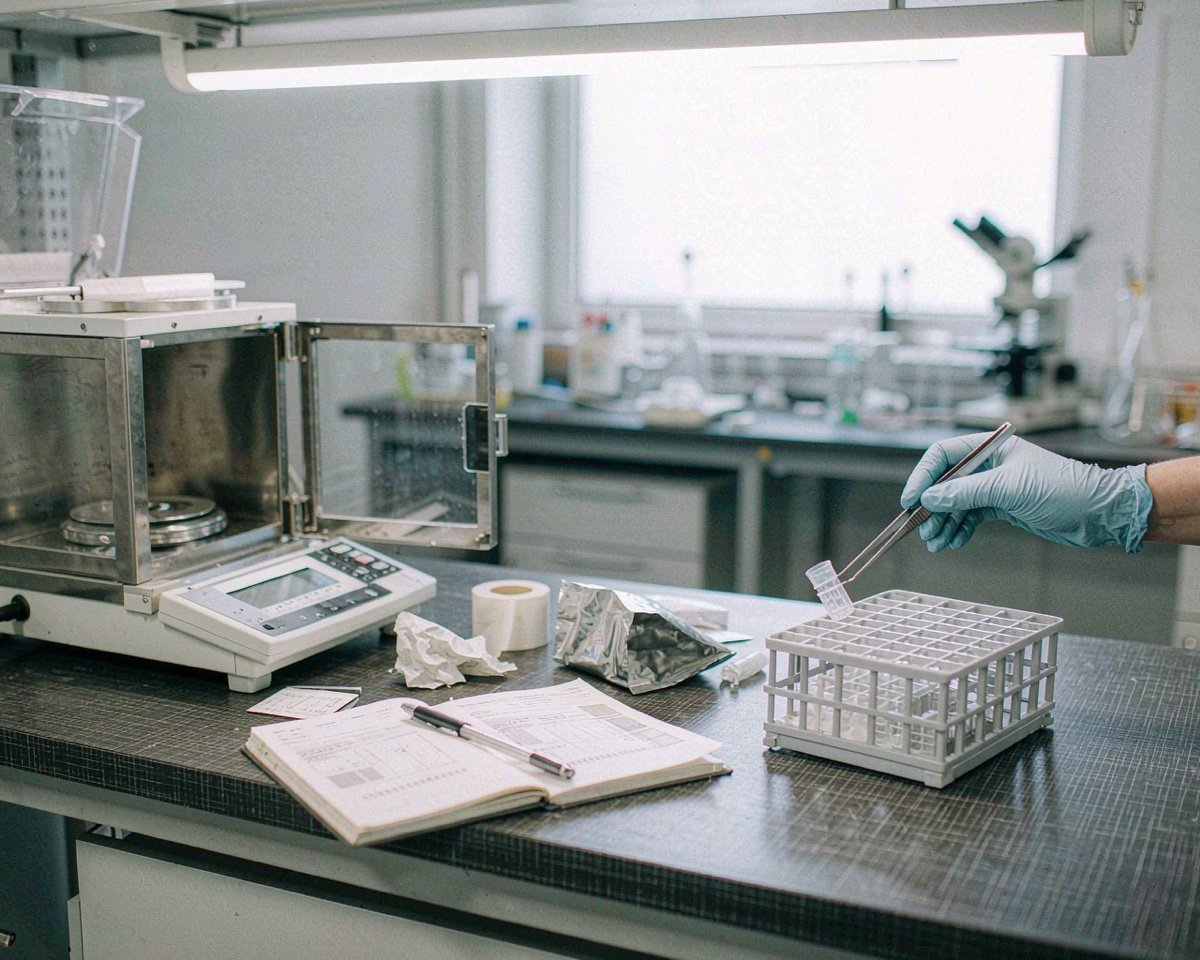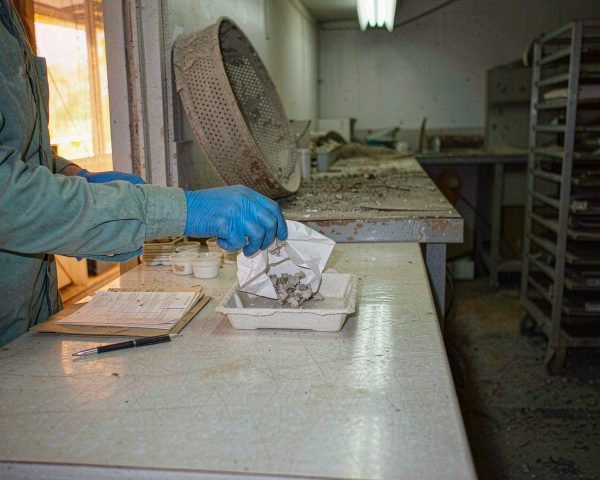

A single ore sample can pass through six different consumables before anyone quotes a gold grade. Misspecify any one of them and the assay quietly drifts. This guide walks the whole mining and geochemical workflow and names the parts that actually move the number.
Mining and geochemical testing lab consumables are the physical items a lab burns through between field and report: crushing and milling wear parts, digestion vessels, fire assay crucibles and cupels, ICP/OES/AA sample introduction parts, sample bottles, and the reference materials and blanks that keep the data honest. The right spec depends on the analyte, because every milling surface and vessel material sheds something into your sample.
If you buy for a mining, exploration, or environmental geochem lab, the sections below map each consumable to the decision behind it. I’ve kept the focus on what to specify, not on which brands to worship.
The Workflow First: What a Sample Goes Through Before It Becomes a Number
It helps to see the whole chain before we talk about parts, because every consumable exists to serve one step in it.
A core or chip sample arrives from site in a bag or tray, already tagged with a number that must survive mud, rain, and a forklift. The lab logs it in, dries it (typically 60 to 105 °C, low enough not to volatilize anything you care about), and then the size reduction starts. A jaw crusher takes it down to a few millimeters. A split of that crush goes to a ring-and-puck or bowl pulverizer that grinds it to a pulp, usually finer than 150 µm (100 mesh), and that pulp is what actually gets analyzed.
From the pulp, the route splits by analyte. Gold usually goes to fire assay, where a weighed aliquot (10 g is a common charge in government survey work, 30 to 50 g in commercial gold labs) is fused with flux, the precious metals get collected in a lead button, and the bead is cupelled and dissolved for finish by AAS or ICP. Multi-element suites go to acid digestion and ICP-OES or ICP-MS. Mercury often gets its own cold-vapor line. The USGS describes exactly this chain in one of its open-file methods: jaw crusher, ceramic-plate pulverizer to less than 100 mesh, then ICP-AES, fire assay for gold, and cold-vapor AA for mercury on the pulps (USGS Open-File Report 2007-1126).
Two quiet details in that chain deserve attention before we reach the equipment. Drying trays are consumables in practice: stainless trays scratch and hold residue, paper bags shed fibers into your sample, and oven space forces decisions about what temperature to trust with which sample type. Labels are too. A number written in ballpoint on a wet kraft bag disappears in the dryer, and I’ve seen a reception bench buried under unlabelled bags on a Monday morning after a core-shed delivery. Buy heat- and solvent-stable tags, and budget them like the consumable they are.
Every arrow in that chain is a consumable decision. Crusher jaws wear and shed iron. Pulverizer bowls contaminate by design contact. Digestion vessels carry acid memory. Crucibles fail at the worst moment. So let’s go section by section.
Sample Preparation Consumables: Crushers, Pulverizer Bowls, and Sieve Sets
Size reduction is the most physically violent step in the lab, and it’s where cross-contamination has the most brute-force opportunity to ruin you.
Jaw crusher wear parts. Jaws and cheek plates come in manganese steel by default because it work-hardens and lasts. The tradeoff is that every pass adds a whisper of iron, manganese, and nickel to your crush. For most whole-rock work nobody cares. If your program tracks those exact elements in low concentrations, ask your supplier for ceramic (usually high-alumina) jaw inserts. They cost more and they chip if you feed them unbroken drill core like it’s regular rock, so treat them gently and post a warning label on the machine.
Pulverizer bowls. This is where the real spec decision lives. The bowl material becomes part of your sample whether you like it or not. The USGS coal methods manual, which has guided geochem prep labs for decades, details the grinding equipment and cleaning procedures standard in that world (USGS Bulletin 1823). The practical summary looks like this:
| Bowl material | What it adds to the sample | Where it fits |
|---|---|---|
| Agate (SiO₂) | Si traces only; essentially contamination-free | Trace-element and REE work where even ppm-level contamination matters |
| Carbon steel | Fe, Mn, Cr, Ni | Fast routine crush where you’re not assaying those elements |
| Tungsten carbide | W, Co (and some Ta in older grades) | Hard, fast, great general duty; never use if W or Co is an analyte |
| Zirconia | Zr (and minor Hf) | A favorite for REE and isotope prep; avoid if Zr/Hf is the target |
I once watched a two-week exploration program chew through pulps in a tungsten carbide head, then hand the pulps to a lab that assayed tungsten as a pathfinder element. Every sample came back “mineralized.” The pulps weren’t wrong; the bowl was the deposit. Re-run in agate, the anomaly evaporated. That’s a five-figure redo that a single line on the prep sheet would have prevented.
Sieve sets. Labs screen pulps and check grind size with test sieves, and here material matters more than most buyers expect. Stainless steel sieves shed Cr and Ni particles, especially when new and under aggressive tapping. For soil surveys targeting those metals, use brass or nylon mesh sieves, and retire any sieve that shows visible wear on the mesh. Standard practice in sediment work is to sieve to the less-than-2-mm fraction before analysis, which the USGS methods also follow for bottom materials (USGS Open-File Report 2007-1126). Buy sieves with certified mesh compliance certificates and keep them; auditors in ISO 17025 labs do ask.
One more habit worth stealing: clean bowls between samples with silica sand and a handful of quartz, then blow out with compressed air. A visible smudge of the previous sample is a reject, not a judgment call.
Prep-line discipline. The machines are only half the story; the sequence you run them in is the other half. Most contamination events come from order effects: a high-grade sample leaves residue that the next one inherits. Labs that batch by expected grade, run a silica-sand rinse between ore types, and keep a written cleaning log catch problems while they’re still cheap. The log matters for another reason too. When a client disputes an assay six months later, your prep record is the only thing that tells you whether the anomaly was geology or your pulverizer.
Digestion Consumables: PTFE and PFA Vessels, Microwave Systems, and Acid Purification
Silicate rocks don’t dissolve politely. Complete digestion of a granite or a basalt needs hydrofluoric acid, usually with nitric, perchloric, or aqua regia in supporting roles. That chemistry dictates your vessel materials with brutal authority: anything containing silica (glass, quartz) is off the table the moment HF enters the room.
PTFE and PFA vessels. PTFE (the classic white fluoropolymer) and PFA (the translucent cousin) both laugh at HF, aqua regia, and 98% sulfuric acid at moderate temperatures. Thermo Fisher’s own documentation for PFA labware lists resistance to aqua regia, 48% hydrofluoric acid, and 70% nitric acid as standard operating conditions for the material (Thermo Fisher PFA documentation). The differences that matter to buyers: PTFE is more porous, so it absorbs acids and carries memory between digestions; PFA is smoother, cleans faster, and holds up better to repeated trace work. My default for trace-metal labs is PFA wherever the budget allows, and PTFE where volume eating the difference is the only constraint.
The practical pain point with fluoropolymer vessels isn’t chemistry, it’s memory. A vessel that digested a high-grade ore last week can contaminate a blank today. Build an acid-cleaning protocol (hot dilute HNO₃ soak, rinses, dried covered) into your consumables workflow, and track vessel history if you run extreme concentrations.
Microwave digestion. Closed-vessel microwave digestion does in 30 minutes what a hotplate does overnight, and it keeps volatile elements like As, Hg, and Se in solution instead of in your fume hood. The consumables here are the vessel liners (again PTFE or PFA), rupture membranes, vent plugs, and O-rings. O-rings are the silent budget item: they age, they leak, and a leak in a microwave carousel means re-pressurizing and re-running the whole batch. Stock spares per vessel position, and inspect them every cycle like a pilot checks a pre-flight list.
Open-vessel digestion still has its place, and it’s worth being honest about the tradeoffs. Hotblock digestions in PTFE tubes are cheap, parallel-friendly, and perfectly adequate for soils where complete dissolution of refractory minerals isn’t required. Closed microwave vessels reach higher temperatures, hold volatiles in solution, and use far less acid, which also means cleaner blanks. The consumable cost profile differs too: microwave liners and O-rings age under pressure cycling, while open-vessel tubes mostly just need acid cleaning between uses. Match the vessel to the method, and don’t buy microwave-rated vessels for a hotblock bench, or the reverse.
Acid purification. At ICP-MS detection limits, bottle-grade acid is dirtier than your samples. Labs purify HF, HNO₃, and HCl by sub-boiling distillation into PFA receivers. The consumable angle: PFA still bodies and collection bottles, replaced or requalified on a schedule. The USGS ICP method referenced earlier digests a 0.2 g aliquot with an HCl-HNO₃-HClO₄-HF mix, which tells you exactly how aggressive your vessels and stills need to be (USGS Open-File Report 2007-1126).
Fire Assay Consumables: Crucibles, Cupels, and Magnesia
Fire assay is a four-thousand-year-old method that still refuses to die, because nothing else matches it for gold accuracy at ore grades. It’s also brutally hard on consumables, since the fusion runs around 1,100 °C in a furnace that eats anything poorly made.
Crucibles. Fire assay crucibles are typically fireclay or graphite-clay composites, sized for your charge (a 30 g charge needs roughly a 40 to 50 g crucible with flux). What you’re buying is thermal shock resistance. A crucible that cracks mid-fusion pours molten litharge across your furnace floor, and that cleanup (including the lead exposure angle) is nobody’s favorite Friday. Buy crucibles with consistent wall thickness; rejects in a box are cheap insurance compared to a spattered muffle.
The flux charge itself (litharge, borax, soda ash, silica, flour or nitrate depending on the ore’s sulfur and reducing power) is technically a reagent, but procurement usually owns it. Match the flux recipe to the ore type; a sulfide-rich sample needs different reducing power than an oxide ore, and labs that run one flux for everything are quietly accepting bad buttons on half their sample types.
Cupels. Cupeling drives the lead button into the cupel at ~950 °C, leaving a doré bead of precious metals. Bone-ash cupels are the classic choice. Magnesia (MgO) cupels matter when the material carries platinum-group metals, because magnesia retains PGMs better than bone ash and they don’t ride into the furnace draft. Porosity is the spec that decides everything: too dense and absorption stalls, too open and you lose prills of silver or gold into the cupel wall. Ask suppliers for their porosity range in writing.
If your gold finish is aqua regia dissolution followed by AAS or ICP, your fire assay line also needs acid-clean tubes and bottles, which loops back to the fluoropolymer section above. The USGS workflow (10 g charges, fused, doré bead, aqua regia, finish by DCP or AA) is a good template for what a survey-scale line consumes per sample (USGS Open-File Report 2007-1126).
A few adjacent items round out the fire assay bench. Parting vessels and annealing dishes handle the post-cupel work when the method calls for a gravimetric finish, and the silica dishes used for scorification (still common for high-sulfide charges) crack on a schedule nobody can predict, so most labs keep a spare case on the shelf. Tongs and the graphite stir rods used to puddle the button wear out too, just more slowly. The pattern is simple: anything that lives inside a 1,100 °C furnace is a wear item, and your stock levels should assume it.
ICP, OES, and AA Sample Introduction: Nebulizers, Spray Chambers, and Cones
After digestion, your sample is a dilute acid solution with a story to tell, and sample introduction is how it gets to tell it. This is the area mining labs replace most often, and the specs are unforgiving.
Nebulizers. Glass concentric nebulizers give the best sensitivity for clean solutions. Mining digests are not clean solutions. High dissolved solids (your typical rock digest carries 0.2 to 1% TDS) clog concentric tips, so labs default to V-groove nebulizers for high-solids ICP-OES work. And the moment HF is in your solution (which it is, for any silicate digest), glass is chemically off-limits: you need a PFA or PTFE-lined nebulizer rated for HF. Specify by acid tolerance first, sensitivity second. A sensitive nebulizer that dissolves on shift two is not sensitive for long.
The spray chamber follows the same logic. Cyclonic glass chambers are standard for aqueous, HF-free work. For HF-bearing digests, inert polymer chambers (Ryton, PFA) are mandatory. Double-pass chambers give better droplet sorting and better stability at the cost of slower washout, which matters when your sequence has hundreds of pulp digests and you’re watching carryover between a 5% ore and a blank.
Peristaltic pump tubing. The least glamorous part in the whole instrument, and the one that changes most often. Standard Tygon-style tubing handles aqueous samples fine, but it swells and leaches with high organic content and fails fast against strong acid. HF-bearing digests need solvent-resistant tubing (fluoroelastomer or PFA-based), and the drain line deserves the same respect, since it sees everything the sample line does. Pump tubing also stretches with use, which quietly changes your uptake rate and drifts your calibration. Replace on a schedule (daily or per-sequence changes are common in busy labs) rather than waiting for the tell-tale flat spot.
ICP-MS cones. Sampler and skimmer cones live in the harshest spot in the instrument: plasma on one face, vacuum on the other, everything condensing on the tip. Nickel cones are the economic default for routine aqueous matrices. Platinum-tipped cones are required when you run HF or organic solvents, and they hold up far better against high-acid digests, which is why serious geochem ICP-MS labs run Pt. Agilent’s own product documentation spells out the same guidance: nickel for general work, platinum where HF, organics, or the lowest backgrounds are involved (Agilent ICP-MS interface cones). Cone lifetime in a mining lab is measured in months, not years, so budget them as a true recurring consumable and train techs to inspect tips under magnification rather than guessing from falling sensitivity.
We’ve covered the ICP-MS sample prep consumable landscape in more depth in another article if you want the element-by-element version (what consumables ICP-MS sample preparation needs).
Bottles and Containers for Field Samples and Standards
Bottles look like the boring end of this list, and they’re the ones most likely to silently wreck a trace dataset.
Plastic vs glass for the field. HDPE sample bottles are the workhorse for soils, sediments, and waters headed for trace-metal analysis. They’re cheap, they don’t shatter in a truck, and they don’t leach boron and silicates the way glass does. Glass earns its place when organics are in scope (VOC vials, amber glass for extractable organics) or when the sample is a solvent.
Amber vs clear is a simpler call. Light drives photodegradation in anything photosensitive: mercury complexes, certain organics, iodine species. Amber HDPE or amber glass for those; clear is fine for the rest and lets a tech eyeball the contents without opening the cap. We keep a fuller decision guide for the bottle side of this at amber vs clear reagent bottles.
Acid-washed, trace-metal-grade bottles. For dissolved-metals water work at ng/L levels, factory-clean isn’t clean enough. Bottles should be detergent-washed, soaked in 10% nitric acid, rinsed with Type I water, and double-bagged. Buy them pre-cleaned with a certificate, or pay a tech to do it in-house and write the SOP down. Filtration (0.45 µm for “dissolved” fractions) happens in the field or at intake, and the filter itself becomes a consumable decision; capsule filters beat disposable syringe filters when liters per sample are involved.
Standards and reagents need the same bottle discipline as your samples. PFA bottles for HF-containing and ultra-trace standards, HDPE for routine ones, and remember that standards degrade in the bottle too: dilute standards for elements like Hg and Ag have shelf lives measured in weeks.
Cap liners and closures. The liner question follows the solvent rule: PTFE-faced liners for anything containing organic solvent or aggressive acid vapor, polypropylene liners only for clean aqueous work. For field work, don’t overlook the packaging that protects the container either. Single-bagged bottles arrive compromised surprisingly often after a rough freight ride, and double-bagging with the label sandwiched between the bags is the cheap version of an insurance policy. Chain-of-custody seals belong in the same order as the bottles; geochem samples move through more hands than almost any other lab sample type.
QA/QC Consumables: CRMs, Blanks, and the Paperwork Behind Them
Nobody gets excited about QC consumables, which is exactly why they’re the section auditors read first.
Certified reference materials. CRMs are pulps of known composition, and in geochem work they’re your only honest mirror. NIST Standard Reference Materials cover rock suites (basalts, granites, ores) with certified values traceable to national standards (NIST SRM program). Insert a CRM every 20 samples, rotate through materials whose grades bracket your expected values, and treat a CRM failure as a batch kill, not a footnote. Buy from suppliers who ship the certificate with each lot and state the certified values and uncertainties plainly.
Blanks. You need several kinds, and they’re all consumables in the procedural sense. Field blanks catch contamination from sampling gear and transport. Prep blanks (silica sand run through crusher and pulverizer) catch cross-contamination between samples, and they’re your early-warning system for a worn tungsten carbide bowl. Reagent blanks catch dirty acid. Method blanks catch the whole system. Run at least one per batch, more if your prep line is busy.
Duplicates and rejects complete the picture. Duplicate pulps (usually one in ten, split at the pulverizer with a riffle splitter rather than a scoop) quantify your prep precision, and rejects (the retained coarse crush and spare pulp) are your only path to a re-assay when two labs disagree. Store rejects in labeled, sealed containers; a reject that has absorbed moisture and dust from the shelf is a reject in name only. None of this costs much up front. All of it costs more to retrofit after a dispute.
The pattern I’d push any new lab manager toward: QC failure almost never traces to the instrument. It traces to a consumable or a shortcut in prep. That’s also the theme of our 12-point supplier audit checklist, because the CRMs and blanks are only as good as the supply chain behind them.
Buying Guide: What to Specify and What Documents to Demand
Geochem consumables punish vague purchase orders. “Send crucibles” gets you whatever’s on the shelf; a spec gets you what your method needs.
Specify by function, not by brand name. For milling parts, name the material (agate, zirconia, tungsten carbide), the contamination budget you’re accepting, and the bowl model it must fit. For vessels, name the polymer and the acid exposure. For cones, name the instrument model and tip material. For sieves, name the mesh and the certification standard. Vendors can hit a functional spec from multiple factories; they can’t read your chromatograms to reverse-engineer what you meant.
The documents are where procurement adds real value. This is the paper trail worth asking for on any geochem consumables quote:
| Document | What it actually proves |
|---|---|
| Certificate of analysis / conformity | The lot matches the stated material and dimensions |
| Contamination/leachate certificate | What the consumable sheds into your sample (critical for mill parts and vessels) |
| Sieve compliance certificate | Mesh openings conform to the stated standard |
| Lot traceability record | You can map any reported value back to the exact consumable lot |
| Safety data sheets | Handling and disposal, mostly for fluxes and acids |
If a supplier can’t produce a contamination certificate for a pulverizer bowl, that’s information too. Some can’t because they’ve never been asked; some can’t because there’s something to hide. Our guide on how to read a consumables spec sheet covers the vocabulary that turns these conversations from guessing into comparing.
One pricing note from experience: in this category the cheapest quote is usually the most expensive invoice you’ll pay this year. A crucible difference of a dollar is noise. A redo of 500 pulps is not.
Lead times deserve a line in your plan too, because mining consumables don’t behave like office supplies. Crucibles and cupels in standard sizes are usually on the shelf. Agate bowls for a specific pulverizer model, zirconia inserts, and PFA vessels in less common sizes can run weeks, and a mill down for a bowl is a prep line down. Map your consumables against your sample forecast each quarter, keep safety stock on the long-lead items, and put re-order triggers on the calendar rather than in someone’s memory.
Conclusion
Mining and geochemical labs live or die by consumable specs, because in this field the consumables are part of the analytical chemistry. A tungsten carbide bowl is a tungsten source. A bone-ash cupel is a silver sink. A nickel cone is a sensitivity budget. The workflow from field bag to assay certificate runs through crushers, bowls, sieves, PFA vessels, crucibles, nebulizers, cones, and bottles, and each one has a contamination signature you either chose or inherited.
If you take one thing from this guide, make it this: write the contamination budget into the purchase order. Decide what each consumable is allowed to add to your samples, in numbers, and hold suppliers to it with certificates. That single habit prevents more re-runs, audit findings, and quietly wrong assays than any instrument upgrade ever will. Start with the milling materials and the ICP-MS cones, since those bite hardest and most often, then extend the discipline to bottles and QC materials.
Frequently Asked Questions
What pulverizer bowl material should I use for trace element work?
Agate gives the lowest contamination, adding essentially only silica traces, but it grinds slowly and wears on hard ores. Zirconia is the usual compromise for REE and isotope work. Never use tungsten carbide if W or Co is on your analyte list, and avoid carbon steel when Fe, Mn, Cr, or Ni matter.
Why can’t glass vessels be used for geochemical digestion?
Silicate digestions require hydrofluoric acid, and HF dissolves glass and quartz, attacking the vessel and destroying your sample’s silicon content. Use PTFE or PFA vessels, which resist HF, aqua regia, and strong mineral acids at digestion temperatures.
What’s the difference between bone ash and magnesia cupels?
Bone-ash cupels are the standard, low-cost choice for gold and silver work. Magnesia cupels retain platinum-group metals better, so they’re preferred when the material carries PGMs. In both cases, porosity is the key spec: it controls how completely lead is absorbed during cupeling.
How often should ICP-MS cones be replaced in a mining lab?
Inspect the tips weekly under magnification and replace when you see erosion, deposits you can’t clean, or sensitivity loss that cleaning doesn’t restore. Most high-throughput geochem labs go through nickel cone sets in a few months; platinum-tipped cones last considerably longer under the same load.
Do I really need pre-cleaned bottles for water samples?
For dissolved metals at low levels, yes. Unwashed HDPE bottles carry manufacturing residues and particulates that bias low-level results. Either buy acid-washed, certified trace-metal-grade bottles or run a documented in-house cleaning protocol with a 10% nitric acid soak.