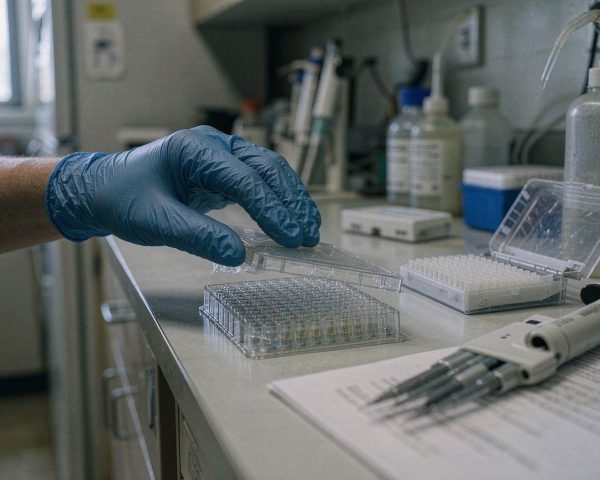

Walk into any immunoassay lab and you’ll find the same scene: a plate half-full of clear liquid, a multichannel pipette, and someone squinting at a standard curve. The kit usually gets the blame when the curve misbehaves. In my experience the consumables around the kit deserve more of the suspicion than they get.
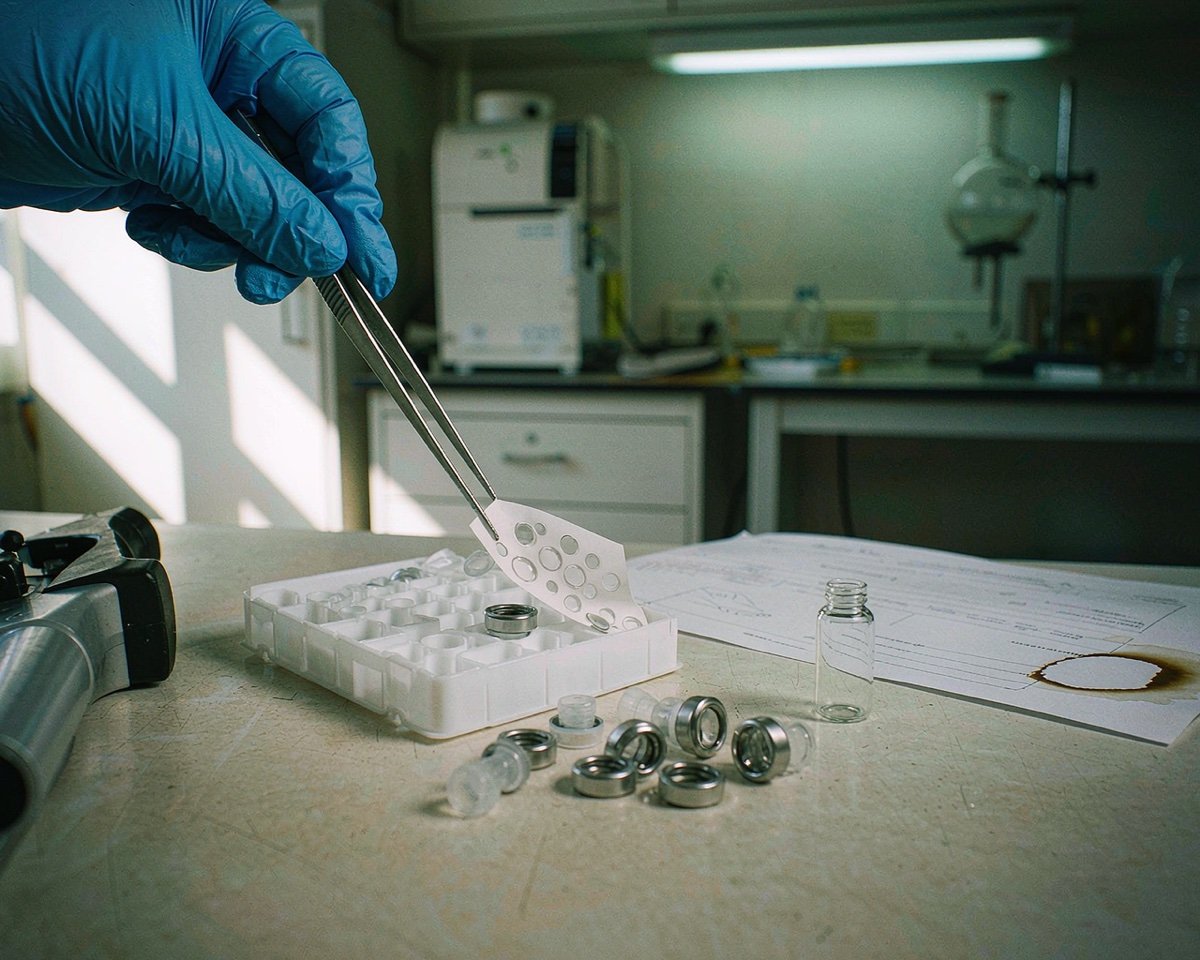
ELISA work needs high-binding or non-binding 96-well plates depending on your assay, low-retention pipette tips for microliter volumes, reagent reservoirs, reliable wash tools, polypropylene tubes for standards, and plate sealers that actually seal. Each one has a specific failure mode.
Here’s the workflow from coating to readout, and the exact point where each consumable can bite.
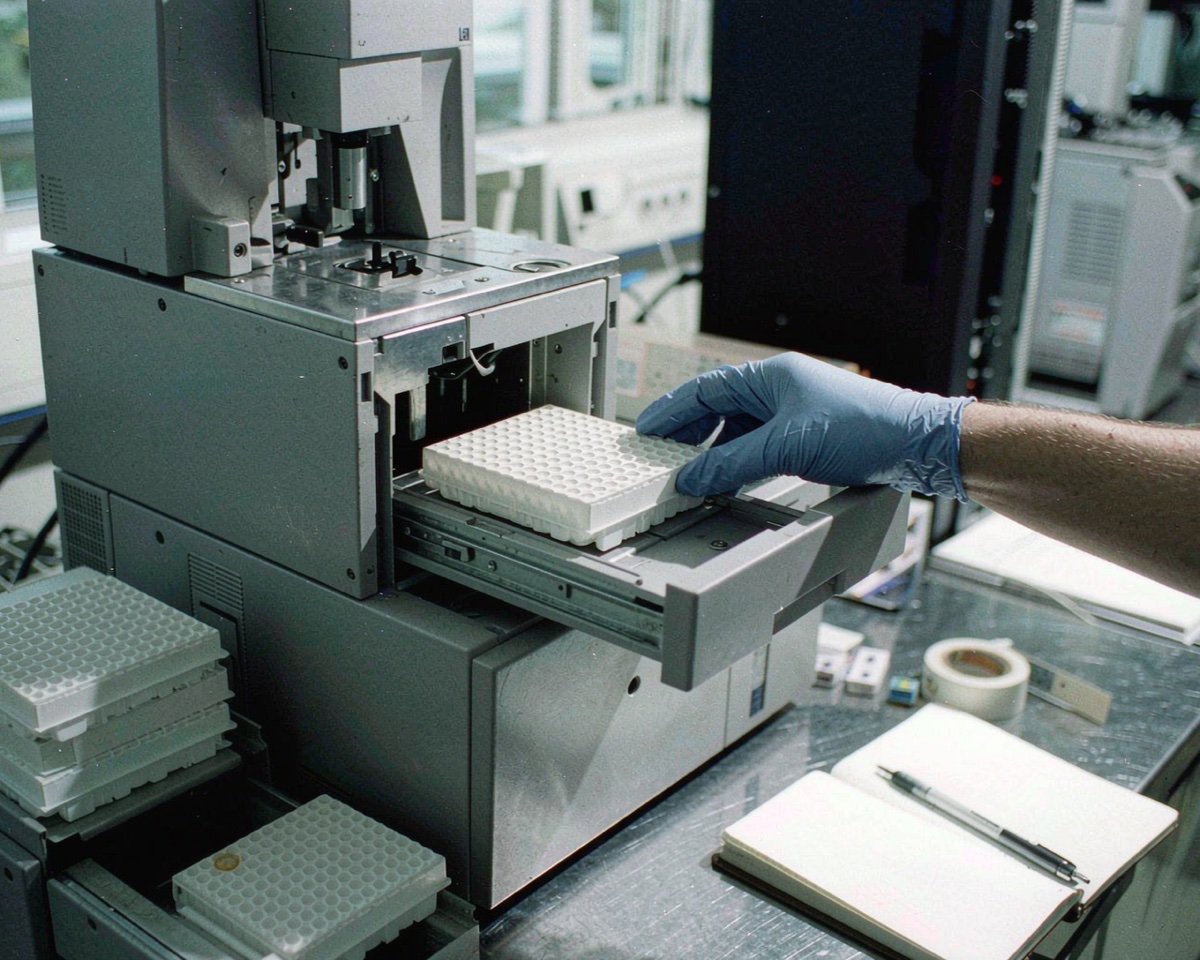
The 96-Well Plate Is the Assay
Every sandwich ELISA starts with antibodies immobilized on polystyrene well surfaces, which is why the plate surface is the single most consequential choice you make. Thermo Fisher’s ELISA technical guide lists plate type first among the factors affecting assembly of the immune complex, ahead of blocking buffers and antibody concentrations (see the guide).
Three surfaces cover most needs:
- High-binding plates are untreated polystyrene with a charged, hydrophobic surface that passively adsorbs antibodies and proteins. Corning’s EIA/RIA high-bind plates specify a binding capacity of roughly 500 ng of mouse IgG per cm², which is what you want when coating your own capture antibody.
- Tissue-culture-treated plates carry surface charges tuned for cell attachment. They bind proteins too, but less predictably for coating. Use them for cell-based assays where cells sit in the wells, not for standard sandwich coating.
- Non-binding or low-binding plates resist adsorption. They matter when your assay reads something released into the supernatant and you can’t afford analyte or reagent sticking to the walls.
If you run pre-coated kits, you might think none of this applies to you. It does, indirectly. Strip-based kits let you use part of a plate and store the rest, and the moment you handle a coated plate roughly, wash it too aggressively, or incubate it unsealed at room temperature, you’re degrading a surface somebody else optimized. The coating itself is only as durable as its storage; a pre-coated plate that sweated condensation in a warm shipment behaves like a different product. I’ve seen a full kit shipment written off because the plates thawed and refroze in transit storage; now I check kit component storage terms before ordering in summer.
One more plate decision that looks trivial: strip plates versus full plates. Strips cost more per well but let you run twelve samples without committing a whole plate’s worth of reagents. For a lab that runs small, irregular batches, the strip format often wins on total cost once you count the wasted wells of a full plate expired in the fridge.
Pipette Tips: Where Small Volumes Get Lost
ELISA lives on 50 to 200 µL volumes, and at that scale the liquid left inside a standard tip is a real fraction of your dispense. Add detergent-containing wash buffers and blocking solutions to the mix and the retention gets worse, because surfactants lower surface tension and make liquid cling.
Low-retention tips have a more hydrophobic surface, so more of what you aspirate actually leaves the tip. You don’t need to chase any particular brand; you need to recognize the pattern. For duplicate wells at 50 µL, the tip-to-tip variation from a cheap wetting tip can rival the biological variation you’re trying to measure.
My own habit: low-retention tips for standards and samples, regular tips for wash buffer and stop solution where nobody cares about a few percent.
Reservoirs and Wash Bottles
A multichannel pipette needs a trough to drink from, and the humble reagent reservoir is also a contamination point. Two rules from hard experience: one reservoir per reagent per plate, and never pour leftover detection antibody back into the stock vial. A 15 mL reservoir costs cents; a contaminated antibody stock costs the assay.
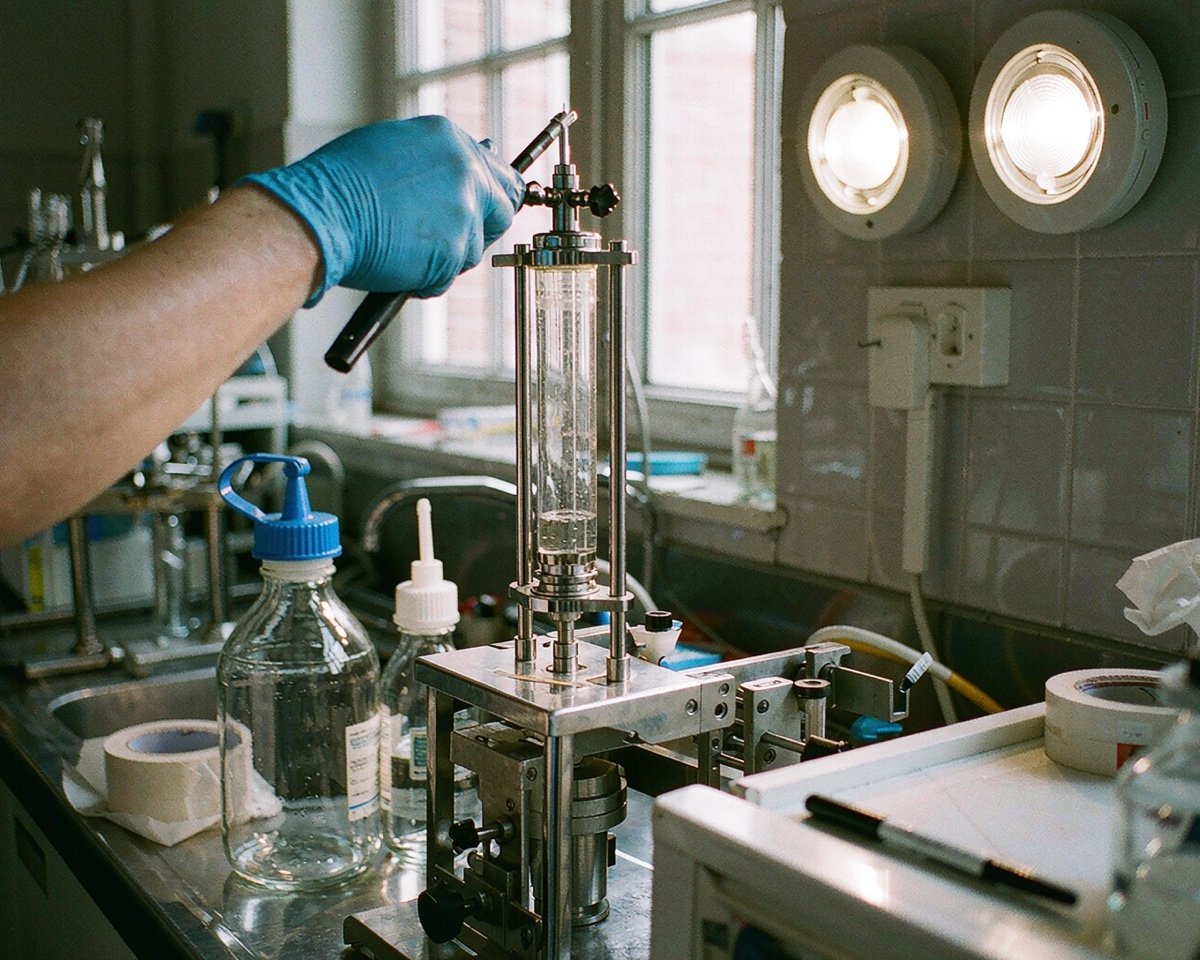
Washing is the step that separates clean plates from noisy ones. A typical colorimetric sandwich protocol calls for five washes of 300 µL per well after the detection step, done by plate washer or multichannel pipette (example protocol). Whatever delivers that wash needs to leave minimal residual volume. A plate washer with a clogged manifold channel quietly under-washes one column, and you get an edge-shaped artifact that looks like pipetting error. If you wash by hand, fill the wash bottles fresh each day and watch for membrane residue in the bottom.
Polypropylene Tubes for Standard Prep
This one surprises people. Dilute protein standards adsorb to surfaces, and the surface they meet first is your dilution tube. Glass binds proteins more avidly than polypropylene, so serial dilutions for ELISA standards belong in PP tubes, ideally low-binding ones.
The practical failure looks like this: a 8-point curve where the low standards read low and the curve sags at the bottom. You rerun it and it’s fine, or it isn’t, and the difference is how long the standard sat in the tube and what the tube was made of. If you’re preparing standards the night before, PP tubes and a quick check of tube lot quality are worth it; our centrifuge tube materials guide covers the material choices in detail.
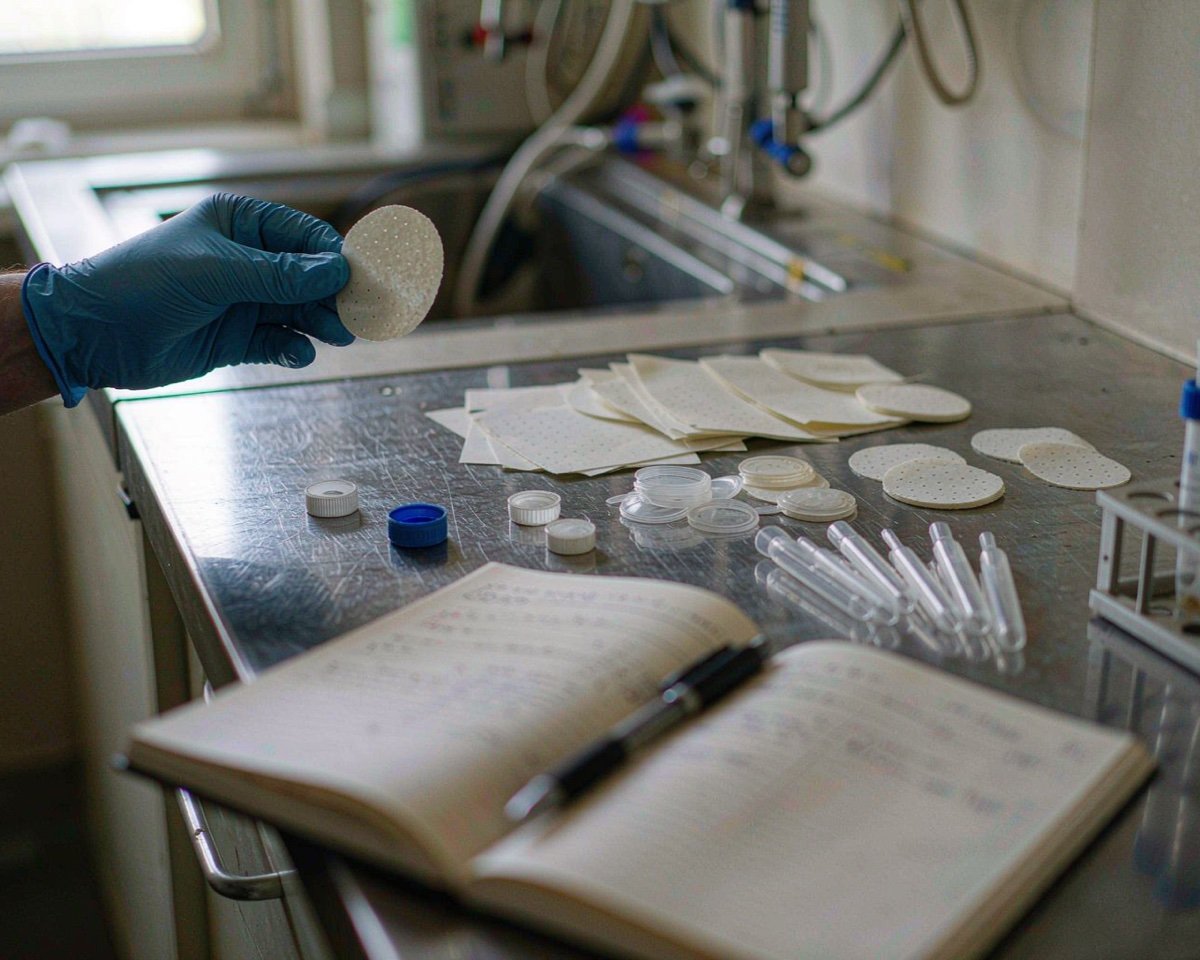
The same logic applies to any filtration you do on samples before loading. Protein samples and nylon membranes don’t mix, which we detail in our filter guide for protein and peptide samples.
Plate Sealers and the Edge Effect
Unsealed wells evaporate, and the outer wells of a 96-well plate evaporate first. This “edge effect” is well documented: in one study of 96-well plate evaporation, outer wells showed up to 35% lower signal than central wells, and the effect varied by plate brand (the study is open access).
Sealing film is the cheap countermeasure. Thermo’s standard sandwich protocol lists sealing tape for 96-well plates among its required materials, and for good reason: a sealed plate incubating for two hours loses dramatically less volume than an open one. Use peelable sheets when you need to reopen wells; use pierceable seals only when your reader or washer supports piercing.
If your incubations run long or your lab runs warm, go further and fill unused outer wells with water or buffer as evaporation shields. Sacrificing 36 wells sounds wasteful until you compare the CVs.
Storing Kit Components
ELISA kits have opinions about storage, and they’re usually right. Plates and antibodies generally want 2 to 8°C, some reagents want to stay frozen, and conjugates often hate freeze-thaw cycles more than anything else you could do to them.
Three habits that protect kit components: keep the desiccant packet with the plate strips, return components to the fridge between plate setups rather than leaving them on the bench, and aliquot anything that says “do not refreeze” on arrival. The door shelf of a lab fridge is the worst place for a kit, by the way; it swings warm every time someone opens the door. Bottom shelf, back of the rack, labeled. Our general consumables storage guide covers shelf-life thinking for the surrounding plastics too, because tips and tubes also age on the bench.
Conclusion
An ELISA kit is a system, and the consumables around it are part of the system. The plate surface decides whether your capture antibody coats evenly, the tips decide whether your 50 µL really was 50 µL, the sealer decides whether well A1 and well D5 incubate under the same conditions, and the tube material decides whether your lowest standard survives the night. None of these components costs much, which is exactly why they’re the last things anyone troubleshoots. My suggestion for the next assay that misbehaves: before you blame the antibodies, write down every surface your standards touched between the stock vial and the reader. You’ll usually find the culprit in that list, and it’ll cost less to fix than the kit did.
Frequently Asked Questions
Can I use tissue culture plates for ELISA?
You can, but they’re not ideal for coating your own antibody. TC treatment is optimized for cell attachment, and protein adsorption is less uniform than on high-binding EIA/RIA plates. For pre-coated kits the question is moot since the plate comes with the kit.
Why are my ELISA outer wells lower than the middle wells?
Evaporation. Outer wells lose water faster during incubation, concentrating their contents and suppressing signal. Seal the plate during incubations and consider filling outer wells with water or buffer as evaporation shields on long runs.
Do I really need low-retention tips for ELISA?
Not for every step, but they help most for standards, samples, and anything with detergent. At 50 µL volumes, liquid retained in a standard tip is a meaningful fraction of the dispense and adds pipette-to-pipette variation.
What wells should I leave empty on a 96-well plate?
For long incubations, many labs sacrifice the 36 outer wells and fill them with water or buffer. For short, sealed incubations, you can use every well. Check your kit’s template, since some positions are reserved for controls.
How should I store an opened ELISA kit?
Keep plate strips in their foil pouch with desiccant at 2 to 8°C, return reagents to the fridge promptly, and aliquot anything marked do-not-refreeze on first use. Most opened kits are fine for weeks if they stay dry and cold.