
Your method is validated. Your instrument passed qualification. The numbers still drift, and nobody can explain it. After years of chasing this exact problem at the bench, I can tell you the culprit is rarely the instrument. It’s a consumable that nobody suspected.
Consumables change results through their materials, not through failures. A septum that bleeds siloxane, a filter that leaches extractables, an insert that sits below the needle’s reach. Each one shifts your peak areas or your baseline a little, every run, without throwing a single error flag.
The ten below are the ones I check first. Each item comes with the symptom I look for and the source behind the fix.
The 10 Consumables Worth Auditing
1. Septa Material and Thickness
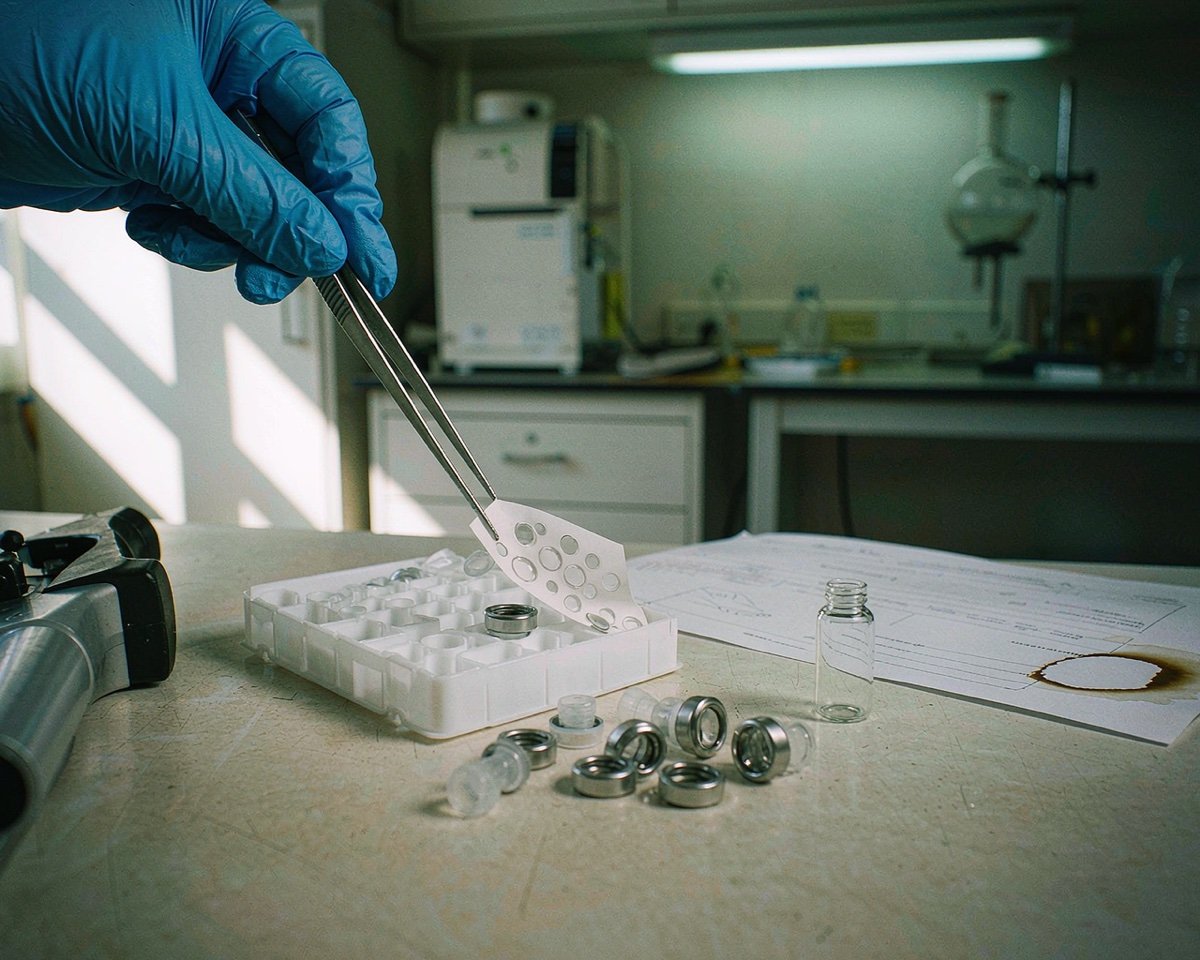
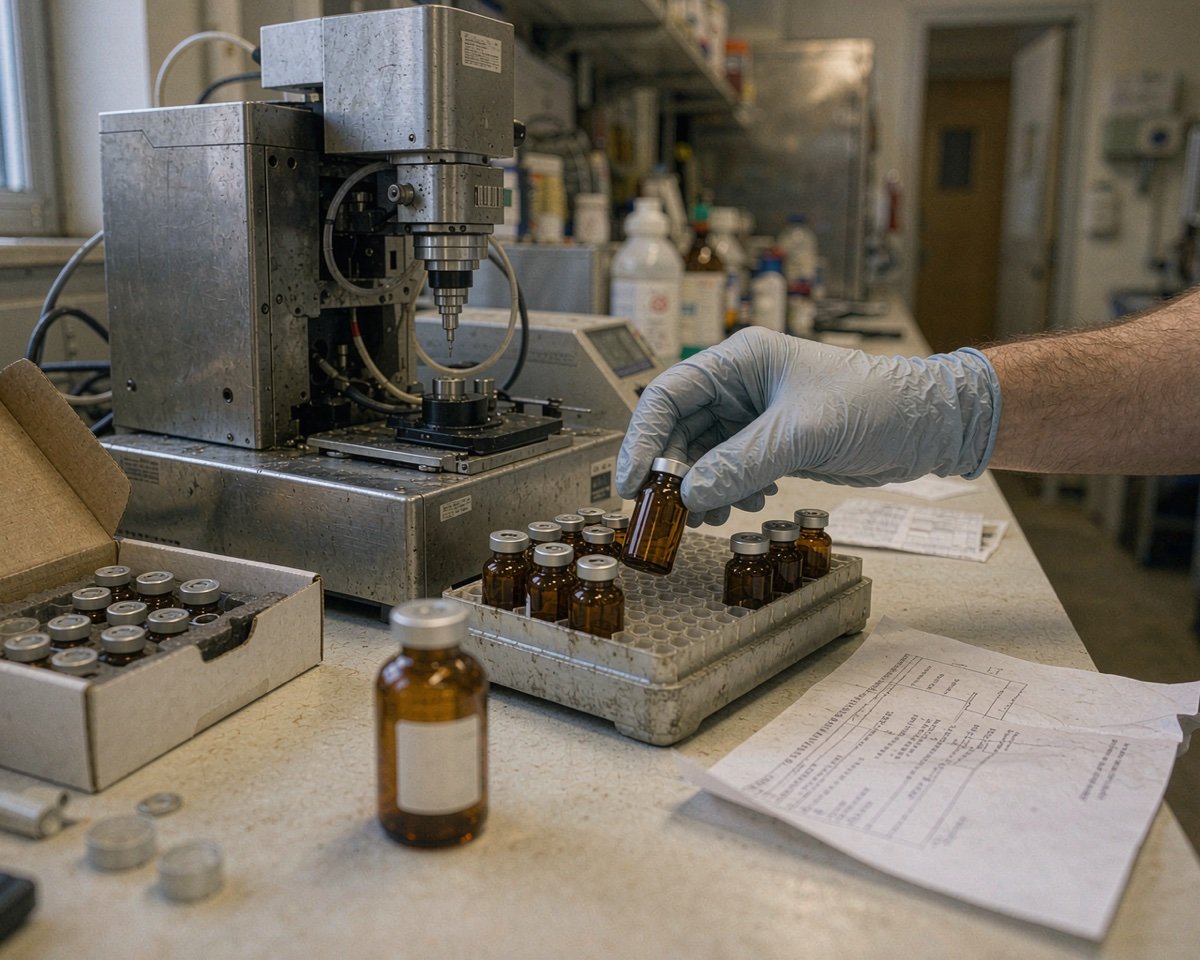
The septum is the only part of your vial the needle actually touches, and it’s the most common source of mystery peaks. Most HPLC caps use a PTFE/silicone laminate: the PTFE face resists the solvent, the silicone body reseals after the needle pulls out. The catch is that PTFE only protects until the first puncture. After that, your sample touches silicone, and silicone can bleed siloxanes straight into an LC-MS source.
Thickness matters too. A 3 mm septum behind a thin needle cores easily, and the punched-out bits end up in your sample. Thermo’s SureSTART line spells this out: their high-throughput silicone/PTFE septa are made at a Shore hardness of 50 specifically to reduce autosampler needle problems, and they come in multiple thicknesses for different cap styles (see the spec sheet).
The puncture site itself deserves a glance. A solid septum that gets punctured at the same spot by a 0.5 mm needle for twenty injections starts to chunk, and those fragments land somewhere, usually in your filtrate or on the needle seat. Pre-slit septa give the needle a defined entry and shed far less, at the cost of a slightly shorter solvent-holdout life. For methods that inject each vial once, solid is fine. For repeated draws from one vial, I’d go pre-slit without much debate.
If you only change one thing this week, change the septa. I once chased a siloxane series through a whole batch of LC-MS bioanalysis runs before someone admitted they’d swapped in bargain caps.
2. Vial Glass Quality and Background Noise
Not all glass is glass. Type 1 borosilicate is the standard for a reason: it releases very little into your sample. Cheaper molded glass, or soda-lime glass masquerading as labware, leaches sodium and other ions, and that shows up as a noisier baseline in UV and as unexplained low-level peaks in MS. The difference between Type 1 borosilicate and soda-lime glass is worth ten minutes of your time.
Surface quality is the hidden half. A vial with a rough interior, seams from a bad mold, or residual mold lubricant carries extra active sites, and active sites adsorb and desorb analytes unpredictably. Trace analytes feel this first; at 10 ng/mL, a few square centimeters of dirty glass can hold a measurable fraction of your peak. Tubular vials, drawn from glass tubing, tend to be more uniform inside than molded ones, which is one reason regulated labs often specify them.
The nastiest version of this problem is lot-to-lot: a trace method that ran clean for months suddenly grows a shoulder on your analyte peak. Same method, same column, new box of vials. My rule now is to keep one opened box from the previous lot until the new lot has proven itself on a blank.
3. Syringe Filter Membrane Chemistry
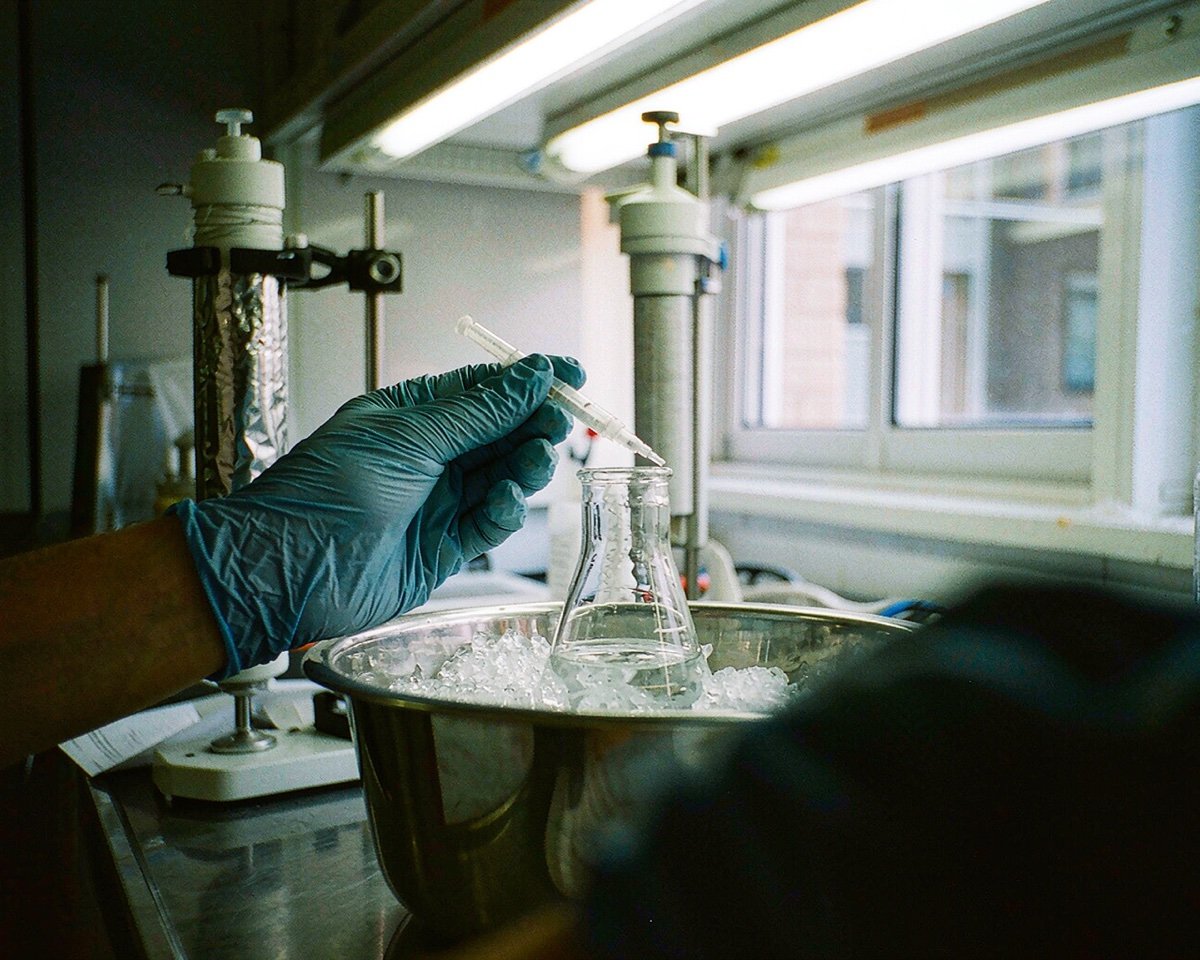
Filtration looks harmless, but the membrane is a chemical surface your sample touches under pressure. Nylon, the workhorse for general HPLC samples, is also a protein binder, so it can quietly strip antibody or peptide content from a bioanalytical sample. Regenerated cellulose is the better pick when nonspecific binding is the enemy; Thermo describes its Target2 regenerated cellulose filters as low-nonspecific-binding options for biological samples, with membranes and housings selected to keep filter-borne contaminants out of your extract.
Extractables are the other half of the story. Push pure methanol through a cheap filter and you can watch a forest of peaks come off it: wetting agents, plasticizer traces, housing residue. That’s a problem you can’t dilute away when the filter’s peaks sit where your analyte elutes. Match the membrane to the solvent, and if your analyte sits near the quantitation limit, pre-rinse the filter with a little sample and discard it. That pre-rinse has saved me more trace-level assays than any other habit. If you want the deep version, the membrane chemistry trade-offs (nylon, PTFE, PVDF, PES, RC) each deserve their own decision.
4. Low-Volume Inserts for Micro-Samples
Here’s a small geometry problem with big consequences. A standard autosampler needle descends to a fixed depth in a 2 mL vial. If you have 250 µL of precious sample pooled at the bottom of that vial, the needle tip may sit above the liquid, and the injection pulls air or nothing at all.
A conical insert changes the geometry. The same 250 µL now forms a column of liquid deep enough for the needle to reach, and a spring insert keeps the liquid at the very tip even as the volume drops. I learned this the hard way with a 40-sample sequence of protein-depleted plasma: the last three calibrators injected air, and the whole calibration had to be repeated. Fifteen cents of plastic per vial versus a rerun of a day’s work.
5. Amber vs Clear Glass Vials
Some analytes break down under bench light faster than you can rack them. Riboflavin, nitrosamines, vitamin D metabolites, many cannabinoids: all of them drift when exposed to light, and a drifting analyte looks exactly like poor recovery. The tell is time-dependence: standards prepared at 8 am read high relative to the same standards prepared at 4 pm, and nobody can reproduce either number.
Amber glass blocks most visible wavelengths and costs barely more than clear. If your method involves any photosensitive compound, I’d default to amber and stop thinking about it. The full trade-offs, including when clear glass still wins (autofluorescence-sensitive detection, visual inspection), are in our clear vs amber vial comparison.
One bench detail: it’s not only the vial. A clear vial under a bright autosampler lamp for sixteen hours is a different experiment from one that went in straight after prep. Prep in amber, or dim the lights, or both.
6. Mobile-Phase Bottle Caps and Closures
The mobile phase bottle sits there all day, quietly evaporating. Organic-rich solvents evaporate faster than water, so a loosely capped acetonitrile bottle gets measurably richer or, if the water goes first, weaker, and your retention times walk. Buffer concentrates as solvent leaves, which invites precipitation and algae in aqueous lines. Over a weekend, an uncapped 60:40 water/acetonitrile bottle can shift enough to move late-eluting peaks by minutes.
The closure itself deserves attention, since liner material and vent design both matter for aggressive solvents. PTFE-faced liners hold up where soft rubber liners swell and leach; vented caps trade evaporation protection for pressure relief on high-organic mixes.
The fix is boring and cheap: use proper GL45-style caps with intact seals and septa, and cap the bottle between runs. I lost a weekend once to a retention-time creep that turned out to be a solvent bottle someone had left sitting under the vented cap only. Since then, the last thing I do before leaving the lab is check every bottle closure.
7. Autosampler Syringe and Needle Wear
The needle takes a beating, thousands of punctures and solvent cycles a year, and it degrades slowly enough that you blame the method instead. Worn needle seats and damaged needle exteriors drive carryover, and carryover shows up as a ghost of your previous sample in your blank. The classic sequence: your blank after a 10 µg/mL standard shows half a percent of that standard, then one percent, and one day the blank after your low QC shows a peak that breaks your integration. Nothing changed in the method. The needle seat just got older.
Manufacturers design around this. Agilent’s 1290 Infinity II Vialsampler documentation describes a needle wash port that rinses the outside of the needle between injections precisely to keep carryover low. Use it. Make sure the wash solvent actually dissolves your analytes; a needle wash of water after a lipid extraction is decoration, not cleaning. Then watch your blank injections over time: when carryover starts creeping up on an older instrument, the needle, seat and rotor seal are the first suspects, ahead of anything electronic.
I check our workhorse needle under a loupe every quarter. It takes two minutes and has caught two bent needles before they bent a whole sequence.
8. Certified vs Uncertified Vials
An uncertified vial is fine until your method is sensitive enough to notice the lot-to-lot variation. Wall thickness, glass chemistry, extractables, all of it wanders a little between production lots, and unregulated wandering means your integration parameters drift too. The effect is invisible at milligram-per-liter concentrations and unmistakable at trace levels, where one lot’s extra surface activity quietly flattens your recovery for the lowest calibrator.
Certified vials come with lot documentation: the manufacturer has tested that batch against published specs and gives you the paperwork. Whether you need that level of control is a method question, not a status question. Our certified vials explainer walks through what the certificate actually guarantees.
My own line: regulated work gets certified vials, always. Research screening can usually live without them, but the first time an auditor asks where a vial came from, the folded certificate in the box pays for itself.
9. Filter Hold-Up Volume
Every syringe filter holds back a little liquid after you push it through. That hold-up volume is dead sample you never see, and it scales with membrane area. A 25 or 30 mm filter can trap well over a hundred microliters; Thermo’s own chromatography filter guide pushes smaller devices precisely because low hold-up volume preserves small samples, and matches filter diameter to sample volume (4 mm devices for a few milliliters, 13/17 mm for around 10 mL).
Do the arithmetic on a 300 µL plasma extract filtered through a 25 mm disc: you can lose a third of it into the membrane, and the loss isn’t even uniform across analytes, since hold-up liquid is enriched in whatever binds the membrane. The fix is to size the filter down, or accept the loss and over-collect. We wrote a whole guide on measuring and minimizing hold-up volume if you want the numbers for your own discs.
10. Guard Columns and Inline Filters
The analytical column is the most expensive consumable on the list, and the cheapest way to protect it is a sacrificial guard. A guard cartridge sits in front of the column and traps particulates and strongly retained junk your sample prep missed. Restek’s guard column guide puts it plainly: a guard can significantly improve the lifetime of the analytical column and improve chromatographic performance.
Match the guard’s stationary phase and particle size to the analytical column, or you’ll add peak broadening instead of protection. Swap the cartridge on a schedule rather than waiting for pressure to climb. On dirty matrices I’ve seen a $40 guard cartridge take the hit that would have ended a $900 column, and I’ve stopped feeling clever about it. It’s just the cheapest insurance in the lab.
Quick Reference: Symptom to Suspect
| What you see | Check first | The quick fix |
|---|---|---|
| Siloxane ghosts in LC-MS | Septa material | Switch to PTFE/silicone, Shore ~50 |
| Rising blank noise after a new box | Vial glass lot | Keep a vial from the old lot for comparison |
| Low protein recovery | Nylon membrane | Move to RC or PVDF |
| Air injections near vial bottom | Missing insert | Use conical or spring inserts |
| Creeping carryover | Needle and seat | Verify needle wash, replace worn parts |
Conclusion
None of these ten consumables fails loudly. That’s the whole problem. A septum doesn’t alarm, a membrane doesn’t flag, a glass lot doesn’t announce itself; they just bend your data a little at a time, and you find out during review, or worse, after the report goes out. My advice is to pick the two items on this list that map to your most sensitive method and audit them this month. Compare your blank against a vial from an old lot. Pre-rinse one filter. Drop a guard onto your dirtiest method. Small checks, cheap parts, and a paper trail that answers the question auditors actually ask: how do you know your consumables didn’t change the result? Once you can answer that with a straight face, most of the quiet drift in your lab stops being mysterious.
Frequently Asked Questions
How often should I replace HPLC vial septa?
Replace the cap and septum every time you puncture more than a few times, or whenever you see coring fragments or leaks. For multiple injections from one vial, pre-slit septa reseal more reliably and put less stress on the needle.
Do expensive vials really make a difference for routine HPLC?
For a rugged assay at mid-range concentrations, often not much. The differences show up at trace levels, in LC-MS, and in regulated work where lot documentation matters. Match the vial tier to the method’s sensitivity.
What’s the best syringe filter for protein samples?
Avoid nylon, which binds protein. PVDF or regenerated cellulose at 0.22 µm are the usual choices for protein-containing samples, and a pre-rinse with sample helps at low concentrations.
Why do my retention times drift over a long sequence?
Common culprits are mobile-phase evaporation from loosely capped bottles, temperature swings in the column compartment, and sample evaporation from vials with poor seals. Check the bottle closures and vial caps before blaming the pump.
Are guard columns worth it for clean samples?
Usually yes. Even “clean” filtered samples carry some particulates and strongly retained contaminants, and a guard is far cheaper than replacing the analytical column early. The main exception is UHPLC, where extra-column volume matters and an inline filter may be the better choice.