
What Is Headspace Analysis and How Does It Work?
If you have ever needed to measure the volatile compounds hiding inside a solid polymer, a thick syrup, or a pharmaceutical tablet — without wrecking your GC column — headspace analysis is the technique you keep hearing about. In this guide I will walk you through exactly what headspace analysis is, the physics behind it, and how an automated headspace sampler turns a sealed vial of sample into clean chromatographic data.
Quick answer: Headspace analysis is a sample-introduction technique for gas chromatography that measures the gas layer above a sealed sample rather than the sample itself. A heated vial reaches equilibrium between the liquid and vapor phases, and a fixed volume of that headspace gas is transferred into the GC for analysis.
Read on: It sounds simple, but the choice of temperature, vial geometry, and equilibration time quietly controls every result you produce. Let me unpack the science, then get practical about the vial, the cap, and the method.
The principle in one sentence (Henry’s law)
The entire technique is a practical application of Henry’s law, which says that the vapor pressure of a solute is proportional to the amount of solute in solution at equilibrium with its own vapor. In other words, if you can measure the concentration of an analyte in the gas phase, you can calibrate back to its concentration in the original sample. That is why headspace analysis is so powerful for things like residual solvents in drug tablets: the volatile impurity is the signal, and the heavy matrix is simply left behind in the sealed vial.
The relationship is usually written as headspace concentration ≈ original concentration ÷ (K + β), where *K* is the partition coefficient (how the analyte divides between sample and gas at a given temperature) and *β* is the phase ratio (the volume of gas divided by the volume of sample inside the vial). To boost your signal, you want a small *K* and a small *β* — and that is exactly what a good method optimizes. For the underlying theory, this ScienceDirect overview of headspace extraction is a clean starting point.
Static vs. dynamic headspace
There are two flavors, and you will see both in the literature.
Static headspace (SHS) — The sample sits in a sealed vial, the vial is heated (and usually agitated), and a single fixed-volume aliquot of the gas above the sample is transferred into the GC. It is the workhorse for routine residual-solvent, blood-alcohol, and food-flavor work because it is robust, easy to automate, and gentle on the column. The trade-off is sensitivity: only the volatile analytes that already partitioned into the gas at equilibrium are measured.
Dynamic headspace (DHS / purge-and-trap) — An inert gas is bubbled through (or swept over) the sample continuously, and the analytes are trapped on an adsorbent material before being thermally desorbed into the GC. This is far more sensitive — you can pull much more analyte out of the matrix — but it is more complex to run and is overkill for most routine pharmaceutical and food QC. The Shimadzu Basics & Fundamentals guide to gas chromatography includes a clean diagram of both modes if you want to compare them side by side.
What actually happens inside a headspace sampler
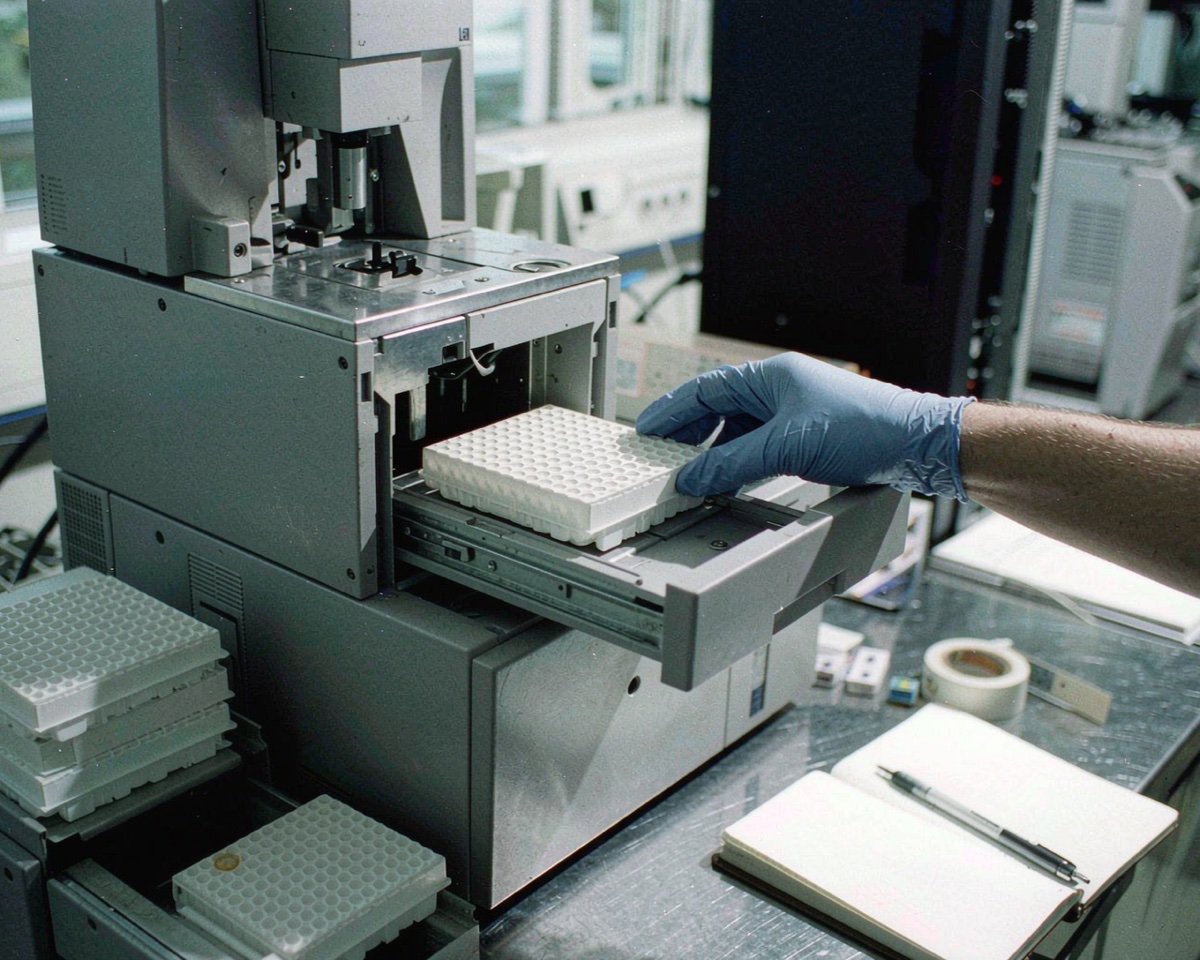
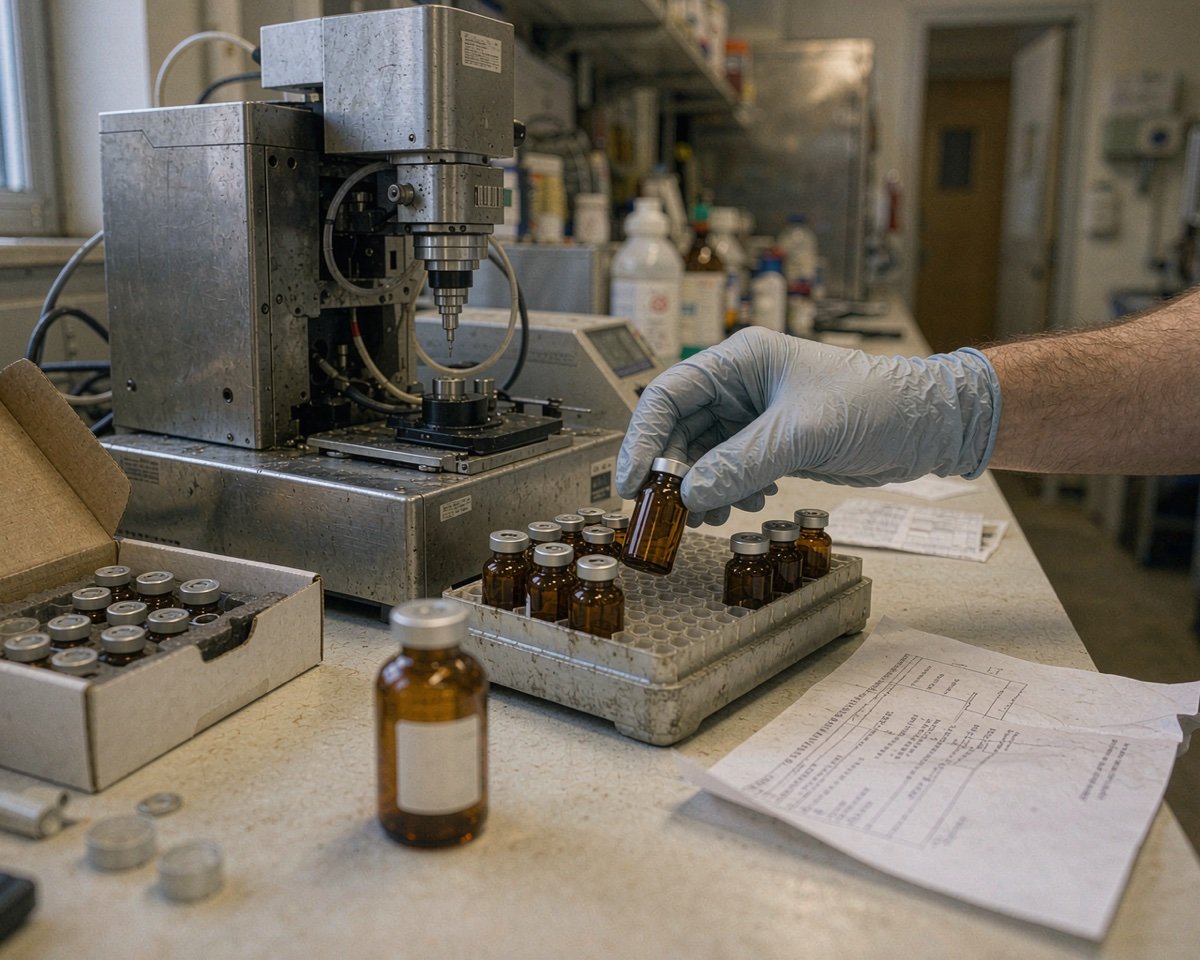
Modern systems like the Agilent 7697A headspace sampler (and its 8697 successor) are valve-and-loop instruments. In plain English, here is what they do, step by step:
1. The sealed vial is loaded into a temperature-controlled oven and incubated — typically 10 to 60 minutes — until the liquid and gas phases have reached equilibrium. Higher temperatures push more analyte into the headspace, which means a bigger signal.
2. The vial is pressurized with carrier gas (helium or nitrogen) through a needle that pierces the septum.
3. A heated sample loop of fixed volume (1 mL is the most common) is filled with the pressurized headspace gas.
4. The sampling valve rotates, flushing that loop onto the GC column.
5. The vial is vented and returned to the tray — the liquid sample itself never touches the GC inlet, liner, or column.
That clean separation is why headspace analysis is the preferred tool for dirty matrices like polymers, soils, and pharmaceutical formulations. It is also why the vial, cap, and septum choice matter so much: a leaking seal ruins the equilibrium you spent 30 minutes building.
The four parameters you actually control
If you are developing a headspace method, these are the only four dials you really need to think about:
– Incubation temperature — A higher temperature lowers *K*, which boosts signal. The catch is that you usually want to stay below the boiling point of your sample solvent and below the thermal-degradation temperature of your analytes. 60 to 90 °C is a common starting range for aqueous samples; pharmaceutical residual-solvent methods often run higher.
– Equilibration time — Long enough to reach steady state, short enough to be productive. The USP General Chapter <467> actually specifies three permitted parameter sets: 80 °C for 60 minutes, 105 °C for 45 minutes, or 80 °C for 45 minutes, all with carefully defined transfer-line temperatures.
– Phase ratio (β) — The volume of the vial headspace divided by the sample volume. Filling the vial to roughly half its capacity is a good default; too much sample gives you a low β and a small signal, while too little sample makes the injection unrepresentative.
– Salting out — Adding an inorganic salt (sodium sulfate, sodium chloride) to an aqueous sample can further lower *K* and push more analyte into the headspace. It is a cheap way to gain 2 to 5× sensitivity when the chemistry allows it.
Where headspace analysis is used every day
The same handful of applications shows up in every headspace method guide, because they all share a common problem: the analyte is volatile, and the matrix is something you would rather not inject.
– Residual solvents in pharmaceuticals — Defined by USP <467>, this is the canonical regulatory method. Class 1, 2A, and 2B solvents are quantified by static headspace GC/FID, often on dual columns for orthogonal confirmation. A practical modern example is the workflow described in this Agilent residual-solvents application note, which uses dual FIDs to screen and confirm Class 1, 2A, and the expanded 2B solvent lists in a single injection.
– Blood alcohol and forensic toxicology — Headspace GC is the legal and clinical standard for blood alcohol concentration because it avoids putting water and proteins onto the column.
– Food and flavor analysis — Off-flavors, oxidation products, packaging residues, and aroma profiling all lean on headspace because the compounds of interest are volatile by definition.
– Environmental VOCs — Soil, water, and waste samples are notoriously dirty; headspace is one of the cleanest ways to get VOCs onto a GC.
– Polymer and packaging — Residual monomers, extractables, and leachable studies in medical-device materials.
The vial, cap, and septum quietly decide your results
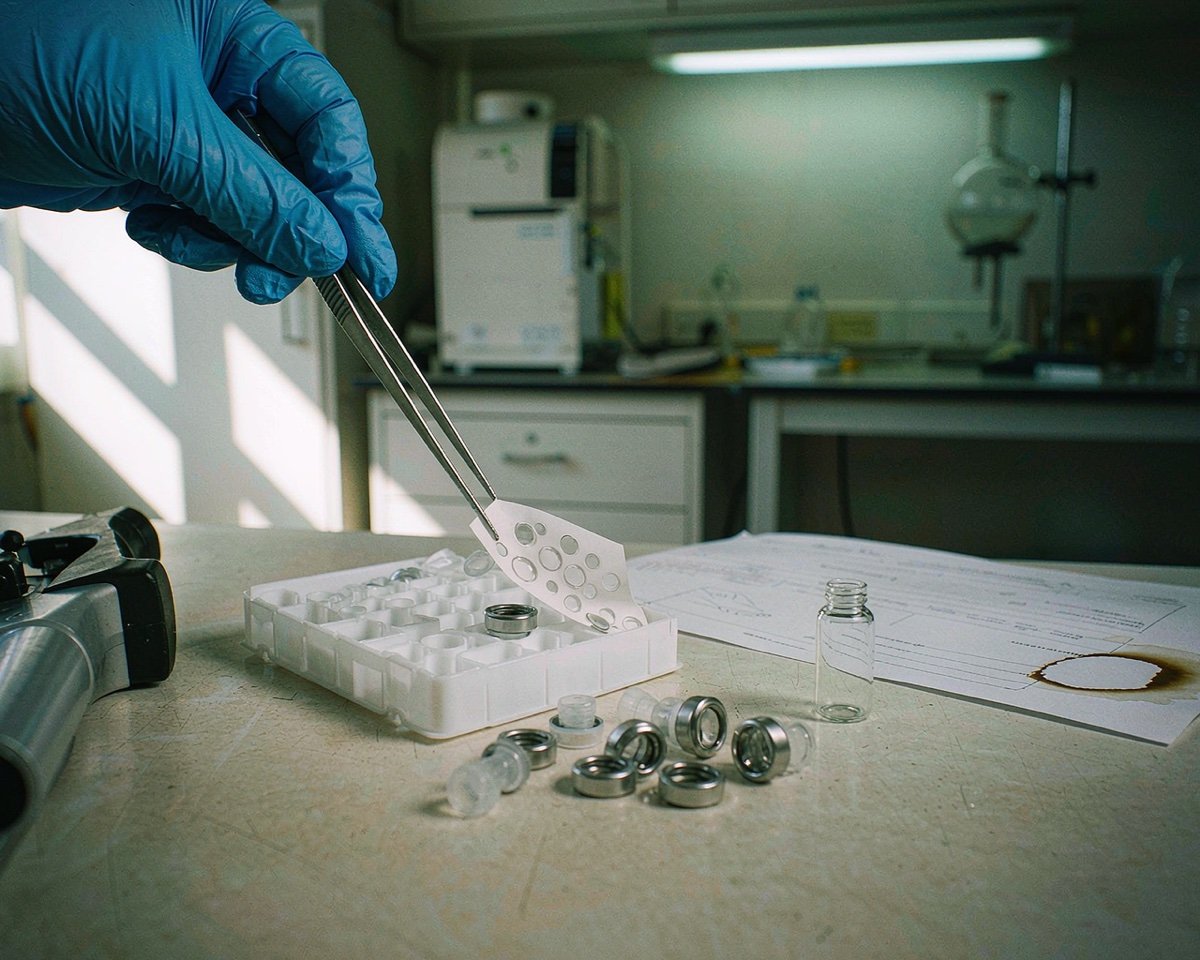
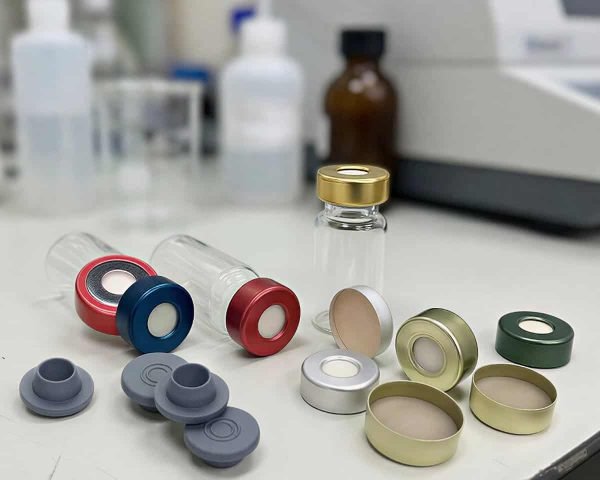
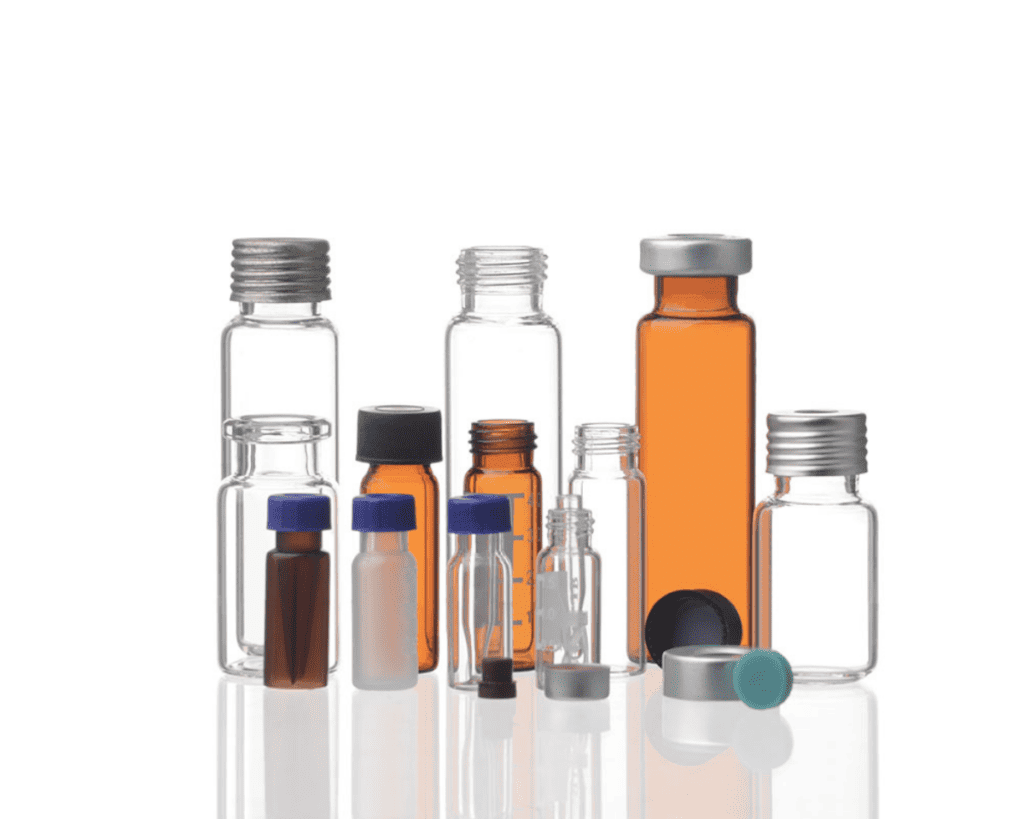
It is easy to focus on the GC method and forget the vial, but every headspace analysis lives or dies at the seal. A 20 mL crimp-top vial with a PTFE/silicone septum is the standard workhorse; if you want to know how that vial differs from a 2 mL HPLC screw-top vial, the HPLC vials vs headspace vials comparison I wrote earlier is a useful side-by-side. For a tight, reproducible seal that holds 80 °C for an hour without leaking, you also need a properly crimped cap — which is why I always recommend reading our HPLC crimping guide before you buy new caps.
Two practical points worth mentioning:
– Match the vial material to the method. Type 1 borosilicate glass (33 expansion) handles the temperature cycling, while clear glass is fine for most volatile organics and amber glass is worth using for photolabile analytes.
– Watch the headspace vial neck finish. The 20 mm crimp-neck geometry used in headspace is a different standard from the 9 mm screw neck used in HPLC, so the closures and capping tools are not interchangeable.
If you would like a broader context on what gas chromatography is used for, the Mastelf overview of GC applications is a good starting point. And if you ever hit a result that does not make sense, the GC troubleshooting guide is a handy companion.
Conclusion
Headspace analysis is one of those techniques that looks like “just put a vial in the oven” and is actually a careful balance of partition coefficient, phase ratio, temperature, and time. If you are running pharmaceutical residual solvents, the regulatory expectation is clear: follow USP <467> with a properly equilibrated vial and a tight crimp seal. If you are doing method development for a new volatile analyte, focus on the four dials — temperature, time, phase ratio, and salting out — and you will find a working window quickly. For a deeper look at how headspace vials differ from your standard HPLC screw-top vials, the Mastelf headspace-vials comparison is a good next read.
Frequently Asked Questions
What is the difference between headspace analysis and direct injection?
Direct injection puts the liquid sample onto the GC column, so any non-volatile matrix hits the inlet liner and column. Headspace analysis injects only the gas above the sample, so the liquid matrix stays sealed in the vial. This makes headspace ideal for dirty or non-volatile samples and dramatically extends column life.
What kind of vial is used for headspace analysis?
Standard headspace vials are 10 mL, 20 mL, or 22 mL clear or amber borosilicate glass with a 20 mm crimp top and a PTFE/silicone or PTFE/silicone/PTFE septum. They are physically larger and built for higher temperatures than a typical 2 mL HPLC screw-top vial.
Is static or dynamic headspace more sensitive?
Dynamic headspace (purge-and-trap) is significantly more sensitive because it actively concentrates volatiles on a sorbent trap before desorption. Static headspace is less sensitive but much simpler, more reproducible, and is the regulatory method for applications like USP <467> residual solvents.
How long does it take to develop a headspace method?
For a well-understood application such as residual solvents, a method can be transferred from a reference like USP <467> in a day or two. For novel matrices, expect a few days to a week of method development focused on incubation temperature, equilibration time, and phase ratio.
Can I reuse a headspace vial?
Generally no. Headspace vials are sealed once and pierced by the autosampler needle, which can compromise the septum and the seal. Reusing a vial risks leaks, carryover, and equilibrium errors. The septum and crimp cap are always single-use.