
Every bench has that one vial someone filled to a Sharpie line they drew by hand. Graduated vials exist so you never have to do that again: they come with volume markings printed right on the glass. Small feature, but it changes a few workflows more than you’d expect.
The Short Answer
Graduated vials are autosampler vials with printed volume graduations, typically at 0.5, 1.0, and 1.5 mL on a standard 2 mL vial. They’re useful for quick visual volume checks, approximate dilutions, and teaching labs. They are not volumetric glassware, so don’t use the marks where quantitative accuracy is critical.
Read On
Here’s where the marks help, where they mislead, and how to decide whether the graduated version belongs on your next order.
What the Graduations Actually Are
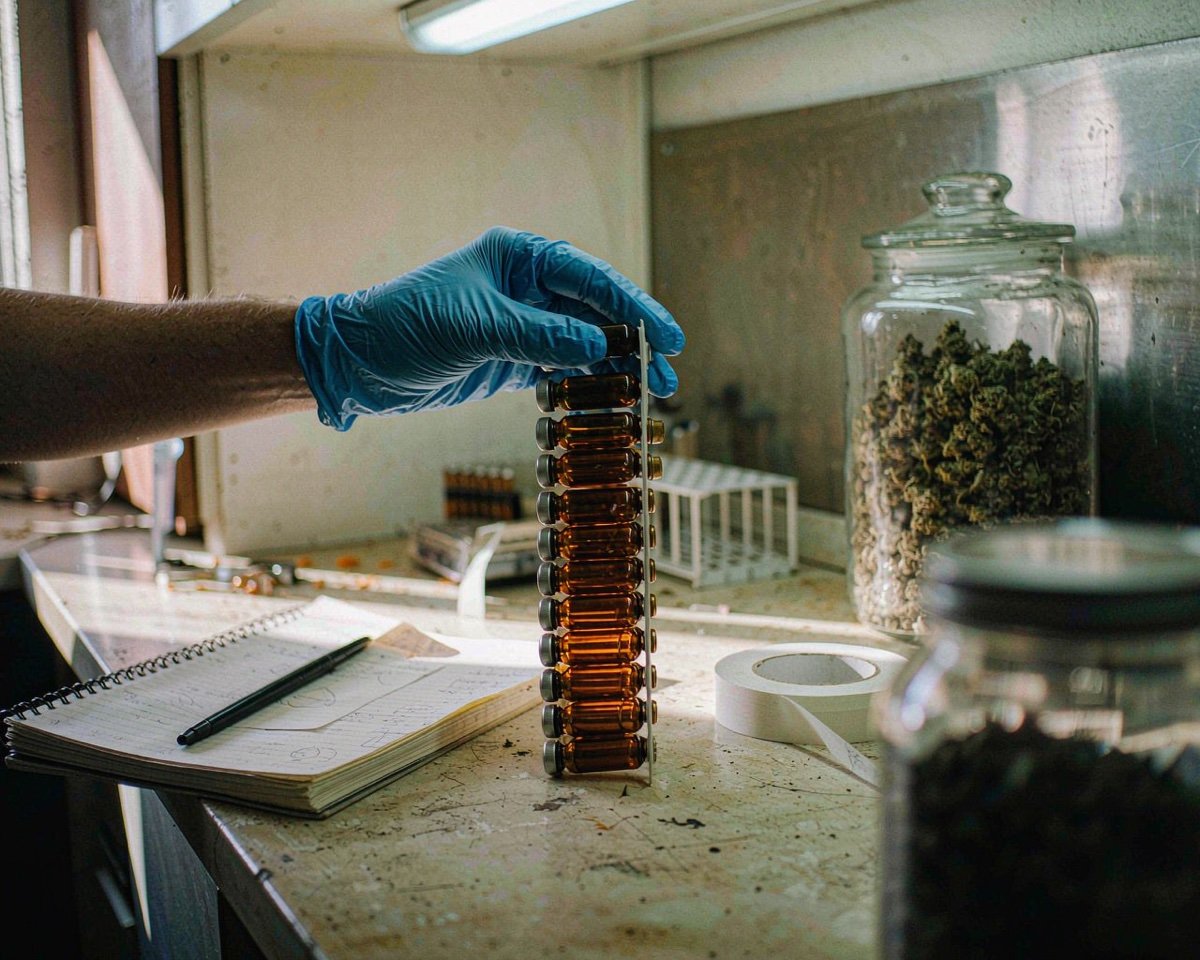
On a standard 12 × 32 mm vial, the printed marks usually sit at 0.5, 1.0, and 1.5 mL, with the vial’s full capacity being 2 mL at the very brim. A good example of the format is this graduated 2 mL amber snap-top vial, which pairs the 0.5/1.0/1.5 mL marks with a ceramic write-on spot. The printing is fired onto the glass, so it survives washing and handling far better than anything you’d write on yourself.
Why does the scale stop at 1.5? Because a “2 mL” vial only holds 2 mL when filled to the rim, and no autosampler wants that. The needle needs clearance, and the liquid needs room to expand. As this MicroSolv explainer on 2 mL, 1.8 mL, and 1.5 mL vials points out, the nominal capacity and the usable working volume are different numbers on purpose. The last graduation marks the practical fill ceiling, not the glass ceiling.
That’s also why the marks are approximations. They’re printed on a molded glass vial, not etched on calibrated volumetric glassware, so treat each line as “about here” rather than “exactly this.” For the same reason, a vial’s capacity tells you less than its geometry; our breakdown of conical vs flat bottom vials shows how much the bottom shape alone changes usable volume.
Where Graduated Vials Earn Their Keep
Quick dilution checks. When a sample comes out way above your calibration range, you often just need “roughly 1:1” or “about 1 mL sample plus 1 mL diluent” before the real quantitative dilution. Doing that directly in a graduated vial saves a tube, a pipette transfer, and a label. I run a fixed-content dilution workflow this way: fill to the 1.0 line with sample, top to the 1.5 line with internal standard solution, cap, shake, inject. The numbers go through the calibration anyway; the marks just keep the prep fast and repeatable by eye.
Spotting evaporative loss. If a rack sits in the autosampler overnight, the marks give you an instant visual check for volume drop before the needle hits air. A vial that started at the 1.5 line and now reads under 1.0 has a story to tell, and it’s better told before the injection than after. Pair that habit with the controls in our sample evaporation guide and you’ll catch most losses before they cost a sequence.
Volume sanity checks on precious samples. When someone hands you 700 µL of something irreplaceable, a quick glance against the marks tells you whether it survived the transfer from the original tube. Not a measurement, just a checkpoint.
Teaching and training labs. Students misjudge volumes constantly. Marks give instant feedback during pipette training, which is why they show up on so many university order lists.
When You Should Not Trust the Marks
Quantitative standard prep. If the concentration of a standard matters, prepare it in volumetric glassware with a calibrated pipette, then transfer. The printed lines on an autosampler vial are not that class of instrument, and treating them as such quietly adds a few percent of error to your calibration curve. Chrom Tech’s vial selection guide makes the broader point well: matching the vial format to the job matters more than any single feature on the glass.
Low-volume work. Below about 500 µL, the marks stop meaning anything and the meniscus sits near the shoulder of the vial. That’s insert territory. Our guide on vial inserts and sample recovery covers how to keep small volumes where the needle can reach them.
Regulated quantitative workflows. If your SOP specifies a volume, a mark that reads “1.5 mL” isn’t a documented volume. Validate with the glassware the method intends.
Choosing Between Graduated and Plain
For most QC labs the decision is trivial: order graduated versions of the vial you already use, as long as the glass, thread, and septa specs are identical. The marks add essentially nothing to the cost and nothing to your method risk, because the autosampler never reads the printing. The one spec to watch is the same as with any vial, that the glass and dimensions match your instrument, which our glass vs plastic vials guide puts in context.
One honest opinion: I’d make the standard 2 mL clear screw-neck vial in my lab graduated by default, and keep plain ones for anything imaging- or optics-sensitive where printed marks on the wall could interfere with the readout.
Conclusion
Graduated vials are ordinary autosampler vials with a printed volume scale, usually at 0.5, 1.0, and 1.5 mL on a 2 mL body. They shine at the unglamorous parts of sample prep: rough dilutions done in-vial, spotting evaporation before it strands a sequence, confirming a precious sample actually transferred, and training new hands. They fail as precision instruments, so keep quantitative prep in volumetric glassware and low-volume work in inserts, and the marks will never mislead you. Since the graduation adds no real cost and no analytical risk, the pragmatic default is to buy your everyday vial with marks on it and let the bench skip the Sharpie forever. Check your current vial spec, add the graduated variant to the next order, and enjoy one less thing to redraw.
Frequently Asked Questions
Are the graduations on vials accurate?
They’re approximate. Printed marks on a 2 mL vial are meant for visual estimation, typically within a few percent at best, and they are not a substitute for calibrated volumetric glassware. Use them for quick checks and rough dilutions, not for quantitation.
Why does a 2 mL vial only show marks up to 1.5 mL?
The 2 mL figure is the fill-to-the-brim capacity. Autosamplers need needle clearance and liquid expansion room, so the usable working volume is lower, around 1.5 mL. The top graduation marks that practical ceiling, which is why the scale stops there.
Do graduated vials work with all autosamplers?
Yes, as long as the vial’s dimensions and thread match what your instrument expects. The printing is on the outside wall and doesn’t change the glass geometry, so a graduated 9-425 vial fits exactly where a plain 9-425 vial fits.
Can I write on the graduated marks to label samples?
You can, but most graduated vials offer a separate ceramic write-on spot, which is a better surface for sample IDs. Use a compatible lab marker or a label, and keep the printed scale itself clean so the fill lines stay readable.