
# 8 Consumables Decisions for Overnight and Weekend Runs
A Saturday-morning chromatogram should look exactly like a Friday-evening one. Whether it does gets decided before you leave the lab, in about a dozen small consumables choices. I have buried enough weekend sequences to know which ones actually matter. Here are the eight I never skip.
ANSWER: An unattended run almost never fails on the instrument. It fails on consumables: a septum that stopped resealing, evaporating vials, a clogged inlet frit, or a full waste bottle. Stock for the whole weekend, seal for 60+ injections, cool what is fragile, and pre-test every new lot.
Each decision below costs minutes at the bench. Together, they decide whether you walk into clean data on Monday morning or a rerun queue and cold coffee.
1. Over-stock the tray, not “just enough”
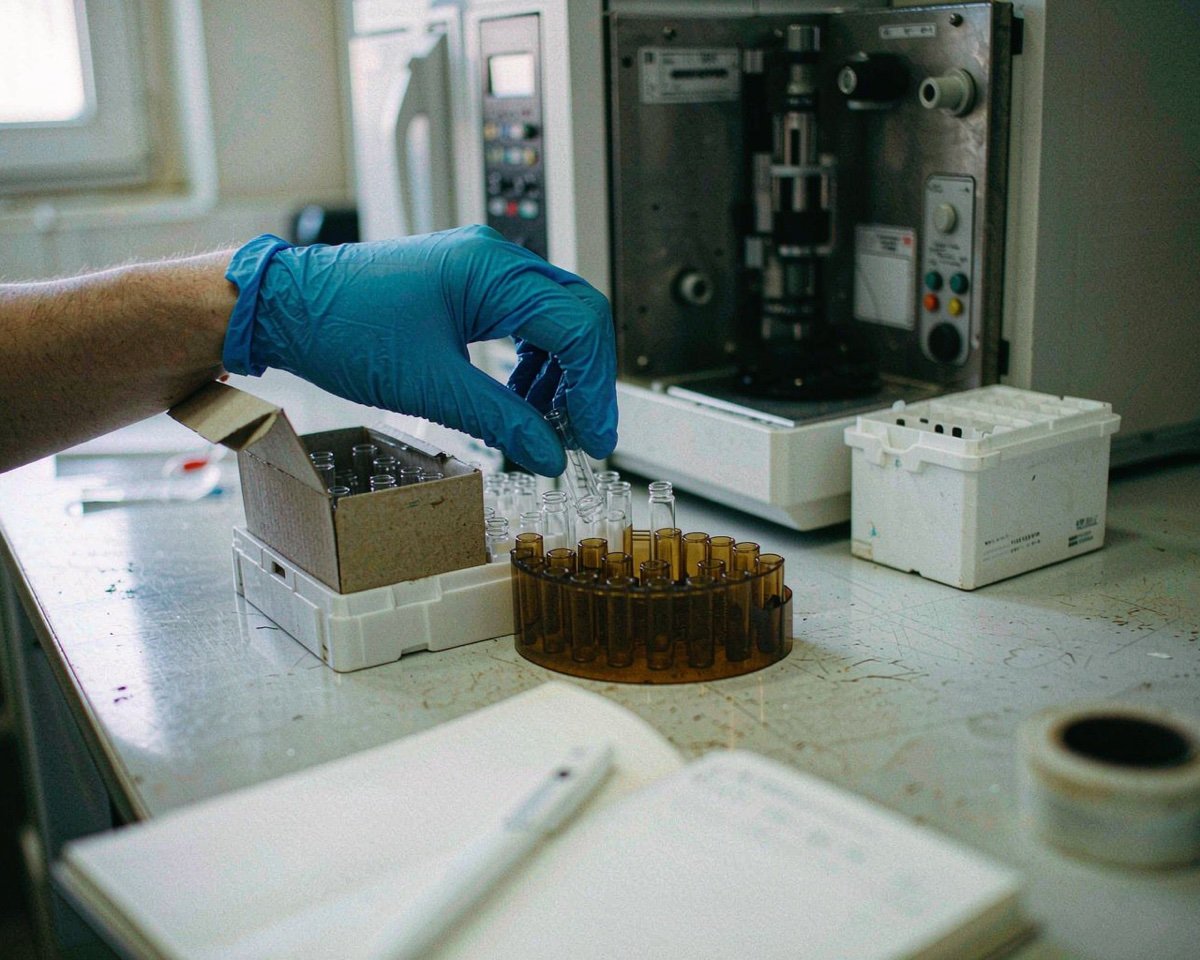
I stopped loading “just enough” vials the year a sequence faulted out on the 88th vial of a 120-position tray. One vial from a fresh lot sat a hair taller than the rest, the gripper dropped it twice, and the run stopped with nobody there to press Resume. Twenty-nine injections never happened, and the samples had to wait for me anyway.
The fix costs nothing. Load 10 to 15 percent more validated vials than the sequence strictly needs. Re-injections happen more often than anyone plans for: a calibration standard drifts, an injection bubbles, you decide during a quick remote check that you want a duplicate. If the spare vials are already in the tray with fresh caps on, the sequence absorbs the surprise. If they are not, your 40-hour run becomes a 30-hour run plus a Tuesday rerun.
Keep the tray boring, too. One vial lot per tray, and the same vial model the method was validated with. Manufacturing lots vary slightly in height, wall thickness, and neck finish, and autosamplers notice those differences before you do. A gripper calibrated against one lot can drop a vial from another, and a needle set to a fixed depth can miss liquid entirely if the vial is a millimeter short.
Caps belong in the over-stocking math as well. Every spare vial needs a fresh cap and septum, applied the same way as the rest: hand-tight plus a quarter turn on screw threads, a proper crimper for crimp caps. Never top up an already-pierced vial and send it back into a long queue; recap it or use a new vial, because a punctured septum is a slow leak you have now endorsed.
If you want a deeper spare-parts mindset, the list of consumables worth keeping as standing spares covers what else should live in your drawer. The pattern behind all of it is the same: everything you might need at 2 a.m. Saturday should already be within reach of the instrument, not within reach of a locked storeroom.
2. Pick septa for 60+ injections, not for the price list
The default for a long queue is a PTFE/silicone laminate. The PTFE face keeps solvent away from the silicone; the silicone core does the resealing after the needle leaves. Thermo Fisher’s chromatography consumables guide makes the same practical point: screw caps with a properly chosen septum prevent most evaporation at ambient temperature, and pre-slit or softer septa are there for instruments whose needles need the help.
Here is the trade-off most people learn the hard way. Pre-slit septa reduce coring and needle bending, but the slit is a pre-made leak path. Phenomenex’s septum selection guide rates standard PTFE/silicone as having excellent resealing until punctured, and specifically recommends PTFE/silicone/PTFE constructions for applications with long periods between injections. For a weekend tray where each vial gets one or two injections and then sits for 30 hours, a solid PTFE/silicone septum holds vapor better than a pre-slit one. Save the pre-slit for small-diameter needles and tight volumes, where coring is the bigger risk.
Match the septum to the solvent before you match it to the price list. PTFE faces shrug off nearly everything, which is why they are the default, but silicone exposed after repeated punctures swells in aromatic and chlorinated solvents. If your weekend method runs hexane, dichloromethane, or anything aggressive, check the compatibility chart for the exact septum rather than assuming.
Thickness matters as well. For 9 mm screw caps, 1.0 to 1.5 mm is the working range: thinner septa core more easily, thicker ones demand more penetration force. And keep the vial septum distinct from the inlet septum in your head; the inlet one takes every injection in the sequence, which is why so many labs swap it on a fixed schedule around 100 injections rather than counting. If you only change one thing about your weekend methods this week, write the vial septa specification into the method sheet. A septum is cheap; a rerun is not.
3. Control evaporation like the calibration depends on it
The physics is settled, and the numbers are worth memorizing. An intact, quality PTFE/silicone septum loses essentially nothing over 24 hours. A pierced septum loses roughly 0.3 percent of solvent volume per hour, and the loss climbs with every extra puncture. Over a weekend, a vial whose septum was pierced on Friday and re-injected Sunday has quietly concentrated itself. That is why later injections read high against your calibration while the instrument looks perfectly healthy.
So: never pre-pierce a vial that will wait. Fill each vial so the needle reaches liquid with margin to spare, keep the headspace small when the solvent is volatile, and use inserts for anything under about 200 µL so the meniscus sits where the needle can actually find it.
Capping technique deserves a sentence of its own. Hand-tight plus a quarter turn is the working rule for 9 mm screw caps. Over-torque crushes the septum and opens a channel; under-torque lets vapor walk out along the glass. Same motion, every vial, so the whole tray seals the same way.
Temperature is your other lever. A chilled tray at 4 to 10 °C slows evaporation and most degradation chemistry, and validated autosampler stability windows of 24 to 72 hours are routine for robust analytes in cooled trays. One caveat from a humid lab: cold vials condense water on the outside, so wipe them before you write on them. There is also a cheap diagnostic hiding in your data. If your method runs an internal standard, watch its absolute peak area across the sequence. A falling internal standard in every vial points at the injection side; a rising analyte in the vials that waited longest points at evaporation. I have written up the full prevention chain, cap to cooler, in my guide to how to prevent sample evaporation in autosampler vials.
4. Give the pump enough mobile phase, and an inlet frit that will not quit at 2 a.m.
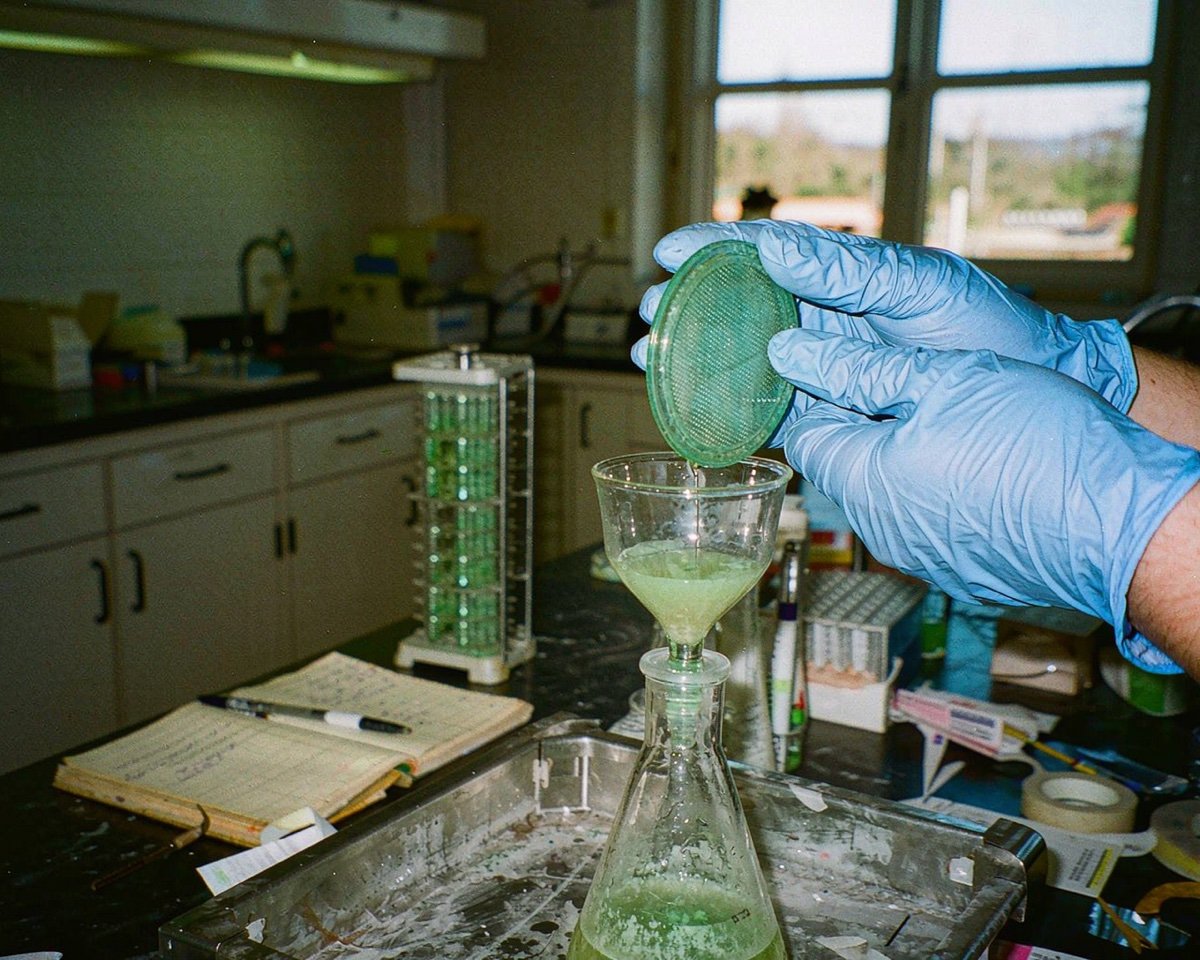
Agilent’s best-practices note for LC systems is blunt about solvents: use clean borosilicate bottles, filter everything through a 0.2 µm membrane, exchange water-based solvents daily, and expect algae and bacterial growth to block degassers and filters if you don’t. Brown bottles for aqueous phases, and no reservoir in direct sunlight.
A weekend run bends those rules slightly, so bend them deliberately. Prepare fresh, filtered mobile phase on Friday, sized to cover the entire sequence plus the final flush, and label the bottle with contents and fill date. Buffers are the risky part: a phosphate buffer mixed Thursday and parked in a warm lab can grow a biofilm or drop salt crystals by Sunday, and both end up in your inlet frit. If the method allows, end the sequence in high organic and start Saturday with buffer that is hours old, not days.
While you are staging bottles, give the low-pressure side a once-over. Fittings at the bottle, the cap threads, and the line into the frit all let air in if they are loose, and a weekend of tiny bubbles shows up Monday as retention-time wander nobody can explain. Snug everything by hand, run the pump a few minutes at high flow with the purge valve open, and watch for a steady stream before you commit the tray.
Test the inlet frit before you lock the door. Pull the solvent line and watch: a healthy frit lets solvent flow through under simple hydrostatic pressure. A slow drip means the frit is already loading up with particles, and it will finish clogging at the least convenient hour. And leave a vent in the reservoir cap, a sealed bottle makes the pump fight its own vacuum.
5. Keep a spare guard column within arm’s reach
A guard column is the cheapest insurance policy in chromatography. It takes the particles and strongly retained junk that would otherwise end of life your analytical column, and Phenomenex’s column longevity guide notes that simply exchanging a guard cartridge can save the main column, which matters even more for UHPLC, where smaller particles clog faster.
The weekend-specific advice: start Saturday with a fresh cartridge, not one that is 90 percent used. Most of us know roughly how many injections a guard survives with our matrix, because the pressure trace tells us every week. Putting a half-spent guard on a 40-hour run is gambling with injections you will not be awake to defend.
One subtlety worth knowing before you swap: a guard adds a small amount of extra-column volume, so if your method was validated with one installed, keep the same guard model in front of the same column. Changing the guard format mid-method is a quiet way to shift resolution on a Sunday when you cannot stop to re-qualify anything. That trade-off, and how to size a guard to your column, is exactly what my article on guard columns as cheap insurance for your HPLC column walks through.
If you have never formalized this habit, start with the logbook note: record the injection number where pressure started creeping on past runs. Monday, that one number converts a mystery into a diagnosis, and it tells you whether the guard actually earned its keep.
6. Size the waste for the whole run, because nobody checks it Sunday night
Last winter I left a 96-vial stability sequence running on a Saturday evening. Everything was staged: fresh mobile phase, chilled tray, new septa. At injection 74 of 96, around three in the morning, the system faulted with waste container full. The run sat until Monday. The last 22 vials spent an extra 36 hours in the tray, which for that analyte was past the validated stability window, so the whole tail of the batch got re-prepped. A day and a half of work, lost to a bottle nobody looked at.
Do the arithmetic before your next long run. Needle washes, seal washes, and flush solvent add up: two 500 µL washes per injection is about a liter over 96 injections, before you count the autosampler flush and anything the pump sends to drain. Whatever the total is, add 30 percent and make sure the waste container can take it. A funnel or a second bottle in parallel costs nothing; a faulted sequence does not restart itself.
If your system has separate drain lines, give each one its own bottle or a clearly marked destination. Seal wash waste and main waste filling one shared container is a common surprise, because the two arrive at different rates and you cannot see which line is doing the filling at 3 a.m.
One more bottle hides behind the first. Cooled autosamplers with active refrigeration drain condensation into a small dedicated waste bottle, and Agilent’s own documentation for its sample thermostat says that bottle should be monitored and emptied regularly. A full condensate bottle can fault the module just as dead as the main waste. Empty everything on Friday. It takes ninety seconds, and it is the cheapest insurance on this whole list.
7. Pre-test filters and new lots on Friday, not Monday
Filter lots are not interchangeable. A new lot can carry different extractables, a different flow rate, a different hold-up volume, sometimes a different analyte recovery. Discovering any of that mid-weekend means your data review turns into a contamination hunt with no witnesses.
My ritual is simple and takes about twenty minutes. When a new filter lot arrives, I run one standard and one blank through it on a Friday afternoon and compare against the previous lot: peak areas, background, anything odd in the blank. If the comparison is clean, the whole weekend’s samples get filtered with that single lot, and the old box goes back on the shelf. If it is not clean, I would much rather find out while the old lot is still in stock. The full procedure is in my guide to how to validate a new filter lot against your old one.
Count the filters, too. Whatever you filtered for the sequence, pack 20 percent extra for the inevitable dropped filter, the mislabeled vial, the sample that needs redoing. And resist the urge to rinse and reuse a filter across a weekend; carryover and breakthrough both scale with sitting time.
Dirty matrices deserve an extra thought before Friday. If your samples normally push a 0.22 µm filter halfway through its capacity, a weekend rack of them will clog filters you are not there to replace. A glass fiber prefilter ahead of the membrane doubles the effective life, and filtering slowly by hand beats filtering fast with pressure that forces junk through the pore structure. Cloudy filtrate on Friday evening is the tell: fix it while the bench is still staffed, not from your couch on Sunday.
8. Labels and storage that survive 40 hours in a cooler
Labels fail quietly. Regular tape curls in a chilled tray, solvent-based ink smears the first time condensation crosses it, and by Sunday you have a rack of beautifully preserved samples you cannot confidently identify. Use solvent-resistant labels, or write on the cap and the vial wall with a compatible pen, always before filling, because a wet exterior never takes ink properly. If your lab uses a label printer, print the sequence position onto the label as well; matching a printed number to a sequence table beats squinting at handwriting under a cold tray light.
Amber glass earns its keep on long runs. If your analytes are even slightly photosensitive, 40 hours in a lit tray under clear glass is a slow degradation experiment. Amber vials plus a dark chilled tray cost nothing extra in workflow.
Write the consumables lot numbers for vials, caps, and filters onto the prep sheet while you load. If Monday’s data shows drift, that one line lets you rule the consumables in or out in minutes instead of days. Store any backup vials upright in the fridge, caps on, not on the bench collecting dust while they wait for their turn in the sequence. And keep the tray map, a photo on your phone is enough, so that if anything faults over the weekend you know exactly which position to look at first.
Conclusion
Overnight and weekend runs are won or lost on Friday afternoon. None of these eight decisions is difficult: over-stock the tray with one validated lot, specify septa that reseal for days rather than hours, fill vials properly and cool them, prepare fresh filtered mobile phase with a frit you have actually tested, start with a fresh guard cartridge, empty every waste bottle, validate the filter lot before you commit, and label for a cold, damp world. Together they take under an hour, and they are the whole difference between clean Monday data and a re-prep bench. If your run fails anyway, the first suspect list should include the quiet items in my guide to 12 consumables every HPLC lab should keep as spares, because in my experience the instrument gets blamed for consumable failures far more often than the reverse.
Frequently Asked Questions
How many injections can a vial septum take before it leaks?
A standard PTFE/silicone septum in a 9 mm screw cap reseals well for roughly 20 to 100 punctures, depending on needle gauge and whether the needle re-enters the same spot. For most weekend runs each vial is pierced once or twice, so the bigger risk is a pre-slit septum slowly leaking vapor over long hold times, not the puncture count itself.
What temperature should I set the autosampler cooler to for a weekend run?
Four to 10 °C is the standard range and matches how most processed-sample stability studies are run. Confirm your own analyte’s window with a time-course validation rather than assuming, because stability at 4 °C for 72 hours is routine but not universal.
How much mobile phase should I prepare for a weekend sequence?
Calculate the run’s total consumption at your flow rate, add the final flush and wash volumes, then add about 20 percent margin. Prepare it fresh on Friday, filter it through 0.2 µm, and use a brown bottle for any aqueous or buffer-containing phase.
Can I swap a guard column in the middle of a sequence?
You can, but the sequence has to pause and the system has to re-equilibrate, which changes hold times for every vial still waiting. It is cleaner to start a long run with a fresh cartridge and keep a spare on the bench in case Monday’s runs need one.
How full should autosampler vials be for an overnight run?
Fill enough that the needle reaches liquid with clear margin, typically at least the injection volume plus several times that amount, while keeping the headspace small for volatile solvents. For samples under about 200 µL, use an insert so the meniscus sits within the needle’s reach.