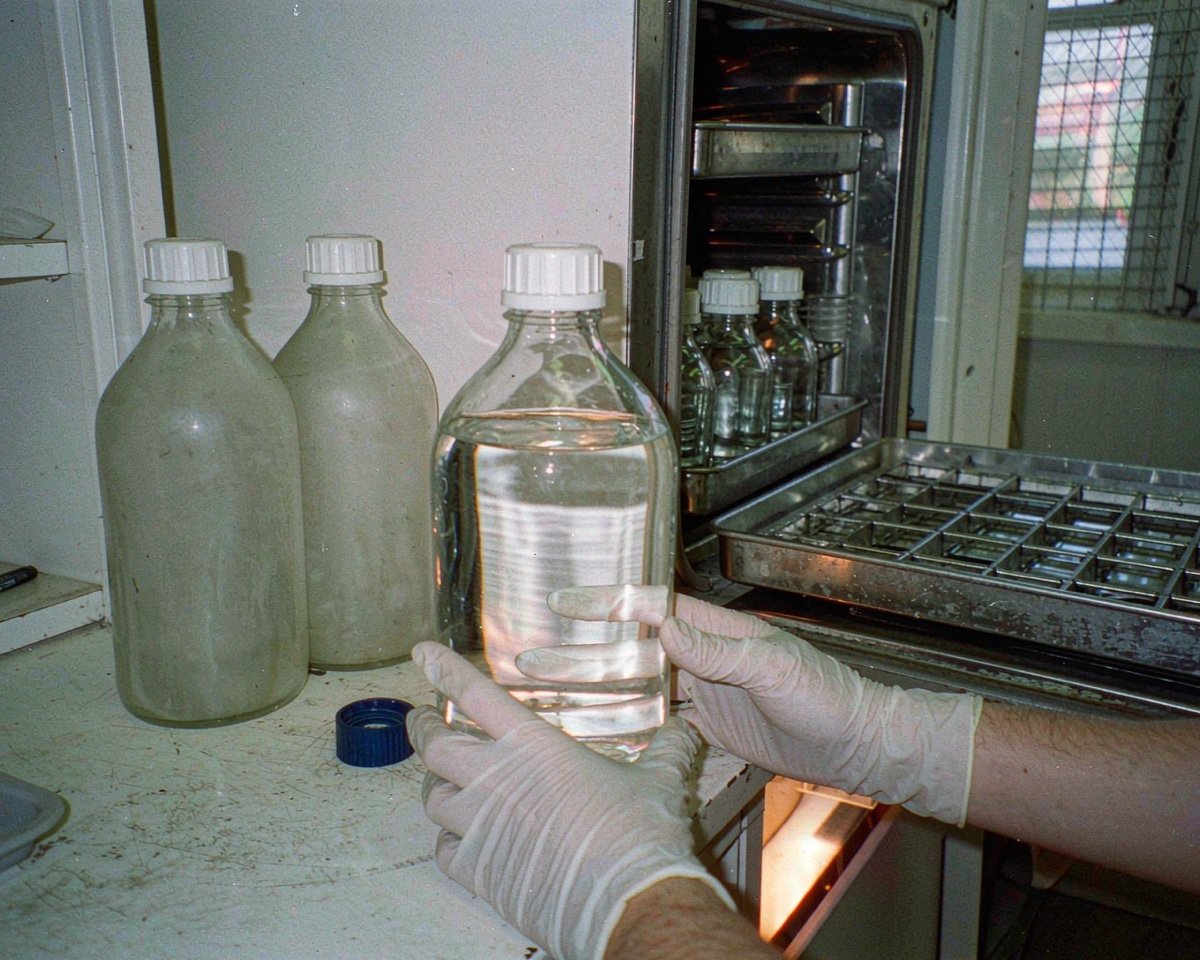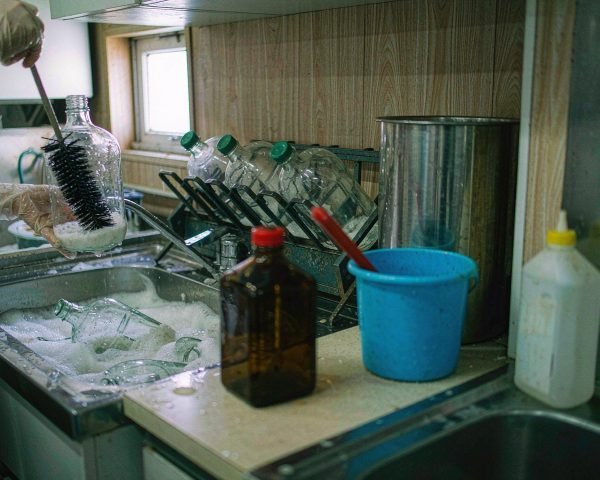

Every lab has a bottle that refuses to come clean. Mine was a 1 L amber reagent bottle that once held a silver salt slurry, and after three detergent cycles it still had a gray ghost film on the shoulder. The temptation is to scrub harder. The better move is to work out what the residue actually is, because the cleaning agent that removes one contaminant can permanently fix another.
Bottle cleaning looks like the simplest job in the lab, which is why it is done badly so often. Done properly, it is a short decision tree: rinse fast, match the chemistry to the residue, verify, and know when to retire the bottle.
The Short Answer
Clean reagent bottles by rinsing immediately after use, washing with a phosphate-free lab detergent, then rinsing with tap water, a dilute acid (10 percent HCl for mineral films), and finally three or more changes of deionized water. Organic residues need solvent washes first. Verify cleanliness with a pH check or residue test, and retire any bottle that stays cloudy, scratched, or stained.
READ ON
Here is the full sequence, the special cases (grease, biological residue, trace-metal work), and the safety rules that keep the process from hurting anyone.
Step One: Rinse Before It Dries
The single biggest factor in easy cleaning is timing. Rinse bottles with tap water as soon as possible after emptying them. Residue that dries onto glass bonds itself to the surface and turns a 60-second rinse into an overnight soak (USDA ARS glassware guidance).
If you cannot rinse right away, fill the bottle with water and cap it loosely. Soaking in water keeps most residues workable until someone gets to the sink.
Step Two: Detergent Wash for General Residue
For routine cleaning, soak or scrub with a 2 percent phosphate-free laboratory detergent solution in warm water. Phosphate-free matters more than most people realize: leftover phosphate from the detergent itself contaminates downstream nutrient and ion determinations, which is exactly the kind of false positive nobody traces back to the dishpan (UNL glassware cleaning SOP).
Caps get their own attention. They are easiest to clean by soaking, and the threads hold residue longer than the glass. Pull the gasket if the cap has one; the crease under a gasket is where yesterday’s buffer hides.
Step Three: Acid Rinse for Mineral and Inorganic Films
Cloudy films, hard-water deposits, and metal residues yield to dilute acid. The standard working solution is 10 percent hydrochloric acid, applied as a rinse or a 10 to 20 minute soak, then rinsed thoroughly with tap water (UNL sample bottle cleaning protocol).
Two safety rules are non-negotiable here. Always add acid to water, never the reverse. And neutralize spent acid with sodium bicarbonate before it goes anywhere near a drain. I watched a colleague etch a stainless sink pink with HCl in my first lab job, which is also the day I learned that the acid sink and the general sink should not be the same sink.
Step Four: Solvent Wash for Oils and Organics
Grease, silicone, and hydrophobic organics laugh at detergent. Cut them with the right solvent first: acetone or ethanol for many organics, a warm sodium carbonate solution for true grease. Then wash with detergent as usual. The USDA guidance notes that strong alkalis should be avoided on glass, and that the solvent step comes before, not after, the detergent (USDA ARS glassware guidance).
Step Five: Final Rinse and Verify
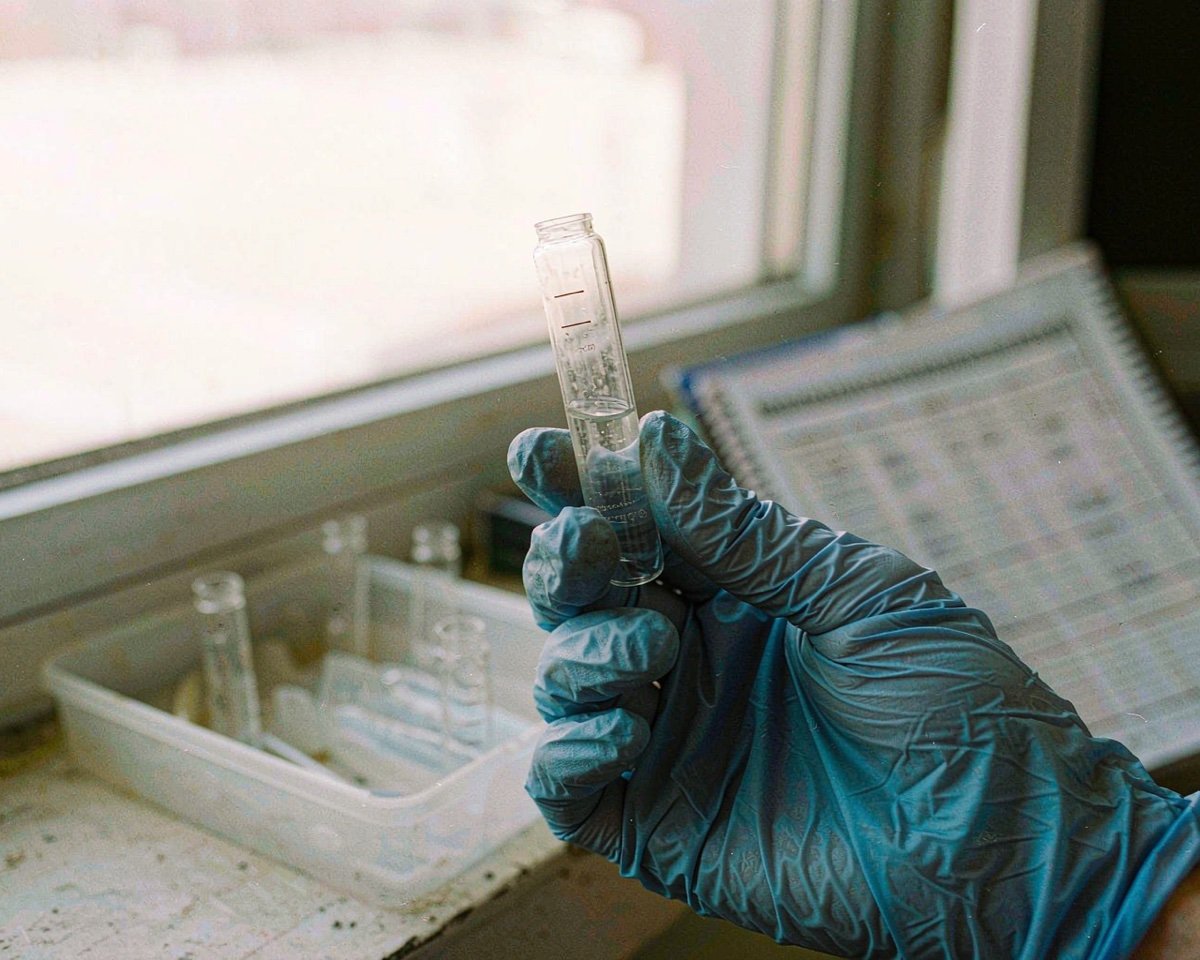
Finish with at least three rinses of deionized or distilled water. For sensitive work (trace metals, microbiological assays), rinse more; some protocols call for a dozen changes before the bottle is assay-ready.
Verification takes two minutes and catches the failures that matter:
- pH check: a bit of deionized water swirled in the bottle should read neutral, matching the source water.
- Residue check: let a rinse film dry on clean glass; spots or film mean another cycle.
- Visual: hold the bottle to the light. Cloudiness that detergent no longer removes is etched glass, not dirt.
Special Cases Worth Knowing
Chromic acid and aggressive oxidizers
For coagulated organic matter nothing else will touch, labs historically reached for chromic acid. Modern practice treats it as a last resort: it is corrosive, carcinogenic, and a disposal headache, and substitutes like Nochromix exist for a reason. If your SOP still lists chromic acid as a routine step, it is time to update the SOP (USDA ARS glassware guidance).
Biological residue
Autoclave or chemically decontaminate bottles that held cultures or biological materials before they enter the wash area. Washing live residue off glass spreads it around the sink, which is the opposite of decontamination.
Trace-metal work
Bottles destined for trace analysis need the acid rinse as standard, plus a final rinse in the same grade of water the analysis uses. Some labs dedicate bottles to trace work only, which is cheaper than re-running the batch; field-sampling manuals take the same approach with acid rinses and dedicated equipment (Dickinson College monitoring manual). Our guide to cleaning HPLC vials covers the same logic at vial scale.
When to Retire Instead of Rescue
Some bottles should not come back. Retire a reagent bottle when:
- It stays cloudy after a full cleaning cycle (etched glass, and the rough surface holds residue from now on).
- It has a chip, star crack, or deep scratch (chips and scratches make glass far more likely to break during use, especially with heat).
- Stains persist in the shoulder where residues concentrate.
- Printed graduations have faded past legibility.
A retired bottle costs a few dollars. A contaminated batch or a shattered bottle costs more than anyone’s budget line.
Drying and Storage
Invert clean bottles on a rack and let them air dry with the caps off. Capping a damp bottle seals moisture (and any surviving residue) against the glass. Store them capped, dust-free, and away from the solvent hood; our consumables storage guide covers the shelf conditions that keep clean bottles clean. If you are choosing between glass and plastic in the first place, our glass vs plastic bottle comparison explains why glass tolerates this whole washing regime and plastic does not.
Conclusion
Cleaning reagent bottles safely is a chemistry problem, not an elbow-grease problem. Rinse before residue dries, wash with phosphate-free detergent, escalate to dilute acid or solvent only when the residue calls for it, verify with a pH and film check, and finish with deionized water. Handle acids with the respect they demand, neutralize before disposal, and treat chromic acid as a museum piece. Most importantly, learn when a bottle is done: cloudiness, chips, and permanent stains are the bottle’s way of resigning. Ten minutes of correct cleaning per bottle protects everything you will store in it next, and the next batch of results is only as clean as the glass it came from. For related reading, our sterilization guide for reagent and media bottles picks up where cleaning ends, and the bottle storage guide covers what happens after.
Frequently Asked Questions
Can I use regular dish soap to clean reagent bottles?
It works in a pinch but is a poor default. Dish soaps often contain phosphates, fragrances, and additives that leave residues that interfere with sensitive assays. Use a phosphate-free laboratory detergent designed to rinse cleanly.
How do I remove hard-water film from glass bottles?
A 10 percent hydrochloric acid rinse or a 10 to 20 minute soak dissolves mineral films, followed by thorough tap and deionized water rinses. Neutralize spent acid with sodium bicarbonate before disposal, and always add acid to water.
Is it safe to autoclave a bottle right after washing?
Yes, as long as the bottle is clean, rinsed, and free of detergent residue. Residual detergent can foam and carry over during the cycle. Leave caps vented or loosened, and let bottles cool fully before tightening.
How many times can a reagent bottle be reused?
Indefinitely in principle, conditionally in practice. Borosilicate glass tolerates years of wash and autoclave cycles, but etching, chips, and permanent staining end a bottle’s analytical life. Inspect every cycle and retire on condition, not on age.