
# 9 Consumables Problems That Aren’t the Supplier’s Fault
A vial leaks and the first email goes to the supplier. I understand the reflex: the box is sitting right there. But after years of troubleshooting HPLC labs, I’ve traced most consumables problems back to the bench or the stockroom, usually to a habit nobody wrote down.
Most consumables problems come from how parts are handled or stored, not how they were made. Cap torque, skipped centrifugation, poor storage, and technique drift explain most leaks, coring, evaporation, and “lot-to-lot” complaints that never hold up.
Each item below pairs the symptom you see with the root cause you can actually fix. Sort these out at the bench and I’d bet most of your complaint emails disappear.
1. Vials That Leak After Someone Hand-Tightened the Cap “Really Tight”
The symptom: dried residue around the cap, a fill level that dropped overnight, or recovery numbers that came back low for no obvious reason.
Why it looks like the supplier: a leaking vial reads as a sealing defect. You tighten, it still weeps, so the caps or septa must be bad, right?
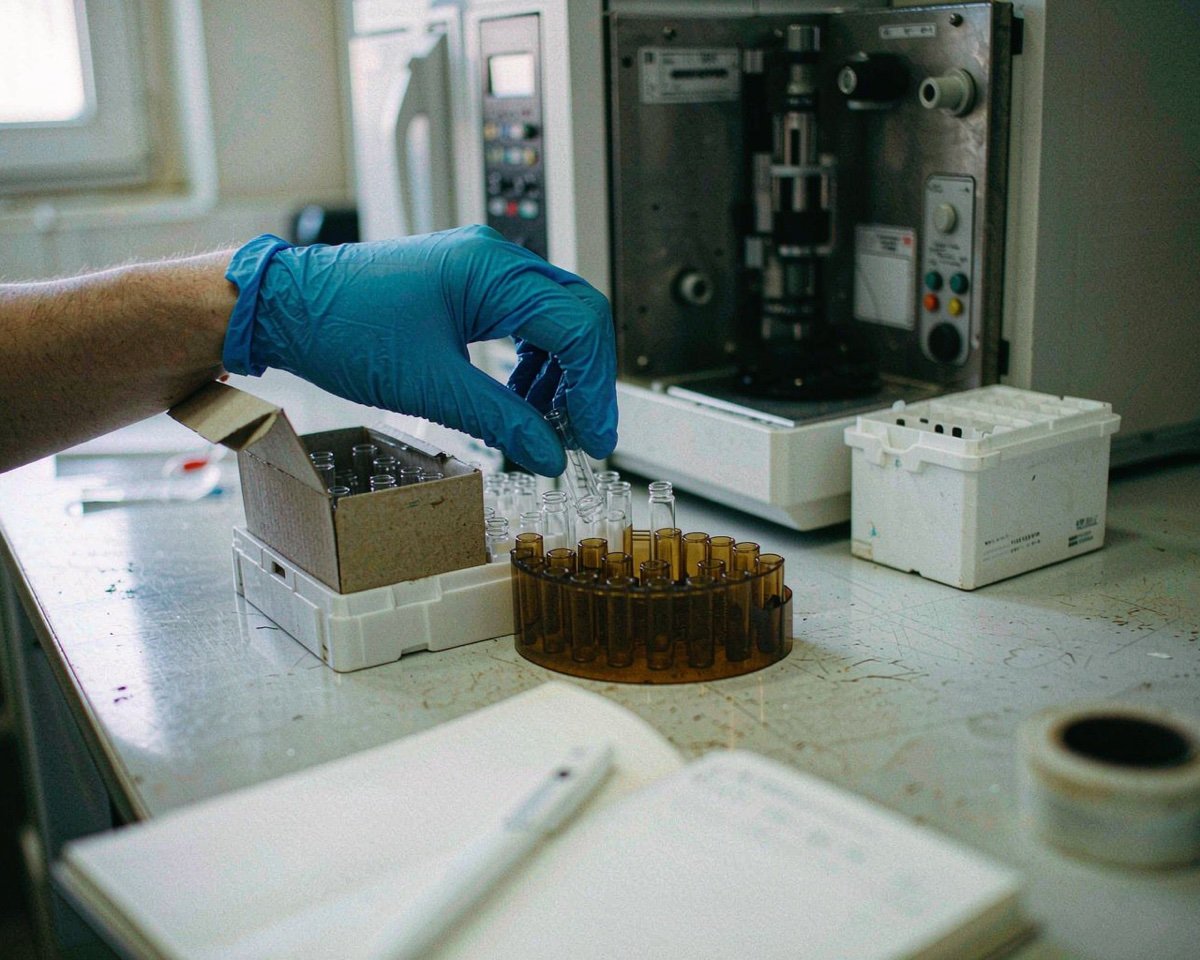
The real root cause is torque. Screw caps are meant to be finger-tight plus a modest quarter turn. I’ve watched an analyst crank a 9-425 cap until the polypropylene started to whiten, which squeezed the septa until it extruded past the shoulder of the vial neck and sealed against nothing. Under-tightening causes the mirror problem: a micro-gap that lets solvent creep out and vapor escape. The cap and septa are a matched system, which is how suppliers like Agilent present their vial caps and septa as a single sealing assembly. Distort one layer and the whole seal is compromised, no matter whose name is on the box.
The fix costs nothing. Pick one technique and train everyone to it: finger-tight, then a firm quarter turn. For crimp caps, use a proper crimper, not pliers (yes, I have seen pliers). Then check the septa after a run. If it comes out bulging or dished, your torque habit is the defect.
2. Septa Coring That Always Gets Blamed on the Septum
The symptom: a tiny pale plug sitting in the autosampler needle, unexplained carryover, or ghost peaks that appear a few injections into a sequence.
Why it looks like the supplier: the plug is literally a piece of septa. If the septum sheds, the septum must be defective.
Not always. Coring usually starts with the needle, not the septum. A worn or burr-tipped needle punches out a plug of silicone instead of parting it cleanly, and a blunt needle makes the problem worse with every pass. Repeated injections through the same septum multiply the damage, which is why the tenth injection cores when the first three were fine. And the needle doesn’t have to be broken to be the problem: a needle that’s been brushing the vial bottom all day carries a burr you can feel with a fingertip, long before it’s visible to the eye.
My fix list, in order: inspect needle tips under a magnifier for burrs, replace needles on a schedule instead of on failure, and consider pre-slit septa so the needle enters an existing channel instead of punching one. If coring stops the day the needle changes, you have your answer. We cover the full diagnostic path in our septum coring guide.
3. Syringe Filters That Clog Half a Rack In
The symptom: your thumb aches and the filter bulges before it bursts. A 30-sample batch burns through 25 filters. The batch after that, from the same box, filters fine.
Why it looks like the supplier: a clogged filter looks like a bad membrane. A “bad batch” is the natural conclusion when one day is worse than others.
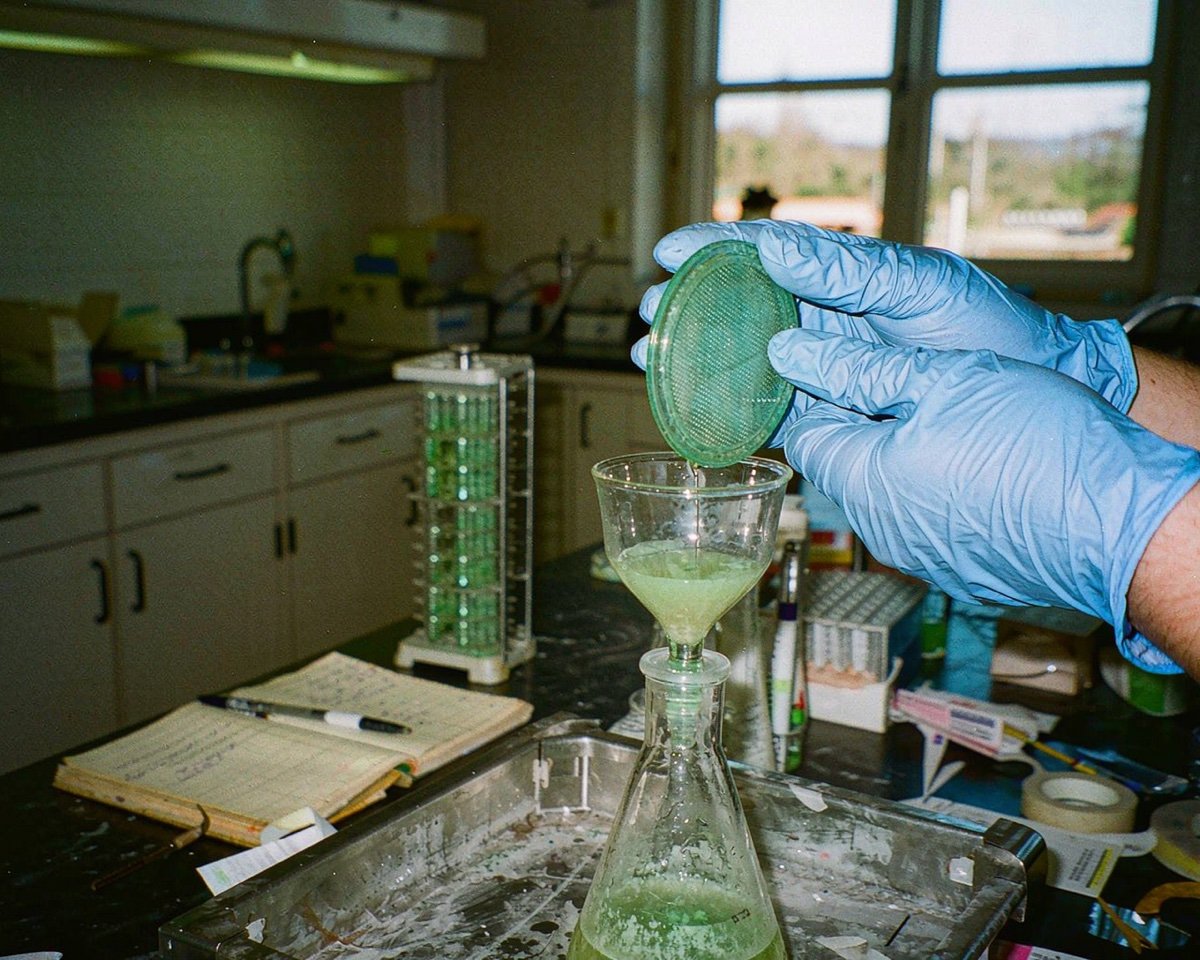
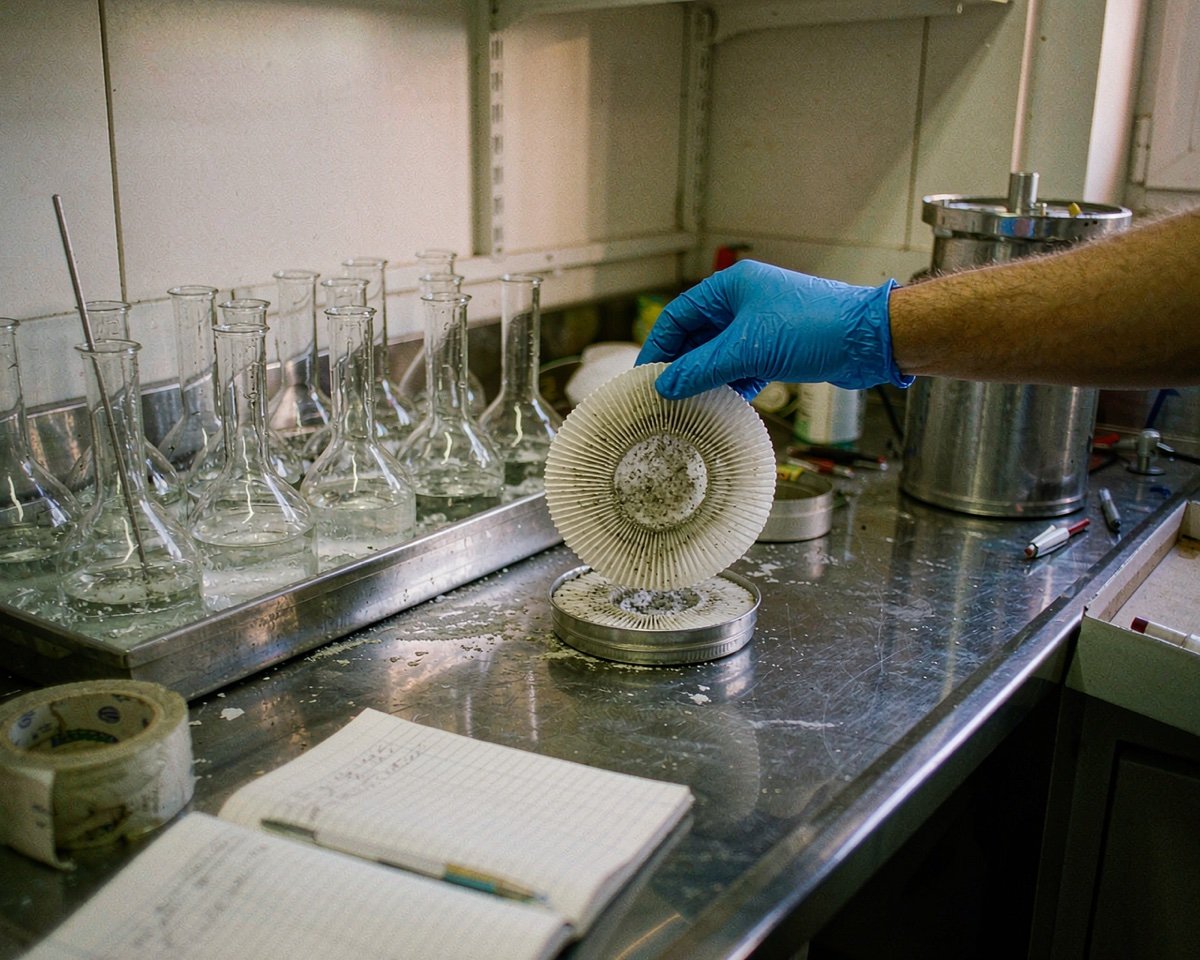
The real root cause is what’s in the sample, not what’s on the filter. Plant extracts and biological matrices carry particulate loads that a 13 mm, 0.45 µm filter was never meant to carry alone. If the protocol skips centrifugation, the filter becomes your centrifuge. Published UHPLC work makes the same point: filtration is recommended before injection specifically to avoid clogging the column with fibres and particulates (see this microextraction method paper), and that protection only works if the filter itself isn’t pre-loaded with solids.
So change the sequence, not the supplier. Centrifuge at 4,000 g for 10 minutes, decant the supernatant, then filter. Use a glass fiber prefilter for visibly dirty matrices, and dilute viscous samples before they meet the membrane. If a filter clogs, cut it open. What you find inside tells you exactly which step you skipped. Our filter clogging guide walks through that diagnostic.
4. Consumables That “Went Bad” While Sitting Next to the Window
The symptom: septa that crumble on contact, caps that no longer seal, pipette tip boxes that feel brittle, all in a pack that is months from its expiry date.
Why it looks like the supplier: the parts degraded, and degradation suggests a material or curing problem from the factory.
Look at where the box lived instead. Heat and UV light age polymers far faster than the calendar does, and a shelf above the drying oven or a bench under direct sun is the worst real estate in the lab. Open packs make it worse: a lid left ajar for weeks exposes septa to dust and solvent vapor, and the package was never designed to stay sterile once opened. I inherited a stockroom once where the PTFE/silicone septa lived one meter from a 60 °C oven. Every pack that came from that shelf cracked like an old rubber band, and every pack from the same lot stored in the drawer below was fine.
The fix is boring and works. Store consumables in a drawer away from heat and light, and keep opened packs in sealed bags. Rotate stock so the oldest boxes get used first. Our consumables storage guide covers the whole setup.
5. Autosampler Errors from Vials Picked by Eye Instead of by Spec Sheet
The symptom: “vial height” errors, the needle smacking the cap, a tray that jams partway through, or injections that pull air from a vial that clearly has liquid in it.
Why it looks like the supplier: the vials “don’t fit,” so the dimensions must be off spec.
Grab a caliper before you send that email. Neck finishes and total heights differ in small but critical ways, and to the eye a 9-425 and an 8-425 vial look nearly identical in a mixed drawer. If your team picks vials by eye from whatever box is open, the autosampler is being fed a lottery. Every instrument maker defines the matching dimensions precisely, and Shimadzu’s LC consumables lineup is a good reminder that autosampler parts are specified in tenths of a millimeter, not “close enough.”
The fix is a five-minute habit. Read the spec sheet for your instrument and keep one vial type per instrument in its own labeled drawer. A mixed drawer is also how 8-425 caps end up on 9-425 vials; the thread pitch differs, and a cross-threaded cap leaks exactly like a defective one. If a new shipment arrives, measure total height on a couple of vials against the spec sheet before loading a sequence. That check takes less time than one crashed run costs you.
6. “Bad Vials” That Are Really Evaporation Through a Tired Septum
The symptom: standard concentrations creep upward across a 60-injection sequence, or a 200 µL stability time-point is nearly dry at hour 40. The complaint writes itself: the vials leak.
Why it looks like the supplier: the liquid left the vial, so the vial failed.
The usual culprit is the cap and septa under it. A septa that has been punctured dozens of times no longer reseals, and each pass of the needle opens a fresh channel for vapor. Add a loose cap or a volatile solvent like methanol, and concentration drift is inevitable. Stability studies document this directly: researchers tracking mycotoxin standards in HPLC vials found solvent evaporation changing standard concentrations during storage, which is exactly the mechanism that gets mislabeled as a defective vial.
A colleague of mine lost a weekend stability run this way: 200 µL samples in 2 mL vials under septa that had already taken two prior sequences. By Monday the fills were visibly lower and the assay was high by double digits. The vials were innocent. The fix: fresh septa for every sequence, caps at proper torque, filled vials as full as the method allows, and inserts for small volumes. Our evaporation prevention guide has the full checklist.
7. Ghost Peaks That Come from the Bench, Not the Part
The symptom: your blanks show peaks. Background rises for no method change. Someone reports “contaminated vials” and quotes a new supplier before lunch.
Why it looks like the supplier: the contamination is real, and the vial is the thing you can see.
The transfer agent is usually a pair of gloves. Weighing powders or handling salt packets loads nitrile gloves with particles that end up on vial rims and septa surfaces. Dust from an open pack does the same. The analyte-level contamination then rides into the sequence on the one surface nobody thinks to check: the part you just installed.
Break the transfer chain instead of switching brands. Change gloves after any powder handling and keep consumable packs closed until the moment of use. And never touch the septum face or the inside of a cap. A plain bench wipe-down before sample prep costs two minutes. Treat blanks as your canary: the moment they go noisy, audit the last hour of bench activity before the sequence. If blanks still show peaks after that, then you have a genuine cleanliness question for your supplier, and a certificate or lot sample will settle it quickly.
8. Cloudy Filtrate from a Membrane That Never Matched Your Solvent
The symptom: the filtrate comes out cloudy, recovery numbers drop, or the membrane looks partially dissolved after filtering a new sample type.
Why it looks like the supplier: the filter “broke through,” so the membrane must be defective.
More likely, the solvent and the membrane were never compatible. Hydrophobic PTFE resists water, so aqueous samples sit on top and flow unevenly, carrying unfiltered particulate through the housing. Aggressive solvents attack membranes like cellulose acetate, which turns your filtrate cloudy with dissolved polymer. This is a documented selection problem, which is why membrane makers publish compatibility guidance, including Thermo Fisher’s filtration resource library with its chemical compatibility reference.
My default, for what it’s worth: PTFE for anything organic, PES or regenerated cellulose for anything aqueous, and the compatibility chart open on the screen whenever the solvent is neither. For hydrophobic membranes on mixed solvents, pre-wet with methanol before the sample goes through. And if the filtrate is cloudy, stop and identify what the cloud actually is before you push more sample through. Half the time it’s undissolved sample matrix, which means dilution, not a new filter.
9. “Lot-to-Lot Inconsistency” That Is Really Un-Mixed Reagents and New Hands
The symptom: a new box arrives and results shift. Retention times drift and peak shapes change. The lot number gets quoted in the investigation email.
Why it looks like the supplier: the change coincided with the new box, so the lot must differ.
Two quieter explanations cover most of these cases. Reagents separate on standing: buffer salts and viscous components settle toward the bottom of the stock bottle, and an un-mixed bottle delivers a different composition than the last one. Technique drift does the rest. A new analyst filters more slowly or runs a different spin time, and Shimadzu’s own troubleshooting guidance on abnormal peak shapes shows how much sample solvent composition and handling alone can change peak behavior, before any consumable enters the story.
Separate the variables before you blame the lot. Invert the stock bottle a full ten times and check for settled solids. Have the previous analyst and the new one each prepare and run the same standard. If both get identical results with a properly mixed reagent, the consumable was never the problem. If they don’t, you have a training gap, which is cheaper to fix than a supplier switch.
Conclusion
None of this means suppliers are above suspicion. Lots do fail and certificates matter. A good supplier will stand behind their product when the evidence points their way. What I’m arguing is sequence: check the bench before you check the vendor, because in most labs the bench has a longer criminal record. Cap torque, skipped centrifugation, a shelf next to the oven, a septa on its third sequence, gloves fresh from a powder weigh-out: these nine habits generate most of the “bad batch” reports I’ve ever read, and every one of them is fixable this week without spending a cent. Start with the cheapest diagnostics: cut open a clogged filter or caliper a vial, and look at a septa after a run. The evidence is usually sitting right in front of you. If after all that a lot still fails incoming inspection, document it properly and escalate. That’s a conversation worth having with data in hand.
Frequently Asked Questions
How tight should an HPLC vial cap be?
Finger-tight plus a firm quarter turn is the reliable default for screw caps. If the septa comes out bulging or dished after a run, you’re overtightening. Crimp caps should always be closed with a proper crimping tool, checked for spin and seal.
Why do my samples keep evaporating in the autosampler?
Usually the septa has been punctured too many times to reseal, or the cap is under-torqued enough to leave a vapor path. Use fresh septa for every sequence and fill vials as fully as the method allows. For small volumes, inserts reduce the headspace that vapor can occupy.
Which syringe filter membrane works with every solvent?
None do, and that’s the point of the compatibility chart. PTFE handles most organics but resists water, while PES and regenerated cellulose suit aqueous samples but dislike aggressive solvents. Pre-wetting a hydrophobic membrane with methanol bridges the gap for mixed solvents.
Can I reuse septa or syringe filters to save money?
Septa should be changed every sequence, because puncture channels are the main route to evaporation and coring. Syringe filters are single-use by design; reuse loads the membrane with carryover from the first sample and quietly changes your results. The money saved isn’t worth one repeated batch.
When is it actually the supplier’s fault?
When a new lot fails your incoming inspection or system suitability while everything at your bench is unchanged and documented. That’s what certificates and lot samples are for. Bring the data to the supplier first; a good one will investigate rather than argue.