
# 8 Consumables Every Field Sampling Kit Needs
Ask any lab manager about rejected sample batches and you’ll hear the same story: the kit was missing something small. A vial, a filter, a signed tag. Packing a complete field sampling kit is the cheapest insurance this industry sells.
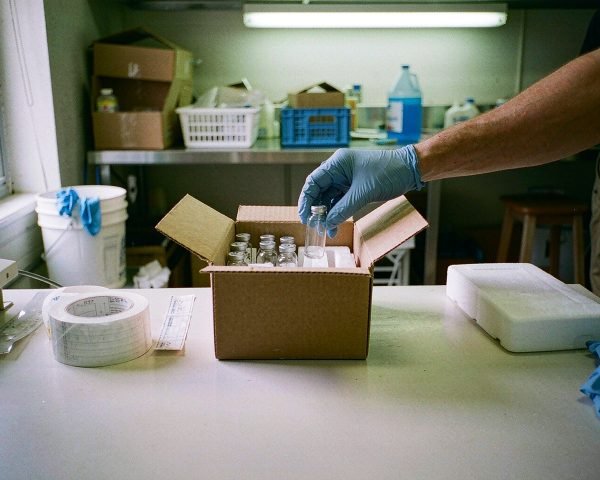
A complete field sampling kit needs eight consumables: sample bottles and VOA vials, pre-dosed preserved bottles, sterile sampling bags, nitrile gloves, field filtration supplies (syringes and syringe filters), sample labels with chain-of-custody tags, decontamination supplies, and packing and transport gear.
Miss any one of them and the failure mode looks identical: samples that arrive at the lab looking fine but legally dead. Below is the checklist I use before every run, including the details that decide whether your data survives a data validation review.
1. Sample Bottles and Vials (VOA, amber, wide-mouth)
Start here, because container selection is written into the regulation itself. Under 40 CFR Part 136 Table II, most compliance analyses specify the container type, the minimum volume, and even the closure. Volatile organics demand 40 mL glass vials with Teflon-lined septa, filled with zero headspace, preserved with HCl to pH below 2, and held at 6°C or cooler for a maximum of 14 days. A trip blank must travel with every VOA shipment.
That zero-headspace rule catches new techs constantly. If you see an air bubble bigger than a pea when you invert the vial, the lab will flag it, and there is no fixing it in the field. My practice: fill a fourth vial as a spare, since one underfilled vial out of three required still fails the set.
Amber glass matters for photosensitive analytes like nitroaromatics and some phenols; clear glass works for most volatiles. Wide-mouth polyethylene jars belong in every kit for soils and sediments, because trying to wedge a soil core into a narrow-neck bottle at the bottom of a test pit is a skill nobody should have to learn.
Buy certified, lot-specific pre-cleaned containers and check the certificate against the lot number on the box, not just the box itself. I once lost a compliance batch because two cases from different lots got mixed on the shelf, and the lab received one case with no cleaning certificate on file. Every sample in that case was recollected. If you want the full container-by-container breakdown, we cover it in our guide to environmental testing lab consumables.
2. Preserved Bottles (Pre-Dosed with Acid)
Table II gives you 15 minutes to preserve most grab samples after collection, and pH has the same 15-minute holding time for analysis. Fifteen minutes sounds generous until you are standing in a ditch, holding a sample bottle, with the acid bottle back in the truck. Field acidification is where rushed, uneven preservation happens.
The better approach is pre-dosed bottles. A 250 mL HDPE bottle with 2 mL of 1:1 HNO3 already in it, or a 1 L bottle pre-charged with H2SO4 for nutrients, turns preservation into a non-event. The regulation explicitly allows adding preservative to the container before collection when doing so will not compromise sample integrity, and laboratories have been shipping pre-dosed bottles for dissolved metals and nutrient work for decades. California’s SWAMP program goes further for volatiles: its guidance recommends vials pre-acidified in the lab before they ever reach the field, which extends the usable holding window compared with unpreserved vials.
Two cautions from experience. First, pre-dosed acid bottles for organics and pre-dosed dechlorination bottles (sodium thiosulfate for chlorinated water supplies) look identical from the outside; label the preservative on the cap or you will dose the wrong bottle. Second, check your pre-dosed bottles against the current project plan every time, because clients occasionally switch methods and a bottle preserved for one method is the wrong bottle for another.
In my opinion, pre-dosed bottles are the single highest-value upgrade you can make to a sampling program. They remove a field step, remove a field error, and cost pennies per bottle.
3. Sterile Sampling Bags
Any microbiological parameter (coliform, E. coli, enterococcus, heterotrophic plate count) needs a sterile container, and thin-walled sterile sampling bags have replaced glass bottles for most field work. They arrive pre-sterilized, they collapse flat, and the built-in write-on strip saves you from labeling a wet bottle in the rain.
The sterility clock matters. Bags are gamma-irradiated with an expiration date, and expired bags are a silent failure: the sample looks perfect, the lab reports “container compromised,” and you recollect. I check bag dates when I build the kit, the same way I check reagent dates.
Technique matters just as much. Touch only the outside of the bag, pull the tabs apart without breathing over the opening, and fill to the marked line while keeping your fingers off the interior. For chlorinated drinking water, the bag needs sodium thiosulfate pre-dosed inside, usually as a small tablet or droplets, to neutralize residual chlorine that would otherwise keep killing bacteria during transit. A chlorinated sample collected into a non-thiosulfate bag will undercount, sometimes dramatically, and you will never know from looking at it.
For tap samples, run the water for the contact time your method requires (commonly two to three minutes for coliform sampling) before filling. We walk through bag types, sterile technique, and when bags beat bottles in our article on sterile sampling bags.
4. Nitrile Gloves
Gloves protect two things at once: the sampler and the sample. For environmental work, powder-free nitrile is the default, since latex triggers allergies and powdered gloves transfer residue onto everything they touch. Powder particles have shown up as contamination in trace-level analyses, which is why most QA plans simply ban powdered gloves outright.
The sample-protection side gets less attention than it deserves. Clean-hands sampling for trace metals exists because a glove that touched a truck door handle, a sampling port, or a reagent cap carries that material into the next bottle. USGS clean-hands/dirty-hands protocols were built around this exact failure mode: one person handles the sampling device, the other handles the bottles, and they do not swap roles mid-sample.
My rules, learned the hard way. Pack more pairs than you think you need; a torn glove at station six should not send someone driving to a gas station. Change gloves between stations as a minimum, and between every sample when sampling for trace-level constituents. Never reuse gloves that touched preservation acids; a drop of HNO3 on a cuff will find its way into the next bottle or the next tech’s skin. And size matters more than anyone admits: a glove that pinches at the knuckles tears during bottle caps, so keep at least two sizes in the kit bin.
One habit worth copying from the drinking water side: glove up before pulling the first sample container out of its wrapper, not after. The wrapper itself is clean, and fumbling with gloves after opening it undoes the point. Cheap gloves, applied with discipline, outperform expensive gloves applied carelessly.
5. Field Filtration Supplies (Syringes and Syringe Filters)
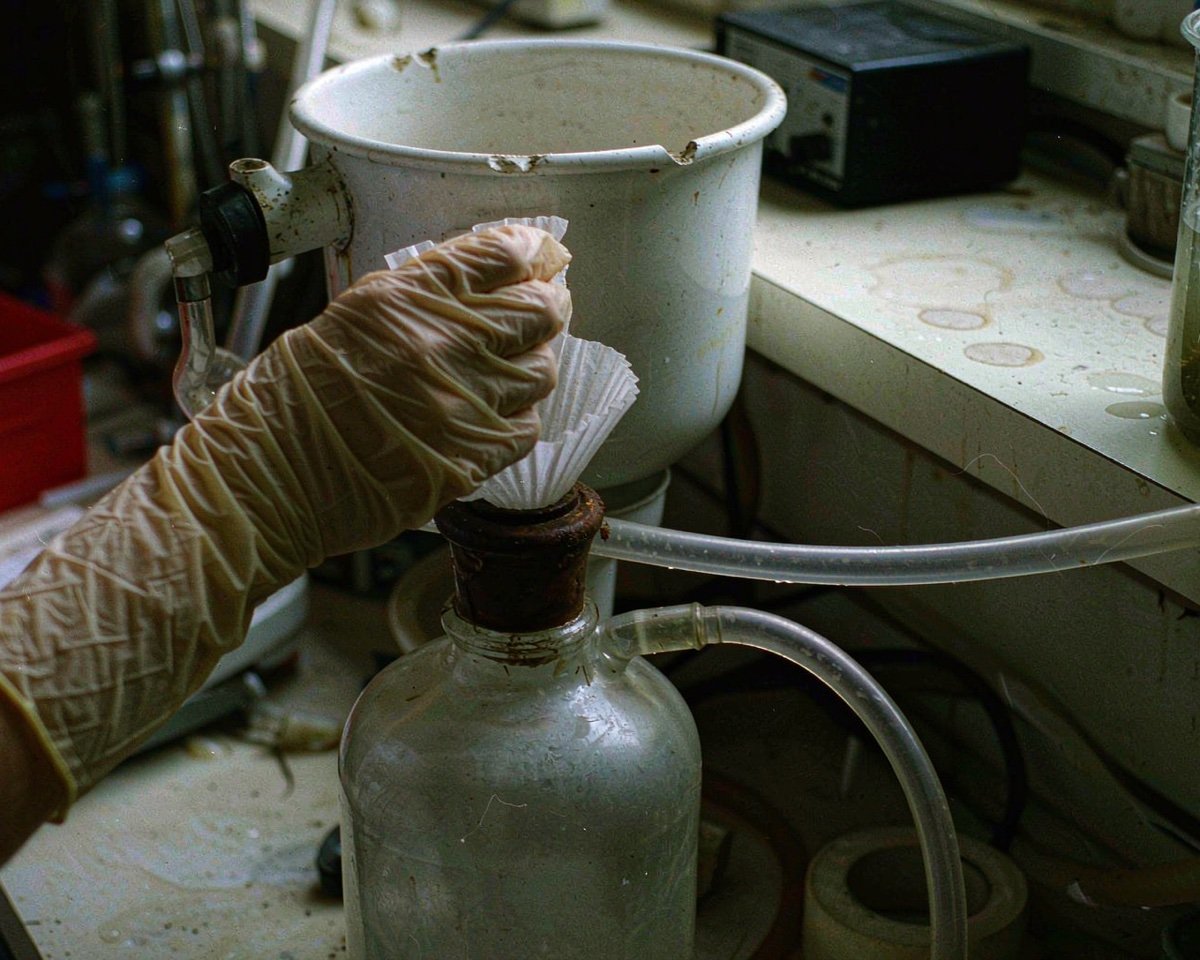
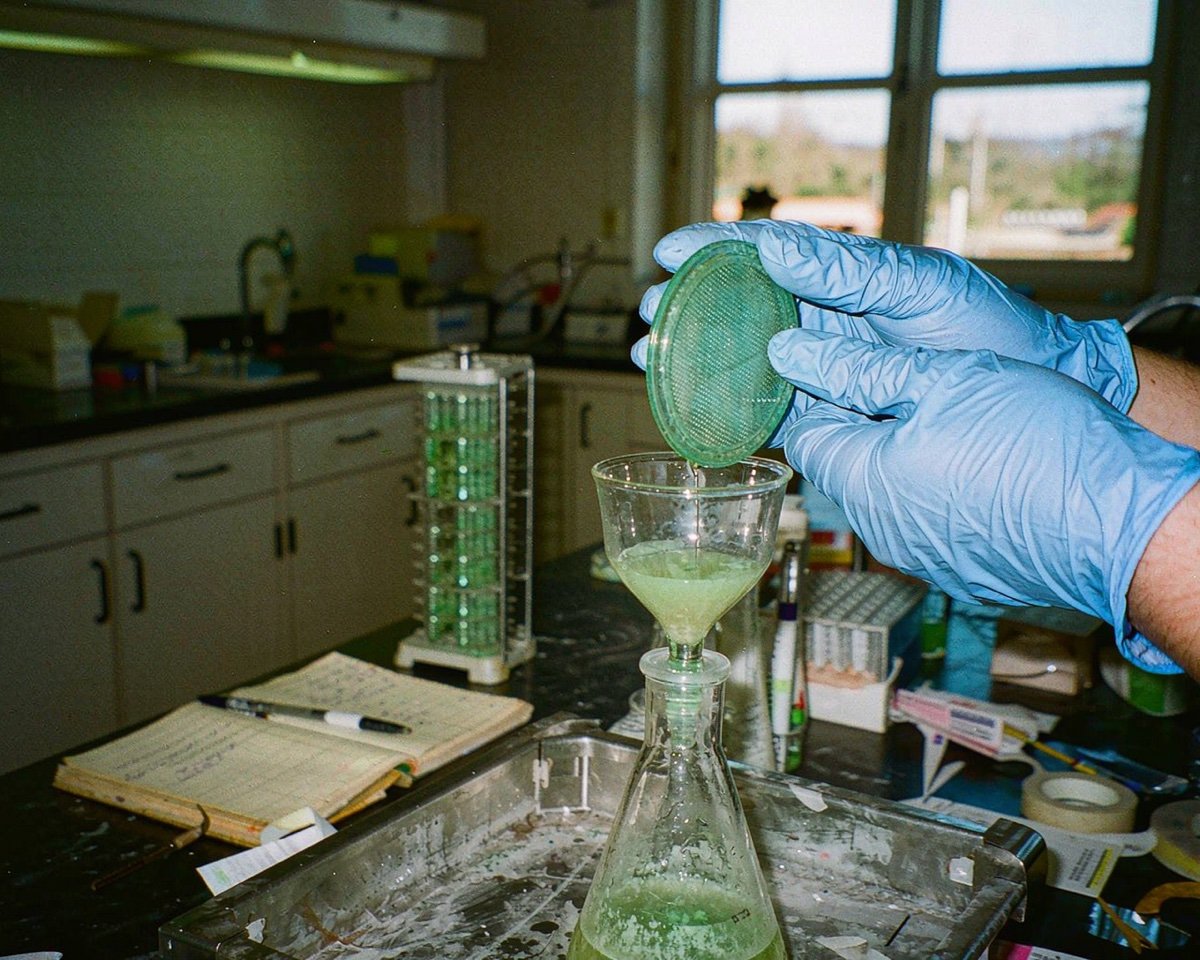
Dissolved metals, dissolved organic carbon, anions, and nutrient speciation all require filtering the sample, and the standard USGS field procedure is filtration at 0.45 µm, done during or immediately after collection. Wait even an hour and the suspended particles start exchanging ions with the dissolved fraction, which quietly changes your dissolved metals numbers.
The field setup is simple: a disposable polypropylene syringe (60 mL covers most bottle fills comfortably), a 0.45 µm disposable filter unit, and enough spare filters for every station plus a few extra. For high-sediment samples, expect to burn through filters faster; turbid river water can clog a 25 mm disc after 50 mL, so gauge your spares against the dirtiest site on the route, not the cleanest.
Pre-rinse the filter with 10 mL or so of sample and discard the rinse, especially for dissolved metals at low concentrations, because new filters leach a little and hold a little. USGS field guidance for low-level work conditions capsule filters with deionized water and then with sample for the same reason.
Match the membrane to the analyte. Cellulose-based and PES discs handle inorganics well, while glass fiber or PTFE media are preferred for organic analytes, since binders and wetting agents in some membranes can leach organic carbon. I keep two colors of filter in the kit and mark the boxes, because grabbing an organics filter for a metals sample at station four, tired, at 4 p.m., is exactly the kind of error that never gets caught until the data review.
6. Sample Labels and Chain-of-Custody Tags
Documentation fails more often than chemistry does, and EPA’s Contract Laboratory Program field sampler guidance is blunt about the label contents: project number, location identification, field sample number, date and time of collection, grab or composite designation, sample type, preservative used, analyses required, and the sampler’s signature. Everything is written in waterproof, non-erasable ink, and corrections get a single line through the error with initials and a date.
The lesson I keep relearning: labels are a field consumable, not an office supply. Pre-print them in the office when you can, because handwriting twenty labels at station three means at least two of them are wrong. Bring a backup pack of blank weatherproof labels and a fine-tip permanent marker for the inevitable unplanned sample. Paper logbook pages go into a plastic sleeve; one rainstorm can erase a morning’s custody record.
Custody seals belong in the same pouch. EPA guidance requires seals on each shipping cooler, and on individual containers when the project plan says so, precisely so any tampering or opening shows visibly. A cooler arriving with a broken seal and no explanation is the kind of thing attorneys, auditors, and skeptical clients all notice.
Put a few minutes of thought into your labeling system before the next project, and read our guide to labeling and tracking samples for the workflow we recommend. A sample with a smeared, incomplete label is not a sample. It is a bottle of expensive water.
7. Decontamination Supplies
Between-station decon protects your data from your own equipment. The kit needs, at minimum: deionized water in squeeze bottles (I carry two, one for rinsing and one kept pristine for blanks), a pump spray of laboratory-grade detergent solution, lint-free wipes, and brushes sized to whatever you clean. A churn splitter or a reusable beaker that samples station one and then station six without proper cleaning just invented a new composite nobody asked for.
The standard sequence is simple and worth memorizing: detergent wash, tap or DI rinse, and a final DI rinse, with an acid rinse added for trace-metal work when the plan requires it. Dry with lint-free wipes, never shop towels, which shed fibers and carry adhesives. Dedicate the gear, too; a measuring beaker that serves both a crude-oil site and a drinking water well in the same week is a contamination story waiting to be written into an audit finding.
Decon supplies also feed your QC. An equipment blank, DI water poured through the cleaned gear and submitted as a sample, is how you prove the cleaning worked, and many QAPPs require it per day or per matrix. That blank is only credible if the DI water you rinsed with and the DI water you poured into the bottle came from sealed containers, not the same squeeze bottle that has been open since Tuesday.
I keep the wipe supply generous because wipes multitask: they dry bottles, wipe down probe cables, clean acid drips off cooler lids, and save gloves. When a project involves especially dirty matrices, we add a dedicated “dirty” bin to the kit so contaminated gear never touches clean supplies on the ride home. Simple habit, cheap, and it has saved more than one dataset.
8. Packing and Transport Supplies
Nothing in the kit matters if the samples cook on the way back. The rule under 40 CFR Part 136 is cooling to 6°C or colder, without freezing, and preservation temperatures apply from the moment of collection for automated composites. A cooler with loose ice is not enough. I pack ice or gel packs around and under the bottles, use bubble wrap or bottle dividers so glass cannot shift, and drop in a temperature blank, a small vial of water whose temperature the lab records as the shipment’s evidence.
Pack the chain-of-custody record inside a sealed plastic bag taped under the cooler lid, per EPA’s field sample handling guidance, so the receiving lab finds paperwork with the samples. Custody seal across the lid. And here is the detail that separates careful programs from casual ones: samples never ride in the cab with the crew, and never in a vehicle parked in the sun. I once watched a holding time slip over a long weekend because samples sat in a closed garage at ambient temperature; the analyses were fine, the chemistry was fine, and the data was still invalid.
My personal rule is a third cooler for blanks and standards, kept sealed until the lab opens it, so a cooler accident never takes out the QC along with the samples. For the complete packing sequence, DOT basics, and carrier paperwork, see our 8 rules for shipping samples that must arrive valid.
Conclusion
A field sampling kit is a chain of small dependencies, and every link in that chain is a consumable you can buy, count, and pack the night before. The eight above cover the failure modes I have seen most often in ten years around environmental labs: wrong or uncertified containers, rushed field preservation, expired sterile bags, cross-contamination from gloves and gear, unfiltered dissolved fractions, smeared labels, sloppy decon, and warm transport. None of them is glamorous. All of them decide whether your numbers survive audit.
Build the kit as a checklist, restock it against the checklist after every run, and date-check everything with an expiration on it quarterly. When you are ready to stock up, start with our complete guide to environmental testing lab consumables, and for the parameters that give field crews the most trouble, see what consumables dissolved oxygen testing needs.
Frequently Asked Questions
What do you need in a field sampling kit?
The core eight: sample bottles and VOA vials matched to your analyses, preserved or pre-dosed bottles, sterile sampling bags for microbiology, nitrile gloves, syringes and 0.45 µm filters for dissolved fractions, weatherproof labels with chain-of-custody tags, decon supplies including DI water and wipes, and transport gear: cooler, ice, bubble wrap, temperature blank, and custody seals. Add spare everything.
How long can samples stay in a cooler?
They must stay at 6°C or colder without freezing, and they remain valid only within each parameter’s holding time from 40 CFR Part 136 Table II. Volatiles preserved to pH below 2 allow 14 days; pH itself allows 15 minutes; many unpreserved parameters allow 24 to 48 hours. Ship the same day when you can, and never let a cooler sit in a hot vehicle over a weekend.
Why fill VOA vials with no headspace?
Volatiles partition into any air gap in the vial, so a visible bubble means analyte has already left the water. Table II and the methods require zero headspace in 40 mL vials for exactly this reason. Overfill slightly, cap with the septum facing the water, and invert to check; if you see a bubble larger than a pea, collect a fresh vial.
Are pre-dosed sample bottles acceptable for compliance sampling?
Yes, in most cases. Table II explicitly permits adding preservative to the container before collection when it will not compromise sample integrity, and labs routinely ship pre-dosed acid bottles for metals and nutrients, plus thiosulfate-dosed bottles for chlorinated drinking water. Confirm the preservative matches your current method and QAPP before the run, since substituting acids between methods is not automatically valid.