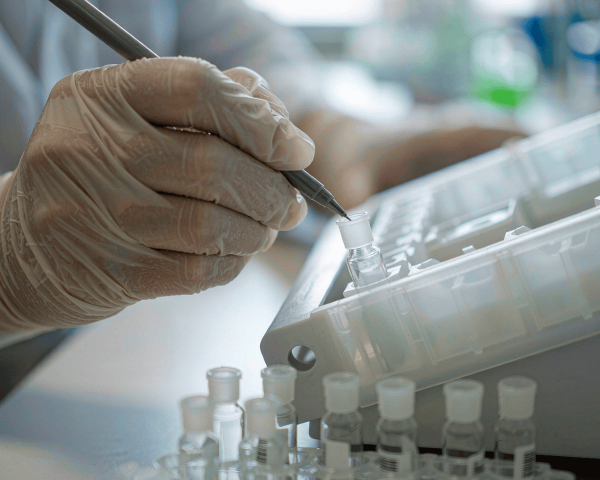

Every analytical lab has lived the same nightmare: a beautiful chromatogram from a vial you can no longer identify. Maybe the marker smudged, maybe the label fell off in the fridge, maybe you trusted your memory of the tray position. Sample labeling feels like housekeeping, until an unlabeled vial costs you a week of rework or a failed audit.
The Short Answer
Label every sample container at the moment you create it, using a unique sample ID plus at least two identifiers, on a label that survives your solvents and storage conditions. Then log that ID in a tracking sheet or LIMS with the date, method, and storage location. The goal is simple: anyone in your lab should be able to tell what a vial contains, when it was made, and why it exists, without asking you.
Labeling Errors Are Real and Expensive
If you think mislabeling is a rare event, the clinical lab literature disagrees. In one year-long audit of more than 470,000 samples, a hematology lab still recorded wrong-sample, missing-label, and wrong-label events. Small percentages, but each one is a potential wrong answer or a discarded specimen. And the problem is well known enough that specimen identification has been a standing patient-safety goal for years; reviews of labeling-error research note that organizations are urged to use at least two identifiers to verify specimen identity on the label.
Your QC samples aren’t patients, but the same logic applies. A mislabeled vial feeding a release test, a stability study, or a court-admissible forensic run does the same kind of damage. Treat labeling as a data-integrity step, not a chore.
What Goes on a Label
Keep it minimal but complete. For a sample vial, I recommend six fields:
1. Unique sample ID: a code that exists nowhere else in your system. 2. Date of preparation: needed for stability and expiry decisions. 3. Contents or method reference: enough to know what’s inside without opening it. 4. Operator initials: accountability when something goes wrong. 5. Storage condition: “RT,” “4 °C,” or “-20 °C,” especially if the vial leaves the bench. 6. Hazard or special handling: for anything toxic, flammable, or light-sensitive.
In regulated environments, add chain-of-custody requirements: who handled the sample, when, and why. When labs drop handwritten request forms and move to electronic systems with printed labels, rejection rates can fall dramatically. One quality-improvement project saw urine-sample rejection fall from 17 percent to zero after switching to electronic requesting with complete labels.
Match the Label to the Vial
Autosampler vials are small, which changes the labeling game:
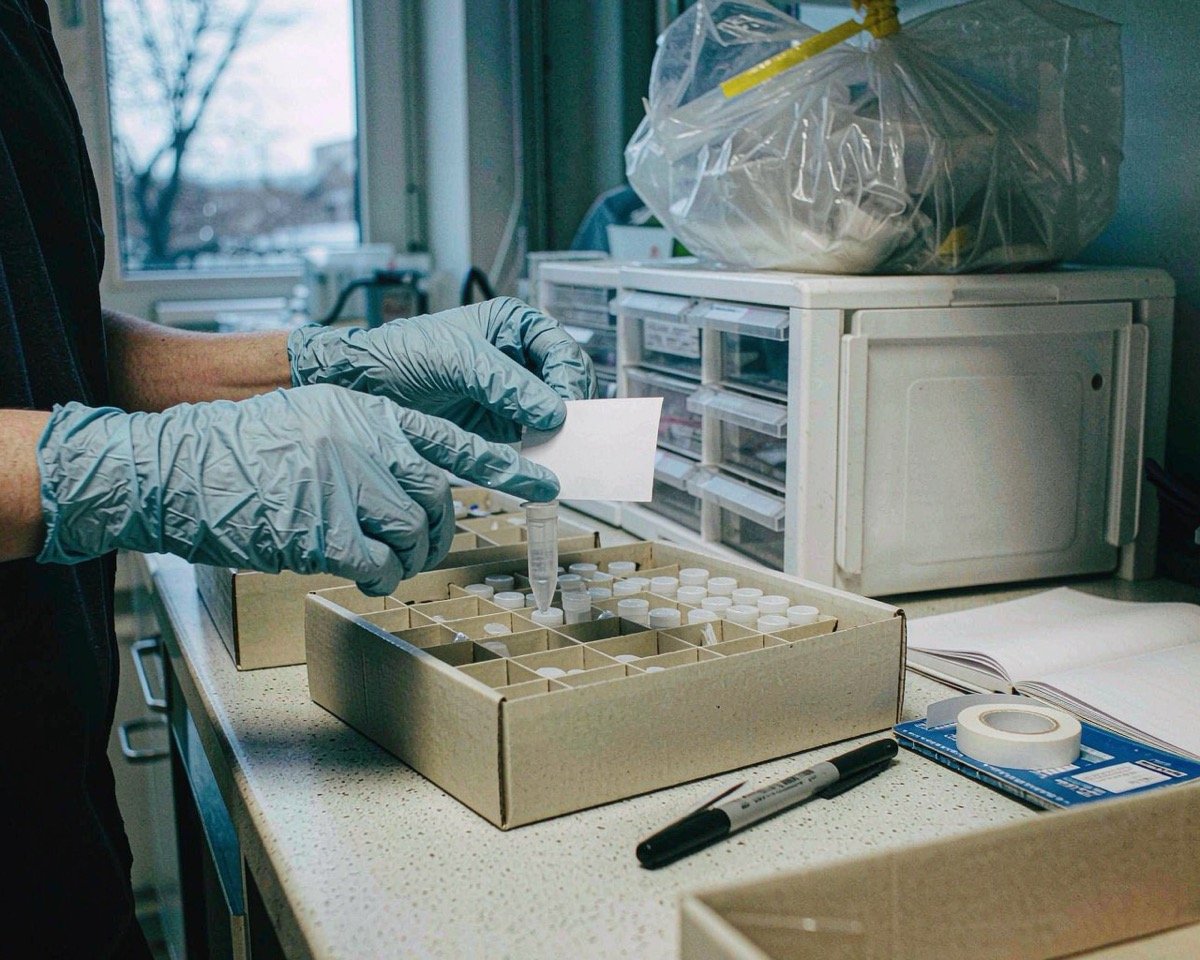
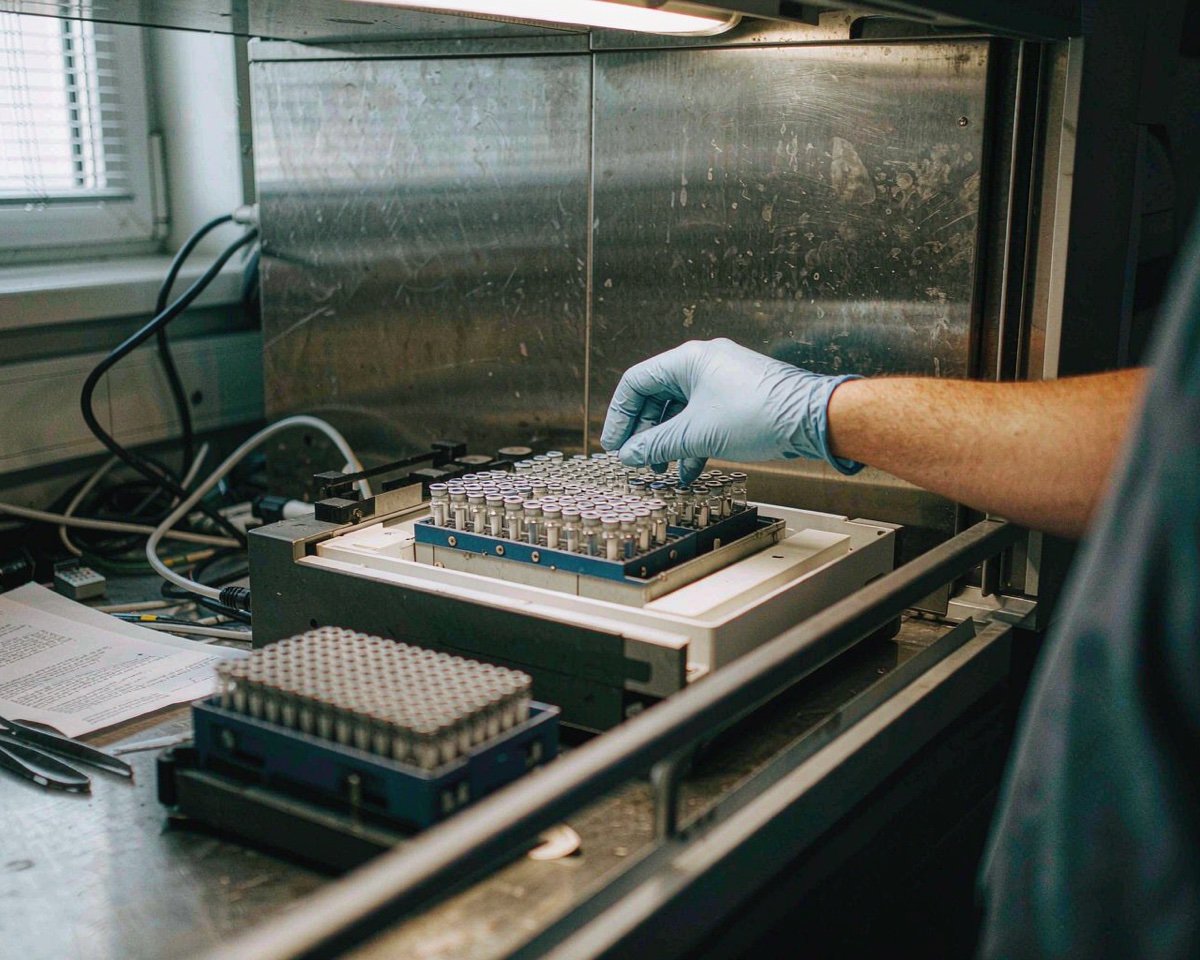
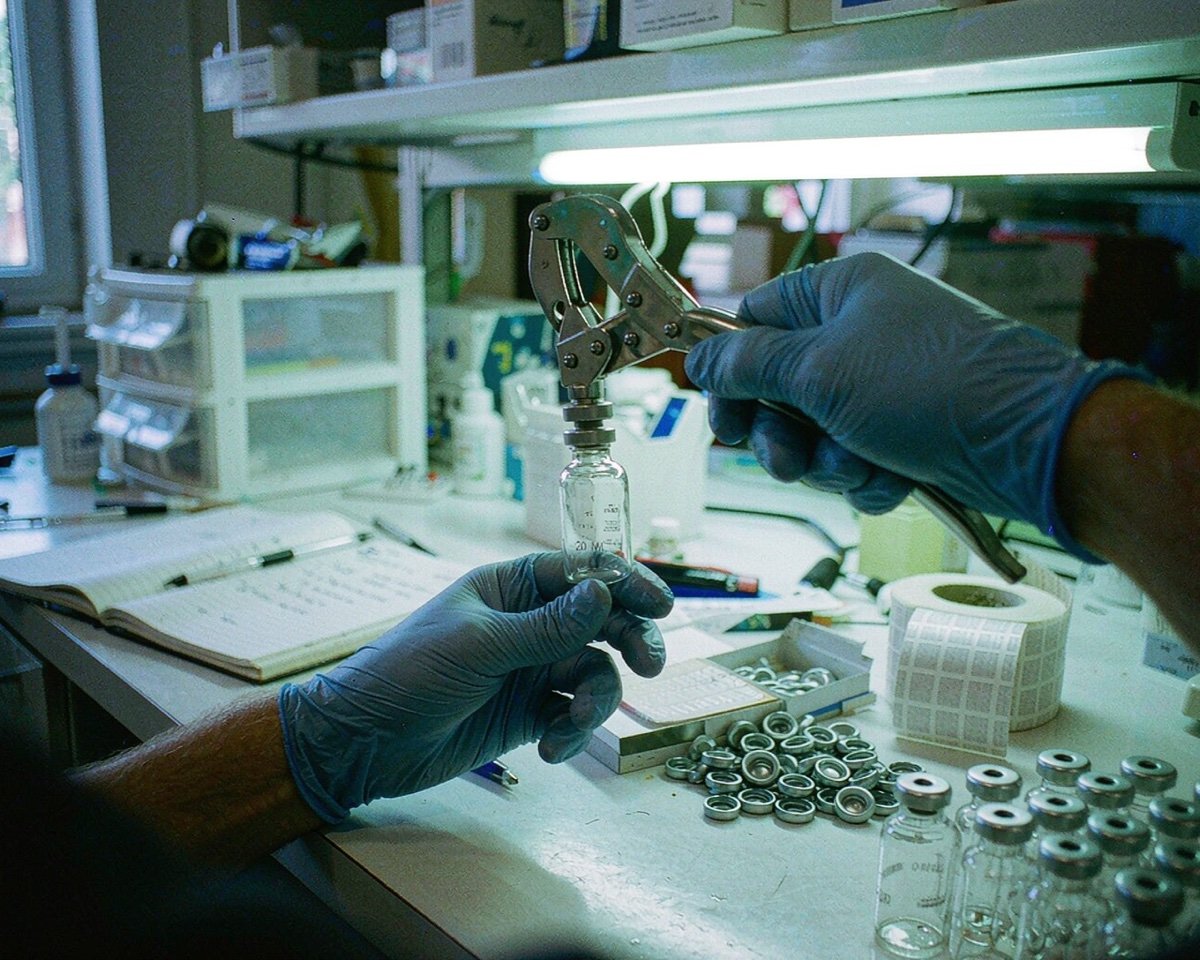
- Use the marking spot. Most chromatography vials include a frosted or graduated writing area; Restek sells its 2 mL screw-thread vials explicitly with a graduated marking spot for labeling. Write there with a solvent-resistant lab marker, and the ID survives acetonitrile splashes.
- Never cover the neck or septum. A label wrapped over the cap area can interfere with the autosampler gripper, needle travel, or the seal itself.
- Keep labels small and flat. Bulky paper labels can catch in robotic trays. If your autosampler uses grippers, test that a labeled vial still drops into the rack correctly.
- Two-level tracking for long runs. Put the ID on the vial *and* on the rack position or a matching log sheet. That way a smudged vial still maps to a position.
Beyond the Marker: Barcodes and LIMS
Handwriting works until it doesn’t. Labs running high throughput, or facing audits, usually graduate to barcodes or 2D codes printed on solvent-resistant labels, scanned into a laboratory information management system (LIMS). The investment pays off in three ways:
- Machine-readable IDs eliminate transcription errors at every handoff.
- LIMS history gives you a timestamped trail of preparation, storage, and injection, which is exactly what an auditor wants to see.
- Scan-based checks catch wrong-vial swaps before the injection happens, not after.
Even without a LIMS, a shared spreadsheet with sample ID, location, method, and dates beats tribal knowledge. The important thing is that the tracking system and the physical label always agree.
Storage Conditions Change the Rules
The label has to survive the environment you store the vial in:
- Freezers destroy cheap paper labels and some adhesives. Use freezer-grade or thermal-transfer labels for anything going below 0 °C.
- Solvent fumes dissolve ballpoint ink. A solvent-resistant marker or printed label is non-negotiable around acetonitrile, methanol, and dichloromethane.
- Long-term storage needs a label that won’t fade. If a sample may be re-analyzed in six months, assume it will be, and label accordingly.
One more habit that prevents most mix-ups: label before you fill, or immediately after. A tray of identical unlabeled vials on the bench is an accident waiting to happen. If you must prep first, keep a written map of the tray positions and transfer the IDs the moment samples are sealed.
Building a Simple, Audit-Ready System
You don’t need a $100,000 informatics platform to be audit-ready. A system that passes inspection looks like this:
1. Standard label format: printed or handwritten, same fields every time. 2. A unique-ID scheme: date-based codes like 20260903-014 are easy to generate and sort. 3. One log per batch: sample ID, contents, prep date, analyst, method, storage location. 4. A visual check at the instrument: confirm vial ID against the injection sequence before you hit start. 5. A retention and disposal rule: know how long you keep samples and labels, so old vials don’t clutter the fridge with stale IDs.
Conclusion
Proper labeling and tracking is the cheapest quality system your lab will ever install. The core habit, labeling each vial at the moment of preparation with a unique ID and enough context to stand alone, prevents the expensive failure modes that studies keep documenting, from misidentified specimens to whole batches rejected for missing information. Match your label materials to the vial size and storage environment, add barcodes and a log when throughput or audits demand it, and verify IDs at the instrument before injecting. Once that discipline is in place, the chromatogram you’re staring at will always have a name. If you’re organizing your bench around the same goal, my guide to vial trays and racks shows how physical organization supports clean tracking, and this walkthrough of sample storage best practices covers what happens after the label goes on.
Frequently Asked Questions
What should I write on an HPLC vial label?
A unique sample ID, the prep date, contents or method reference, and your initials. If the vial is stored off-bench, add the storage temperature and any hazard note. Keep it short enough to read at a glance.
What pen works on vial marking spots?
A solvent-resistant, alcohol-based lab marker with a fine tip. Standard permanent markers can bleed or dissolve when exposed to acetonitrile or methanol, so test your marker against your actual solvents.
Can I label the cap instead of the vial?
You can, but it’s risky: caps get swapped, and screw caps are frequently replaced. The vial body, ideally the frosted marking spot, is the durable home for the sample ID.
Do I need barcodes on my sample vials?
Only if your volume or compliance requirements demand it. Barcodes and LIMS scanning eliminate transcription errors and speed up tracking, but a disciplined manual system with unique IDs and a written log is still defensible for most analytical labs.
How long should I keep sample labels and logs?
As long as you keep the samples, plus whatever your quality system requires for records. If a sample can be re-injected or audited months later, its label and log entry must still exist and still match.