
Somewhere in every busy lab there’s a drawer of loose vials, a bench covered in unlabeled samples, and an autosampler tray loaded by memory rather than by map. The cost of that chaos isn’t just annoyance — it’s sample mix-ups, lost traceability, and reruns that eat your afternoon.
The good news is that fixing it rarely requires new instruments or software. A small investment in the right vial trays and racks, plus a consistent labeling habit, organizes your workflow, protects sample integrity, and keeps your autosampler running error-free.
Let me walk through how racks and trays actually work, which ones fit which workflows, and how to build an organization system that survives contact with a busy lab.
Why Racks Matter More Than You Think
A vial rack does three jobs, and each one directly protects your data:
- Keeps samples upright and protected. A rack stops vials from tipping over, spilling, or getting knocked off the bench. It also keeps them off contaminated surfaces.
- Prevents mix-ups. Indexed, labeled positions mean a sample’s location is part of its identity — the first line of defense against misidentification.
- Feeds the instrument correctly. Autosampler-compatible trays position every vial where the needle or gripper expects it, eliminating alignment errors that stop sequences mid-run.
Sample mix-ups are one of the most damaging and common errors in busy laboratories, and most originate from hand-written labels, inconsistent storage, and undocumented sample locations. Racks don’t solve everything — but they remove the structural chaos that causes the problem. As Micronic’s guide to preventing sample mix-ups points out, structured tracking and standardized organization are the core defenses, with visual cues like color-coded caps and indexed racks as the practical first layer.
Types of Trays and Racks
Not all racks are the same, and the right one depends on where in your workflow the vials live:
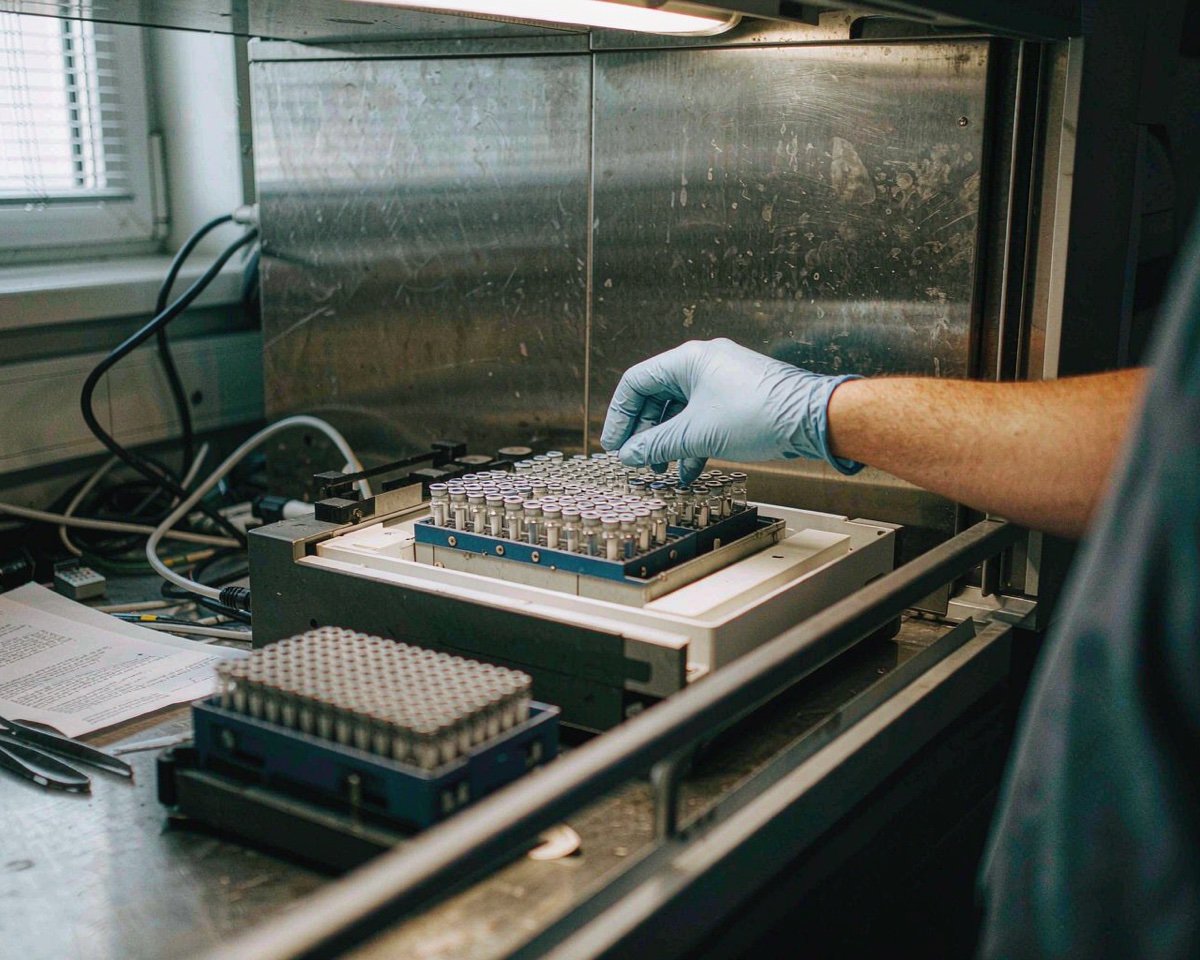
Autosampler trays. These are the official trays that fit inside your instrument’s sample compartment. They’re usually instrument-specific — a Thermo Scientific Dionex UltiMate 3000 autosampler, for example, supports a wide variety of sample trays for micro, analytical, semi-preparative, and preparative vials, plus 96- and 384-well plates and even Eppendorf tubes, as shown in its autosampler specification sheet. Use the tray your vendor specifies; generic trays can cause positioning errors.
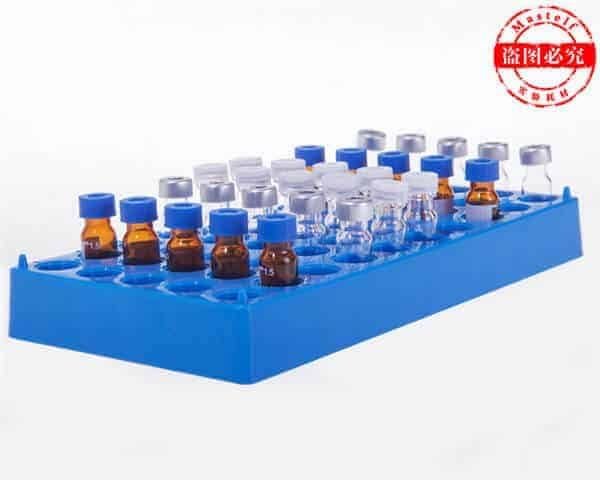
Bench racks. The everyday plastic racks that hold 50 or 100 vials during sample prep. They come in different well counts and layouts for 12×32mm autosampler vials, and the good ones have indexed positions so you can refer to “rack 2, position A7” instead of “the blue one near the pipettes.”
Storage racks and boxes. For long-term storage — including freezer storage — you want stackable racks or boxed inserts that protect vials and keep them organized at -20°C or -80°C. Polypropylene racks resist cold and most solvents well.
Transport racks. If vials move between prep areas, instruments, or sites, a locking or lidded rack prevents spillage in transit.
What to Look for in a Bench Rack
When you’re buying bench racks, the details matter more than they look:
- Material. Polypropylene is the standard — chemically resistant to common HPLC solvents, autoclavable in most cases, and durable. For aggressive chemical environments, some labs prefer stainless steel or aluminum.
- Indexed wells. A molded alphanumeric index on the rack makes sample tracking practical. MicroSolv’s 50-position polypropylene vial rack is a good example of the format: indexed wells, stackable, and sized for standard 12×32mm autosampler vials.
- Stackability. Racks that stack conserve bench space when you’re running large batches.
- Fit with your vials. Check whether the well diameter suits flat-bottom, conical-bottom, or both vial styles — conical vials need a slightly deeper well to stay upright.
Matching Racks to Your Autosampler
Your instrument is the strictest constraint. Modern autosamplers vary enormously in capacity and format — from simple 130-vial trays to temperature-controlled compartments holding hundreds of samples, like the KNAUER LH 8.1 liquid handler, which stores up to 390 vials in three racks inside a robotic cooler.
The practical takeaway: always confirm tray and rack compatibility with your specific autosampler model before buying. Check the instrument manual’s vial and tray table, and if you’re switching from one brand’s vials to another’s, verify the dimensions — my guide to matching vials to your autosampler covers the fit questions in detail.
Labeling and Tracking: Where Organization Pays Off
Racks get you 80% of the way; labeling gets you the rest. The goal is that any vial’s identity and location can be recovered in seconds.
A few practices that work well in practice:
- Use the rack index in your sequence. If your tray positions are indexed, mirror those positions in your injection sequence table so the instrument log and the physical rack agree.
- Adopt barcodes for high-throughput work. Barcode-labeled vials and plates eliminate transcription errors and speed sample login. Waters’ application note on barcode workflows shows how barcodes tie sample identity to tray and vial position, feeding data straight into the data system.
- Standardize your rack numbering. Give every rack a number, assign positions left-to-right, and log where each sample sits. Consistency beats cleverness.
- Color-code by project or priority. Colored caps or colored racks are an instant visual filter when analysts are grabbing samples from shared trays.
If your lab runs many samples with strict traceability needs, a LIMS or sample-management system with rack-level tracking is worth exploring — but even without one, a disciplined rack-and-label habit prevents most mix-ups.
Making the Most of Your Space
Lab space is precious, and racks are the easiest way to reclaim it:
- Stack racks for storage. Stackable racks turn idle vertical space into organized vial storage.
- Move finished samples out of the autosampler area. Trays parked on the instrument are a bottleneck; transfer completed sequences to storage racks immediately.
- Keep prep racks separate from storage racks. One set for in-progress work, one for archived samples — never the same tray, or the two streams blur.
- Use freezer-compatible racks for cold storage. Polypropylene racks survive -80°C; don’t use racks that become brittle in the cold.
For deeper thinking on storage conditions — what degrades samples over time, what kills vial cleanliness, and how to store consumables properly — my guides on proper storage for HPLC vials and vial storage tips are the natural next reads.
A Buying Checklist for Your Lab
When you’re ready to standardize, here’s the checklist I’d work through:
- Count your autosampler tray capacity and buy one dedicated tray set per instrument (plus one spare).
- Match bench racks to your vial size (12×32mm standard) and preferred well count — 50-well racks are a good default for prep; 100-well suits high-throughput.
- Choose indexed, stackable polypropylene racks for solvent resistance and easy tracking.
- Add freezer-specific racks if you store samples long-term at low temperature.
- Set up a labeling standard — position codes, rack numbers, and (if volume justifies it) barcode labels.
- Estimate how much you actually use. If you’re not sure how many vials your lab consumes, my article on vial consumption rates helps you size your rack inventory to your real throughput.
Conclusion
Vial trays and racks are the quiet backbone of lab organization — they keep samples upright, traceable, and correctly positioned for your autosampler. The system doesn’t need to be expensive or complicated: indexed polypropylene racks for prep, instrument-matched trays for the autosampler, freezer-compatible racks for storage, and a consistent labeling habit that ties every vial to a position. Do that, and you eliminate a whole class of sample mix-ups, alignment errors, and lost time. The labs that run the smoothest aren’t the ones with the most automation — they’re the ones where any analyst can look at a rack, read a position, and know exactly what’s in the next vial. Start with one instrument and one rack standard, prove it works, then roll it out across the lab.
Frequently Asked Questions
What’s the difference between a vial tray and a vial rack?
A tray typically refers to the instrument-specific sample tray that fits inside an autosampler compartment, while a rack is a general-purpose holder used for sample prep, storage, and transport. Both organize vials, but trays must match the autosampler’s geometry, while racks are more flexible across workflows.
Can I use any rack with my autosampler?
No. Autosamplers position vials very precisely, so you should use the tray specified for your instrument model. Generic racks are fine for bench prep and storage, but inside the instrument, the tray geometry must match or you risk needle alignment errors and failed sequences.
What material should my vial racks be?
Polypropylene is the most common and practical choice — it resists common HPLC solvents, survives cold storage, and is usually autoclavable. For aggressive chemical environments or high-temperature use, stainless steel or aluminum racks may be better, though they cost more.
How do I prevent sample mix-ups with vial racks?
Use indexed racks with alphanumeric positions, log each sample’s rack and position in your sequence or LIMS, and adopt consistent labeling — including barcodes for high-throughput work. Standardizing rack numbering and position conventions across the lab removes most misidentification errors.
Are vial racks autoclavable?
Many polypropylene racks can be autoclaved, but not all — check the manufacturer’s specification, since some plastics deform at sterilization temperatures. If you sterilize racks routinely, choose autoclavable polypropylene or stainless steel and confirm the temperature rating before putting them in the autoclave.