

# 8 Consumables Checks Before Every Important Run
A 96-injection sequence should not die at vial 23 over a forty-cent vial. But it happens, in good labs, every week. The instrument was fine; a consumable was not. These eight consumables checks take ten minutes and catch most of it.
Quick answer: Before any run that matters, check eight things: vial condition and rack fit, septa condition, cap torque, filter membrane and pore size, lot numbers and CoAs, expiry dates on sterile or coated parts, mobile phase and reservoir cleanliness, and your stock of spares such as frits and seals.
Each check below explains what it protects, the failure I have watched when it gets skipped, and the fastest way to do it at the bench.
1. Check Every Vial for Cracks and Fit
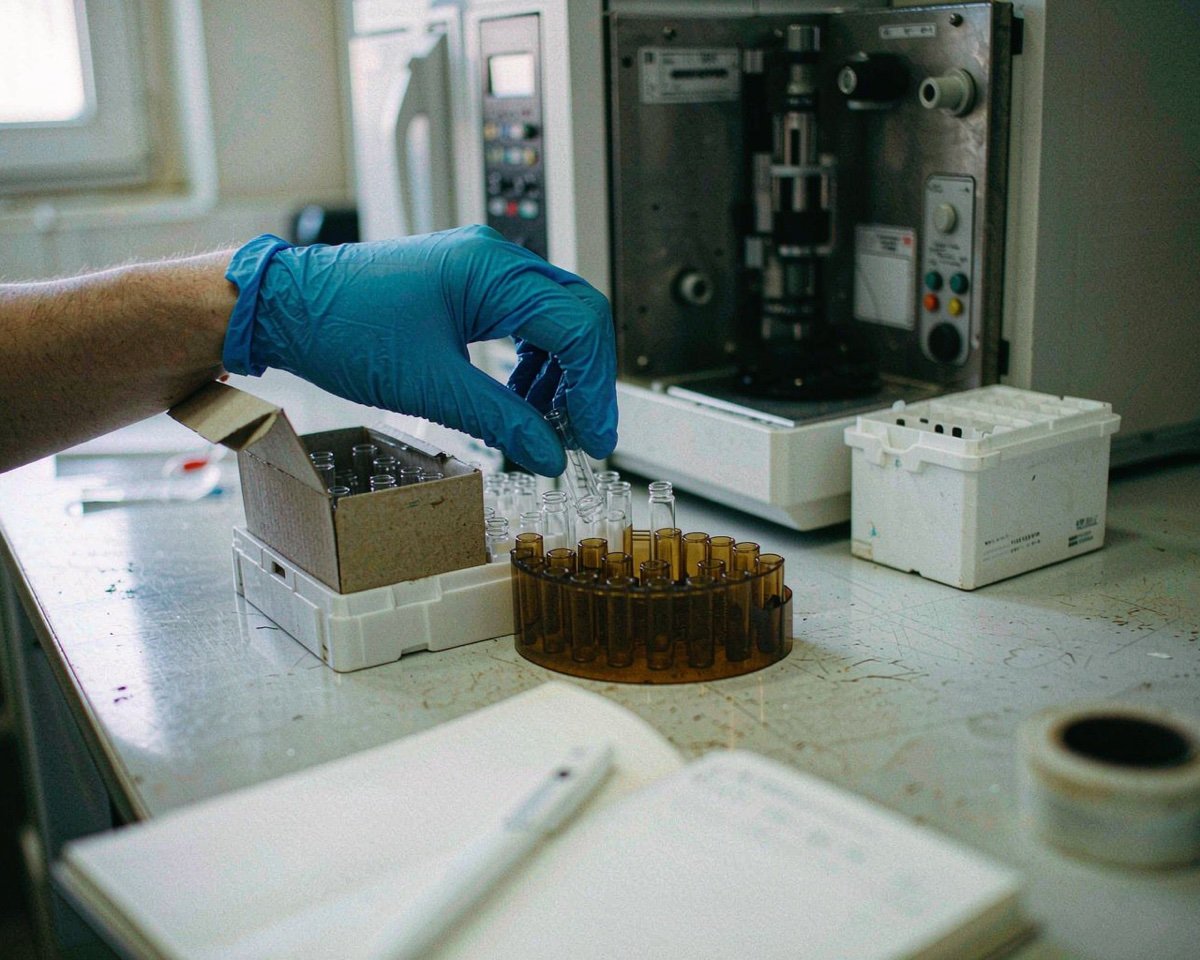
Hold a vial up to the bench light before it goes in the tray. You are looking for hairline cracks at the shoulder, chips on the rim, and a neck that sits crooked in the well. None of these are visible in a full rack at arm’s length, which is exactly how they survive until 2 a.m.
Cracked vials fail quietly. A stress fracture at the shoulder holds liquid for hours, then lets solvent wick out through the fissure as the tray warms. I once inherited a stability study where the internal standard response in the third vial of row two had drifted 14% overnight. The vial looked perfect. Under the light, a crack ran from the neck flange down about 8 mm, thin enough that you needed to rotate it against the light to see it. Six injections of that lot were re-run, and the report date slipped by three days.
Fit matters as much as condition. A vial fractionally over the dimensional spec binds in the gripper or sits proud of the well, and the autosampler develops “intermittent” errors that make no sense until you measure the vial instead of the instrument. Caliper ten vials from every new lot against the height and diameter in your autosampler manual. It takes two minutes and ends the guessing.
One more habit: respect fill level. Agilent’s own guidance on troubleshooting peak area variation tells users not to overfill vials and to keep the fill between half and two-thirds of total volume, because the draw behaves differently when the needle has too much or too little liquid to work with. Underfilled vials also risk drawing headspace on large injections, which shows up as a short injection with no error message at all.
If a vial rattles when you nudge it, seat it properly or bin it. That five-second press into the well has saved more sequences than any software diagnostic I have used.
2. Check the Septa Before You Trust Them
Septa are the only consumable your needle punches, dozens of times a day, and most labs never look at one until it fails. Pull a cap off a random vial and inspect the septum against the light. You want an intact surface with no crescent-shaped tears and no halo of crumbs around the puncture track. A glossy, hardened look suggests solvent attack, and that septum is living on borrowed time.
Corability is where septa live or die. Every puncture shears tiny fragments of silicone from the body of the septum, and those crumbs fall into your sample or lodge in the needle seat. Vendor guidance on septum selection and inlet maintenance keeps coming back to the same three triggers: puncturing the septum too many times, a damaged needle tip, and the wrong needle point style. A dull bevel tears; a clean conical tip with a side port cuts. The same guidance flags overtightening, which compresses the septum into a dense plug and makes coring worse.
The symptom I see most often is a blank that is not blank. Small silicone peaks appear in your guard wash or blank vials, nobody can identify them, and the method gets blamed. On one GC-MS project, we chased mystery peaks for two days before someone shook a used vial and heard the fragments rattling against the glass. Every septum from that cap bag went in the bin.
Respect the puncture count. Most standard silicone/PTFE septa are rated for a limited number of injections per hole, so a vial reinjected all day is a risk you chose. For multi-injection work, buy pre-slit septa, which let the needle slip through instead of shearing material. We cover the mechanism and the fixes in our article on septum coring and how to stop it.
If you only change one thing this month, change how you inspect septa. It is the cheapest check on this list.
3. Check Cap Torque With a Tool, Not Your Wrist
Hand-tight is not a specification. It is a mood, and it changes depending on who capped the vial.
Too little torque and the septum never compresses. The seal weeps, solvent evaporates through the threads, and volatile analytes concentrate quietly over a long run. Peak areas drift down the sequence and the RSD on your QC fails with no instrument fault to explain it. Too much torque is worse in a way: the septum deforms, the cap threads strip, and coring risk climbs because the needle now punches dense, overstressed material.
Most suppliers publish a torque window for screw caps; for a standard 9 mm closure it lands roughly between 0.5 and 1.0 N·m. That range is not achievable by feel. A technician with strong hands will happily exceed it, and someone in a hurry will undershoot it, often on the same tray.
I keep a preset torque driver at the capping station, set once for the cap style we use and checked against a known-good vial at the start of each week. Capping a tray becomes faster, not slower, because nobody stops to wonder whether a cap is tight enough. The story that converted me: a 24-hour dissolution run where the last twelve vials had lost enough acetonitrile through under-torqued caps that the late time-points failed specification. The rework cost a week. The torque driver cost less than lunch.
If you run crimp caps instead, the equivalent check is a crimp gauge on the finished seal, one vial in fifty. A cap that spins freely on the neck is a leak, whatever the crimper settings say.
4. Check That Your Filter Matches the Sample
Filtration is where consumable mismatches do silent damage, because a wrong filter rarely produces an error. It produces data.
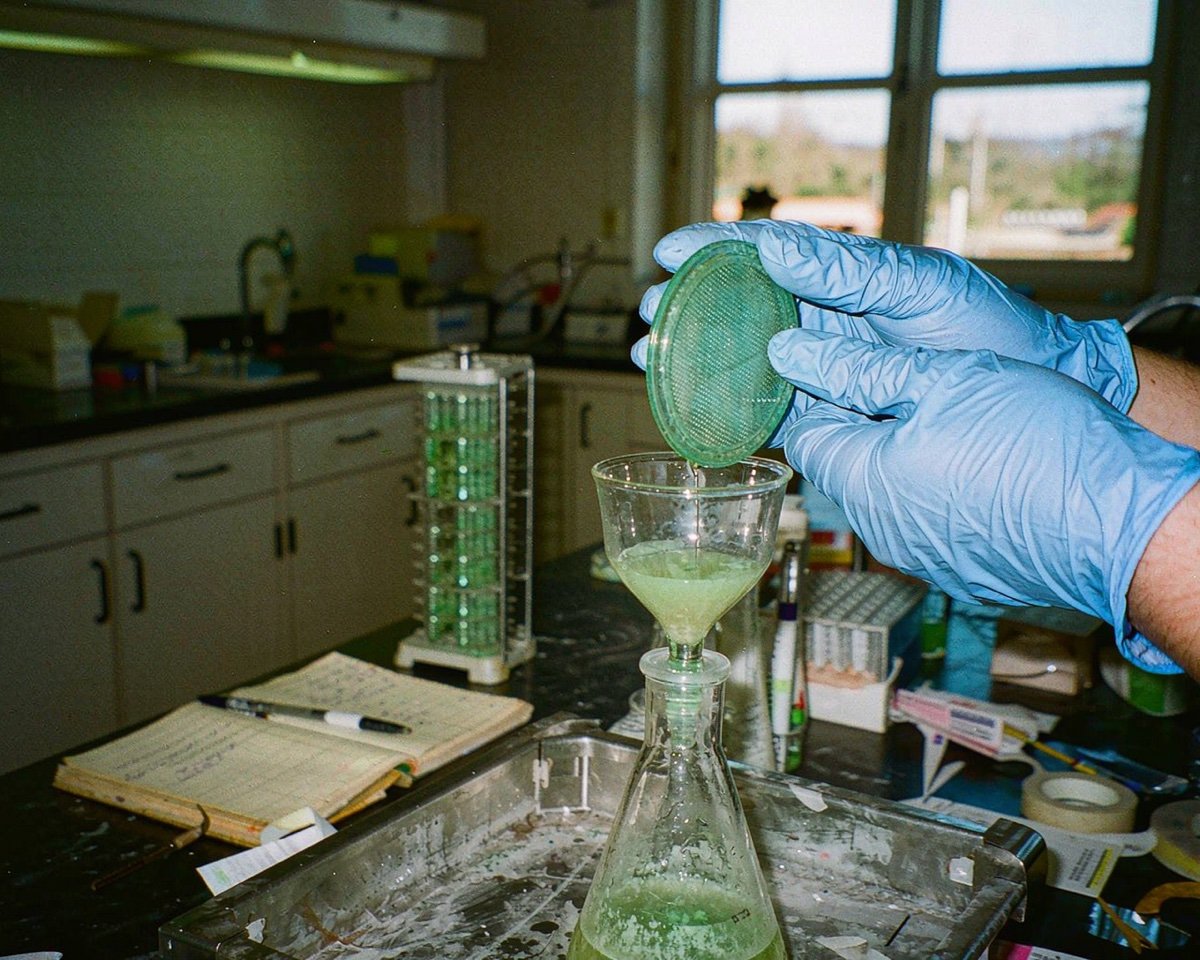
Start with pore size. A 0.45 µm filter is for clarification, removing particles that would lodge in your column frit. A 0.22 µm filter is for sterilizing-grade work and ultraclean injections. Running 0.22 µm on a particulate-heavy sample just clogs the filter halfway through your rack, and forcing the syringe past that point either bursts the membrane or pushes unfiltered sample around the edge. Neither failure announces itself in the chromatogram.
Membrane chemistry matters more than pore size, in my experience. Nylon is a workhorse for organic solvents but binds proteins badly, so your protein standards lose recovery and the calibration quietly sags. PVDF is the low-binding choice for protein-rich solutions. PTFE handles aggressive organics but repels water until you pre-wet it. The Millex syringe filter selection guidance from MilliporeSigma lays out membrane types by sample volume and chemistry, and it is worth bookmarking because the wrong-membrane failure is almost impossible to diagnose after the fact.
The failure I use to make this point involved a monoclonal sample run through nylon filters on a Friday. Recovery dropped about 9% against the previous week. The method, the column, and the standard were unchanged. Only the filter lot had changed, and the new lot was the same nylon as before. The problem was the membrane itself, not the lot, and it had been wrong for that sample from the start.
If your lab has no written rule for which filter goes with which sample type, fix that first. Our guide to why samples should be filtered before injection is a good starting point to circulate.
5. Check Lot Numbers and CoAs at Receiving
The lot number on the box is the only thread connecting your data to the material that produced it. Cut that thread and every audit question becomes unanswerable.
The check happens at receiving, not six months later. Open the box, confirm the lot number printed on the certificate matches the lot on the containers, and file the CoA against your purchase record. Products enrolled in traceability programs such as Fisher Scientific’s SureTRACE guarantee lot-specific certificates and advance notice of product changes, which is worth asking for when you qualify a supplier. A certificate that describes a product in general, with no lot match, is a brochure.
Then record the lot in the bench log for the runs it feeds. This sounds bureaucratic until the day it saves you. We once traced a carryover-looking artifact to a single vial lot by scanning two months of bench notes; without the lot record, the only option was to re-run everything. The notes turned a three-day investigation into a twenty-minute one, and the supplier replaced the lot.
Auditors ask this exact question. Not whether your vials are good, but whether you can show which lot touched which data. The answer is either a filed CoA and a bench log, or an uncomfortable silence.
6. Check Expiry and Retest Dates on Sterile and Coated Items
Most HPLC consumables do not expire in any meaningful sense. A borosilicate vial is glass; it will outlive your instrument. The consumables that do carry dates are the ones where a date is a real specification: sterile syringe filters, pre-sterilized sample containers, septa with adhesive layers, and anything supplied with a retest date on its CoA.
Sterile filters are the classic case. The membrane and the sterilization both age, and an expired sterile filter used to clarify a media batch can seed contamination instead of preventing it. I watched a cell culture lab lose two weeks to contamination that traced back to a drawer of expired 0.22 µm filters someone had kept “because they looked fine.” They looked fine. So does contaminated media until the turbidity shows up.
Adhesive-backed items age differently. The adhesive on some pre-slit or bonded septa hardens over years, and an old cap can seal worse than a fresh one even though the silicone is intact. Retest dates on solvent CoAs matter too; a retest date is the manufacturer saying the data is no longer guaranteed past that point.
The check is one minute with a marker pen. When a box arrives, write the expiry or retest date large on the lid, facing out. Store short-dated items in front of long-dated ones, the way a kitchen does with milk. And when you find something expired, throw it out on the spot. Keeping it “just in case” guarantees someone will use it during a deadline, which is the worst possible moment to discover why dates exist.
Which items need this treatment? Anything the manufacturer dates: sterile syringe filters in individual pouches, sterile sample containers, pre-slit septa, and reagent-grade solvents carrying a retest line on the CoA. Anything without a date, such as plain glass vials or PTFE-faced caps in sealed foil packaging, gets no date and needs none. The discipline is knowing which is which, and the marker pen is what keeps that knowledge on the box instead of in someone’s head.
7. Check the Mobile Phase and Its Reservoir
This is the check that protects the eight hours after the run starts, because a dirty mobile phase poisons everything downstream of the solvent inlet.
Aqueous mobile phases grow microbes. It surprises people every time, but buffered water at room temperature is a habitat, and a reservoir that sits over a weekend can develop enough growth to block a solvent inlet frit, shift your baseline, and shed peaks into a gradient. Waters’ guide to controlling contamination in LC/MS systems is blunt about the fix: prepare, filter, and degas aqueous mobile phase daily, and never store the system in water or highly aqueous solvent over a shutdown.
The reservoir itself is half the problem. Topping off an existing bottle concentrates whatever has been accumulating at the bottom, which is why Waters explicitly recommends against it; empty the bottle, rinse it with the final solvent, and refill. Their support guidance on mobile phase preparation also warns against reusing the amber bottles solvents ship in for additive-containing phases, because that glass is not rated for it.
My Monday-morning story: a colleague topped off an aqueous buffer reservoir on Friday afternoon to “save time Monday.” By Tuesday the backpressure had climbed 20 bar and the inlet frit was gray. The column survived after an hour of flushing. The schedule did not.
So before an important run, look at the reservoir. When was that phase prepared? Is the bottle covered? Is the draw time recorded anywhere? Two minutes here prevents the specific failure that ruins columns.
8. Check Your Spare Parts Stock
The last check is not on the instrument. It is on the drawer.
A perfect bench setup fails if one inlet frit clogs and the spare cabinet is empty. The parts that stop runs most often are cheap and predictable: solvent inlet frits, pump seals and pistons, needle assemblies, rotor seals, injection syringes, and a few pre-assembled needle seats. None of these are exotic. All of them are consumables with a finite life, and every one of them has a habit of failing on a Friday.
Run the check against your maintenance log, not against memory. Note which parts were last replaced, how many injections the system has seen since, and whether you hold at least one spare of each on site. For a busy lab I would not run a single LC without a spare inlet frit, a pump seal kit, and an autosampler needle on the shelf. My opinion, and I will own it: a drawer of thirty dollars’ worth of frits has bought back more instrument time than any service contract line item we have ever paid for.
The story that set this policy: an assay run aborted at injection 61 with a pressure spike no one could clear. The diagnosis took ten minutes. The part was four days away, across a weekend, from the only supplier with stock. Since then, the “spare parts check” is a standing item on the pre-run list, and it has been worth every minute.
If your system suitability keeps failing and the cause is unclear, consumables are the first place to look. Our article on system suitability failures and consumables gives you the triage order we use.
Conclusion
None of these eight checks requires new equipment, a budget approval, or more than a few minutes. That is the point. Most aborted sequences are not caused by difficult chemistry or failing instruments; they are caused by a cracked vial, a worn septum, an under-torqued cap, a mismatched filter, an unrecorded lot, an expired sterile part, a stale buffer, or a missing spare. Each one is visible the night before, when a check costs nothing, rather than at 2 a.m. when it costs a rerun.
If you want to build this into your lab’s routine, start with two checks this week: the septum inspection and the spare parts stock. They catch the most failures for the least effort, and they create the habit that makes the other six stick. From there, our guide to sample filtration SOPs shows how to turn the filter check into a written procedure, and it pairs well with the septum article above for a complete pre-run training handout.
Frequently Asked Questions
How long should the full 8-point consumables check take?
About ten minutes for a typical tray, once the habit is established. Vial inspection and septa checks dominate the time; cap torque, dates, and the spare parts stock are under a minute each if you keep them organized.
Do I need to check every vial or just a sample from each lot?
Inspect visually every vial that goes into an important run, since a single crack is enough to kill a sequence. For dimensional fit, calipering ten vials per new lot is a reasonable incoming check, because dimensions are a lot property while cracks are individual accidents.
What torque should I use for 9 mm screw caps?
Most suppliers specify a window of roughly 0.5 to 1.0 N·m for standard 9 mm closures, but check the figure printed by your cap supplier, since designs differ. A preset torque driver removes the guesswork entirely and pays for itself in avoided re-runs.
Can I use a 0.45 µm filter instead of 0.22 µm for HPLC samples?
For most routine HPLC injections, 0.45 µm clarification is sufficient and clogs less on particulate-heavy samples. Use 0.22 µm when your method or lab standard calls for sterilizing-grade filtration, or before LC-MS where fine particulates and extractables matter more.
How often should aqueous mobile phase be replaced?
Waters’ contamination guidance says to prepare aqueous phases fresh each day, filtered and degassed, and never to top off a reservoir that has been standing. If a phase must sit over a weekend, flush the system with organic solvent rather than leaving water in the lines.