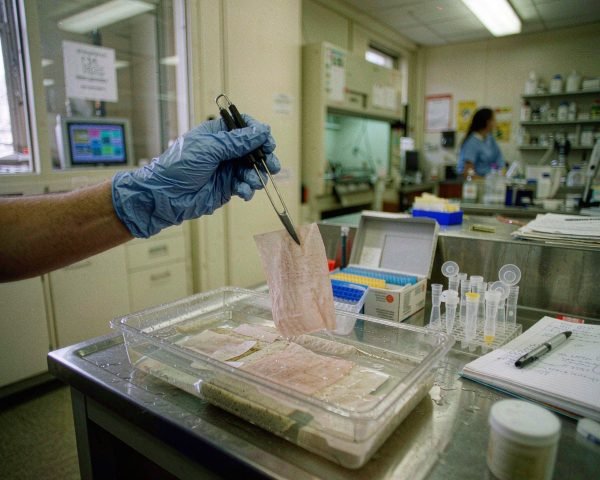

A western blot fails at the bench long before it fails on the film, and it usually fails over something cheap. A dried-out membrane, a dusty tray, a glove dusted with keratin. I’ve lost more blots to those small items than to any antibody problem, so here’s the full consumable list, stage by stage.
ANSWER: Western blotting needs lysis buffer, protease inhibitors, protein assay reagents, precast gels, running and loading buffer, a molecular weight ladder, PVDF or nitrocellulose membrane, filter paper, transfer buffer, blocking buffer, TBST, ECL substrate, plus tubes, tips, forceps and nitrile gloves.
Keep reading and I’ll walk the whole workflow, flag which items a general consumables supplier like Mastelf can ship and which belong to specialist vendors, and tell you the two consumable mistakes I’d fix first if your blots keep coming back ugly.
Sample Prep Consumables
Everything starts with lysis. You need a lysis buffer suited to your target, most commonly RIPA buffer for whole-cell lysates, and you need protease inhibitors added fresh, because lysis releases enzymes that will chew up your protein of interest. Bio-Rad’s tissue lysate guide recommends supplementing buffers with inhibitors such as PMSF, leupeptin and pepstatin to limit protease activity during extraction, and it’s advice worth following even for cultured cells. Bio-Rad’s tissue lysate workflow guide is the page I send people to when their bands come back faint and smeary.
You’ll also need a protein quantification reagent, usually a BCA or Bradford assay kit, so every lane gets the same load. Skip this and your bands won’t be comparable between samples, which quietly ruins the whole point of the experiment.
The consumable containers matter more than people think. Lysates spin at 12,000 to 14,000 × g in a cold microcentrifuge, and a cheap tube that cracks or leaks at that speed costs you your sample. Match the tube material and rating to the job; our centrifuge tube materials and volume ratings guide covers the differences in a few minutes of reading. If your lysate is cloudy or viscous, a quick clarification through a 0.22 µm syringe filter keeps wells clean and gels readable, and we’ve written separately on choosing syringe filters for protein and peptide samples.
SDS-PAGE Consumables
The gel comes next. Most labs buy precast gels rather than casting their own, and honestly I’d keep it that way unless you run dozens a week. Precast gels polymerize uniformly and save you an hour of mixing acrylamide, which is a neurotoxin you don’t want on the bench. Gels and casting reagents come from electrophoresis specialists like Bio-Rad or Thermo Fisher, not from general consumables suppliers, so pick these once and stick with a brand.
Around the gel you need four cheap items, and all four can sink a run if you grab the wrong one:
• Running buffer, usually 1X Tris-glycine-SDS, enough to cover the electrodes.
• Loading buffer with SDS and a reducing agent, mixed into your sample before heating.
• A molecular weight ladder so you can size your bands later.
• Spare gel cassettes and buffer dams if your rig needs them.
If you only change one habit this month, label your running buffer bottles with the date you diluted them. Old running buffer gives you smiling, wavy lanes that no antibody optimization will fix.
Transfer Consumables
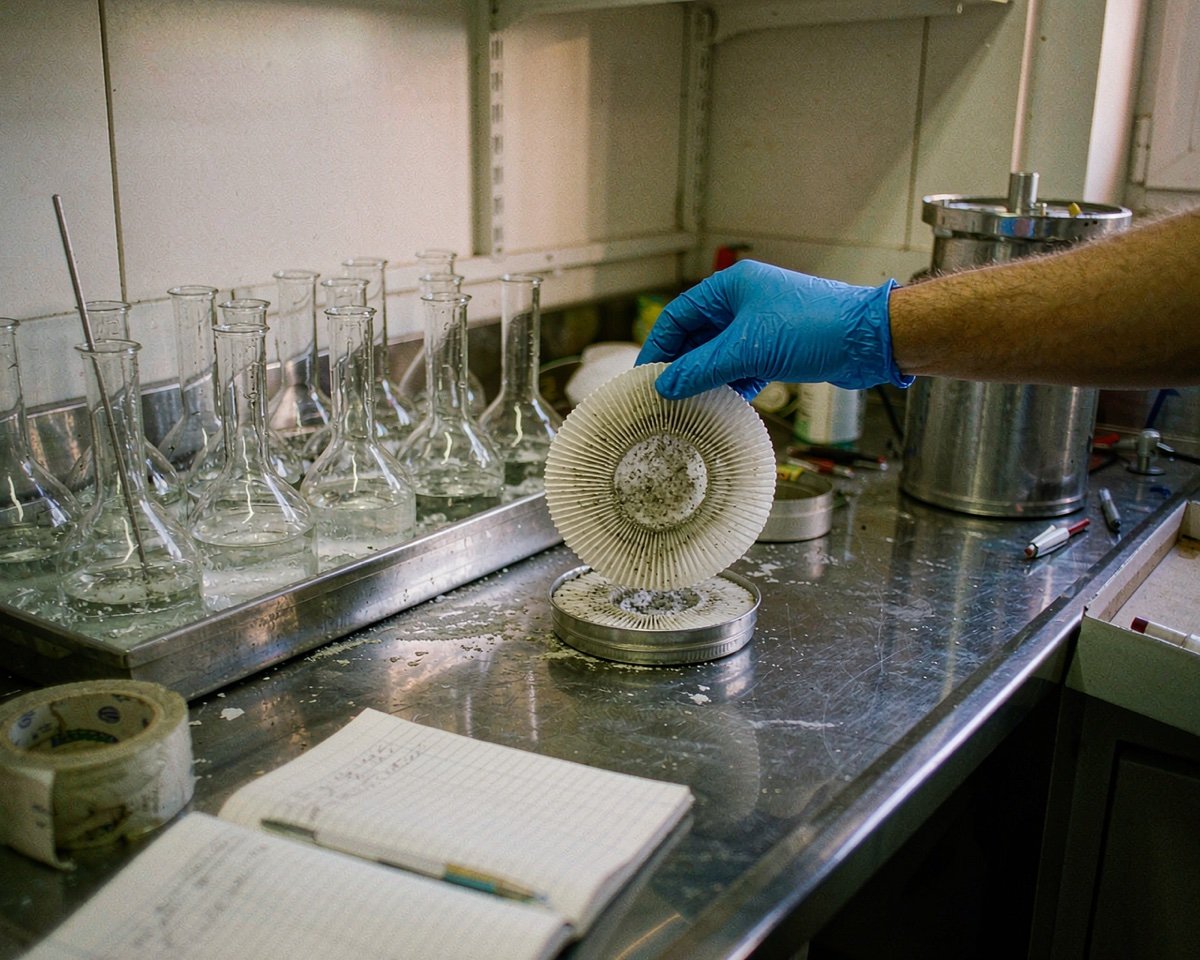
This is where consumable quality shows up most visibly on the final image. The transfer sandwich needs, in order: fiber pads, blotting filter paper, the gel, the membrane, then more filter paper and a pad. The filter paper looks like any paper, but proper blotting paper has an even thickness and holds no particulates that could press marks into your gel. Cheap paper towels cut to size are a classic shortcut and a classic way to imprint a lattice pattern onto a blot.
The membrane itself is the big decision. PVDF and nitrocellulose both bind protein well, but they behave differently. PVDF is hydrophobic, so it must be pre-wetted in 100% methanol for about 30 seconds before it goes into aqueous transfer buffer; nitrocellulose wets directly in buffer. Nitrocellulose is slightly brittle and less tolerant of stripping and reprobing, while PVDF has higher binding capacity and better mechanical strength. My default is 0.45 µm PVDF for targets above 20 kDa, and I drop to 0.2 µm when the protein is small, because Bio-Rad’s troubleshooting guide notes that proteins under 15 kDa can pass straight through 0.45 µm pores and vanish. Their western blot transfer troubleshooting page is brutal but useful reading when a transfer goes wrong.
Don’t forget the methanol itself, plus enough transfer buffer, typically 20% methanol in Tris-glycine, to fill the tank with room to spare.
Here’s my cautionary tale. The first western I ever ran alone gave me a completely blank film, and I spent two days suspecting my antibody. The real culprit: I had let the PVDF membrane air-dry for a few minutes while setting up the transfer cassette. Dry patches don’t bind protein, so white spots and empty lanes follow. Bio-Rad’s guide says the same thing in politer words: once PVDF is wet, never let it dry.
Blocking and Wash Buffers
After transfer, the membrane needs blocking, and you have two everyday options: 5% non-fat dry milk or 3% BSA, each dissolved in TBST or PBST. Milk is cheaper and works for most routine chemiluminescent blots. BSA is the safer pick for phosphoprotein work, because milk contains casein and other phosphoproteins that can inflate your background. Thermo Fisher’s Pierce Western Blotting Handbook walks through the blocking buffer trade-offs with real blots if you want to see the comparisons.
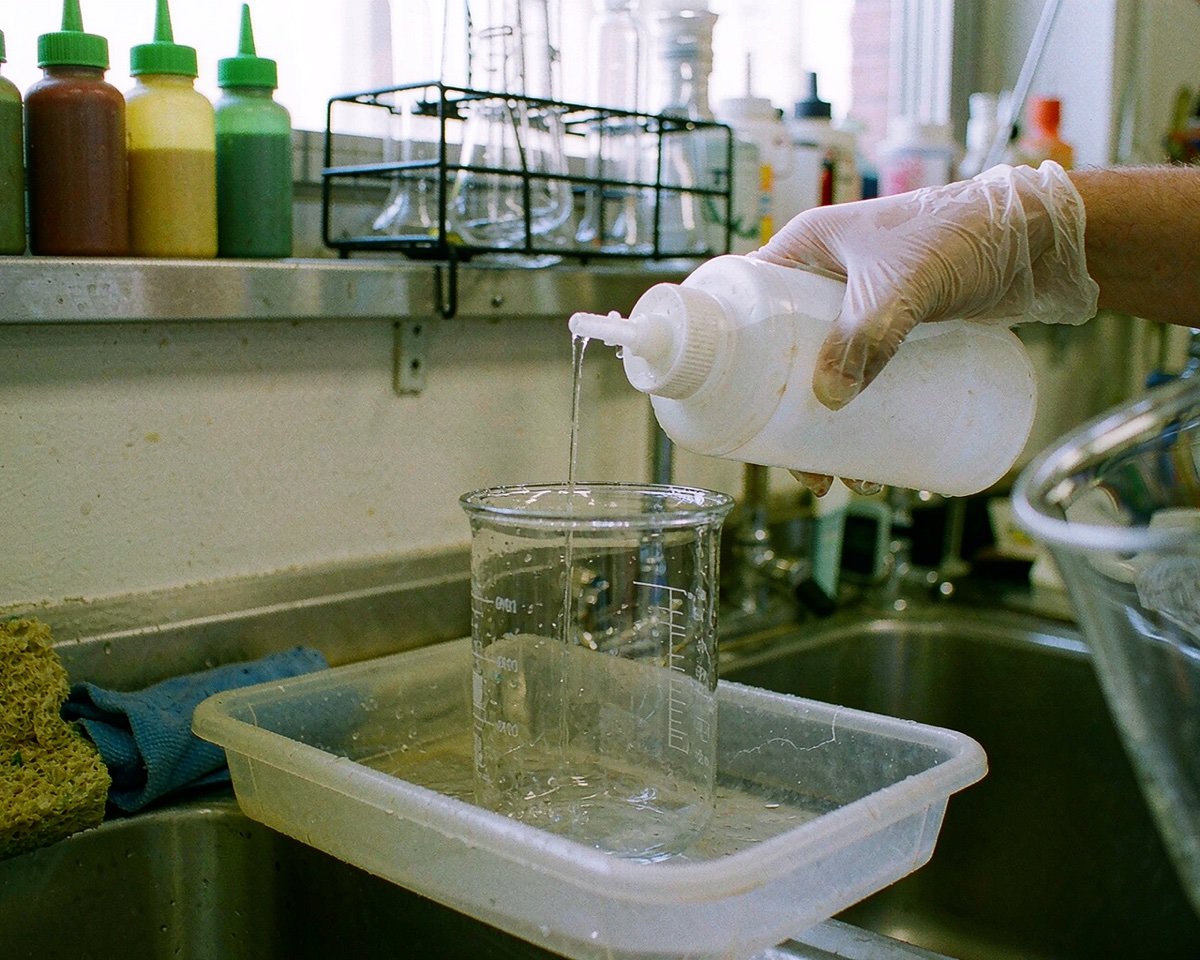
Wash buffer sounds trivial, but there’s one rule worth memorizing. TBST and PBST, which are just TBS or PBS with 0.05 to 0.1% Tween-20, strip away unbound antibody between incubations. If your detection uses alkaline phosphatase, skip phosphate entirely and use TBS, because phosphate interferes with the enzyme. Thermo Fisher’s western blot buffers guide has a clean selection table for this. Filter the milk or BSA solution after mixing, by the way. Undissolved specks land on the membrane and become dark dots on your final image.
Antibodies and Detection Reagents
Full honesty here: primary and secondary antibodies are biologics, not general consumables, and no supplier like Mastelf sells them. They come from specialist vendors such as Cell Signaling Technology or Abcam, and choosing one is a research question, not a shopping question. What sits next to the antibodies, though, is consumable.
ECL substrate is the detection workhorse for chemiluminescence. HRP on your secondary antibody converts the substrate into light, and the film or imager picks that up. Invitrogen’s chemiluminescent protocol suggests roughly 0.1 mL of working solution per cm² of membrane, enough to keep the whole blot covered for the one-to-five-minute incubation. Their full chemiluminescent western blot protocol lists every buffer and reagent in order, which makes it a good checklist to print and tape inside your cold room door.
Also in this stage’s shopping basket: antibody stripping buffer if you reprobe blots, and plastic sheet protectors or cling film to wrap the membrane for imaging.
The Small Tools That Make or Break a Blot
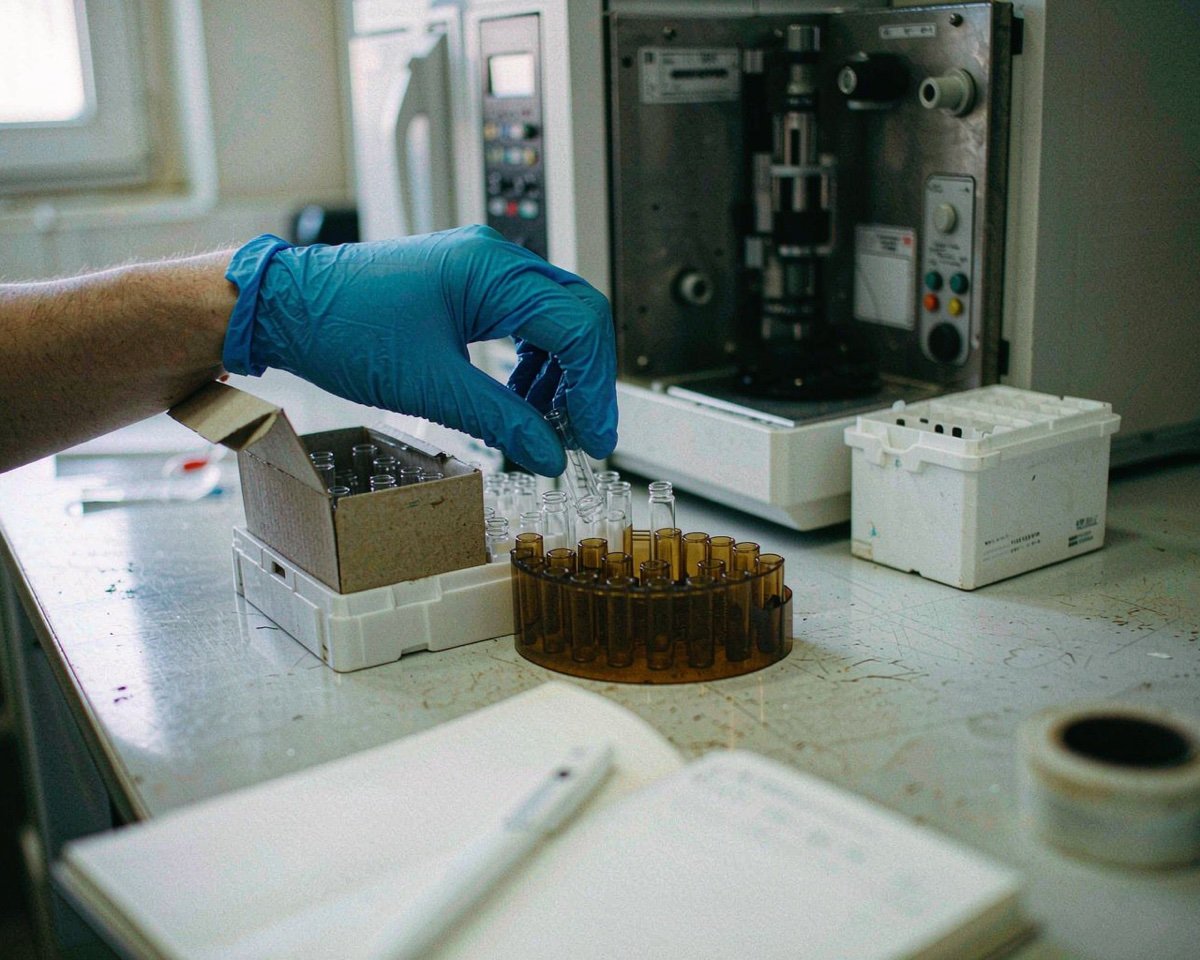
Now the unglamorous half of the list, and the half a general consumables supplier actually stocks. You’ll go through a lot of it: filtered and low-retention pipette tips for buffers and precious samples, 1.5 mL tubes for lysates and antibody dilutions, shallow incubation trays that hold a membrane flat in 5 mL of solution, and blunt forceps with serrated tips for lifting the membrane without tearing it. If your tip boxes still confuse regular with low-retention tips, our pipette tips explainer sorts out which type belongs in which assay.
Gloves deserve their own paragraph. Powdered latex gloves shed particles that carry keratin, and keratin is a human protein, so it can show up as a mystery band or background speckling on a sensitive blot. Keratin gets everywhere: skin flakes, hair, dust, wool sweaters. The proteomics core at UNC lists skin, hair, dust, clothing and latex gloves among the main contamination sources and tells workers to switch to non-latex gloves, so I keep powder-free nitrile gloves as the only option in my blotting area. If you’ve ever squinted at a keratin speck sitting exactly on top of your band of interest at 2 a.m., you already believe this. We cover the wider contamination angle in glove choice and sample contamination.
Two habits tie the whole toolkit together. Keep one set of membrane containers for western blots only, because BSA and milk proteins from other assays cling to plastic and reappear on future blots. And change gloves after touching door handles, your phone, or your face. Gloves protect the sample from you at least as much as they protect you from the sample.
Conclusion
A western blot is a chain of consumables, and the blot is only as good as the weakest link in that chain. Lysis tubes, assay reagents, a good precast gel, clean filter paper, a properly wetted membrane, fresh blocking buffer, reliable ECL substrate, and a box of powder-free nitrile gloves: none of these are expensive, and each one can quietly decide whether your experiment produces data or excuses. My suggestion is to build a standing checklist, one row per workflow stage, and restock it before every blot rather than discovering the missing filter paper mid-transfer. When you’re ready to restock the general items, the tubes, tips, filter products and gloves, start with our guides on centrifuge tube materials and syringe filters for protein samples, then put the specialist items, gels and antibodies, on order from the vendors you trust. Small consumables, bought deliberately, are the cheapest insurance your blots will ever get.
Frequently Asked Questions
Do I need PVDF or nitrocellulose membrane?
PVDF if you need higher protein binding capacity, tougher handling, or plan to strip and reprobe. Nitrocellulose if you want lower background on routine chemiluminescent blots and don’t reuse membranes. For most targets above 20 kDa, 0.45 µm PVDF is a safe default.
Why must PVDF be pre-wetted in methanol?
PVDF is hydrophobic and won’t wet evenly in aqueous buffer on its own. A 30-second soak in 100% methanol, then a rinse and equilibration in transfer buffer, prevents dry patches where protein won’t bind.
Can I use regular paper towels instead of blotting filter paper?
No. Blotting paper has controlled thickness and purity, so it presses the sandwich evenly without leaving fibers or lint imprinted on the gel and membrane. Towels also carry dyes and fillers that can transfer.
Which blocking buffer should I use, milk or BSA?
Use 5% non-fat dry milk for most routine blots. Switch to 3% BSA when detecting phosphoproteins, because milk contains phosphoproteins such as casein that raise background on those experiments.
How often should I make fresh TBST?
Make it fresh weekly at minimum, or whenever you see cloudiness or precipitate. Old wash buffer with degraded Tween-20 is a common hidden cause of persistent high background.