
# What Consumables Does Plant Tissue Culture Need?
Setting up a plant tissue culture lab takes more than an autoclave and a laminar-flow hood. The consumables you choose decide whether your explants thrive or end up as a jar of mold two weeks later. I’ve helped buyers stock everything from university teaching labs to commercial micropropagation facilities, and the same core shopping list comes up almost every time.
The Short Answer
Plant tissue culture needs culture vessels (jars, magenta-style boxes, petri dishes, culture tubes with caps), gelling agents (agar, gellan gum), media bottles, 0.22 µm filters for filter sterilization, sterile forceps and scalpels, foil, labels, and hardening-off supplies such as plugs and trays.
Read on for the details, the mistakes that cost labs whole batches, and a short buying checklist at the end.
Culture Vessels: Where Your Plants Actually Live
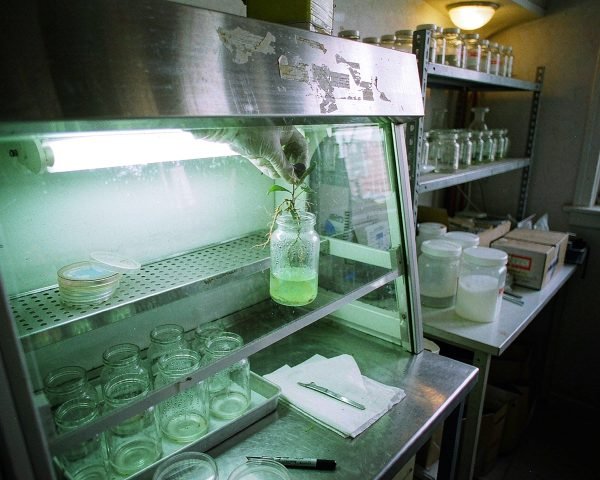
Vessels are the biggest line item and the easiest one to get wrong. The four workhorses are glass jars, magenta-style boxes, petri dishes, and culture tubes with caps. Each one fits a different stage of the workflow, and most running labs keep all four on hand.
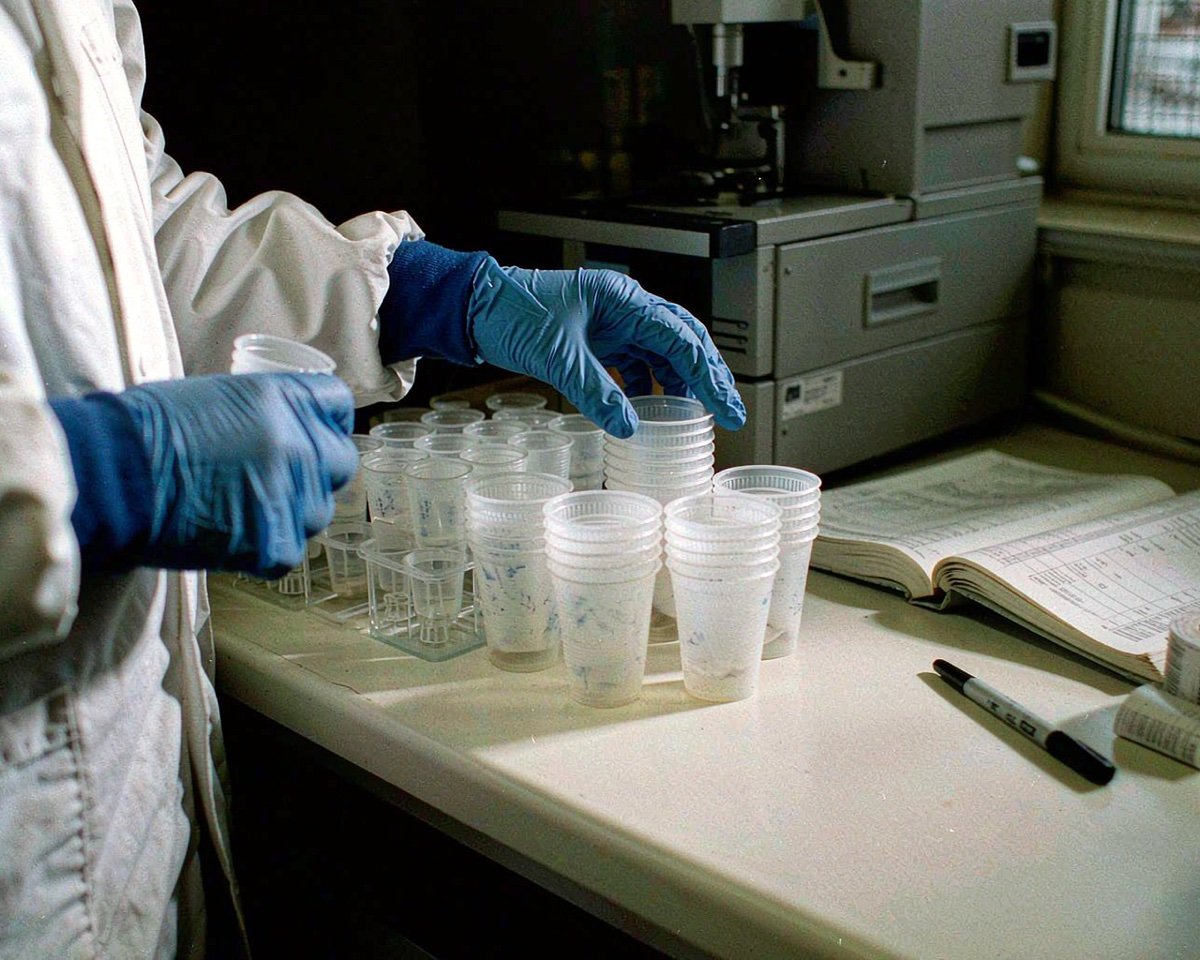
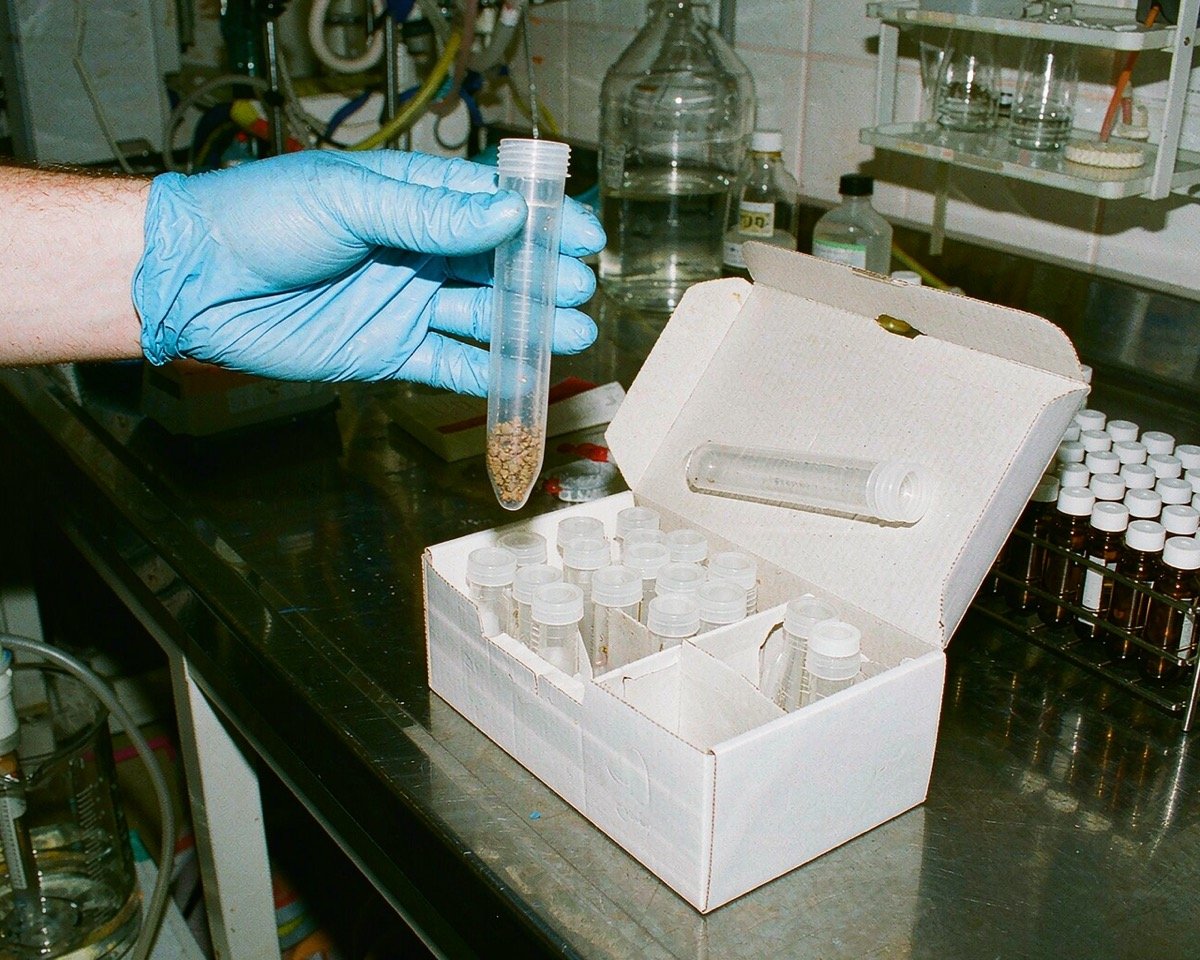
Culture tubes (typically 150 × 25 mm) are the starting point for new explants. Their small volume isolates each cutting, so one contaminated sample can’t wipe out a whole tray. Petri dishes suit short-term work: preconditioning shoot tips, germination tests, callus induction. For multiplication and elongation stages, labs move up to magenta-style polycarbonate boxes and glass jars, which give shoots room to grow without crowding.
One detail worth copying from experienced media prep teams: fill vessels conservatively. A common guideline is media occupying well under half the vessel volume, and jar-type vessels often run at around 15% capacity, so a 575 mL box gets roughly 80 mL of medium. The headspace matters because shoots need gas exchange, and overcrowded vessels go stale faster. The plant culture media walkthrough from Fanara Scientific lists suggested volumes for each vessel type if you want the full table.
Polystyrene petri dishes are sterile, single-use, and cheap, but they melt in an autoclave. Glass jars and polypropylene-capped tubes are reusable for years if you wash and autoclave them properly.
Gelling Agents and Media Handling
Most tissue culture media start as a liquid, then get solidified so explants sit at a stable air-moisture interface. Agar is the default gelling agent, typically added at 6 to 8 g/L and dissolved at around 100 °C before autoclaving. Gellan gum (sold under names like Gelrite) is the popular alternative: it gels at roughly a quarter of the agar concentration and produces a clearer gel, which helps when you’re photographing cultures or watching root development. PlantMedia’s tissue culture agar page shows a typical spec sheet, including gel strength and gelling temperature.
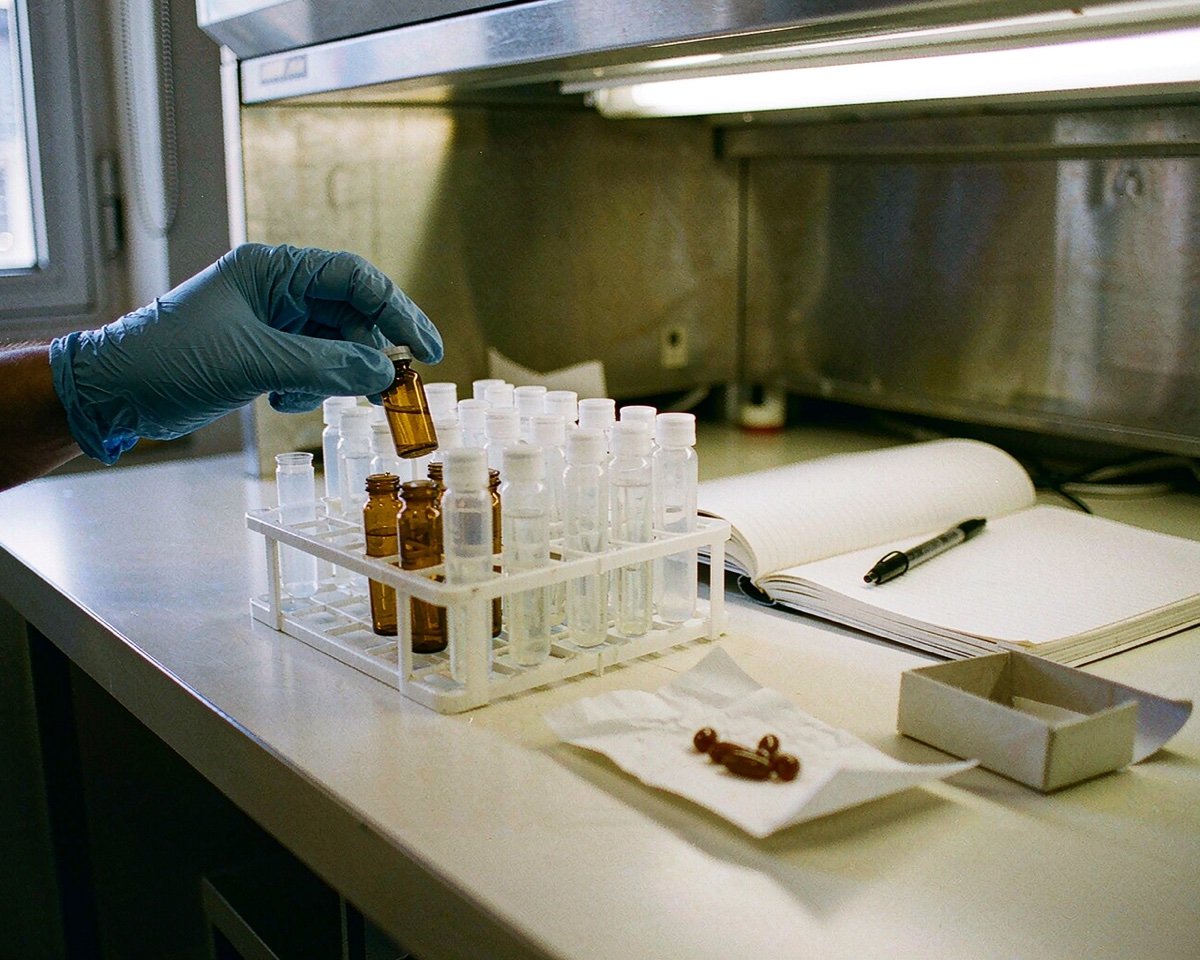
Media handling consumables matter just as much as the gelling agent itself. You’ll need borosilicate media bottles in a few sizes for stock solutions (macronutrients, micronutrients, vitamins, iron chelate), plus graduated cylinders and a reliable pH meter setup. Stock solutions get made once and diluted many times, so decent bottles with leakproof GL45-style caps pay for themselves quickly. We cover the choices in our reagent and media bottles guide.
Filter Sterilization Consumables for Heat-Labile Supplements
Here’s where many new labs stumble. Some of the most useful plant growth regulators break down at autoclave temperatures. Gibberellic acid (GA3), zeatin, and several vitamins are heat-labile, meaning a trip through 121 °C steam leaves you adding an expensive placebo to your media. An AGRIS-indexed study on media sterilization notes that GA3 and pantothenate lose activity when autoclaved and should be filtered instead.
The fix is filter sterilization: pass the supplement stock through a 0.22 µm membrane, which removes bacteria and fungi, then add it to the autoclaved medium after it cools to roughly 40 to 60 °C. In practice that means stocking sterile syringe filters with PES (polyethersulfone) membranes, which bind proteins and hormones less than nylon does. A typical setup is a 0.22 µm PES filter for a 500 mL bottle of GA3 stock, with a sterile syringe and a pre-sterilized receiving bottle. For larger volumes, bottle-top filters save your wrists. If you’re unsure which membrane suits your additive, our 0.22 vs 0.45 micron filter guide breaks down the tradeoffs. Not every hormone needs this treatment, by the way. Auxins like NAA and 2,4-D, and cytokinins like BAP, generally survive autoclaving fine.
Laminar-Flow and Transfer Consumables
Your transfer work happens inside a laminar-flow hood, where HEPA-filtered air keeps airborne spores out of your open vessels. The consumables here are about protecting that sterile field. You’ll go through sterile forceps and scalpels (or scalpel blades) constantly, because they’re flame-sterilized between cuts and dipped in 70% ethanol.
Other transfer-area consumables: aluminum foil for capping and wrapping, sterile surgical wrap and autoclave pouches for instrument packs, 70% ethanol in spray bottles, sterile pipettes for dispensing, and surface-sterilization chemicals such as sodium hypochlorite for treating explants before they ever reach the hood. The NPTEL plant tissue culture course material gives a good rundown of why each of these exists and how contamination sneaks in when they’re missing.
Labeling and Tracking Supplies
A culture jar with no date and no medium code is a liability. Subcultures happen on 2 to 6 week cycles, and nobody remembers what’s in shelf position 47. Stock cryo-grade labels, solvent-resistant markers, and dated batch sheets from day one. Freezer-grade synthetic labels survive the incubation room’s humidity, which paper tape does not. Our guide on how to label and track samples properly covers a system that scales past a few hundred vessels.
Disposables for Hardening-Off and Acclimatization
Tissue culture doesn’t end at the transfer hood. When plantlets leave their vessels, they move into a hardening-off stage where humidity drops gradually and roots meet real soil for the first time. The consumables here include sterile plugs and peat pellets, seedling trays with clear humidity domes, misting bottles, and small pots with transplant media. Buyers forget this category, then improvise with kitchen supplies and watch a month of lab work die in a dry bench corner. Budget for it from the start.
Filter Sterilization vs Autoclaving: A Quick Decision Rule
Autoclave the bulk medium (salts, sugar, agar, water) and filter-sterilize the fragile additives. That single rule handles 95% of cases. The exceptions are worth memorizing: GA3, zeatin, IAA, and several vitamins go through a 0.22 µm filter; NAA, BAP, and 2,4-D can ride along in the autoclave. When a protocol doesn’t say, assume filtration. Wasted hormone costs more than wasted filters, and a failed elongation stage costs more than both.
Sterile Practice Beats Sterile Product
Buying sterile consumables doesn’t guarantee sterile cultures. Technique decides most outcomes. I once saw a whole shelf of orchid flasks lost to a contamination wave that traced back to a single pair of forceps being cooled against the hood’s metal edge instead of flamed and rested on a sterile rack. One bad habit, one hundred liters of medium, gone.
There’s a difference between “sterile” (no viable microbes at manufacture) and “low bioburden” (fewer microbes, not zero), and it pays to know which claim you’re paying for. We explain that distinction in sterile vs low bioburden claims. For reusable vessels, validated washing and autoclave cycles do the real work; for single-use items, keep packs sealed until the moment of use.
Buying Tips for Procurement Managers
Volume pricing on tissue culture consumables works in your favor on anything reusable: jars, magenta-style boxes, media bottles, and instrument packs all have strong unit-cost drops at case quantities. Disposables like filters and blades discount too, but with shelf-life limits, so order against a realistic 12-month usage number rather than a fantasy one.
Buy glass vessels for long-term economy and polycarbonate boxes where visibility matters. Keep spare forceps, spare blades, spare caps, and at least one spare case of your most-used filter, because a backordered 0.22 µm filter can idle an entire transfer schedule. And before committing to a supplier, ask for samples; a 30-minute test with your own medium reveals more than any spec sheet.
Conclusion
Plant tissue culture runs on a fairly short list of consumables, but the interactions between them decide your contamination rate. Vessels matched to each growth stage, a gelling agent chosen for clarity and strength, media bottles that survive years of autoclave cycles, 0.22 µm filters for the additives that heat would destroy, and a labeling system that survives humidity. Get those five right and most culture failures stop being mysteries. Start with the vessels and bottles since they anchor everything else, add filters and transfer tools next, and don’t leave hardening-off supplies off the purchase order. If you’re building the list from scratch, the filter sizing and labeling articles linked above are good next reads. A modest, well-chosen stock list beats a warehouse of the wrong consumables every time, and your cultures will show the difference within one subculture cycle.
Frequently Asked Questions
What vessels are best for beginners in plant tissue culture?
Start with culture tubes with caps for establishing explants and a case of petri dishes for short-term work. Add magenta-style boxes or glass jars once cultures reach the multiplication stage. Tubes limit the spread of contamination, which matters a lot while your technique is developing.
Can I autoclave gibberellic acid (GA3)?
No. GA3 is heat-labile and loses most of its activity at autoclave temperatures. Prepare it as a stock solution, pass it through a 0.22 µm filter, and add it to the cooled medium (around 40 to 60 °C) inside the laminar-flow hood.
Which gelling agent should I use, agar or gellan gum?
Agar is cheaper and the default for most protocols. Gellan gum (Gelrite) gels at lower concentration and stays clearer, which helps with observation and photography. Some species respond differently to each, so follow your protocol’s recommendation when one exists.
How often should lab consumables be reordered in a tissue culture lab?
Track usage per subculture cycle, then reorder consumables like filters, blades, and labels when stock reaches one full cycle plus a safety margin. Reusable vessels rarely need reordering, but spare caps, seals, and forceps are worth keeping on the shelf permanently.