
# What Are Inoculation Loops and Needles Used For?
Every culture transfer in a microbiology lab starts with the same small gesture: a hand holding a thin shaft with a loop or point at the end. These tools look almost too simple to matter. Yet the loop and the needle sit at the center of everything from isolation to susceptibility testing, and picking the wrong one can cost you a day of re-runs.
The Short Answer
An inoculation loop carries a small, calibrated volume of culture onto media. Its main jobs: streak plating for isolation, colony picking, and transfers to broth or slants. A needle is straight, not looped, and made for stabbing into deep or semi-solid agar to test motility or inoculate subsurface.
Below, I break down each use with the technique details that matter, compare metal against plastic, and finish with a buyer’s checklist.
What a Loop Is, What a Needle Is, and How They Differ
An inoculation loop is a small ring, usually 3 to 4 mm across, mounted on a shaft about 20 cm long. The ring holds a thin film of liquid by surface tension, which is why its volume can be predicted and even certified. An inoculation needle skips the ring and ends in a straight point, so it enters media without dragging material across the surface.
Metal versions are traditionally nichrome wire, sometimes platinum alloy, twisted into a loop and fixed into an aluminum handle. Hardy Diagnostics, for example, sells a calibrated nichrome loop on 26-gauge twisted wire guaranteed to deliver 0.01 mL. Nichrome heats and cools fast, which matters when you’re flaming between every transfer. Platinum-iridium resists oxidation better but costs several times more.
Plastic versions are precision-molded from inert polymers like polystyrene and come color-coded: 1 µL loops are usually clear or light blue, while 10 µL loops run yellow or dark blue. Rigid loops hold their shape for stabbing; flexible ones bend for smoother spreading.
“Calibrated” deserves its own note. A calibrated loop delivers a stated volume, 1 µL or 10 µL, within a verified tolerance. Hardy’s SpeedStreaks line, for instance, ships a Certificate of Calibration in each box of 1,000, certified within 20% of stated volume by an Evans Blue dye procedure. Non-calibrated loops are fine for streaking but wrong for urine counts or serial dilutions, where the volume is part of the math.
Needles, by the way, don’t carry volumes. Nobody measures with a needle.
The Core Uses, and the Technique Behind Each One
Streak plating for isolation
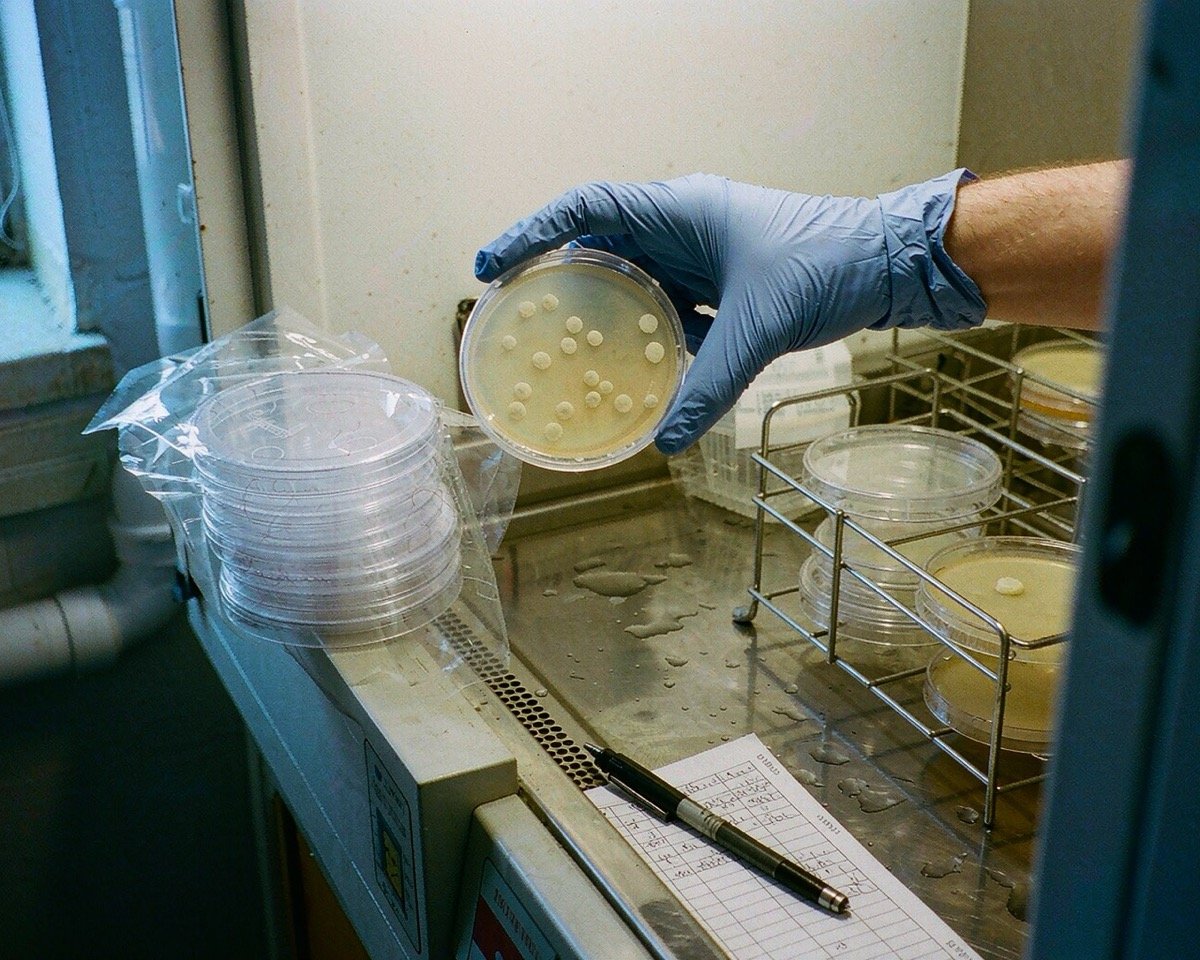
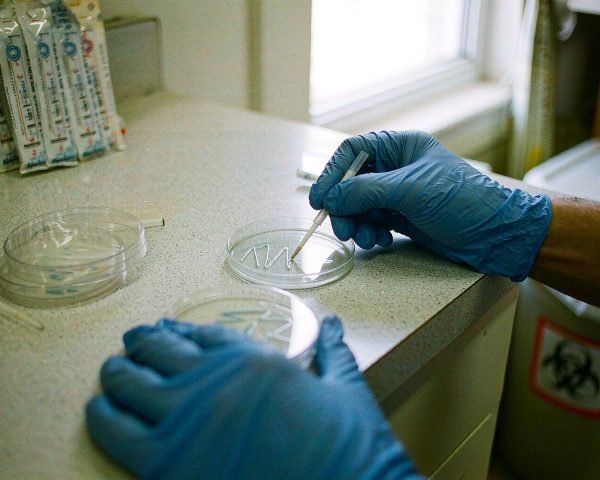
The classic. You touch a colony or a loopful of broth to the edge of the agar in a petri dish, then drag the loop in a pattern that thins the sample with each pass. By the third or fourth sector, individual cells land far enough apart to grow into isolated colonies you can pick the next day.
Technique notes: let the loop cool after flaming, or you’ll kill everything you touch. I learned that the expensive way during a summer internship: I streaked an environmental sample with a loop straight out of the burner, got a blank plate, and had to explain to my supervisor why a perfectly good sample produced nothing. She asked whether I’d counted to ten. I had not.
Colony picking and transfers to broth
Once colonies are isolated, the loop picks one and drops it into nutrient broth or a cryovial. A flexible loop works well here because the slight give lets you scrape agar without digging in. A needle is the better grab for small colonies.
Slants, deep agar, and stab cultures
For an agar slant, you draw the loop across the surface in a zigzag, working from the bottom up without puncturing the agar. Slants pack a large surface area onto limited shelf space and hold cultures for a few weeks. ATCC’s introduction to microbiology culture guide walks through this protocol in detail, along with the agar stab: you push a needle straight down into semi-solid or deep agar until it’s roughly half a centimeter from the tube bottom, then withdraw along the same line.
Stabs are how you test motility, since motile bacteria swim out from the stab line and cloud the surrounding agar. They’re also how you inoculate oxidation-fermentation (OF) media, where one tube gets sealed under mineral oil and its partner stays open to air. Needles do all of this. A loop can’t stab cleanly.
Antimicrobial susceptibility testing inoculum prep
AST (antimicrobial susceptibility testing) has its own use for these tools. In Kirby-Bauer disk diffusion, you suspend fresh colonies to match a 0.5 McFarland standard, about 1.5 × 10⁸ CFU per mL, then swab the suspension across Mueller-Hinton agar. The loop’s job sits upstream: picking the colonies that go into that suspension. The EUCAST disk diffusion manual is blunt about what happens when density drifts: too heavy and the zones of inhibition shrink, too light and they inflate, and either way the interpretation collapses. For the rest of the AST bench, see our antimicrobial susceptibility testing consumables guide.
One more quantified use: the calibrated 10 µL loop is standard for urine colony counts. Plate it, count the colonies, and multiply by 100 for CFU per mL.
Reusable Metal vs Disposable Plastic: The Real Comparison
| Factor | Nichrome or platinum-iridium (reusable) | Disposable plastic |
|---|---|---|
| Upfront cost | Low per tool, plus handle and burner | Higher per unit, no equipment needed |
| Ongoing cost | Burner gas and the time lost flaming | Consumption adds up fast in busy labs |
| Sterilization | Flame or infrared, before and after every transfer | Gamma-irradiated, ready straight from the pack |
| In a BSC | Open flame disrupts airflow and voids warranties | Ideal; no flame, no aerosols from flaming |
| Calibration | Wire can deform and drift off volume | Certified per lot by the manufacturer |
| Waste stream | None, but must be autoclaved or disinfected | Biohazard or sharps after single use |
There’s no universal winner. A diagnostic lab running hundreds of plates a day lands on disposable; a teaching lab on a tight budget does fine with nichrome.
Sterilization: Flaming, Infrared, and the Case Against Open Flame
The traditional method is to hold the wire in a Bunsen flame until it glows red along its full length, then cool it before touching any culture. Two problems follow. Flaming a charged loop spatters tiny aerosols of viable organisms, and the ECDC’s tuberculosis laboratory handbook states plainly that loops loaded with infectious material should not go directly into a Bunsen flame. The second problem is location. An open flame disturbs the protective airflow inside a biological safety cabinet (BSC) and raises a fire risk next to ethanol jars, which is why most biosafety policies now push electric alternatives or disposables.
Infrared sterilizers of the Bacti-Cinerator type solve most of this. A ceramic heating chamber reaches roughly 815 to 825°C within minutes of switch-on and sterilizes a metal loop in 5 to 7 seconds, with no flame at all. They’re compact enough to sit beside a cabinet and work in anaerobic chambers where any flame is impossible.
Do not flame a plastic loop. Ever. It melts, drips, and gives off fumes. A colleague of mine found this out during a rushed urine workup, and she spent the rest of that afternoon scraping hardened plastic off a burner while her plates re-ran overnight. If your loop is plastic, the sterilization step is the waste bin.
When Labs Switch to Disposable
BSL-2 (biosafety level 2) and higher workflows are the obvious driver, since flaming in a cabinet is off the table. But I see labs switch for quieter reasons too: no flame anywhere near ethanol, and every loop traceable to a manufacturing lot number. Individually wrapped loops also go straight to the bench, no autoclave cycle needed. Training plays a bigger role than anyone admits. New hires make fewer mistakes when “sterilize it” simply means “throw it away.”
How to Choose and Buy
• Flexibility. Flexible loops streak smoothly and gouge less; rigid loops pierce media for subsurface inoculation. Many labs keep both, or buy combi loops with a 10 µL ring on one end and a 1 µL ring on the other.
• Needle gauge and wire. For metal tools, 24 to 26 gauge wire is the norm. Thinner wire cools faster but bends if you stab with force.
• Loop stiffness. A soft loop folds before it penetrates deep agar, so order rigid for any stabbing work.
• Sterile certificates. Ask whether sterility comes from gamma irradiation to a sterility assurance level of 10⁻⁶, and whether a lot-specific certificate ships in the box. Thermo’s Fisherbrand loops, for instance, are gamma-irradiated for sterility per USP standards and include certificates of dimensional accuracy.
• Packaging. Individually wrapped suits clinical bench work and BSC use; resealable pouches of 25 or bulk cartons of 1,000 suit teaching labs that burn through hundreds in a week.
If you only change one thing, ask for the calibration certificates before you order; some suppliers ship them automatically, others only on request.
Safety and Disposal
Used loops and needles count as contaminated waste the moment they touch culture. Metal tools should cool into a sharps container or disinfectant soak before autoclaving; never leave a hot loop on the bench for the next person to grab. Plastic loops go straight into biohazard waste, though some facilities route rigid ones into sharps because of the stiff shaft. Follow your SOP, and default to the stricter stream.
Conclusion
The loop and the needle are the smallest tools in a microbiology lab, and arguably the hardest to work without. Loops streak plates and pick colonies; needles stab deep agar where a loop would only smear. Reusable nichrome rewards a disciplined flaming or infrared sterilization routine, while gamma-irradiated plastic removes flame and aerosol risk at the cost of a consumable line item. If your work sits at BSL-2 or above, or your cabinet policy bans open flames, disposable plastic is the default I would pick, with calibrated 1 µL and 10 µL sizes reserved for procedures where the volume matters. When you audit the rest of your bench next, our guides to autoclave bags and pouches and disinfectant efficacy testing consumables are the natural follow-up reads.
Frequently Asked Questions
Do you have to flame a plastic inoculation loop?
No. Disposable loops arrive gamma-irradiated and sterile, and they’re designed for a single use before going into biohazard waste. Plastic melts in a flame and releases fumes, so flaming is both useless and unsafe. Metal loops and needles are the tools you sterilize between transfers.
What is the difference between a 1 µL and a 10 µL loop?
The number is the volume the loop delivers. A 10 µL loop suits general transfers and urine colony counts, where you multiply your colony count by 100 to get CFU per mL. A 1 µL loop gives a lighter inoculum for dilution work or heavily loaded samples.
Can you autoclave and reuse plastic inoculation loops?
Polystyrene loops deform at autoclave temperatures, so no. Reuse belongs to metal loops and needles, which tolerate repeated flaming or autoclaving. If budget pushes you toward reuse, nichrome wire with an infrared sterilizer is the practical route.
Why is my streak plate not giving isolated colonies?
The usual suspects are an uncooled loop or a first sector streaked too heavily. Cool the loop fully, use light strokes, and sterilize or swap to a fresh loop after each sector. If the agar itself is gouged, you’re pressing too hard.
Are inoculation loops considered sharps?
Metal needles often are, under facility policy, because they can puncture skin or waste bags. Most programs treat used plastic loops as biohazard waste, though some route rigid loops into sharps containers. Check your own SOP, and default to the stricter stream when unsure.