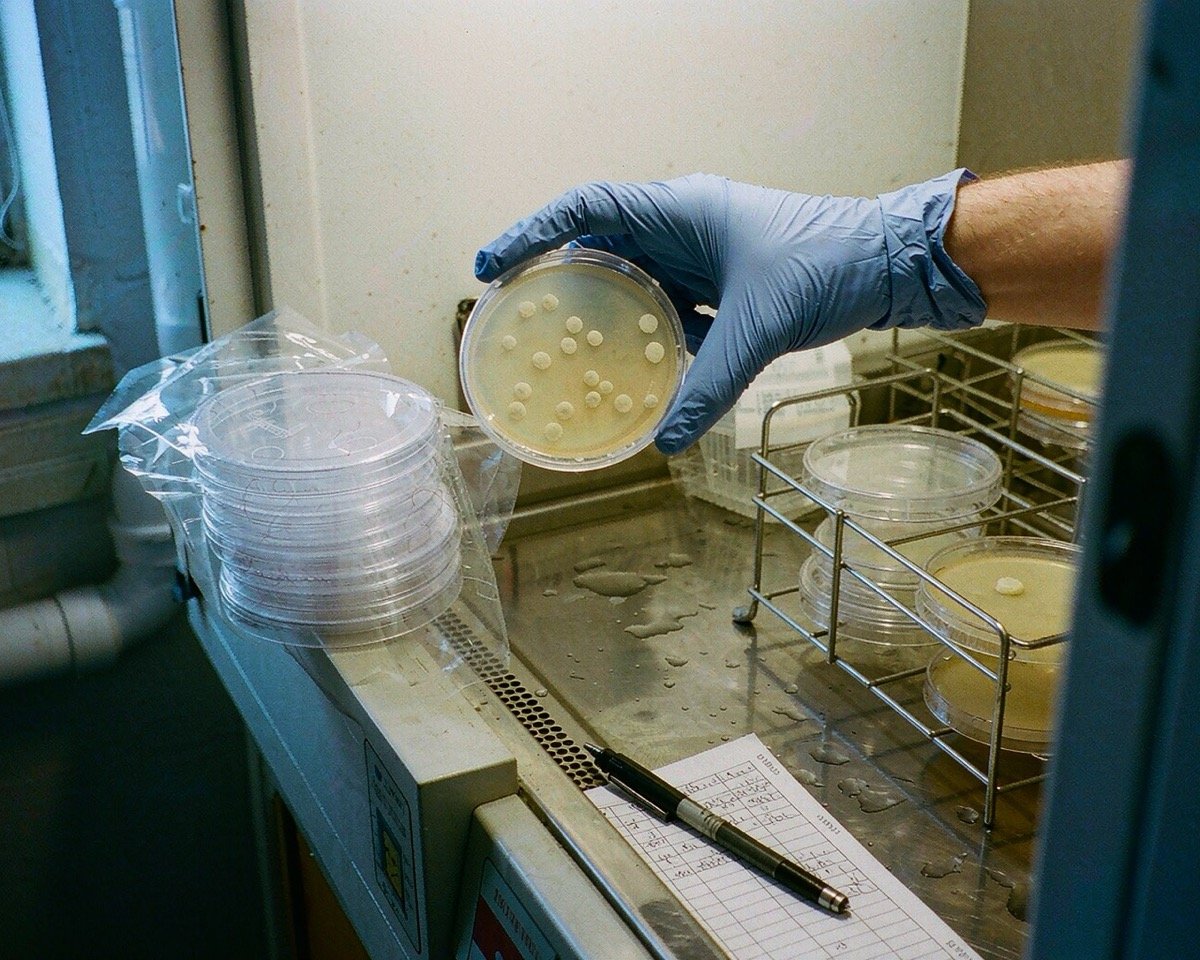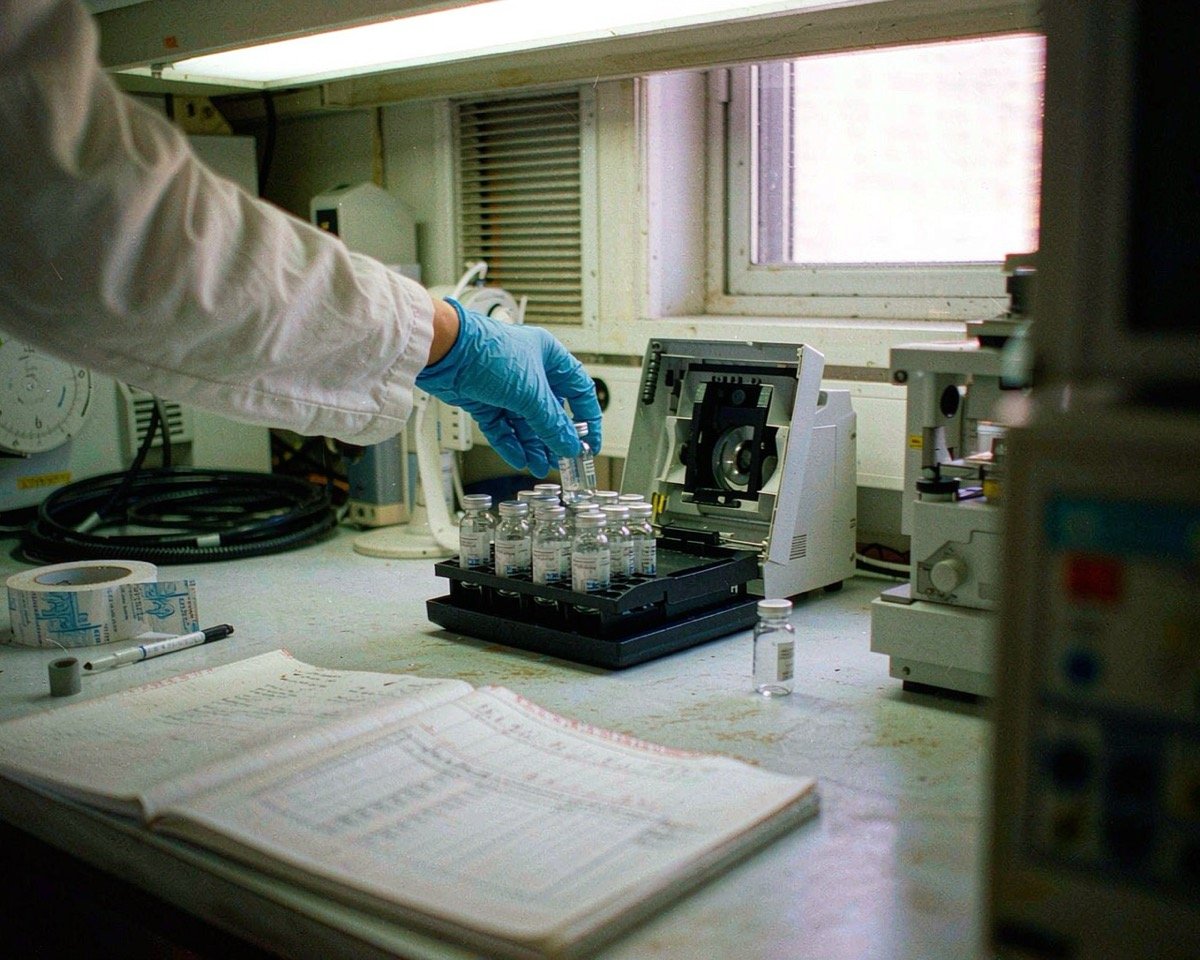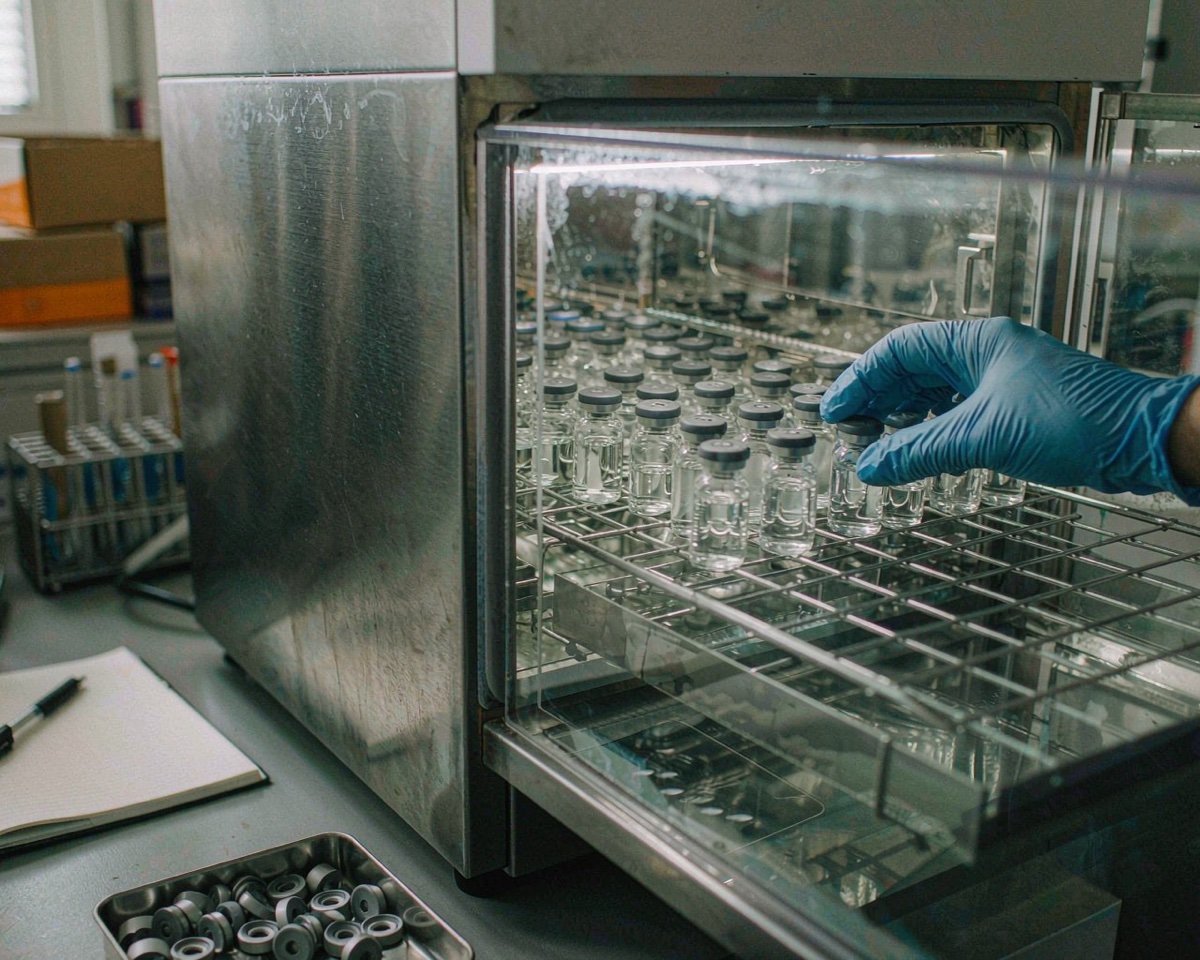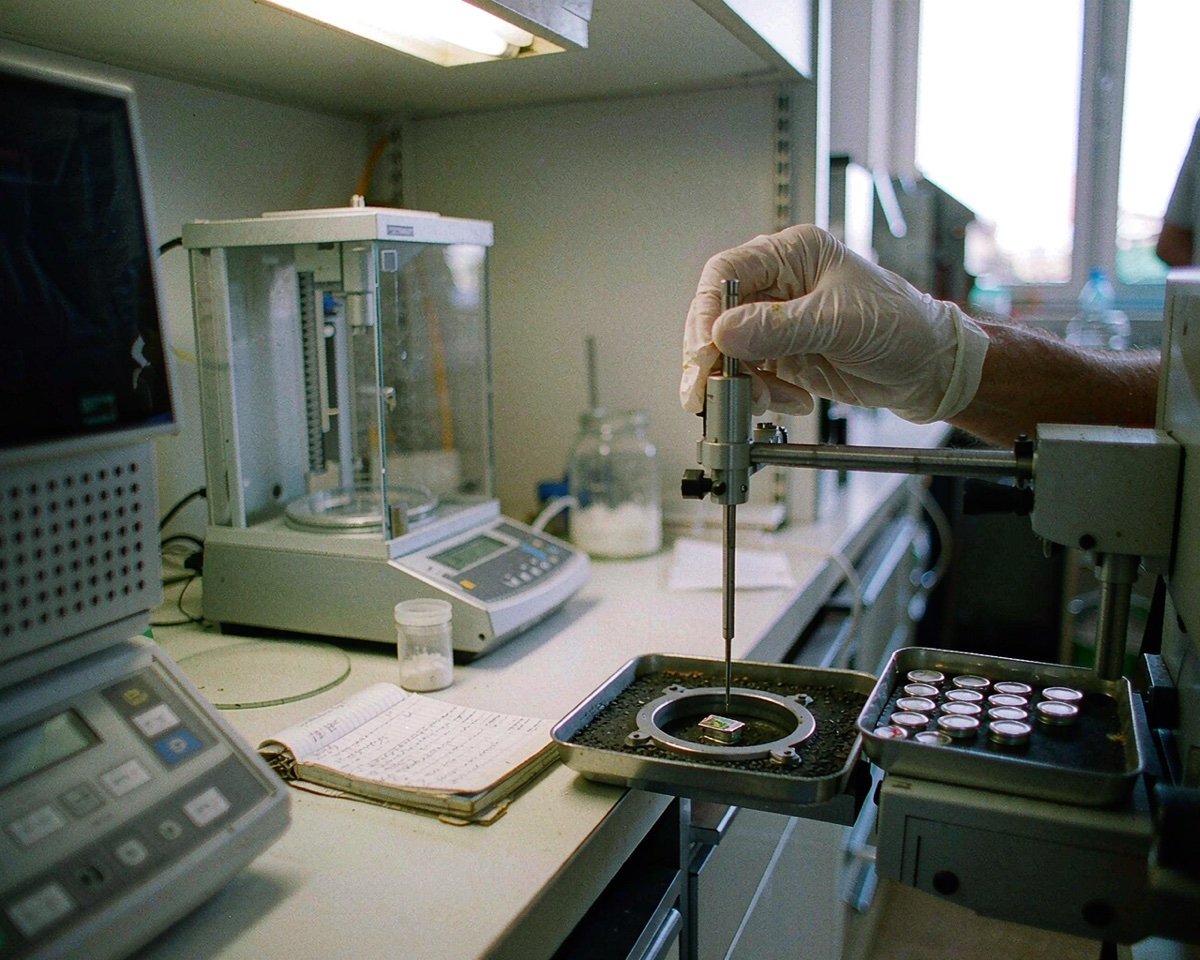
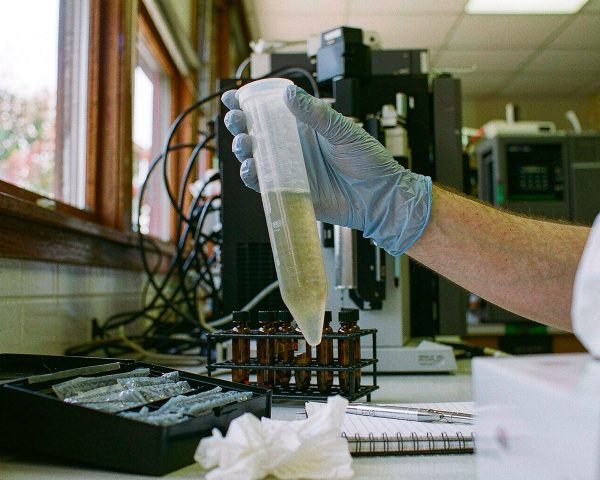

Agrochemical testing labs run on small plastic and glass parts. Salts, tubes, cartridges, septa, filters. Most of them cost less than a coffee each, and every one of them sits between your instrument and a result a regulator might question. Get them right and the method hums along.
Agrochemical testing lab consumables are the sample-contact items a residue lab burns through daily: QuEChERS extraction salts and dSPE tubes, SPE cartridges, syringe filters, amber autosampler vials with PTFE/silicone septa, crimp caps for headspace work, and amber reagent bottles for standards. Each step of the residue workflow consumes specific ones, and mismatched parts show up later as lost recoveries, ghost peaks, or rejected batches.
The sections below walk through the whole sample journey, field to instrument, and list what each step actually uses. If you only have ten minutes, read the vial section and the buying section, because those two decide most of the cost and most of the risk.
What Agrochemical Testing Actually Covers, and Who Runs These Labs
Agrochemical testing is broader than most people assume. Yes, it includes pesticide residues in fruits, vegetables, and grains. It also covers herbicides in soil and groundwater, fungicides on stored grain, plant growth regulators, and the elemental analysis of fertilizers. Anywhere a chemical product is designed to change how a crop behaves, somebody eventually has to measure what remains behind.
A few different kinds of labs do this work, and they buy consumables differently.
Government and enforcement labs test official samples against legal limits. In the US, the EPA maintains an index of residue analytical methods by pesticide and commodity, many of them run on GC/ECD or HPLC/FLD with documented limits of quantification (see the EPA Residue Analytical Methods index). In the EU, official labs work to SANTE 11312/2021 guidance and must hold ISO/IEC 17025 accreditation.
Contract labs (CROs) run high sample volumes for agrochemical manufacturers: crop trials, dissipation studies, metabolite work. Their consumable spend is measured per study, and a 200 µL stability time-point gone wrong can repeat an entire arm of a trial. They care most about lot-to-lot consistency and fast resupply.
Manufacturer QC labs check formulations and, increasingly, screen their own raw materials. Universities and research institutes round out the picture, often running smaller sample counts but with the same instrument platforms.
One thing all of these labs share: they don’t get to choose their matrix. Celery, avocado, black tea, soil, and water each behave differently, which pushes the consumable choices further down the workflow than in, say, a pharma QC lab.
It also means consumable lists vary more between agro labs than most buyers expect. A lab screening groundwater for herbicides burns mostly SPE cartridges and amber glass bottles. A post-registration crop trial lab burns QuEChERS kits by the case. A fertilizer lab runs acid digestions and needs a completely different container world. When procurement teams consolidate vendors, the savings usually come from the high-volume items everyone shares: 2 mL vials, caps, septa, and filters. Those four line items are worth negotiating hardest, and we’ll come back to that in the buying section.
The Sample Journey: From Field to Vial
Everything downstream depends on what happens here, and this is also where the consumable list starts.
Field collection and transport
Soil cores go into glass jars or HDPE containers. Water samples for pesticide screening usually go into amber glass bottles with PTFE-lined caps, because several common pesticides (pyrethroids, organochlorines) adsorb to plastic and photodegrade under UV. Plant tissue arrives in coolers with cold packs. A bottle that looked fine on the bench can lose half its target analyte if it sat on a sunny loading dock for six hours.
Headspace-sensitive work, like fumigant residues in grain (methyl bromide, phosphine), demands zero-headspace filling and crimp-sealed vials from the moment of collection. You can’t fix a lost volatile later.
Storage and chain of custody
Freezers at -20 °C or below, amber glass where light matters, and paperwork that ties every container to a sample ID. The SANTE guidance for EU residue labs devotes an entire section to sample transport, traceability, and storage before analysis, which tells you how often this step goes wrong in practice.
I once watched a batch of water samples for atrazine screening get logged, refrigerated, and then forgotten behind a door rack for eleven days. The results came back low and noisy, and nobody could prove when they thawed. The lab rewrote its storage log procedure that week. Storage is boring until it costs you a study.
Holding times deserve a mention too. Regulatory methods often specify maximum time between collection and extraction, and for water samples that window can be as short as 7 to 14 days even at 4 °C. Frozen plant tissue fares better, but freeze-thaw cycles degrade some analyte classes, so labs portion samples into single-extraction aliquots rather than repeatedly opening one bulk container. More aliquots means more containers, which means more containers to label, track, and eventually write off. Consumable budgets absorb this quietly. A study with 12 time points across 4 sites can generate 500+ individual containers before anyone touches a chromatograph, and underestimating that volume is a classic new-lab-manager mistake.
Homogenization
Blenders, cryogenic grinders, and disposable blades. High-water samples like celery go straight to extraction; dry samples like rice flour need water added back before anything will extract. Disposable consumables here include homogenizer bags, ceramic homogenizers, and the centrifuge tubes everything ends up in. For a 10 g sample extracted with 10 mL of acetonitrile, a 50 mL polypropylene centrifuge tube is the standard vessel, and labs buy these by the thousand.
Extraction and Cleanup Consumables: Where QuEChERS Rules
Most modern residue labs have converged on one sample prep approach, so most of the extraction budget goes to one product family.
How QuEChERS works, in consumable terms
QuEChERS stands for Quick, Easy, Cheap, Effective, Rugged, and Safe, and it replaced the older solvent-heavy Luke extraction in labs worldwide. The workflow: homogenize the sample, add acetonitrile, shake, add pre-weighed salt packets, shake again, centrifuge, then clean the supernatant. The salts (magnesium sulfate plus sodium chloride or citrate buffers) drive water and acetonitrile into separate phases. Then dispersive SPE (dSPE) removes the junk.
The whole thing runs in disposable plastic. No glassware to wash, no manifold to set up, no chlorinated solvents to dispose of. Compared with the modified Luke method, published Restek data shows roughly four times faster processing and six to nine times less solvent per sample. If your lab still runs liquid-liquid extraction for routine residues, the consumable math alone might justify a switch.
Choosing extraction salts and dSPE sorbents
There are three mainstream versions: the original unbuffered method, the AOAC Official Method 2007.01 (acetate buffered), and the European EN 15662 (citrate buffered). Your method defines the salt packet, so this isn’t a free choice, but you do pick the vendor.
dSPE is where matrix thinking pays off. The sorbents do different jobs:
• PSA (primary secondary amine) removes sugars, organic acids, and fatty acids.
• C18 pulls out lipids and other nonpolar interferences, essential for avocado, milk, and oil matrices.
• GCB (graphitized carbon black) removes pigments and sterols, but use it carefully: it can also strip planar pesticides like chlorothalonil and endosulfan sulfate from your extract.
Restek’s matrix-by-matrix guide covers celery, spinach, orange, avocado, rice flour, and honey, and shows how low-water samples need 10 to 15 mL of added water for complete extraction (see how to use QuEChERS for diverse sample types). If you test dry commodities, that water addition detail matters more than the sorbent choice.
My opinion, for what it’s worth: buy dSPE tubes pre-loaded rather than weighing sorbents yourself. The cost difference is a rounding error, and pre-weighed tubes remove a whole error class from your batch record.
Tube sizing is the other practical decision. The standard formats are 2 mL (for a 1 mL extract aliquot) and 15 mL (for larger volumes), and the 2 mL version dominates high-throughput work because it fits benchtop centrifuge rotors densely. One analyst with a shaker, a centrifuge, and pre-weighed tubes can process eight samples in roughly 45 minutes, which is why QuEChERS displaced the older glassware-heavy methods so completely. If your lab batches 40 samples a day, the consumable count is easy to forecast: 40 extraction tubes, 40 salt packets, 40 dSPE tubes, 40 filters, 40 vials. Order those five line items together and you’ll never stall a batch waiting on a box.
When you still need SPE cartridges
QuEChERS handles multiresidue screening well, but it isn’t the whole toolset. Trace work at drinking-water limits, single-analyte methods, and dirty matrices like tea or soil still send extracts through conventional SPE. You’ll see C18 cartridges for reversed-phase cleanup, HLB (hydrophilic-lipid balanced) cartridges for broad-spectrum retention, and florisil or alumina for specific organochlorine methods. Each cartridge needs a vacuum manifold, collection tubes, and usually a nitrogen evaporator step afterward, so the consumable list grows: cartridges, needle-style solvent transfer lines, evaporation tubes, and pasteur pipettes for solvent transfers.
The Instrument Step: GC-MS/MS and LC-MS/MS and What They Consume
The final extract lands on one of two instrument families, and each dictates its own vial requirements.
LC-MS/MS: the default for modern residue panels
LC-MS/MS quantifies hundreds of pesticides in one injection. Agilent’s application note on milk analysis ran 171 pesticides through QuEChERS extraction, Captiva EMR-Lipid cleanup, and a triple quadrupole LC/MS/MS, with 98% of recoveries landing between 60 and 120% (see the Agilent milk multiresidue application note). LC-amenable compounds (neonicotinoids, triazines, sulfonylureas, many fungicides) dominate modern panels, and the same extract often feeds both LC and GC when the lab runs a dual-platform method.
Matrix effects are the quiet tax on this platform. Co-extracted compounds suppress or enhance ionization, which biases quantification even when the peak looks clean. Labs fight back with matrix-matched calibration, isotopically labeled internal standards, or simple dilution of the final extract. Dilution is the cheapest of the three, but it raises its own consumable question: every dilution step needs clean glass or plastic vials, calibrated pipettes, and fresh tips. A 10-fold dilution study across a validation adds dozens of vials and inserts to the run, and if the diluent differs from the sample solvent, adsorption losses can skew the whole comparison. Keep the diluent chemistry identical to the extract solvent unless the method says otherwise.
GC-MS/MS: still essential for volatiles and thermally stable analytes
Organochlorines, pyrethroids, and fumigants run best on GC. GC work also drags in headspace sampling for fumigant residues, which means 20 mm aluminum crimp seals, crimp-top vials, and a crimping tool. Headspace vials are usually 20 mL clear glass with PTFE/silicone septa, and they cannot share closures with your 2 mL autosampler fleet.
Instrument-side consumables are small but recurring: injection syringe needles, inlet liners, seals, and solvent wash vials. They’re not what you came here for, but a residue lab that forgets to stock inlet liners will remember them at 2 pm on a Friday.
Vials, Caps, and Septa: Small Parts, Big Consequences
Here’s where I spend the most words, because autosampler vials are the consumable most residue labs get wrong first.
Amber glass, and when it matters
Light-sensitive analytes (several pyrethroids, organochlorine standards, some herbicides) photodegrade in clear glass. Amber vials block most of the UV range, and for residue work the cost difference against clear glass is trivial. My default for anything agrochemical-related is a 2 mL amber borosilicate screw-neck vial, and I’d need a specific method reason to use clear glass instead. Write the vial type into the method so nobody “helpfully” substitutes clear glass during a shortage.
Thread sizes and closure fit
Screw-neck vials come in 8-425, 9-425, 10-425, 13-425, and 24-400 threads, and the numbers aren’t interchangeable. An Agilent 1290 sampler and a Waters system can want different closures. Before you order a new closure for an existing vial fleet, match the thread spec exactly, and keep one closure style per method. Crimp caps (11 mm and 20 mm) still rule headspace and VOA work because they seal tighter than any screw cap.
Septa chemistry is a solvent decision
The septum is the part your needle pierces and your solvent touches. Thermo Fisher’s septa selection guidance lays out the trade-offs: PTFE-faced silicone is the workhorse for most solvents because the PTFE layer resists chemical attack while the silicone below reseals after injection; unlined butyl rubber suits gas sampling but not alkanes or chlorinated solvents; Viton handles chlorinated solvents better but reseals poorly (see the Thermo Fisher septa selection tool).
For acetonitrile extracts, red PTFE/white silicone is the default. If you store extracts in the vial for days before injection, evaporation through a punctured septum quietly changes your concentrations. We have a whole article on that problem: how to prevent sample evaporation in autosampler vials. If you only change one habit this month, change how you treat punctured vials in a sequence queue.
A skeptical note on “MS-certified” claims
Vial vendors sell “MS-certified” or “low-bleed” lines, and the claims deserve scrutiny. What you actually want documented is what the certificate measures: extractables, volatile residue, and resealing behavior. Restek’s certified vial kits, for example, list certification parameters including dimensions, thread profile, sealing and resealing tests, extractables, and nonvolatile residue by LC test (see the Restek certified vial kit specifications). A certificate with real test parameters beats a marketing word every time. Ask any vendor what their certification actually tests. If the answer is a shrug, order elsewhere.
Silicone septa bleed is the classic ghost-peak culprit on GC-MS. I once watched a lab chase an unidentified peak through two days of column baking, blank runs, and solvent swaps before someone tried a different cap brand. The peak vanished. Nobody enjoys that meeting.
Small volumes and glass inserts
Residue extracts don’t always fill a 2 mL vial. After evaporation and reconstitution, a final extract can be 200 µL or less, and a vial that’s 90% empty causes autosampler pickup failures and air bubbles. Glass inserts (conical, 100 to 400 µL capacity) solve this, and spring-loaded inserts even adapt to varying volumes. The catch is cost and washing; inserts triple your per-vial spend and are miserable to clean, so most labs treat them as single-use. An alternative worth knowing: wide-bore vial bottoms or “low-volume” vial designs reach the needle pickup zone with less liquid than a standard vial. If your reconstitution volume is consistently under 400 µL, one of those two options belongs in the method document.
Filtration Before Injection: The Cheapest Insurance You’ll Buy
Every extract carries particles: matrix fines, salt crystals, sorbent fragments. They clog frits, jam needles, and shorten column life. Filtration before injection is standard practice for good reason.
The common choices:
• 0.22 µm PTFE filters for LC-MS organic solvents and acetonitrile extracts. PTFE tolerates nearly all solvents, so it’s the safest universal pick for residue work.
• Regenerated cellulose filters for aqueous samples, since PTFE (hydrophobic) needs wetting with an organic solvent first.
• 0.45 µm filters where particle loading is low and you just want needle protection; the 0.22 µm grade covers column protection too.
Filter sizing matters as much as membrane. A 13 mm housing holds less than 1 mL of hold-up volume, which hurts when your final extract is only 500 µL. For small volumes, either buy low-hold-up housings or centrifuge instead of filtering. Labs running 50+ samples a day usually switch to centrifuge tubes with built-in filter inserts for exactly this reason.
One caution: cheap unverified filters can leach plasticizers into clean extracts. If you suddenly see phthalate peaks after a filter vendor change, you’ve found your answer.
Consistency matters as much as the spec. Once a filter membrane is written into a validated method, swapping it out deserves the same scrutiny as swapping a column, because recovery can shift even when the pore size label matches. That’s especially true for planar analytes, which some nylon and PTFE membranes adsorb more than others. Labs that switch filter brands without a mini-recovery check eventually get caught by their own QC samples, usually in front of an auditor. The safer habit is qualifying one filter spec per method and holding a second qualified vendor as backup, so a supply problem becomes an order form rather than a revalidation project.
Standards, Solvents, and Storage Bottles
Residue methods live or die on their standards, and standards are consumables in their own right.
Stock standards arrive as neat solids or ampouled solutions. Labs dilute them into stock solutions (often at 100 µg/mL to 1 mg/mL in acetonitrile) and store them cold. Agilent’s milk method stored individual stock solutions and the mixed spiking solution at -20 °C in the freezer, which is typical practice. Working standards get prepared fresh or weekly, and many labs spike their working standards in matrix-matched extracts to cancel ion suppression.
The container choices here are not decorative:
• Amber glass for neat standards and stock solutions, always. Photolysis of a standard at 0.01 mg/kg concentration is real and fast.
• Amber 1 L glass bottles with PTFE-lined caps for mobile phases and solvent reservoirs.
• Crimp-sealed or PTFE-lined screw-cap bottles for solvent storage, since acetonitrile picks up water and plasticizer contamination readily from inadequate closures.
Labeling and logging standards is the unglamorous half of the practice. Every stock solution should carry preparation date, preparer initials, solvent, concentration, and expiry, written on labels that survive freezer conditions and frost cycles. Paper labels on amber glass in a -20 °C freezer have a short life; most labs that care use cryo-rated labels or write directly on frosted vial spots. The bottle you choose matters here too: wide-mouth reagent bottles accept a stir bar and funnel for mobile phase prep, while narrow-neck bottles pour cleaner for daily working solvent. Matching bottle format to task sounds trivial until someone pours 100 mL of acetonitrile down a fume hood because the bottle neck fought back.
Elemental work (fertilizer heavy metals, for example) adds acid-cleaned containers and ICP-grade consumables to the list; we cover those requirements separately in what consumables ICP-MS sample preparation needs. If your agrochemical lab runs both residue and elemental panels, budget the two consumable streams separately, because the containers and cleanliness standards barely overlap.
Quality Control and the Regulatory Frame
Consumable choices don’t exist in a vacuum; the regulator’s expectations shape them.
At the global level, the Codex Alimentarius sets maximum residue limits (MRLs) for pesticides in food and feed, and its online database lets you look up limits by pesticide or commodity (see the Codex pesticide residues database). Enforcement labs measure samples against limits like these, and a result near the MRL gets scrutinized hard. That’s when consumable quality stops being a procurement detail and becomes a legal question.
SANTE 11312/2021 (the EU’s analytical quality control guidance) requires documented recoveries, matrix-matched calibration, and defined storage conditions for standards and extracts. Typical acceptance windows run 70 to 120% recovery, which is why a filter that adsorbs 20% of your analyte matters. The guidance also specifies how stock and working standards are prepared and tested for identity, so your vial and bottle choices feed directly into audit answers.
On the US side, EPA’s residue methods define the instrument, the extraction, and the estimated limit of quantification for each pesticide-commodity pair. If your lab claims EPA-method compliance, the consumables in the method chain are part of the claim.
Practical takeaway: write consumable specifications into your method documents the same way you write column part numbers. “PTFE/silicone septa, amber 2 mL vial, lot certificate retained” is an auditable sentence. “Vials” is not.
Proficiency testing adds another layer of pressure on consumables. Accredited residue labs participate in interlaboratory ring tests periodically, and your result gets compared against dozens of other labs analyzing the same spiked commodity. When your z-score comes back bad, the investigation walks the whole chain: instrument, calibration, extraction, and yes, the vials and filters that touched the extract. Labs that keep retained lots of consumables alongside retained extracts can often close such investigations in a day. Labs that don’t, guess. Retention samples cost shelf space, but they’re the cheapest audit insurance the QC team can buy.
Buying Considerations: Lot Traceability, Documents, and Bulk Supply
Everything above narrows to a purchasing decision, so let me give you the checklist I’d actually use.
Lot traceability comes first. Every box should carry a lot number, and every lot should have a certificate you can pull on demand. For certified vials, the certificate should name the tested parameters (extractables, residual volatiles, resealing), not just say “quality certified.” If a supplier can’t produce a lot certificate within a business day of you asking, treat that as a red flag and test your next order.
Compatibility beats brand. Mastelf vials, caps, and filters are built to run on Agilent, Waters, Shimadzu, and Thermo autosamplers, which matters when one lab runs three instrument brands and doesn’t want three closure inventories. Check thread specs, septa thickness, and shoulder geometry against your current consumables before switching; a fit problem shows up as a failed injection, not a customer-service call.
Bulk pricing with sane minimums. High-volume items (2 mL vials, dSPE tubes, 0.22 µm filters) justify bulk contracts. Low-volume specialty items (VOA crimp caps, glass inserts) don’t need pallet quantities. Ask suppliers for tiered pricing rather than flat bulk rates, and split the order accordingly.
Sample-first policy. Any new consumable entering a validated method deserves a small comparison run against the incumbent: same extract, same method, same day, check recovery and background. Two hours of bench work prevents two weeks of explanation letters.
Water-focused screening labs face slightly different container demands (zero-headspace VOC vials, larger amber bottles, different filtration choices), and we break those down in the complete guide to water quality testing lab consumables.
Storage and stock rotation. Septa age, and adhesives on pre-assembled caps can fail in hot storage. Order what you’ll use in a year, store caps and septa away from heat, and rotate stock oldest-first. A warehouse of 2024-dated septa in a 40 °C storage room is a future evaporation investigation.
Lead time is the factor labs underestimate most. QuEChERS kits and vials restock in a week from any decent supplier, but specialty items (VOA crimp caps with specific septa, certified low-volume inserts) can stretch to a month from some regions, and Asia-based buyers should ask about shipping time to their port, not only production time. One workable arrangement: put your five highest-volume items on a quarterly blanket order with a fixed price, and buy everything else on demand. That steadies the budget while keeping specialty stock lean. And if a supplier offers consignment stock or low minimums on the specialty items, weigh that as heavily as the unit price, because a cheap part you don’t have on the day you need it has an infinite real cost.
Conclusion
Agrochemical testing succeeds or fails on unglamorous parts: the salt packet that phases your extraction, the dSPE sorbent that spares your analyte, the amber vial that keeps a light-sensitive residue from fading overnight, the 0.22 µm filter that keeps the instrument alive for another sequence. Build the consumable list from the workflow outward, write the specifications into your method documents, and demand lot documentation as a condition of purchase rather than a favor. Do that, and consumables stop being a cost line and become evidence quality. The next workflow most residue labs touch is the soil side of the business (cores, dissipation studies, sediment extracts), and we cover its consumable list in detail in the complete guide to soil and agriculture testing lab consumables.
Frequently Asked Questions
What consumables does a QuEChERS pesticide analysis need?
A 10 g sample QuEChERS batch needs 50 mL polypropylene centrifuge tubes, pre-weighed extraction salt packets (MgSO4 with NaCl or citrate buffer), dSPE tubes with MgSO4 plus PSA (and C18 or GCB depending on matrix), and 2 mL autosampler vials with PTFE/silicone septa for the final extract. A 0.22 µm PTFE syringe filter is commonly added before injection.
Why do pesticide labs use amber glass vials instead of clear?
Amber glass blocks UV light that photodegrades many pesticides and pesticide standards, including several pyrethroids and organochlorines. Since amber vials cost nearly the same as clear glass, most residue labs default to amber for samples, extracts, and standards. Clear glass is reserved for methods where the analyte has demonstrated light stability.
Are “MS-certified” autosampler vials worth the extra cost?
They are worth it if the certificate documents measurable parameters: extractables, volatile residue, and resealing performance. Those properties directly affect ghost peaks and injection precision on LC-MS/MS and GC-MS/MS. If the certification is a marketing label without a test list, you’re paying for a word, and a properly documented standard vial may serve just as well.
What septa material works best with acetonitrile extracts?
Red PTFE/white silicone (PTFE-faced silicone) is the standard choice for acetonitrile and most organic solvents, because the PTFE face resists chemical attack while the silicone layer reseals after needle puncture. Avoid unlined rubber or butyl septa with acetonitrile, since the solvent extracts residues from the elastomer and those residues appear as chromatographic background.
How often should pesticide stock standards be replaced?
It depends on the analyte and storage, but common practice keeps stock solutions at -20 °C in amber glass and retests them every six to twelve months. Photolabile or hydrolytically unstable compounds may need shorter intervals. SANTE guidance requires labs to document the identity, purity, and storage of reference standards, so most accredited labs assign an expiry at preparation and verify with a check standard before expiry.