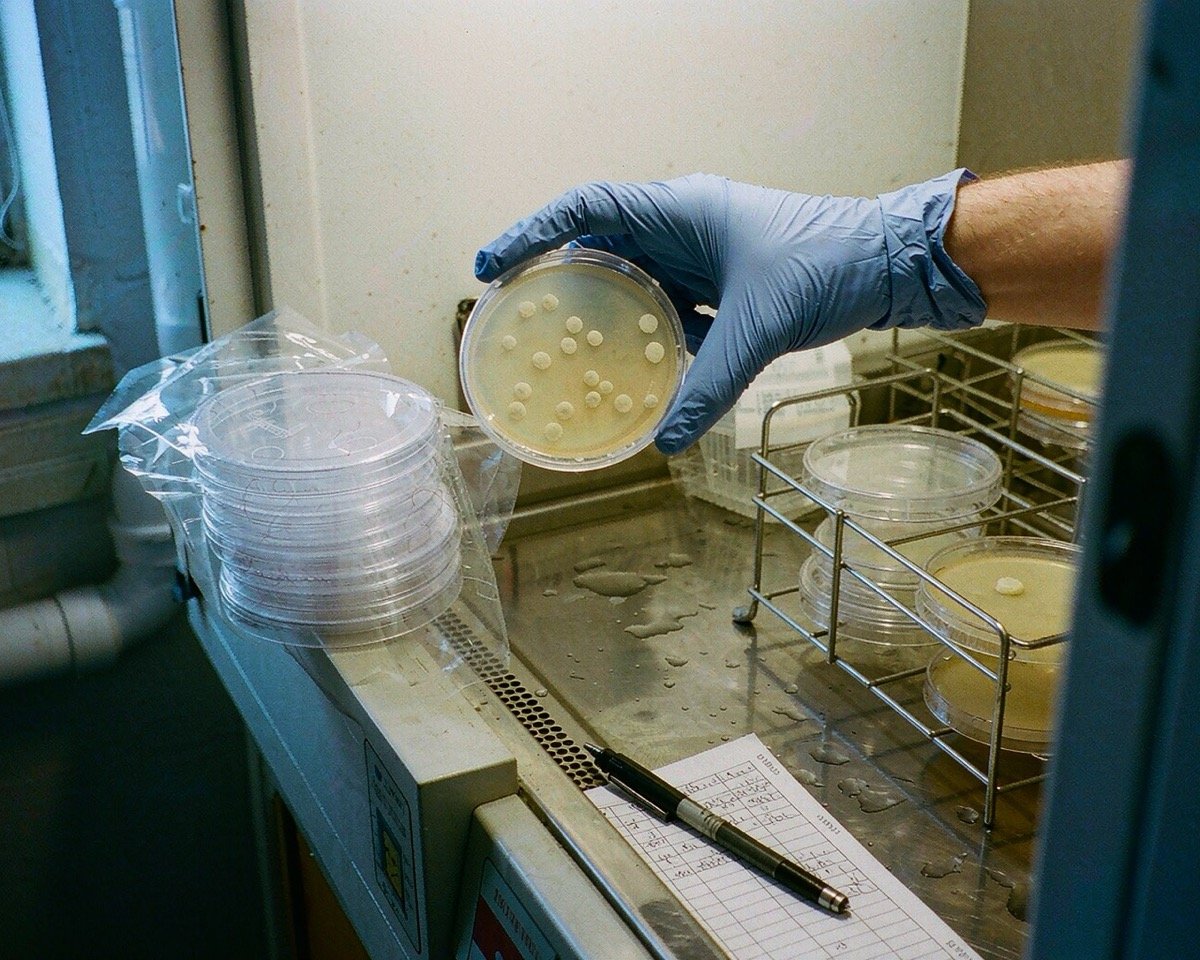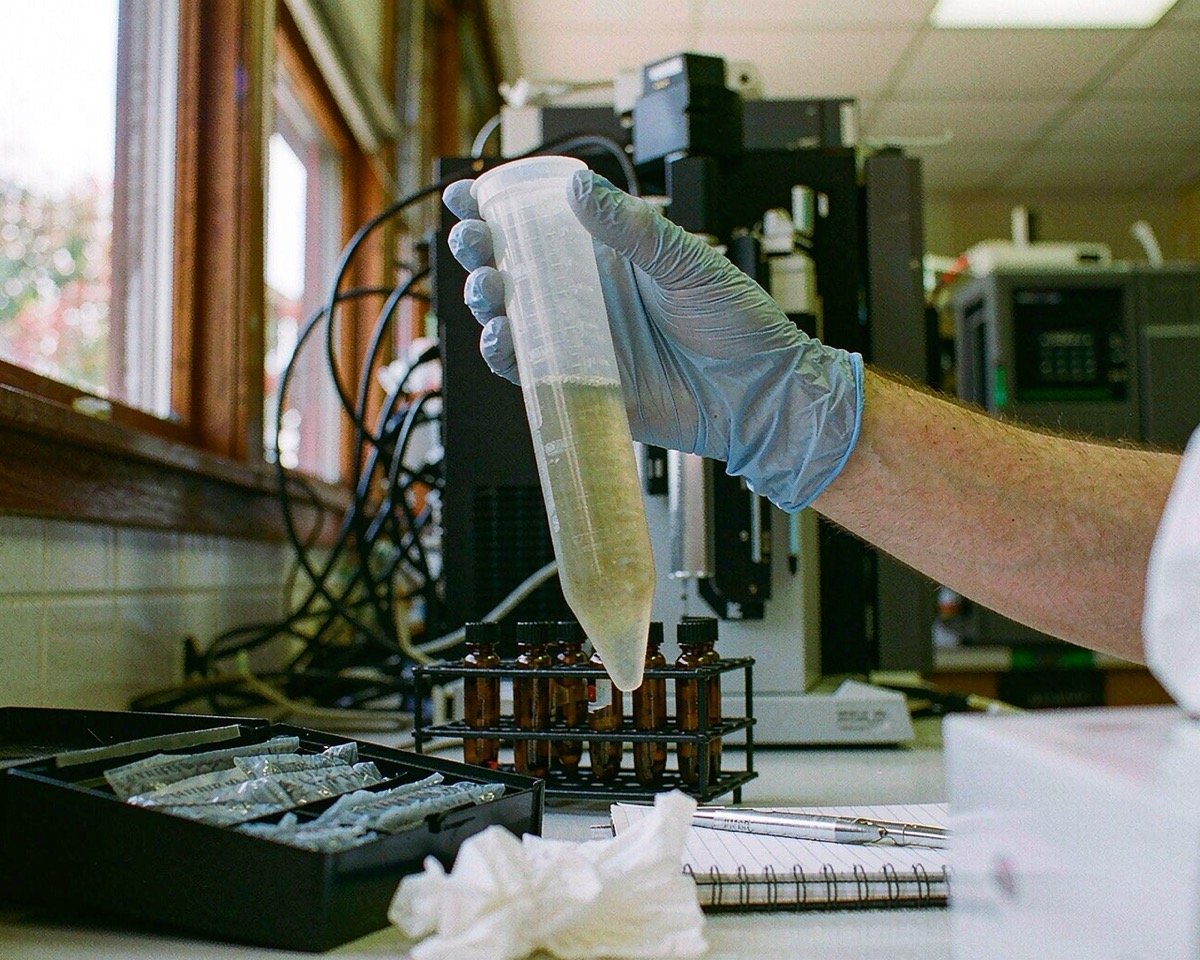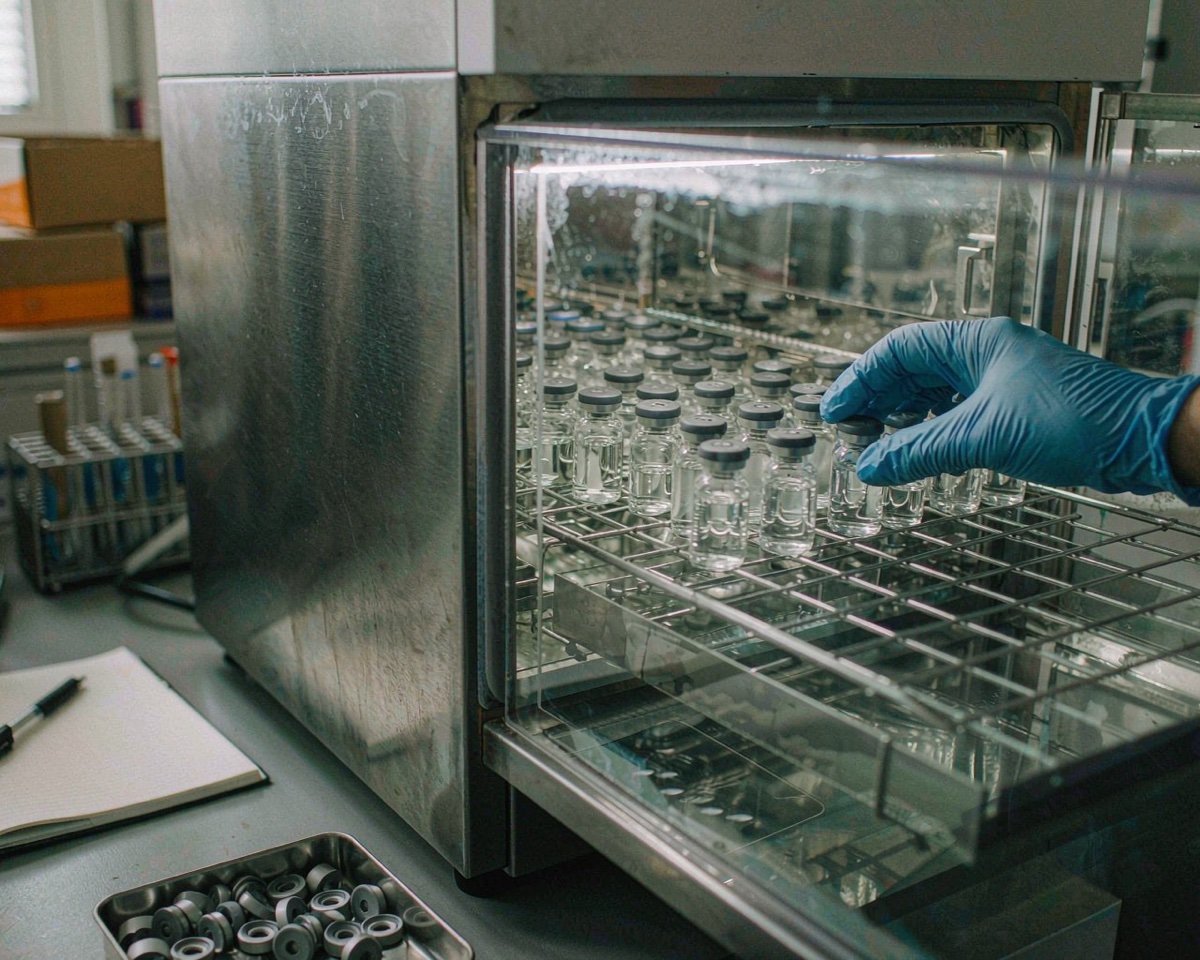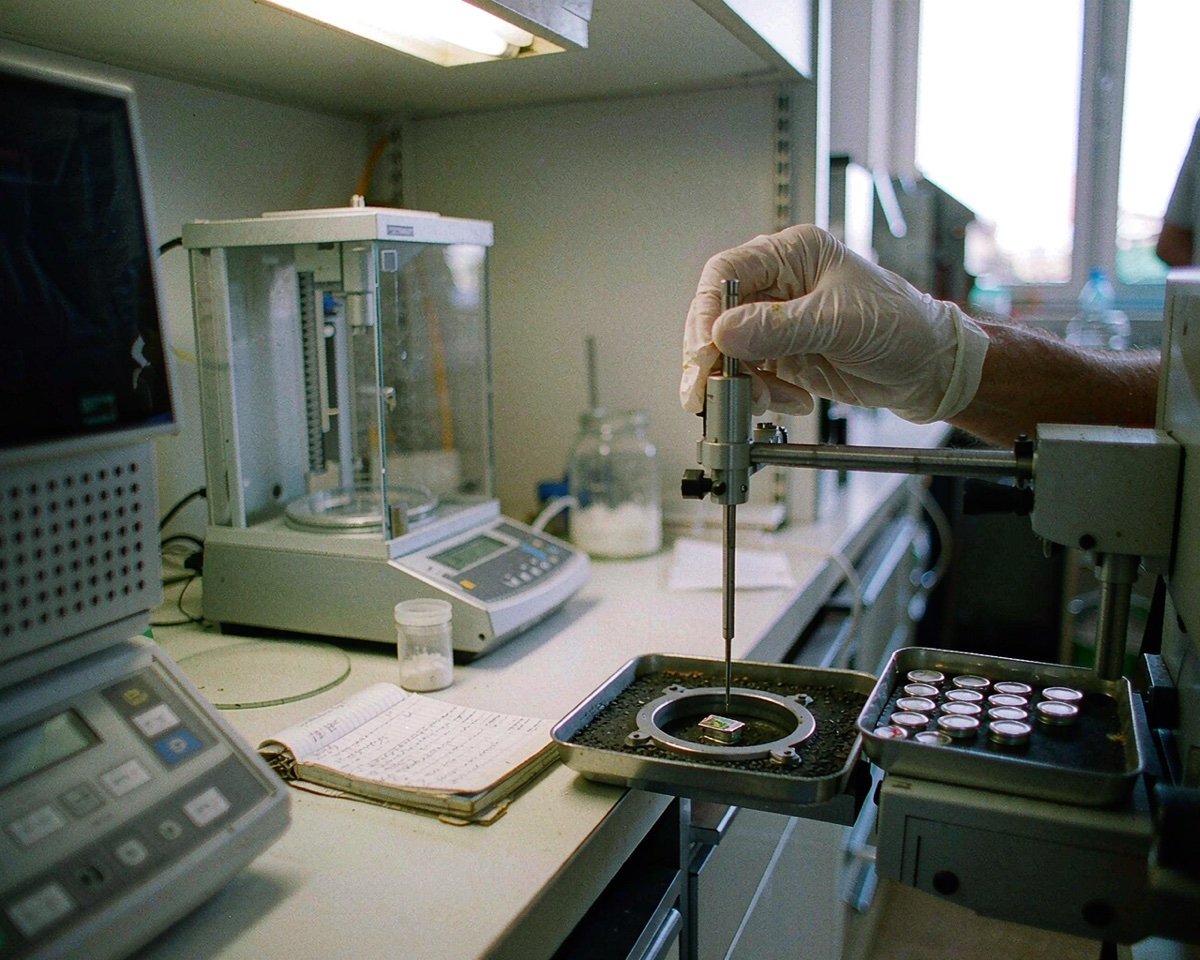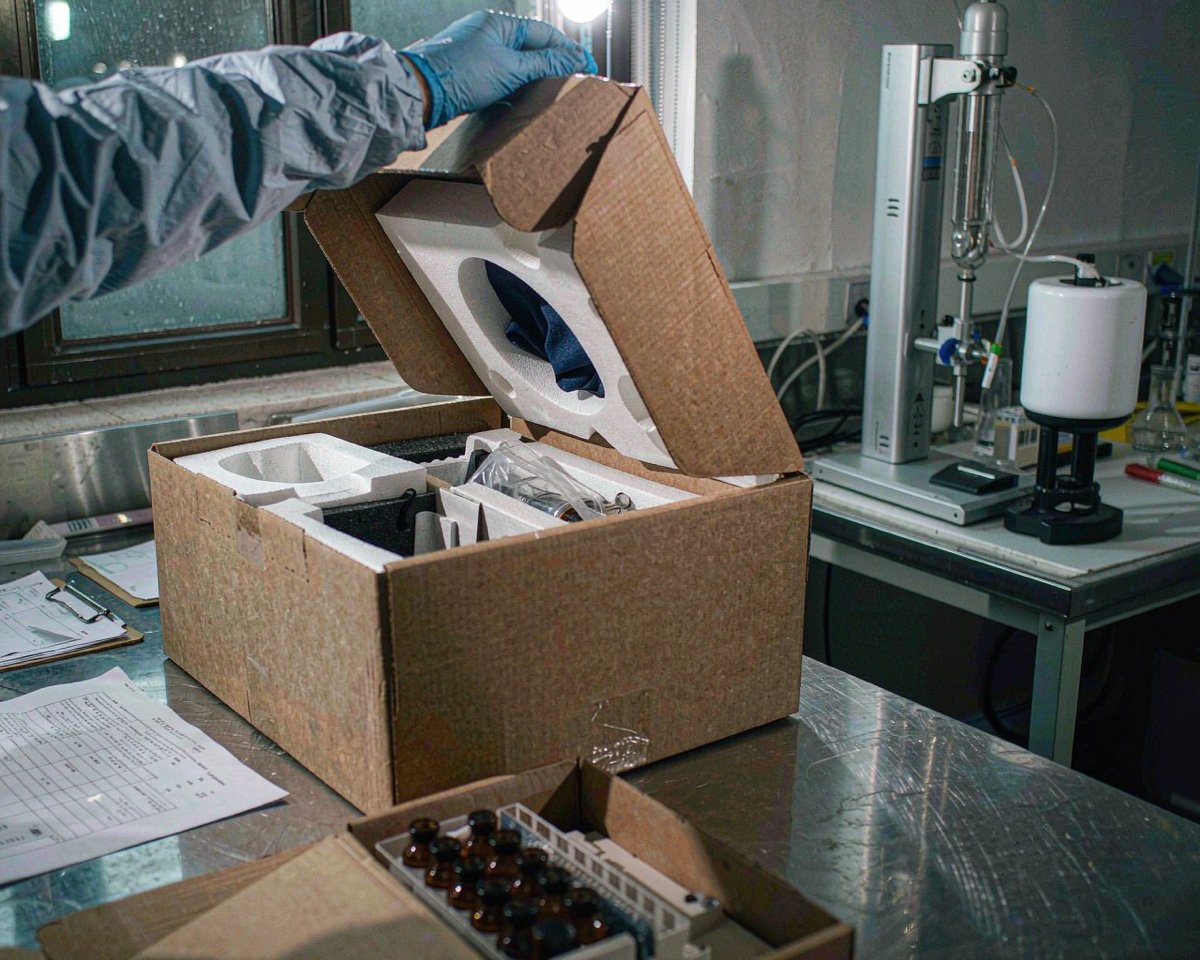
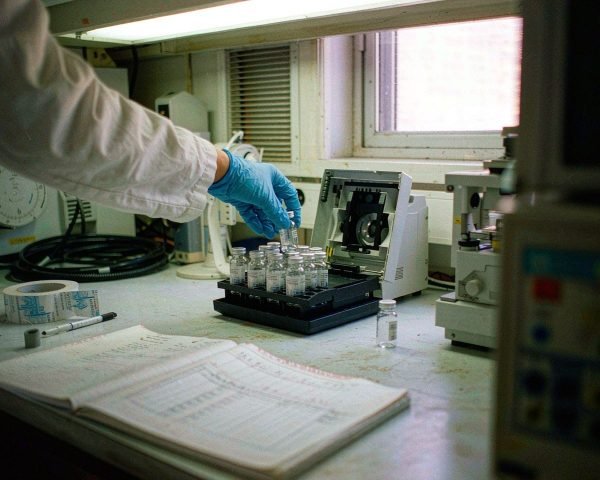

Most turnaround time never shows up on the instrument. It leaks out in consumables handling: hunts for syringes, racks labeled after the fact, and a cap box that hits empty mid-batch. Labs applying lean habits have reported lead-time reductions of up to 80%.
Turnaround time (TAT) is the clock time from sample receipt to reported result. Nine consumables habits shorten it: kit per method, pre-label racks, standardize the vial and cap combo, filter ahead of the run, keep spares at the bench, set reorder points, and stage items at the point of use.
None of these takes more than an hour to set up, and most take ten minutes. Pick the two your lab does worst and start there.
1. Build a per-method consumables kit before you need it
Walk into any busy lab the morning of a big batch and you’ll see the same scene: someone hunting drawer to drawer for 5 mL syringes while a six-figure instrument idles. That search time is pure waste, and it repeats every single batch.
Lab Manager’s workflow research puts it bluntly: productivity depends far more on systems than on individuals. A consumables kit is the simplest system you can build. Pick your busiest method. Put everything one full batch needs into a single tote: 70 clear 2 mL vials, 70 caps, a box of 0.45 µm nylon filters, ten syringes, a sheet of labels, and two spare guard cartridges.
Now the run starts when the samples arrive, not when the supply hunt ends.
One refinement that pays for itself: kit for 10% more samples than the batch sheet says. There’s always a spiked duplicate, a re-prep, or a vial that cracks in the rack. If the kit covers exactly 66 samples and the batch runs 66, you lose the afternoon. If it covers 73, nobody notices.
I’d do this for your top two or three methods and stop there. Kits for rarely-run methods go stale, and stale kits are where expired filters hide.
One more thing worth deciding on day one: who owns the kit. If the tote belongs to whoever runs the method, it gets refilled. If it belongs to the lab “in general,” it gets raided. Assign a name, even informally, and the kit survives the year. After each batch, the runner restocks the tote back to its checklist level before the rack goes in the wash. That thirty-second step is what turns a one-time project into a habit that still works in December.
2. Pre-label vial racks during sample prep, not after
Labeling feels like a five-second task, which is exactly why it gets postponed. Then it happens after the sequence is loaded, keyed off a scribbled worksheet, and position 14 in the rack gets transposed with position 15.
Pre-labeling means the rack carries the batch ID, dilution level, and time point before any liquid moves. It takes twenty minutes for a 60-vial batch, and you can do it while samples equilibrate. When a result looks odd at 3 p.m., you pull the right vial and re-inject without an archaeology session on the bench paper.
Two details matter here. Put the label where you can read it without lifting the vial out of the rack. And if the vials have write-on spots, use a solvent-resistant pen; ordinary markers fade the first time a glove brushes them with acetonitrile on it.
I once watched a 60-injection stability sequence get pulled at position 38 because two time points had swapped labels. The re-run cost the lab a full day and cost the client a week of patience. The labels would have cost four minutes.
If you label enough vials to justify it, a small thermal label printer earns its bench space within a month. Handwriting works too, but it varies by pen, by hand, and by how much acetonitrile is in the air that day. Whatever you choose, keep the labels on the sheet in the per-method kit from habit 1, so nobody starts a prep by hunting for a fresh roll. And for samples headed to the fridge or freezer, check the adhesive. Standard labels curl and drop off below about 4°C, and a vial that loses its identity in a cold room is worse than one that was never labeled.
3. Standardize on one vial and cap combo per instrument
Agilent’s autosampler manual states the stakes plainly: incompatible sample vials cause turret errors, and vials or labels that fall outside spec can stop a sampler mid-sequence. Service calls traced to off-spec vials aren’t covered under warranty either. The manual spells out the critical dimensions and the consequences.
Septa, the puncturable liner inside each cap, are the quieter culprit. Agilent notes that natural-rubber formulations core more easily, and a cored plug can drop into the vial and surface later in your chromatogram as a mystery peak nobody can chase down.
My own rule after too many stuck needles: pick one 2 mL screw-neck vial with 9-425 threads, pair it with one PTFE/silicone septum, and buy nothing else for that instrument unless the method genuinely demands amber glass or an insert. The habit matters more than the brand. When every analyst caps a vial the same way, hundreds of times a week, nobody shells a septum into a sample at 5 p.m. on a Friday.
The same logic applies to closure style. Screw caps need no tools and suit LC work; crimp caps give the tightest seal for volatile GC samples but demand a crimping tool and a feel for the right torque. If your lab runs both, keep the two ecosystems physically separated, different bench, different drawers. The vial that “works on both” is the one that ends up in the wrong turret.
4. Filter samples before the sequence starts, not during it
Filtering mid-sequence is the classic self-inflicted delay. The run pauses, the one analyst who knows where the filters are is at lunch, and the queue sits there burning autosampler time.
Restek’s sample-prep guidance is blunt about why: particulates plug columns, injectors, and small-diameter tubing, and the slow accumulation of particles shifts flow rates and drags down reproducibility, all of it ending in costly downtime that a cheap filter would have prevented.
Batch filtering the afternoon before flips the math. Push the whole set through at your bench, park the filled vials in the rack, and the next morning the sequence just runs. I discard the first 1.5 mL of every filtrate to waste; that flush carries off most of the housing extractables and costs nothing but a few seconds per sample.
For genuinely dirty matrices, go two-stage: a filter with an integrated glass microfiber prefilter, then the 0.22 µm membrane. One steady push beats four mid-run filter changes every time.
If the batch is large enough, batch filtering gets even faster. A vacuum manifold on the prep bench clears a 96-vial set in the time it takes to hand-push twenty syringes, and it frees your hands to keep labeling racks. For small-volume samples where even a 13 mm filter wastes too much to hold-up volume, filter vials (a membrane built into the vial cap itself) remove the syringe entirely. None of this needs new instrumentation; it all happens at the bench, hours before the autosampler wakes up.
A plugged column inlet costs more than the guard frit you’ll replace. It eats the day you had planned to report.
5. Decide the membrane once per method, then stop thinking about it
Thermo Fisher’s sample-prep documentation lays out the membrane decision cleanly: nylon for broad routine compatibility, PTFE for aggressive organics (pre-wet it for aqueous samples), PVDF when protein binding or low-UV extractables matter, PES for fast flow with aqueous buffers. Their selection guide makes a useful bookmark.
Turn that decision into a one-line note in the method header: “Filter: 25 mm nylon, 0.45 µm, discard first 1.5 mL.” Now any analyst, including the new hire covering someone’s leave, filters correctly without asking around.
Here’s my honest opinion: nylon 0.45 µm covers more routine HPLC work than people give it credit for. Labs overthink membranes the way they overthink column brands. Save the PVDF deliberation for the LC-MS methods where extractables can actually move a peak.
The time saving is invisible but real. Nobody stands at the solvent compatibility chart googling membrane chemistry while a full rack of samples waits on the bench.
Pore size deserves the same one-time treatment. As a default, 0.45 µm suits routine HPLC on 3-5 µm packings, while 0.22 µm is the safer call for UHPLC with its finer inlet frits and for anything heading to LC-MS. Match the filter to the column’s frit, not to habit; a filter with pores larger than the frit it protects is just decoration. One note in the method header settles it for everyone who follows.
6. Keep a spare kit at the instrument, not in the storeroom
Three flights of stairs is enough distance to turn a two-minute septa swap into a twenty-minute break in a running sequence. Distance is downtime, measured in floors.
A spare kit is not the same thing as reorder stock. It’s one small drawer within arm’s reach of the instrument: spare septa, two syringes, a spare injector needle or needle seat, guard cartridges (the disposable mini-column that takes the abuse so your analytical column doesn’t), one unopened filter box, and a fresh wash solvent bottle.
We keep a full list of what deserves spare status in 12 consumables every HPLC lab should keep as spares. The short version: anything that fails mid-run and blocks the queue belongs in that drawer.
Refill the drawer the same day you dip into it, not “next week.” Kits that get quietly borrowed by the prep lab next door will evaporate; a name on the lid slows that down more than you’d expect.
Give the drawer a quarterly audit, too. Spares have a way of becoming a museum of things the method stopped using two years ago. Ten minutes per quarter, check the contents against what the current methods actually consume, and return the rest to central stores. A spare kit that’s right 90% of the time is the goal; a drawer of everything is a drawer you’ll have to dig through, which defeats the purpose.
7. Set reorder points so consumables never touch zero
Lab Manager’s operations coverage makes the case for tracked inventory in one line: real-time systems that follow consumable levels reduce stockouts and over-ordering. Both failures cost money, but only one of them stops every instrument in the lab at once.
A reorder point is just a number taped to the shelf: when the count drops below 4 boxes, order today. Set the number from real usage, not gut feel. If your lab burns 200 syringe filters a month and delivery takes two weeks, the trigger sits at 150, not at 50.
The habit part is the weekly five minutes. Same day, same person, count the ten highest-burn items, write the numbers down. I’ve watched a QC lab lose three days of sequencing because the last box of 9-425 caps went out on a Friday and nobody placed the order until the following Thursday.
There are earlier warning signs before a full stockout. We listed them in 7 signs you need to reorder your consumables.
For the highest-burn items, a two-bin setup beats even a good reorder point. Keep one bin in use and one full bin behind it. When the working bin empties, you take the backup and the empty bin itself becomes the order signal. No counting, no spreadsheet, no memory required. Small labs can run this with nothing more sophisticated than two shoeboxes and a rule: the empty box goes on the monitor screen, literally on top of the keyboard, until someone types the order.
8. Tape a consumables checklist to every method
Lean, the manufacturing discipline of cutting wasted motion, translates well to labs. Lab Manager reports productivity gains between 25% and 50%, with lead-time reductions of up to 80%, when lean practices are applied properly.
You don’t need the full program to capture some of that. Start with one page per method: vial type and count, cap and septa, filter membrane and pore size, syringe count, solvent and waste bottle status, spare guard cartridge on hand. The analyst ticks six boxes before the sequence starts. It’s standard work, just small enough to survive real bench life.
The payoff shows up on bad days. Under time pressure, people skip steps, and skipped checks are how a 40-injection sequence dies at injection 12 because the wash solvent bottle ran dry overnight. The checklist moves the check from memory to paper, where it holds up under stress.
If you want a starting template, we published the 8 consumables checks before every important run.
Laminate the page and hang it next to the instrument, not in a binder three rooms away. A checklist stored in the quality system is documentation; a checklist on the wall is a tool. When the method changes, reprint the page the same day. An out-of-date checklist is worse than none, because it builds false confidence in people who trusted it last week.
9. Store high-use consumables at the point of use
Every step between an analyst’s hand and the consumable adds delay, and small delays stack. Warehouse designers solved this decades ago: the items touched twenty times a day live within one step of where they’re touched. Borrow the idea.
At an HPLC bench that means an open box of vials and caps sitting on the bench itself, filters and syringes in the top drawer, labels and the pen clipped to the rack, and the spare drawer from habit 6 underneath. Mobile phase bottles live beside the instrument, not in the solvent room down the hall.
One exception I’d flag: amber vials and anything light-sensitive stay sealed in their box until the moment of use. Bench light degrades them slowly and you will never see it happen.
The staging habit extends to the mobile phase, too. If a method runs a gradient with two solvents, keep both bottles’ reserve stock on the shelf directly above the instrument. A mid-afternoon solvent change shouldn’t require a walk across the building with a 4 L glass bottle and a prayer. Some labs even keep a dedicated cart for solvent transport; the point isn’t the equipment, it’s that the distance between “need” and “have” stays under five steps.
And while you’re standing right there, top off the solvent bottles and empty the waste before you press start. The Agilent manual even walks through estimating how many injections a full solvent bottle supports, which is a polite way of saying: don’t guess mid-run.
Conclusion
Nine habits, and not one of them needs a purchase order above a few hundred dollars. Kit per method. Pre-label the racks. Standardize the vial and cap combo. Filter ahead of the sequence. Park spares at the instrument. Set reorder points. Run the checklist. Stage the bench. Start every run with full solvent bottles and an empty waste bottle.
If you only change one thing this week, set the reorder points. A stockout is the only item on this list that can stop every instrument in the lab at the same time, and it arrives without warning unless you’re counting.
Everything here compounds with faster sample prep, too. If prep is where your turnaround time actually bleeds, 10 consumables upgrades that cut sample prep time in half pairs naturally with this article. Small habits, applied boringly and every week, are how labs get faster. No new instrument required.
Frequently Asked Questions
Do syringe filters really save time, or do they just add a step?
Filtering adds roughly a minute per sample at the bench and removes the reruns, pressure spikes, and column changes that each cost hours. On dirty matrices, labs that skip filtration usually pay the time back with interest.
What reorder point should I set for HPLC vials and filters?
Take monthly usage, multiply by the supplier’s lead time, and add one safety box on top. A lab using 2,000 vials a month with two-week delivery should be ordering when stock falls near 1,000, not when the last box opens.
Which consumables cause the most downtime when they run out?
Caps and septa, syringe filters, and mobile phase sit at the top, because a sequence cannot start or continue without them. Guard cartridges matter too: a clogged one stops the run at the worst possible moment.
Can I mix vial brands on the same autosampler?
Yes, as long as every vial meets the thread standard and dimensional tolerances the instrument expects, such as 9-425 threads on a standard 2 mL screw-neck vial. The risk is dimensional drift on unfamiliar brands, so qualify a new supplier against your instrument before the batch that matters.
How far ahead can I filter samples before a run?
Most aqueous and standard organic extracts hold 24 to 48 hours in capped vials, refrigerated if the analyte is unstable. Validate the hold time once for your own method, then write it into the SOP so nobody has to guess.