
# 10 Consumables Checks After a Long Lab Shutdown
I’ve opened my own lab after a six-week summer shutdown, and the consumables caused more trouble than the instruments. A long idle stretch is harder on septa and buffer bottles than a month of daily use. These ten consumables checks catch most of it in one afternoon.
The short answer: before your first run, check expiry dates and packaging on sterile stock, inspect septa and caps for cracks, open a few filter blisters, look inside every media and reagent bottle, discard old mobile phase, verify autoclaved items, check glove stock, re-check stored vials, test pump tubing, and refresh desiccant before you restock.
Some of these take thirty seconds. One of them, the buffer bottle, might save you a week of pump repairs. Here’s the full list, roughly in the order I walk the lab.
1. Check Expiry Dates and Packaging on Sterile Consumables
Start with the boxes that carry a sterility claim. Manufacturers print a lot number and an expiry date on sterile items; Thermo Fisher, for instance, prints both on every individual syringe filter package so a three-year shelf life can be traced pack by pack. That date assumes one thing: the packaging stayed intact.
Pull every sterile box off the shelf and look at two things. The expiry date on the outer case, and the condition of the wraps. A pack that’s swollen, damp at one corner, or stored under the sink “temporarily” has lost the claim the factory made, even if the printed date says 2028. Damage isn’t always dramatic. A wrap that looks slightly translucent, a corner that crushes to powder instead of denting, a box with a water ring on the bottom, a lid that no longer clicks shut: all of these count against the sterility claim.
Pay attention to the date printed on the individual packs too, not just the case. Suppliers restock boxes, and the outer case of a newer box sometimes holds older foil packs from a mixed lot. If the case and the inner packs disagree, the earlier date wins.
If a pack is expired or the wrap is torn, bin it. A 50-pack of sterile tubes costs less than one contaminated media batch, and the argument gets shorter every year.
While you’re at it, note the lot numbers of whatever survives. If a quality problem shows up next month, traceability records are what turn a mystery into a two-minute lookup.
2. Inspect Septa and Caps for Ozone Cracks and Hardening
Septa are the most perishable things on your shelf. Silicone ages even in a sealed bag: heat, UV light, and ozone from motors and some lab equipment harden the rubber, and a hardened septum cores badly and reseals worse. Restek’s guidance on septum problems covers the other half of the risk: mishandled septa and contaminated surfaces both feed ghost peaks and inconsistent injections, and overtightened caps shorten septum life dramatically.
Here’s my check. Open an opened bag (not a fresh one) and press the center of a septum with a gloved thumbnail. It should feel springy. If it resists like a hockey puck, or you see a white powdery bloom or radial cracks around the puncture zone, that bag is done. I once found a bag of 11 mm septa that had lived in a sunny window drawer for two years; they had gone ivory-white and cracked like old rubber bands.
Do the same test on pre-assembled caps, since the septa in a 9 mm screw cap ages exactly the same way as a loose septum. If you store caps in their original bags, they’ll be in better shape than anything that sat loose in a tray. If it fails, discard the whole opened bag. Sealed bags from the same lot are probably fine, but test one from each before you commit.
3. Open a Few Syringe Filter Packs and Check the Seals
Syringe filters look indestructible and aren’t. The membrane is a polymer film that can absorb moisture and solvent fumes, and the sterile claim lives in the blister seal. Millex sterile filters, for example, ship gamma-irradiated in individually blistered packs with a stated three-year shelf life per Millipore’s own product specifications; crack the blister and the clock changes.
Check the date on the box first, then pick three or four blisters at random. Look for blisters that have popped open and housings that have gone yellow or brittle; then flag any box that spent the closure somewhere warm. A colleague of mine came back from a two-month renovation to find every filter box had been shelved directly above the drying oven. The membranes looked perfect. Nothing filtered at the right flow rate again.
While you’re there, check that the pore size and membrane on the box still match what your methods assume. After a reorganization it’s surprisingly common to find a 0.45 µm box filed where the 0.22 µm PES filters used to be, and nobody notices until a sterilizing filtration claim gets questioned.
If a blister is open or the pack expired, don’t gamble on non-sterile work with it. For sterile filtration, expired means discarded, and a slow or sticky filter goes in the bin too.
4. Look Inside Every Media and Reagent Bottle
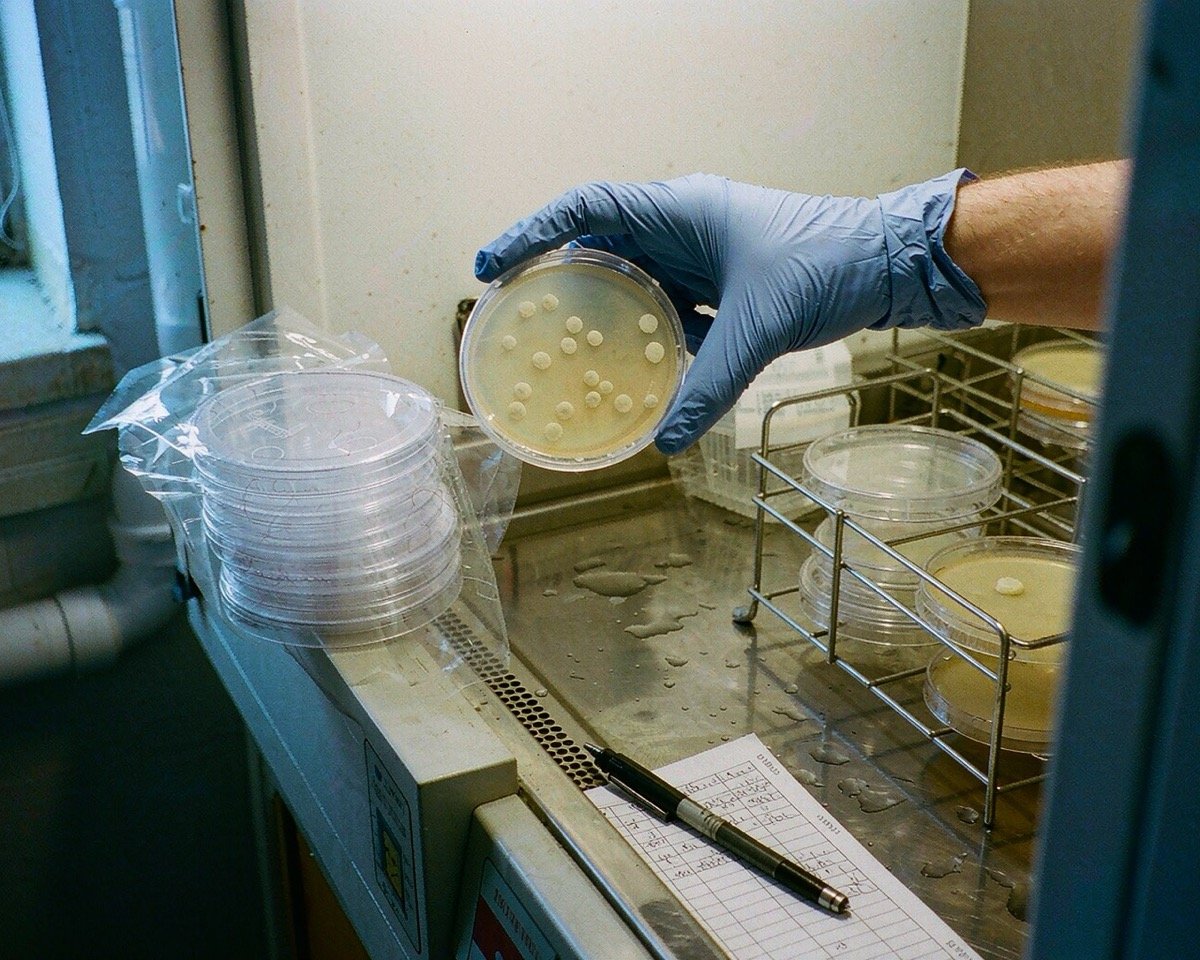
Bottles fail quietly during a shutdown. Water evaporates, concentrates shift, and microbial growth starts in anything aqueous that isn’t refrigerated. In my experience the growth shows up as a film on the bottle surface, or as something you only notice when you swirl the bottle and the haze moves.
So swirl every bottle. Hold it up to the light and look for cloudiness, a surface film, flakes, or a ring where the level used to be. A media bottle with a faint haze at the meniscus has already been colonized. Check evaporation too: a reagent bottle that lost 15% of its volume has changed its own concentration.
If you see mold, film, haze, or unexpected crystals, the bottle is finished. Don’t strain it, don’t filter it, don’t negotiate with it. Pour it out, wash the bottle properly, and reprepare from stock. For anything sterility-critical, reprepare from a fresh unopened container.
5. Discard Mobile Phase and Buffers. Never Top Up
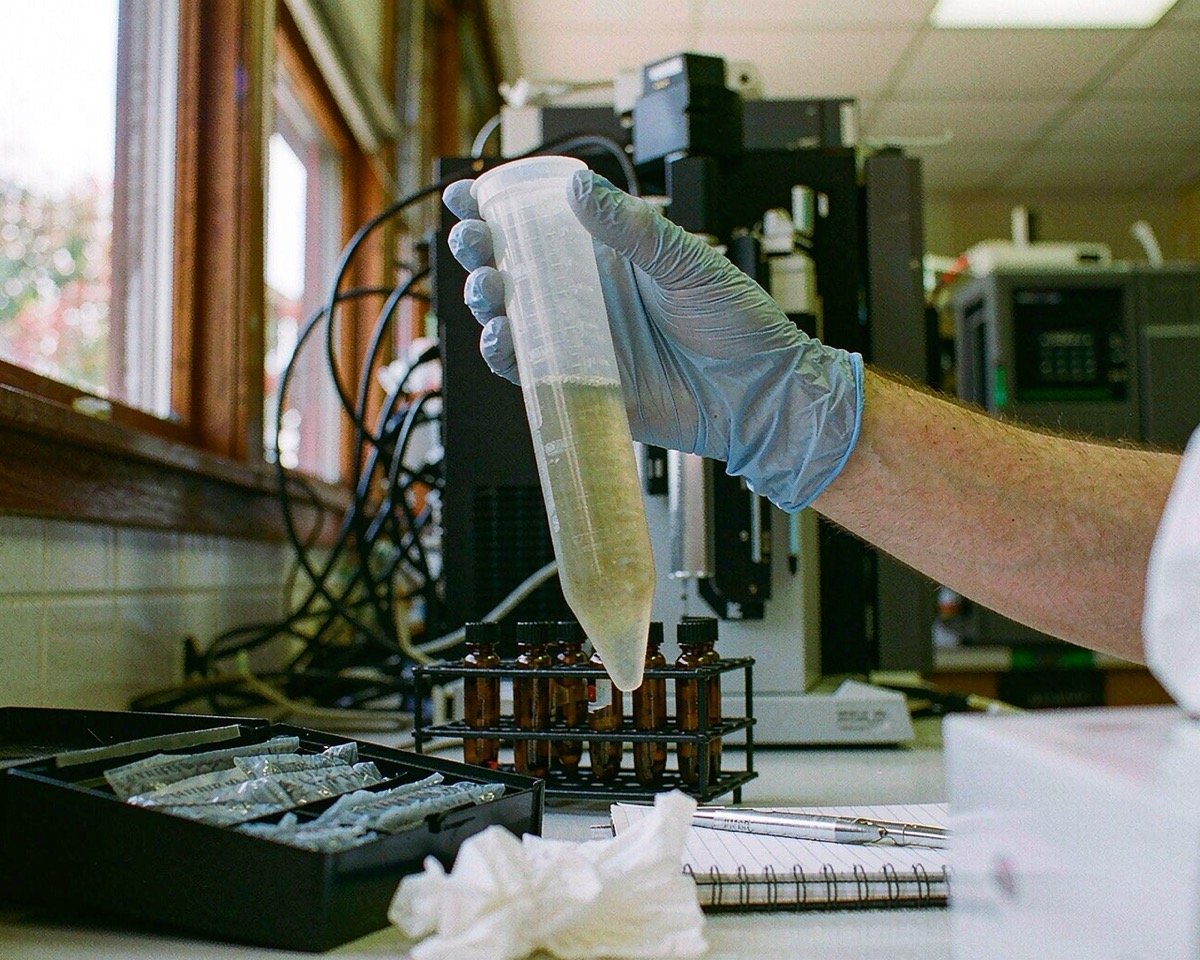
This is the one I’d defend hardest. After weeks of idle time, every aqueous mobile phase and buffer bottle on the system goes down the drain. Waters is blunt about why: don’t add fresh buffer to old, because topping off promotes microbial growth, and buffers left sitting in lines and bottles cause check valve failures and blocked frits.
I once inherited a pump after a six-week closure because someone left phosphate buffer in the lines over the break. The check valves had dried with salt crystals across the seats, and the pump wouldn’t prime until we disassembled and sonicated them. Half a day lost to a bottle that should have been emptied in December.
The routine: discard the contents, rinse each bottle, rinse or sonicate the inlet filters, refill with freshly prepared mobile phase, and prime every line. If your system sat idle for more than a day or two, flush it with water and then with at least 10% organic before you trust the baseline. If your buffers sat in the fridge rather than on the bench, you might get away with refrigerated stock within its own window, but bottles that lived on the system get no such benefit of the doubt.
One more thing worth writing into the shutdown SOP: empty the bottles and flush the lines before the lab closes, not after it reopens. The fifteen minutes it takes on the last day of December saves you a week of January.
6. Re-Sterilize or Verify Anything Autoclaved
CDC’s reopening guidance for facilities shut down after damage includes two questions worth stealing for any closure: were stored sterile supplies compromised, and have the autoclaves been tested with mechanical and biological indicators?
Walk through what was wrapped before the shutdown. Sealed, dry, intact sterile packs stored in a clean cabinet are usually fine. Packs that got damp or torn need reprocessing if the items tolerate it, or replacement if they don’t, and anything from a humid room goes too. Anything sterility-critical that you can’t verify lands in the discard pile; the certificate attached to a factory-sealed item doesn’t transfer to your bench.
Then deal with the autoclave itself. If it sat idle for months, run a biological indicator (a Geobacillus spore vial) plus your usual chemical indicators before you load real work. It’s a few dollars and one cycle, and it tells you the machine actually kills spores rather than just getting warm. Check the door gasket for flat spots while you’re standing there, since a gasket that dried out over a long shutdown is the most common reason a formerly reliable autoclave starts failing its own tests.
7. Check Your Glove and PPE Stock
Gloves are consumables with a shelf life, and they degrade exactly like septa do. FDA’s glove guidance expects manufacturers to show that barrier properties, physical properties, packaging integrity, and sterility all hold for the entire claimed shelf life, and it treats anything beyond five years from real-time data as unsupported. Nitrile boxes commonly claim three to five years, but only if storage was reasonable.
Check the expiry printed on each box, then check where the boxes spent the closure. A case of nitrile gloves stacked next to a window heater or a motor is suspect even if the date is fine. Feel a glove from the oldest box: nitrile that has gone stiff or tacky has lost the elasticity that makes it a barrier.
If a box fails the feel test or the date, discard it. Gloves are the cheapest item in this whole list, which makes a degraded box the least defensible thing to keep.
8. Re-Check Cap Torque on Stored Vials
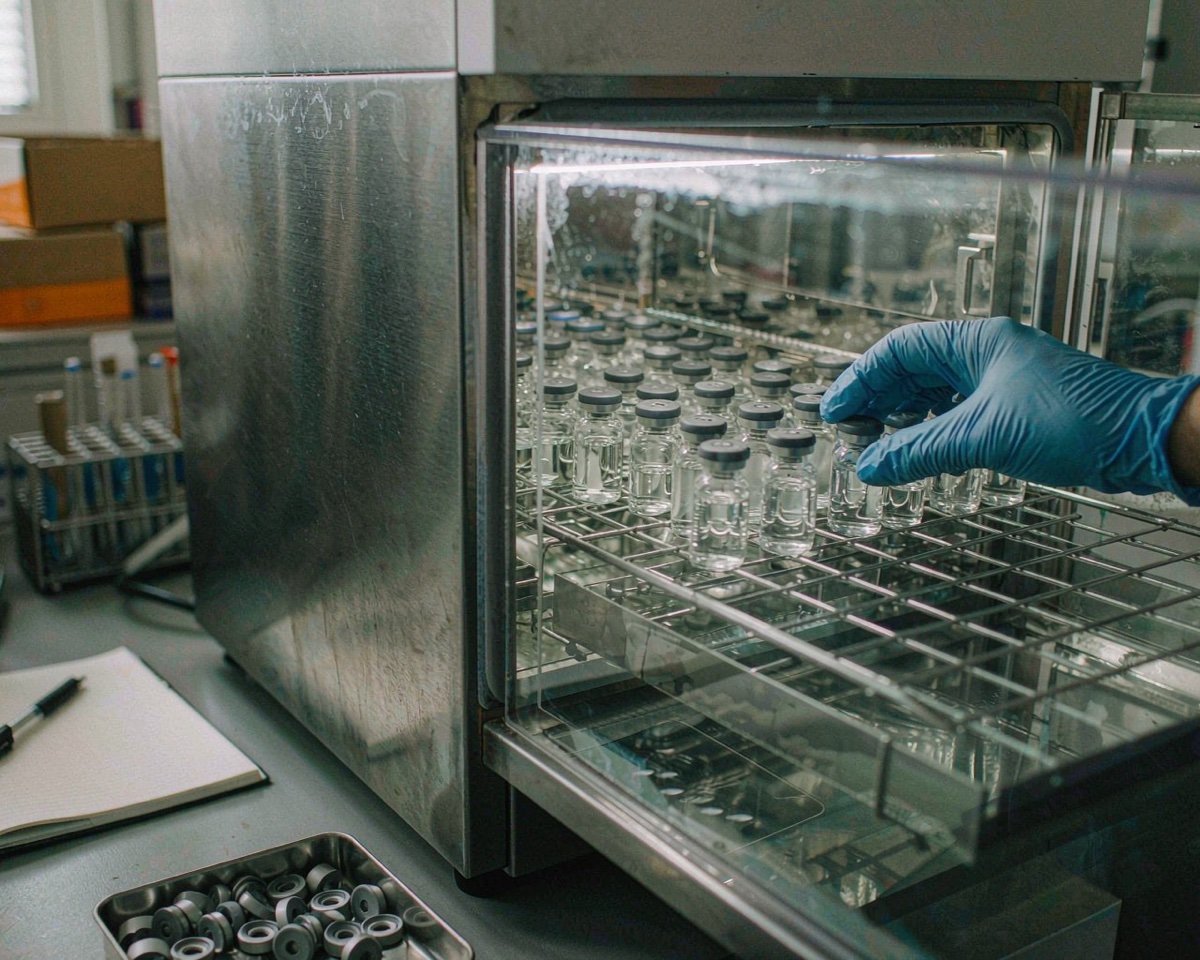
Vials that were capped and shelved before the shutdown deserve a second look. Elastomers take a set over time, so a screw cap that was hand-tight in March may sit looser in November. Aluminum crimp seals can show lifted septa after temperature swings in an unheated storage room.
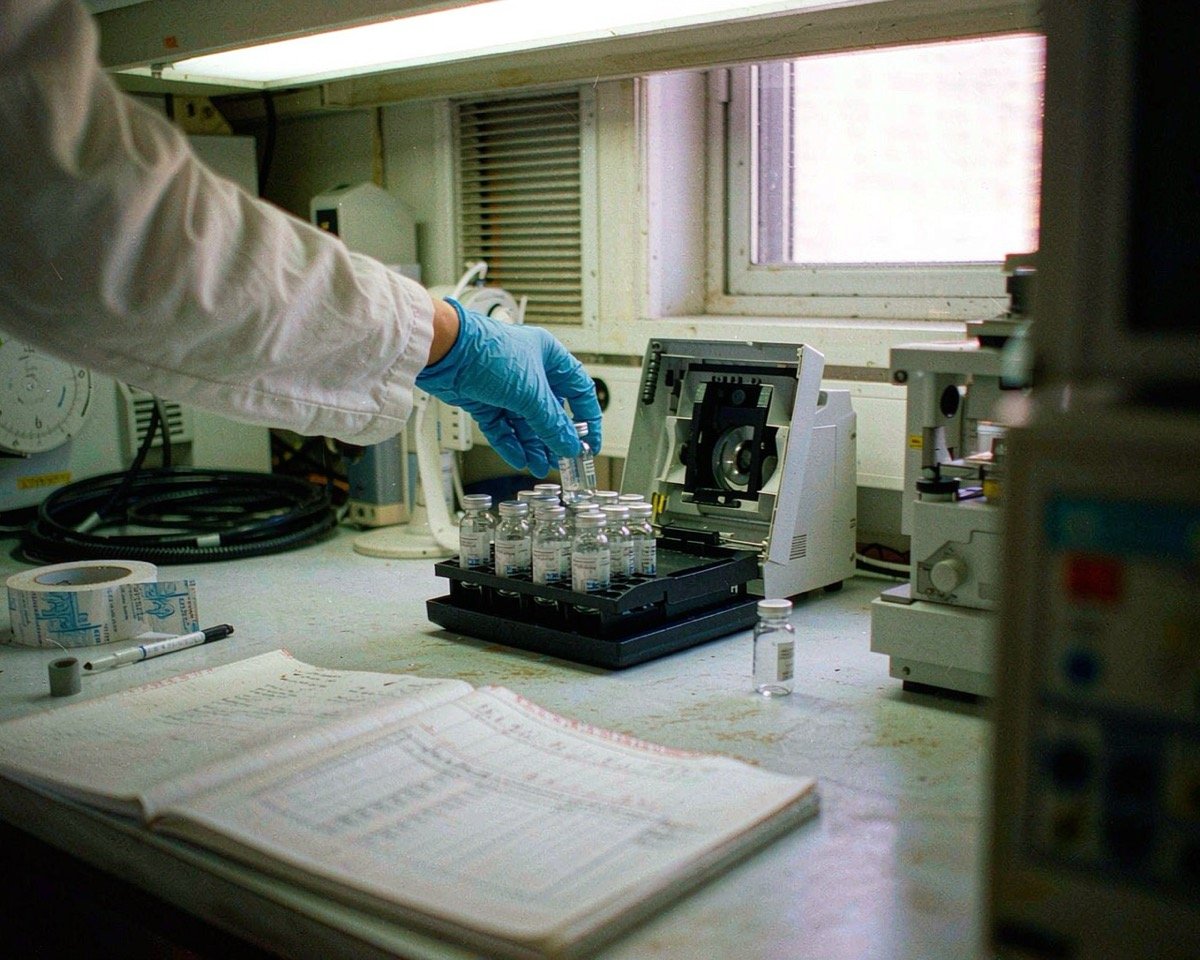
Pull three or four stored vials from different racks. Check that the caps still feel firm and that no septum has lifted or buckled. If you want a number instead of a hunch, weigh a few vials, leave them on the bench for 24 hours, and weigh them again; any vial that loses measurable mass is leaking. For crimp-sealed vials, look at the crimp height and the wrinkles in the aluminum shell: a seal that was made with a tired crimper, or one that froze through a cold weekend in an unheated room, will show uneven crimps around the circumference.
A loose cap gets re-torqued, not cranked. If the septum was already punctured before storage, don’t trust it to reseal; transfer the sample to a fresh vial with a new seal. If the sample matters more than the vial, the fresh vial wins every time.
9. Look at Stored Sample Vials (Headspace and Coring History)
Stored samples are where shutdown damage gets expensive, because some samples can’t be replaced. Evaporation through a septum is slow but real, and it’s worse when the septum was punctured before storage, since a punctured septum reseals imperfectly and opens a path for solvent vapor to escape.
Compare fill volumes against what you expect. In a 2 mL vial, a 1.5 mL fill that’s now at 1.3 mL has been breathing. Look for droplets clinging to the inner walls, which mark evaporation and condensation cycles. Look at each septum for old puncture marks; a 200 µL stability time-point stored behind a pre-punctured septum for eight weeks is a time point you probably can’t reproduce.
If a sample looks low or its septum carries puncture scars, flag it and re-prepare from stock where possible. Where re-preparation isn’t possible, document what you found, because an unexplained low result is worse than a known compromised sample. This matters most for volatile analytes and headspace work: a headspace vial that lost even a few percent of its volume over a shutdown has changed its vapor-liquid balance, and no injection technique will get the original response back.
10. Test Tubing, Refresh Desiccant, and Rotate Your Restock
Two quick mechanical checks close out the walk. Peristaltic pump tubing left compressed in a pump head takes a permanent set, and Masterflex’s own tubing-life data measures time to failure or a drop to 50% flow, with life cut short by heat, speed, pressure, and fluid chemistry. If a tube sat squeezed for two months, advance it or replace it, and roll the pump head release lever open before starting up.
Then check desiccant. Orange indicating silica gel should be orange; beads that have gone green or black are saturated, and you can regenerate them in a shallow tray at about 110 to 120°C until the orange returns. Replace any humidity indicator card showing a pink or brown dot when it should be blue. If your desiccators protected membrane filters or hygroscopic reagents, assume the desiccant spent itself unless you can prove otherwise: a saturated desiccator is worse than none, because it holds moisture against the contents while looking organized.
One last habit: when your replacement order lands, put the new stock behind the old stock. First in, first out sounds obvious, and most labs still get it wrong. If this shutdown taught you that some shelves hold items nobody has touched in a year, that’s your signal to read the signs you need to reorder and fix the rotation while you restock.
Conclusion
A long shutdown is a stress test your consumables take silently. Rubber hardens, blisters pop, buffers grow things, bottles breathe, and nothing announces itself until the first bad run. The good news is that all ten checks above take one afternoon, and every one of them replaces an unpleasant surprise during a sequence with a boring, predictable discard decision at the bench.
If you only fix two things, make them the buffer bottles and the septa. Those two cause the most expensive, hardest-to-trace failures I’ve seen after a closure, from stuck check valves to ghost peaks that cost a week of troubleshooting.
Once the walk-through is done, put the discipline on rails. Our list of checks to run before every important analysis covers the shorter routine that keeps a healthy lab healthy, and our consumable storage guide shows how to shelve things so the next shutdown is a non-event. Labs that store well don’t dread reopening. They just start the pump.
Frequently Asked Questions
How long can mobile phase sit before it goes bad?
Prepared aqueous mobile phase and buffers are the shortest-lived, with microbial growth possible within days on the bench, and most chromatographers replace low-strength buffers every few days and anything that sat through a shutdown immediately. Organic-rich phases last longer, but after weeks idle, I’d discard all of it and prepare fresh.
Do sterile consumables really expire if the packaging looks fine?
Yes. The expiry on the label reflects the manufacturer’s stability data for a sealed pack stored as specified, so an intact wrapper with an expired date is still expired. If the pack is torn or damp, the claim is gone even sooner.
Can I re-sterilize expired sterile vials and tubes in the autoclave?
For heat-tolerant, non-critical items it can be a reasonable option, but the original sterility certificate no longer applies to anything you reprocess yourself. For sterility-critical work like cell culture or micro, most labs start with a fresh certified pack instead.
What causes white powder on stored septa?
That bloom is surface degradation of the rubber, driven by UV light and ozone exposure over time. A bloomed or hardened septum cores and reseals poorly, so the whole opened bag should go.
How do I know if stored samples in vials have evaporated?
Compare the fill level against the original volume, and look for droplets on the inner walls. Check the septum for old puncture marks too. For critical samples, weigh a representative vial before and after 24 hours on the bench; measurable mass loss means the seal is leaking.