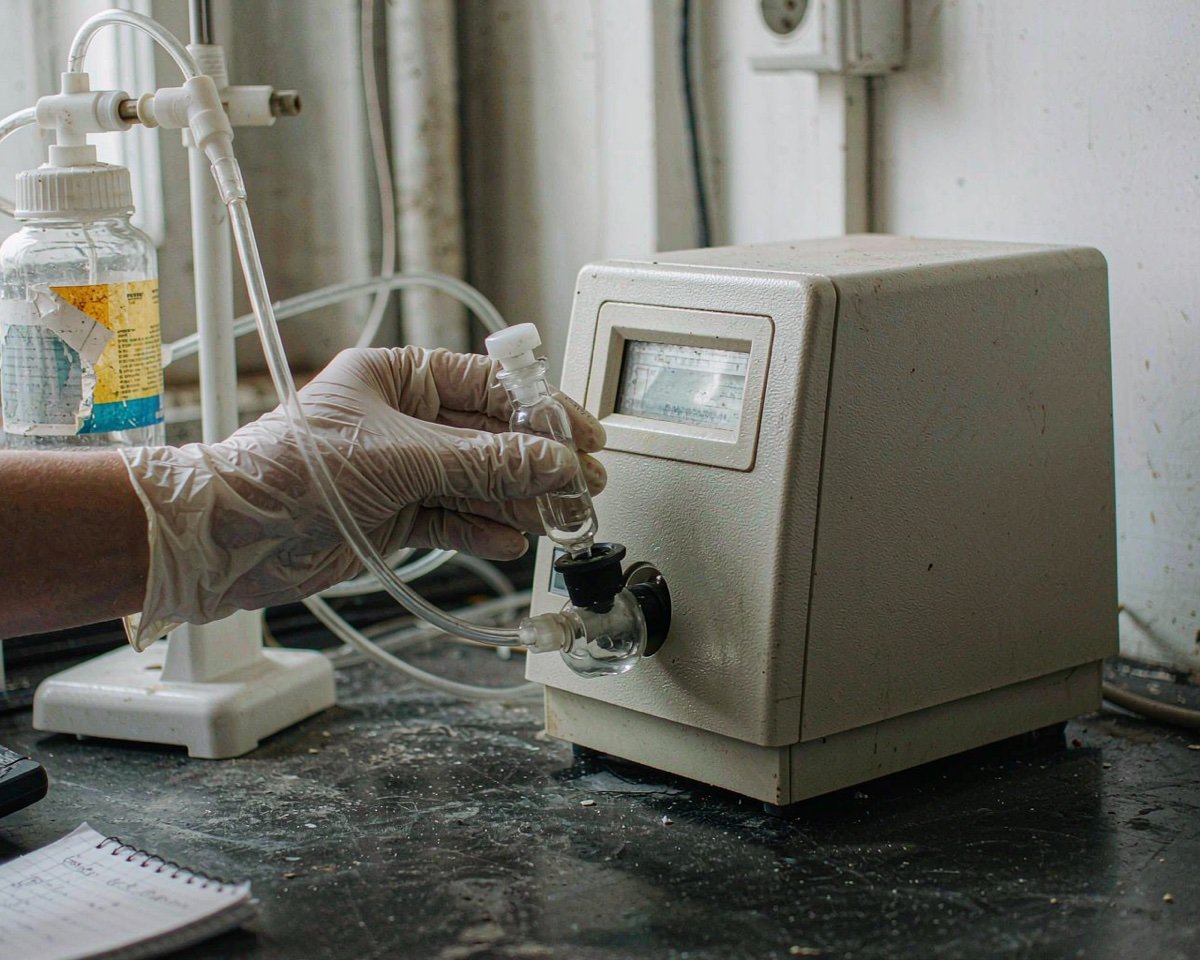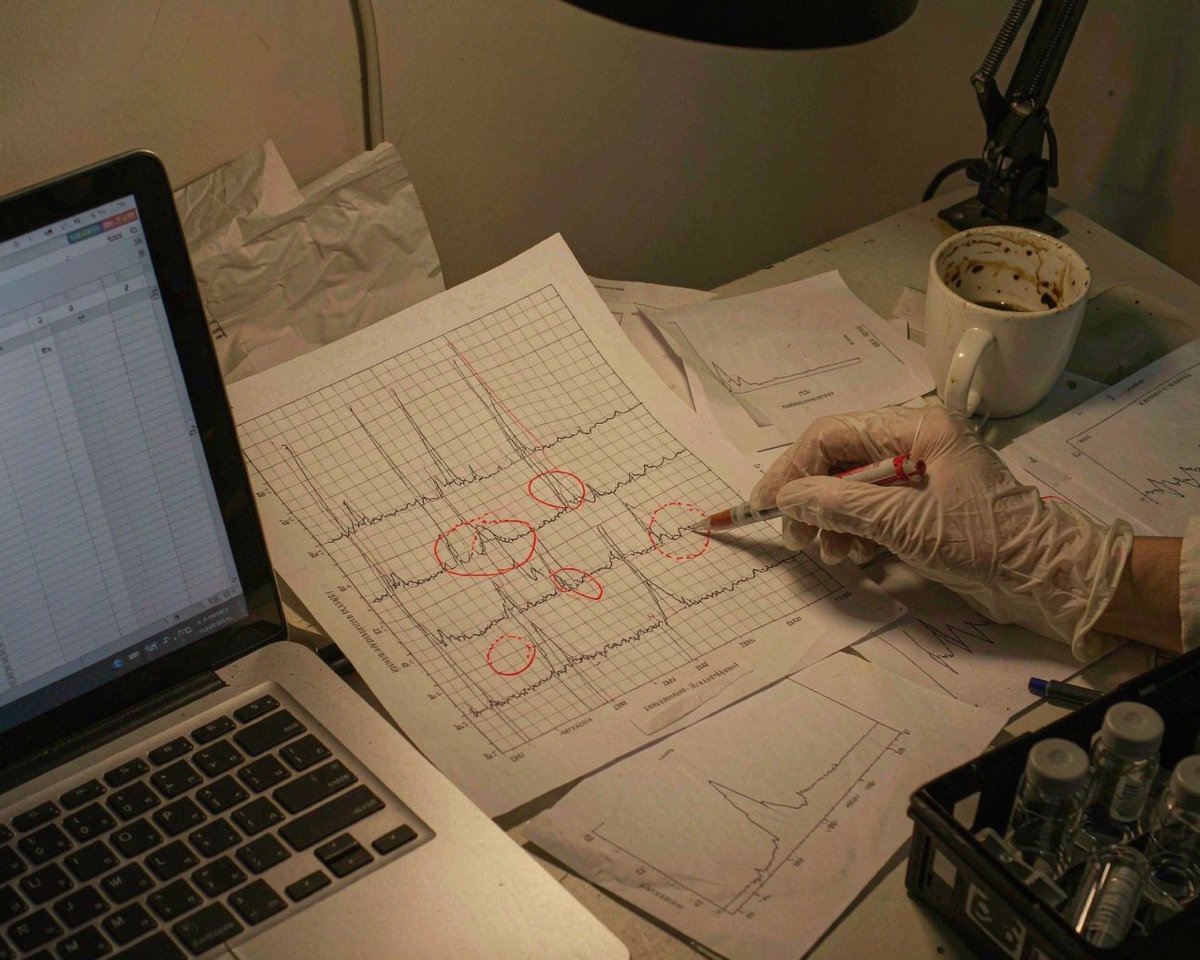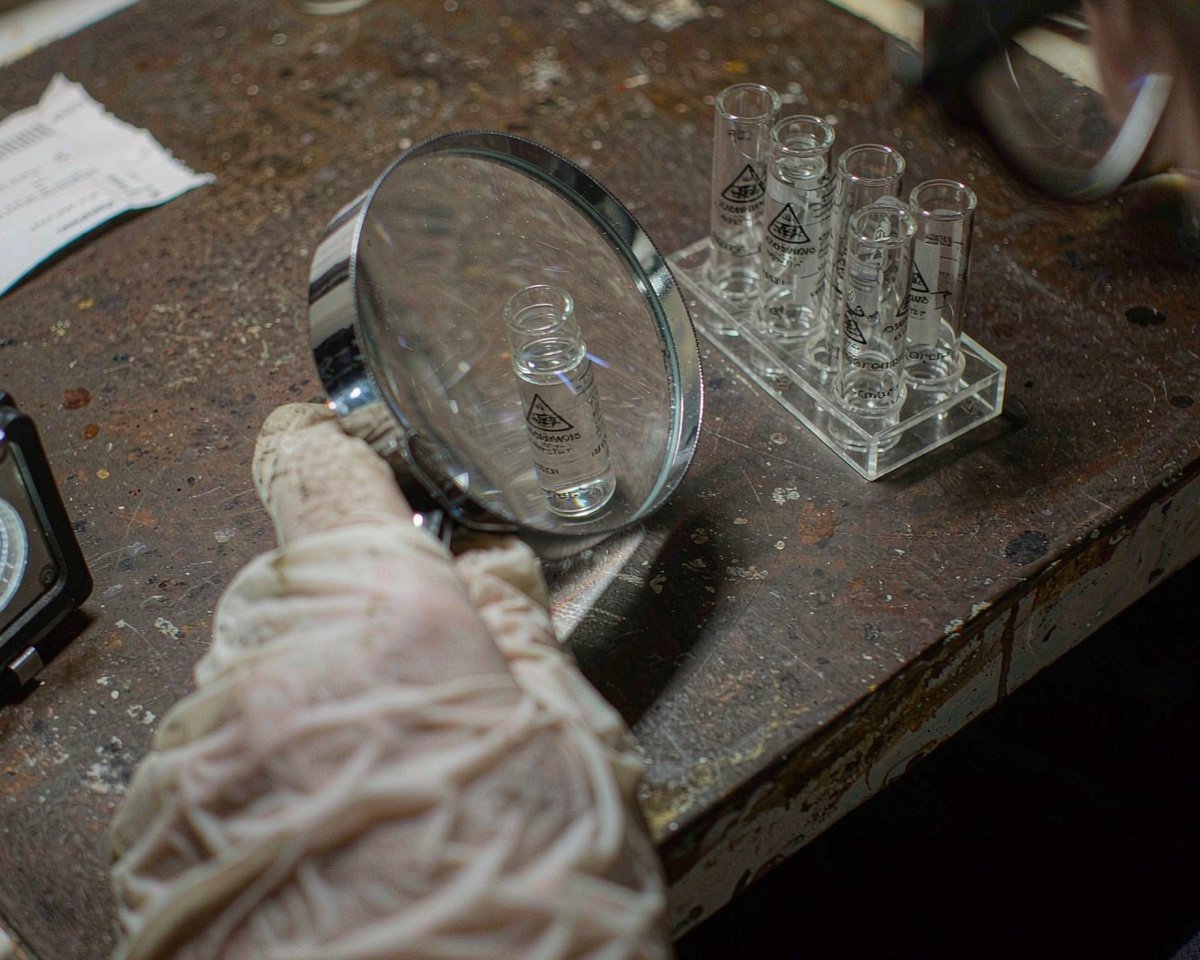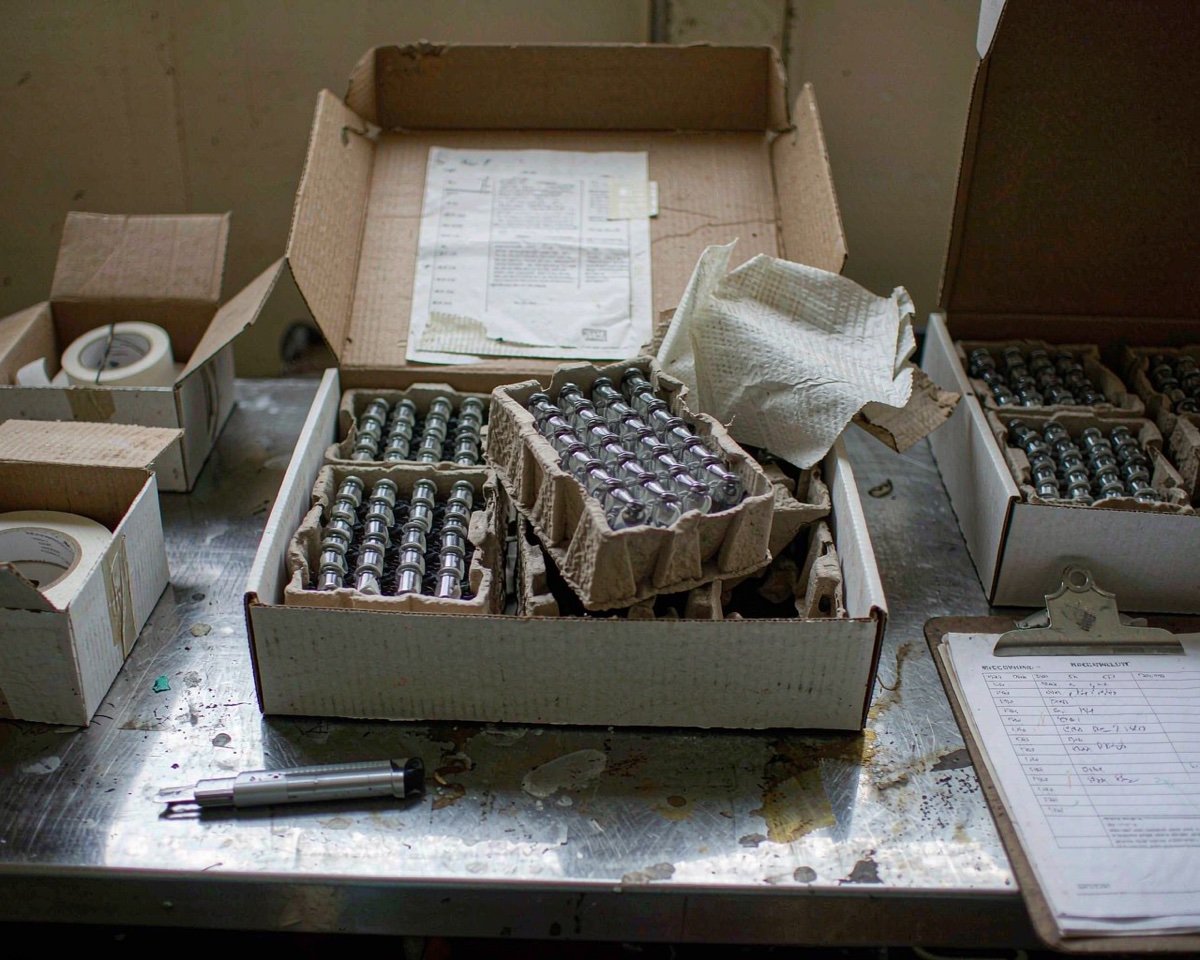

Labs plan experiments for months and plan moves for a weekend. Then moving day comes, a box labeled “misc” arrives with 300 uncapped vials rattling in it, and a postdoc spends her first week at the new site reconciling what survived.
The short answer: move consumables the way you’d move samples: inventory first, purge before you pack, match packaging to fragility, respect temperature limits, and label every box with contents plus destination. Glass vials and bottles get compartment boxes or wrapped dividers, plastics get sealed bags, anything sterile stays sealed until it lands, and cold-chain items ride in validated shippers with data loggers. Consumables are the cheapest thing in the lab and the most annoying to replace mid-experiment, so they deserve a plan rather than a leftover afternoon.
This checklist covers the consumables side of a move, learned partly from a relocation that went fine and partly from one that didn’t.
1. Inventory and Purge Before You Pack Anything
Every credible moving guide says the same first thing. The NIH’s lab move guide recommends starting 6 to 8 weeks out with updated chemical and equipment inventories, and consumables deserve the same treatment: count the vial cases, filter boxes, glove sizes, and reagent bottles you actually have.
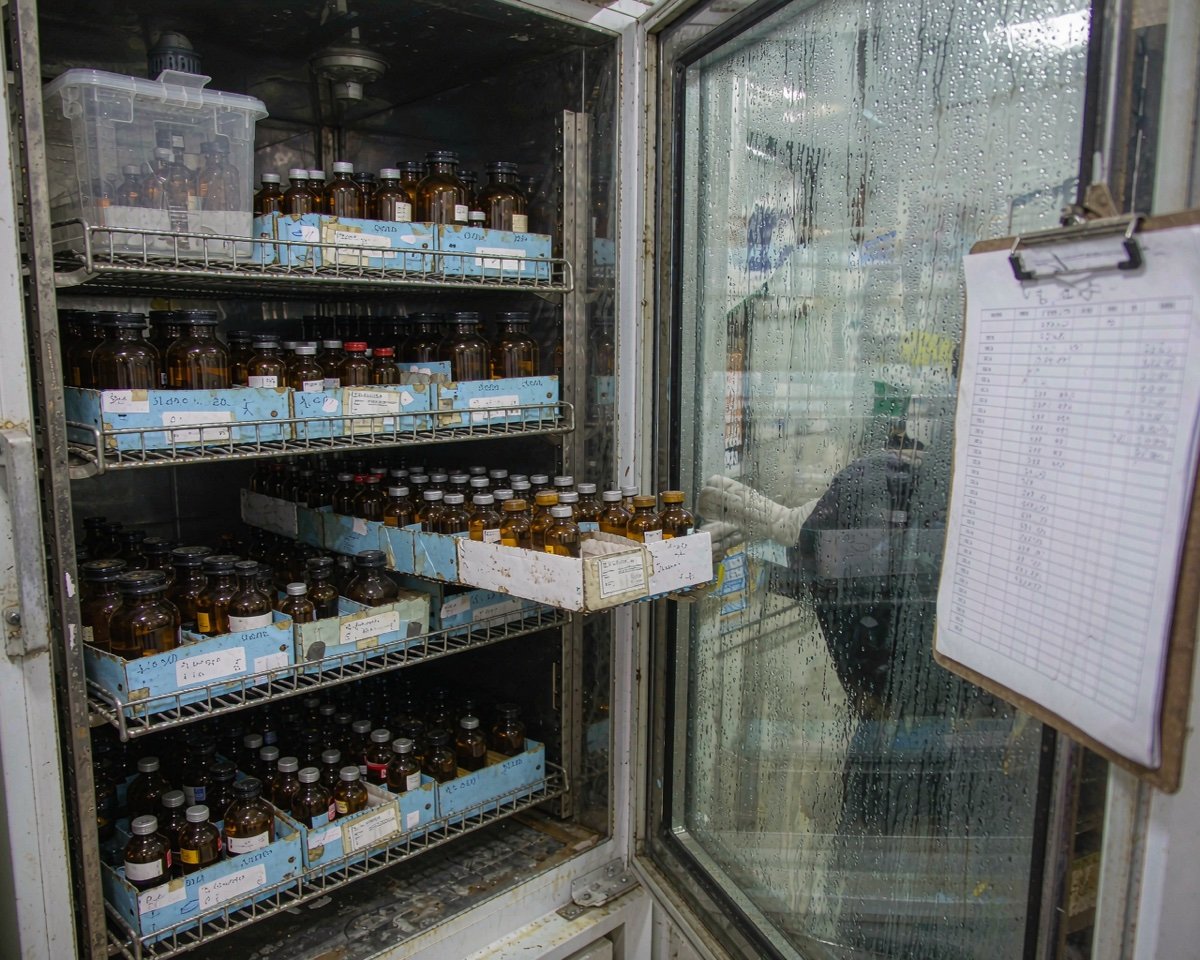
Then subtract. Consumables expire, and a move is the natural moment to throw out the amber bottle with a 2023 date, the box of septa gone brittle at the edges, and the filters someone opened and re-bagged. Moving dead stock costs boxes, labor, and shelf space at the new site. In my last lab move we cut roughly a quarter of our consumable shelf simply by checking dates, and the new stockroom started cleaner than the old one had been in years.
2. Sort by Fragility, Not by Category
The instinct is to pack “all the vials together.” The better instinct is to pack by what breaks and how.
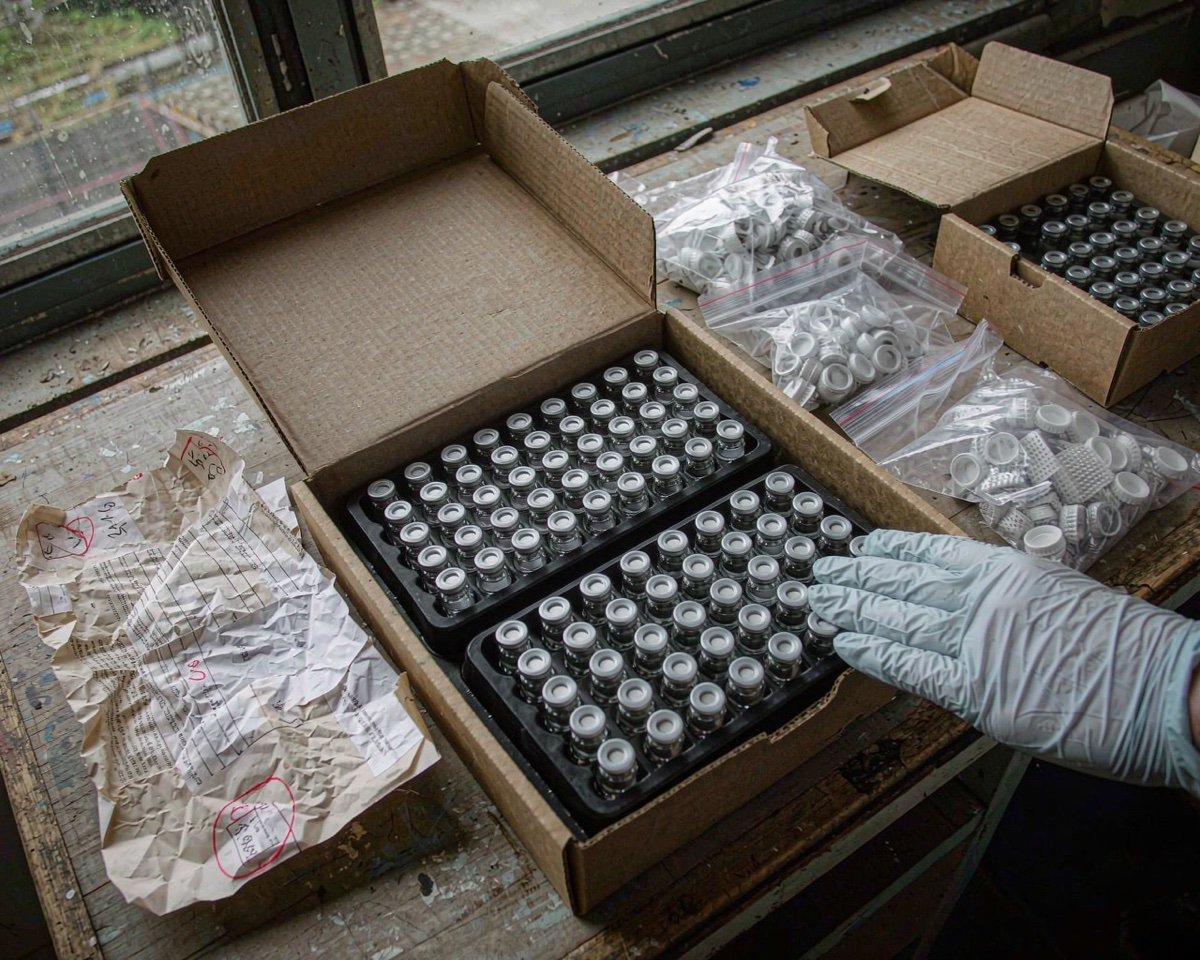
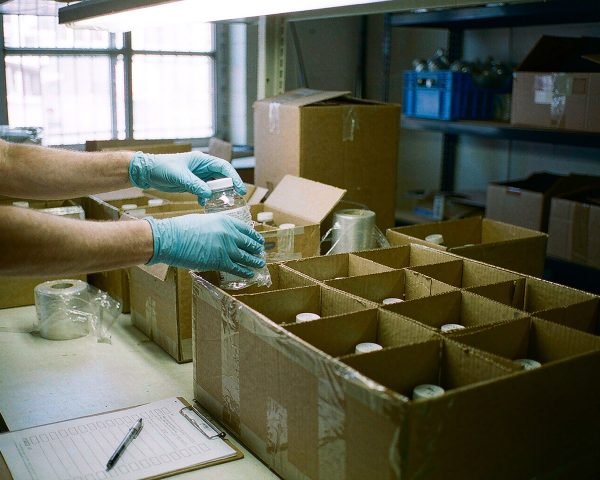
Glass vials and reagent bottles need compartmented boxes or cardboard dividers, individually wrapped if they’re loose, with no glass touching glass. A case of 100 packed 2 mL vials that arrives intact is a small victory; one packed loose in a copier-paper box is a jar of shards. Plastic consumables (tips, tubes, polyvials) travel fine in their original sealed bags inside double-walled boxes. Filters stay in their original packaging, which is also their sterility barrier; opening it early to “save space” throws away the pre-sterilized status you paid for.
Label honestly. A box marked “vials, 2 mL, amber, 9 mm” beats a box marked “lab stuff” in every possible future, including the one where customs or a building manager opens it for inspection.
Number the boxes too, with a running list that maps box number to contents. Box 14 of 40 tells you instantly whether something is missing; “one of the unlabeled ones” tells you nothing at four in the afternoon when the truck is half empty. The numbering habit costs ten minutes on packing day and saves the entire reconciliation week, which is the best time-to-value ratio anywhere in this list.
3. Keep Sterile Consumables Sterile
Sealed sterile stock survives a move well if the packaging survives. The rules are simple: don’t open, don’t crush, don’t let the pallet sit in the rain.
Check the wrapper integrity after the move. Irradiated consumables in intact, sealed packaging carry long sterile shelf lives (gamma-sterilized items in sealed pouches are commonly rated for years), but a torn wrapper or a crushed corner converts sterile stock into clean stock, which is a different product. Anything with compromised packaging gets quarantined and re-designated, not quietly shelved with the rest. If a big share of your sterile stock took hits, what vial and consumable expiry dates actually mean will help you decide what can be salvaged and what gets replaced.
4. Respect the Cold Chain for Sensitive Items
Most consumables are fine at ambient temperature, but the exceptions are exactly the items people forget on the bench: certain enzymes and kits stored with consumables, collagen-coated surfaces, some pre-loaded columns and cartridges with storage buffer requirements, cryostored samples, and anything the manufacturer says to keep at 2 to 8°C.
For those, use validated shippers with enough coolant to outlast the longest plausible delay, plus a data logger in the box. Professional lab movers make temperature-controlled transport a standard service; a relocation safety overview from a specialist mover lists anti-vibration packaging and temperature monitoring as baseline expectations, not add-ons. Plan the receiving end too: the new freezer or fridge must be at temperature and logged in before the truck arrives, not the day after.
One number to write on every cold box: what temperature it must arrive at, and who receives it. A cold box in a loading dock over a weekend has ruined more cell work than any traffic accident.
5. Move Chemicals Under Their Own Rules
Consumable shelves often hold borderline items that legally count as chemicals: buffer concentrates, solvents for HPLC mobile phase, preservatives. These do not ride in the same boxes as pipette tips, and depending on quantity and classification they may not ride in your van at all.
The NIH moving guide dedicates separate chapters to chemicals, biologicals, and radioactive materials for a reason: each has its own packing, labeling, and transport requirements, and movers need the documentation before loading. Segregate, inventory, and hand chemicals to a certified mover or a chemical moving service. The fine for moving regulated chemicals incorrectly is larger than the cost of doing it right, and so is the risk.
6. Decide What Not to Move at All
Not everything on the consumable shelf deserves a box. Opened but partially used sterile packs have lost their guarantee the moment the seal broke, so they either get used up before the move or tossed. Solvent bottles half full of unknown provenance, buffer concentrates with no label beyond a sharpie date, the desiccant that’s been pink since last year: all of it costs more to move and re-verify than to replace.
Waste absolutely does not move. The NIH guide is blunt about this: don’t take waste materials along, don’t move unlabelled chemicals, and clear out the old space before clearance. Half-full waste containers get disposed of through your institution’s normal channels weeks before moving day, not packed next to the pipette tips.
There’s a budget angle too. A move is the cheapest moment to upgrade small things: the rack with three cracked corners, the drawer organizers that never fit, the labeling tape dispenser held together with actual tape. Replace them at the new site rather than paying to ship them. We budgeted a flat 200 dollars for “replace instead of move” on our last relocation and it bought out half the decisions we’d have agonized over otherwise.
7. Pack for the Truck, Not for the Shelf
Boxes get stacked, tilted, and dropped at least once. Assume it.
Double-wall boxes for anything heavy; nothing above 15 kg per box, because the person carrying it matters too. Fill voids so contents can’t shift. Heavier boxes go low on the pallet, glass on top, nothing stacked on glass. Wrap pallets in stretch film and add a “this side up” label that someone actually respects.
Timing matters as much as padding. Plan the sequence so consumables are among the last things loaded and the first things unpacked at the destination. A relocation checklist from Genemod’s lab move guide frames it well: relocations go smoother when the receiving space is ready before the truck leaves, and that includes shelving for consumables so boxes don’t live on the floor for two weeks.
Why last on and first off? Because consumables are what the first day back at the bench actually runs on. Instruments need install and qualification before they produce anything, but the crew unpacking, cleaning, and setting up needs gloves, wipes, labels, and tube racks from hour one. A pallet of consumables buried under six crates of equipment means the reinstallation crew improvises, and improvised means borrowed, and borrowed means missing by Friday. We learned this the slow way; now the “open first” box rides in the cab with the coordinator, stocked with wipes, a box of each glove size in use, markers, labeling tape, and a dozen zip bags.
8. Box the Bench, Not Just the Stockroom
The stockroom gets a plan because it’s visible. The bench and the drawers are where consumables quietly disappear during a move, because everyone assumes “someone” packed them.
Half-used tip boxes, the loose forceps, the three squeeze bottles of 70% ethanol, the box of pH strips living on the windowsill: go drawer by drawer with zip bags and a marker. Bag similar items together, label the bag with the drawer and the contents (“drawer 3, bench B: forceps, spatulas, scalpel handles”), and you’ll reconstruct each workstation in minutes instead of an archaeology session. Drawers get emptied completely; anything left loose inside them becomes shrapnel when the drawer is carried at an angle.
Work in progress is its own category. Vials holding actual samples get treated as samples, not consumables: crimped or capped, inventoried, and moved under the sample transport plan with cold chain where needed. Empty vials waiting for reuse are the ones that go in the compartment boxes. Mixing the two in one box is how a year of stability study time ends up in a shard jar.
9. Reconcile Within the First Week
The move isn’t done when the boxes arrive; it’s done when the inventory says so. Within the first days, check every consumable box against the packing list, note breakage and losses, and update the stockroom records to the new location scheme.
This is also the moment to reorder. A move usually exposes the gaps: the filter size you were nearly out of, the vial thread you keep on hand for one old instrument. Getting the reorder in during week one means the boxes arrive before you’re down to fumes. If your new lab is also a new budget, planning a consumables budget for a startup lab breaks down what to stock deep versus just-in-time.
10. Set Up the New Stockroom Before Habits Form
Whatever organization the old lab drifted into, the new site is a fresh start. Assign fixed locations for vials by thread size, filters by pore size and diameter, gloves by size, and put the high-turnover items nearest the bench. Post the minimum-stock levels where the reorder decisions happen, not in a spreadsheet nobody opens.
A move is the one moment when everyone expects the stockroom to look different, so the resistance to change is near zero. Use it. Our stockroom setup guide walks through the layout and reorder-point logic.
11. A One-Page Consumables Move Timeline
If you take one thing from this list, take the schedule. Here’s the compressed version we ended up taping to the fridge door during our own move:
| When | Consumables task |
|---|---|
| Week 6-5 | Full inventory, purge expired and dead stock, flag cold-chain and chemical-adjacent items |
| Week 4 | Order replacement stock for gaps, confirm mover capabilities for cold chain and fragile glass |
| Week 3 | Assign box numbering scheme, source compartment boxes, dividers, and coolants |
| Week 2 | Pack plastics, filters, and sealed sterile stock; keep sterile packaging unopened |
| Week 1 | Pack glass vials and bottles, bag drawer contents, stage cold-chain shippers for the last 48 hours |
| Move day | Load consumables last, unload first, log cold-box temperatures on arrival |
| Week +1 | Reconcile boxes against the packing list, shelve by the new scheme, place the reorder |
Two details earn their own lines. The fridge or freezer at the destination must be running and logged at temperature before the truck leaves the old site, not that afternoon. And the packing list lives in two places: a paper copy taped inside the first box and a digital copy on a shared drive, because the one item guaranteed to end up in the wrong truck is the list of what’s in the truck.
Conclusion
Moving a lab is a logistics project, and consumables are the part teams consistently underestimate because each item is individually cheap. Inventoried, purged, sorted by fragility, cold-chain-protected where needed, and reconciled in week one, they arrive ready to work; packed in a leftover afternoon, they become the reason the first month at the new site runs at half speed. Give the consumables plan the same seriousness as the instrument and chemical plans, and the move costs days instead of weeks. If samples rather than consumables are your concern on moving day, our guide to shipping lab samples safely covers the cold chain and documentation end to end.
Frequently Asked Questions
How far in advance should I start planning a lab move?
Six to eight weeks minimum for a typical lab, per the NIH’s lab relocation guidance. Consumables work best on this timeline: inventory and purge in the first two weeks, then pack glass and sterile stock in the final week so sealed packaging stays intact as long as possible.
Can I move sterile consumables and still trust them afterward?
Yes, if the packaging is sealed and undamaged. Sterility claims apply to intact, sealed packaging; inspect wrappers on arrival and re-designate anything crushed or torn. Cold-sensitive sterile items should ride in temperature-monitored shippers.
What is the best way to pack glass vials for a move?
Use compartmented boxes or dividers so no glass touches glass, wrap loose items individually, fill voids so nothing shifts, and keep glass boxes on top of the pallet with nothing stacked on them. Label the contents and fragility clearly.
Should consumables be moved by the regular movers or a specialist?
Anything non-hazardous and non-cold-chain can move with a careful general crew using lab-grade packing. Temperature-sensitive, sterile-critical, or chemical-adjacent items belong with movers experienced in laboratory relocation who can provide validated cold chain and documentation.