
# Ceramics Testing Lab Consumables: The Complete Guide
A ceramics lab can survive a slow week with one furnace down. It cannot survive a bad crucible. This guide covers every consumable a ceramics and advanced-materials testing lab burns through, from diamond suspension to saggers, with the purity grades and paperwork that keep your data clean.
Ceramics testing lab consumables are the wear and single-use items behind every test: grinding and polishing abrasives, alumina and platinum crucibles, lab mills and sieves, XRF cups and pellet dies, hardness test blocks, and furnace ware. Purity grade and contamination risk matter more than price.
Below I break the shopping list down by workflow stage, share a few mistakes that cost real money, and finish with a starter checklist you can hand straight to procurement.
What a Ceramics Testing Lab Tests (and What It Consumes)
A ceramics testing lab, whether it sits inside a technical ceramics manufacturer or runs as an independent materials house, works on a short list of instruments. What it consumes, though, is anything but short. The fastest way to plan a consumables budget is to walk the test list first, because each test family drags its own supplies behind it.
Mechanical properties come first. Flexural strength by three- or four-point bend is the workhorse test for structural ceramics, and the governing standard matters for consumables more than most people expect. ASTM C1161, the standard test method for flexural strength of advanced ceramics, prescribes rectangular beams, typically 3 by 4 by 45 to 50 mm, tested on a 40 mm outer span, and it recommends four-point loading for most characterization work. Those beams must be ground, chamfered, and surface-finished before they ever see the fixture, which is where your abrasive budget goes. Compressive strength, Vickers or Knoop hardness with diamond indenters, and fracture toughness fill out the mechanical menu. For equibiaxial flexural data on plates, ISO 17167 covers the ring-on-ring test for monolithic ceramics with grain sizes under 100 µm.
Thermal behavior is the second family. DSC and TGA track heat flow and mass change. Dilatometry watches expansion, softening, and sintering shrinkage. Thermal shock testing, usually a quench into water or oil followed by a strength check, tells you how a part survives a temperature gradient. Each of those runs on high-temperature consumables that a chromatography lab would not recognize.
Composition and microstructure come third. XRF gives elemental composition. XRD identifies crystalline phases. Optical and electron microscopy show you the grain structure you will blame later when strength data scatter. These techniques are gentler on hardware but hungry for sample presentation consumables: cups, films, binders, and holders.
Then there is the powder side, and in ceramics it is not a footnote. Raw ceramic powders get checked for particle size distribution, moisture, and loss on ignition before anyone presses or sinters anything. The prep tools you choose decide which trace elements show up in every downstream analysis.
Four families, four shopping lists. The rest of this guide works through them in the order your samples flow: grinding and polishing, powder prep, crucibles, thermal analysis, XRF and XRD, mechanical testing, furnace support, and the buying logic that holds it together.
Grinding and Polishing: The Volume Consumables
Nothing in a ceramics lab disappears faster than abrasive paper.
Mechanical test specimens live or die on surface finish. Ceramics are flaw-sensitive: a scratch that would be cosmetic on a metal coupon can measurably drop the strength of an alumina bend bar, because fracture starts at the largest surface flaw. ASTM C1161 treats specimen preparation as part of the method itself, with preparation options ranging from application-matched machining down to a fully specified standard procedure. Whatever option your lab picks, it consumes abrasives on a schedule.
A typical prep sequence for alumina or zirconia bend bars runs through silicon carbide papers from roughly 120 grit up to 600 or 1200 grit, then diamond suspension on a polishing cloth, often 6 µm followed by 1 µm. Edges get chamfered per the standard, and chamfering by hand on abrasive paper is slow, repetitive work that eats sheets.
The standing order list for this bench:
• SiC abrasive papers across the grit range, by the hundreds of sheets
• diamond suspension and diamond paste in 6, 3, and 1 µm grades
• polishing cloths and pads for rigid and flexible platens
• lapping plates and abrasive slurry for flattening
• lubricant and coolant for the grinder-polisher
Two buying notes from experience. Buy diamond suspension in small bottles even when the price per milliliter looks worse, because the dispersion settles and a half-used big bottle is a gamble. And track grit consumption by test type, not by month: bend bar batches burn 600 grit in bursts, and a stock-out mid-batch is the kind of delay nobody budgets for.
One more consumable hides in plain sight: cleaning. Rinse bottles, lint-free wipes, and ultrasonic cleaning solution keep abrasive carry-over from one grit stage into the next. Carry-over scratches are invisible until the fracture surface tells on you.
The choice between papers and loose abrasive depends on the job. Paper on a rotating platen is the standard setup for bend bars. Loose diamond slurry on a lapping plate earns its keep when you need absolute flatness, for example on dilatometer specimens or ring-on-ring plates, and it consumes the plate and the slurry in roughly equal measure. Keep both set up if bench space allows; the wrong prep path wastes more sample material than it saves.
A pile of used 600-grit at the bench after a forty-bar day tells the whole story about this category.
Powder Preparation: Mortars, Pestles, and Lab Mills
If your lab receives raw powders, size reduction comes before any meaningful test.
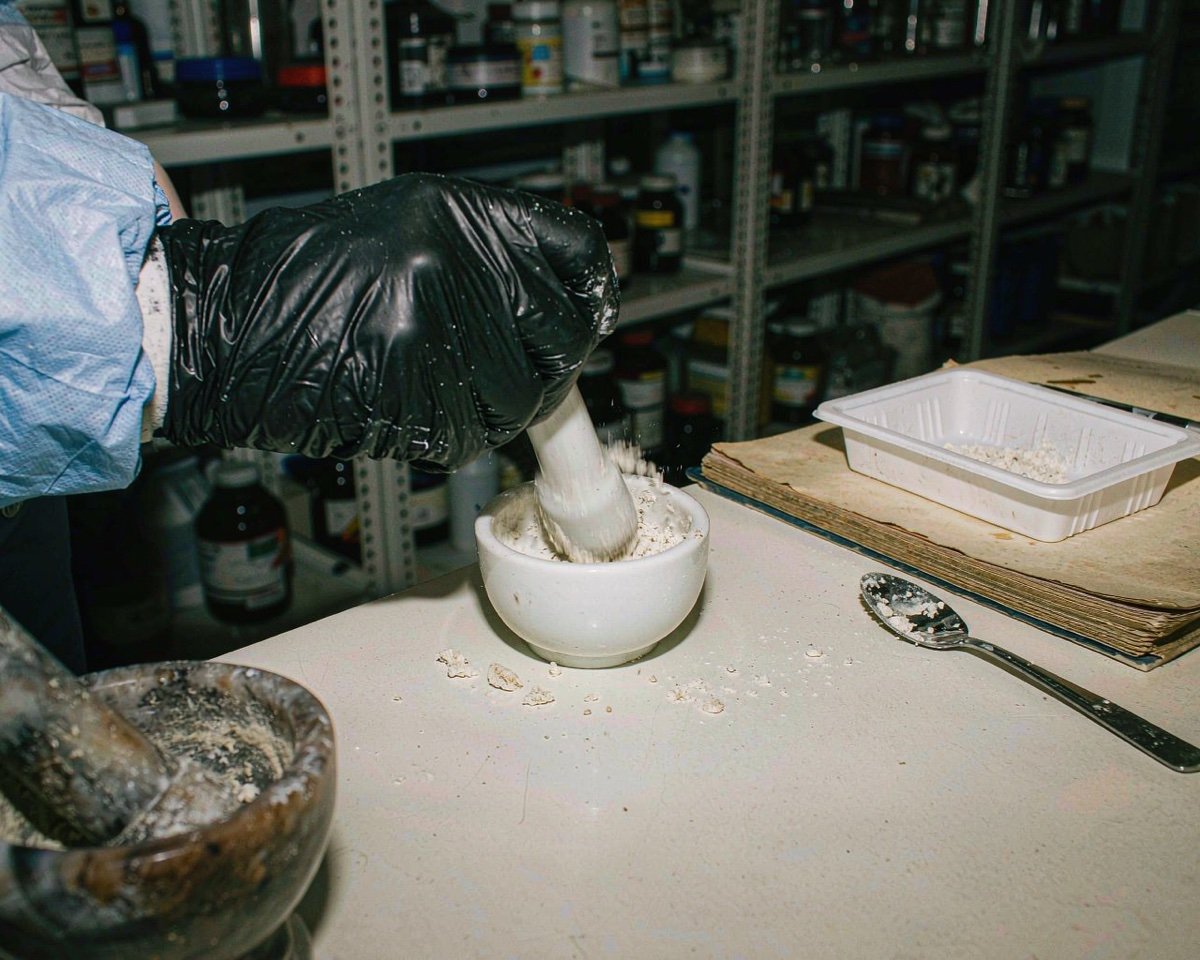
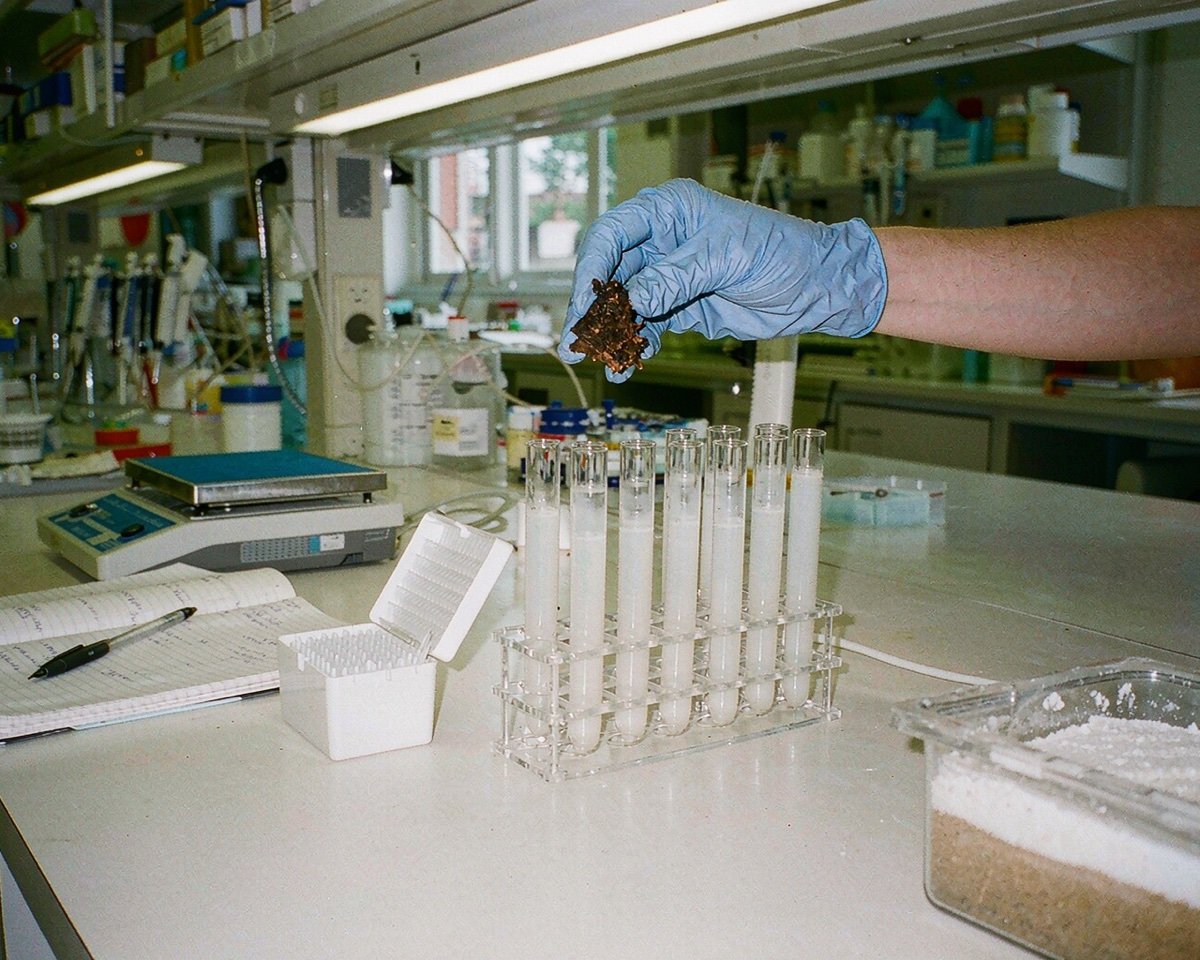
The agate mortar and pestle is still the first tool most labs reach for. It is cheap, easy to clean, gentle on the sample, and honest about what it sheds: mostly silicon with trace minerals. For sub-gram quantities and quick checks, nothing beats it.
For anything bigger, you move to lab mills. Vibratory shaker mills with agate or zirconia grinding sets handle analytical quantities. Planetary ball mills take larger batches. Disc mills and jaw crushers handle coarse reduction when the incoming material arrives chunky. Every one of these is a consumables platform: grinding sets, bowls, media, and the wear parts that contact the sample.
The trap is media contamination. Whatever the mill is made of ends up in your powder at trace levels. Agate adds silicon and minor elements. Zirconia media contributes zirconium and a little yttrium. Tungsten carbide vessels are fast and hard, but they put tungsten and cobalt into the sample, which matters enormously if that powder later goes to XRF or ICP.
I learned this one the expensive way. We prepped a talc sample in a borrowed carbide mill, and the XRF operator spent half a day chasing a phantom tungsten signal before someone remembered where the powder had been. The sample was fine. The report nearly was not.
My default, for what it is worth: agate sets for analytical samples, zirconia for production QC where the trace budget is looser, and never a carbide mill on anything destined for elemental analysis. If you must share a mill between chemistries, dedicate the vessels the same way you dedicate crucibles.
Around the mill, stock:
• test sieves and a sieve shaker for cut points
• a riffle splitter or rotary divider for representative sampling
• wide-mouth jars and powder bottles for storage
• anti-static spatulas and brushes, because ceramic powders cling
• moisture analyzer pans and LOI crucibles if you test incoming powder
That last pair connects the powder bench to the thermal bench, which brings us to the consumables with the highest stakes in the building.
Crucibles: The Highest-Stakes Consumable You Will Buy
If I could control one purchasing decision in a ceramics lab, it would be crucibles. They sit directly in the sample path at temperature, they fail in expensive ways, and they are cheap enough that buyers sometimes treat them as a commodity. They are not.
Alumina is the default material, and purity grade is the first spec to nail down. Pure alumina melts around 2015 °C, and commercial labware grades run from roughly 86% up to 99.9%, with density, thermal conductivity, and strength all climbing as purity rises (AZoM’s alumina property tables lay out the grade-by-grade differences). For routine ashing and ignition between 1000 and 1200 °C, a 99.7% crucible is the sensible default. For anything feeding elemental analysis, 99.7% or better should be written into the purchase order, not just the conversation.
Contamination runs both directions, and this is the part that surprises newer buyers. A lower-purity crucible can donate aluminum, silica, and alkali traces into your sample at temperature, which is a real problem when the same sample gets analyzed later by XRF or ICP. Vendors have responded to exactly this concern: Thermo Fisher manufactures its oxide ceramic labware from pure metal oxides without silicate admixtures, with high-purity alumina among the materials offered for high-temperature analytical work. The reverse problem matters too. Platinum crucibles are famously inert, but platinum has known enemies in the ceramics lab, most famously silica-bearing melts and molten base-metal oxides at temperature. One bad flux run and a Pt crucible is scrap, and platinum pricing makes that a lesson you only pay for once.
Thermal shock kills more crucibles than chemistry does. High-purity alumina is strong but brittle, and its thermal expansion sits around 8 x 10⁻⁶ per kelvin across the 20 to 1000 °C range. Slow ramps and slow cooling are the rule, especially for cold labware straight from the cabinet.
I once watched a new tech ramp a fresh alumina crucible from room temperature to 1200 °C in under an hour. It split with a crack you could hear across the lab, and the sample inside was gone. Nobody blamed the tech; the SOP had no ramp rate. It does now: 150 °C per hour or slower for cold crucibles, longer for thick-walled ones.
For TGA work, crucibles get small and material choice gets tactical. Typical TGA crucibles hold tens to a few hundred microliters and come in alumina, platinum, zirconia, and glassy carbon. Glassy carbon is worth knowing about for high-temperature DTA/TGA work when you want something inert that costs less than platinum; it belongs to the same high-temperature labware family as the oxide ceramics, a detail most catalogs bury.
Crucible shapes matter as much as material. Deep-wall crucibles suit ashing, shallow dishes suit loss-on-ignition work, and tall forms suit melts. Lids either come with the crucible or they do not; buy them matched, because a loose lid on a TGA run vents the volatiles you may be trying to capture. Keep a crucible cleaning routine too: dedicated acids, a dedicated furnace for burnout, and physical separation by chemistry. A crucible that has seen a sodium flux will quietly season everything you run in it afterward.
Retirement rules should be written down too. My rule of thumb: a crucible gets a dedicated chemistry and an inspection after every run, with immediate retirement on any crack or stubborn glaze that cleaning does not remove. It feels wasteful right up until the run that proves the point.
Thermal Analysis Consumables: DSC, TGA, and Dilatometry
Thermal analysis hides a surprising consumables appetite behind an expensive instrument.
DSC on ceramics usually runs hotter than polymer work, so aluminum pans give way to alumina and platinum pans and crucibles. TGA wants its own small crucibles, often with pierced lids so volatiles escape toward the gas analyzer rather than pooling under the lid. If your thermal suite is shared with polymer groups, keep a separate stock for the hot side. A polymer lab’s aluminum pans are useless at 1400 °C, and a ceramics lab’s alumina pans are overkill and slow to equilibrate at 200 °C.
Atmosphere gases count as consumables too. Corrosive gas TGA work, for example chlorine-bearing atmospheres on some oxide systems, needs corrosion-resistant gas path accessories and an aggressive replacement schedule for anything metal the gas touches.
Calibration materials belong on the reorder list too. DSC temperature calibration uses certified metal standards, indium and zinc among them, and each calibration consumes the material. TGA balances get checked with reference weights. These are small line items until they are out of stock and the quarterly calibration is due.
Dilatometry deserves special attention for ceramics because it is the technique that watches sintering happen. NETZSCH describes dilatometry as the method of choice for dimensional change in ceramics, glasses, and refractories, built on standards including ASTM E228 and DIN 51045. The consumable story here is the sample holder system: fused silica holders for lower temperature runs, alumina for mid-range, graphite for furnaces running toward 2000 °C and beyond. Pushrod tips, baseline specimens, and calibration references cycle through as well. Specimens are small, commonly around 25 mm long and 6 mm in diameter, so a bar that breaks during grinding costs you more than abrasive.
Thermal shock testing, if you run it, adds its own list: quench baths, the water or oil medium, specimen tongs, and plenty of bend bars, since the test measures strength retained after thermal cycling.
There is a fuller walkthrough in our guide to DSC and TGA consumables, including pan material selection by temperature range.
XRF and XRD Sample Prep: Cups, Pellets, and Fusion
Composition analysis is where sample prep discipline shows up most clearly in the numbers.
XRF labs have three presentation routes for ceramic materials: loose powder in a cup, pressed pellets, and fused beads. Loose powder cups are the fast path, single-use cups commonly 32 or 40 mm in diameter and closed with a support film. Pressed pellets beat loose powders on accuracy and reproducibility, with lower detection limits because there is no film absorbing the signal, and mineral-rich samples usually need a cellulose or wax binder to survive handling (Malvern Panalytical’s XRF sample preparation guide covers the crush, grind, press, and fusion workflow in detail).
Film choice matters more than the price tag suggests. A cheap Mylar film can absorb the signal from light elements before it ever reaches the detector, and hot or acidic samples push you toward tougher films. Whatever you pick, it is single-use and it lands on the reorder list by the box.
Fusion is the accuracy play. You dissolve the sample in molten lithium borate flux at high temperature and cast a homogeneous bead, which erases particle size and mineralogy effects almost completely. The consumables are the flux itself, Pt-Au (95/5) crucibles and casting molds, and the non-wetting agents some recipes call for. Fusion crucibles are expensive, so labs guard them like small instruments and clean them on a strict schedule.
So the XRF consumables shelf, in practice:
• sample cups and support films, matched to your spectrometer
• binders: cellulose, wax, or boric acid by application
• pellet dies and press accessories
• lithium metaborate and tetraborate flux
• Pt-Au crucibles and casting molds
• agate or zirconia ring mill vessels dedicated to XRF grinding
That last line deserves emphasis. The grinding vessel you use to prepare an XRF sample decides which elements you can trust in the result, which is why serious XRF labs keep dedicated, contamination-matched grinding sets.
XRD runs a quieter list: low-background silicon holders for powder work, zero-background mounts for small quantities, sample putty or adhesive for irregular fragments, and deionized water or ethanol for cleaning holders between runs. None of it is costly until the diffractometer sits idle because every low-background holder is contaminated.
We have a dedicated guide to XRF sample preparation consumables if you want the film chemistry and cup sizing decisions spelled out.
Mechanical Testing Consumables Beyond Grinding
The flexure frame and the hardness tester look like capital equipment. They still eat consumables.
For bend testing, fixtures are semi-durable, but loading rollers wear and ceramic specimens that fail explosively can nick them. Keep spare roller sets and check span dimensions periodically, because a worn roller changes the stress calculation you are charging clients for.
Hardness testing is the biggest consumables consumer on this side of the lab. Vickers and Knoop indenters are diamond, and diamond chips. A chipped indenter quietly shifts every hardness number you report until somebody catches it. Certified test blocks exist for exactly this reason: you verify the machine against a block at the start of the testing day and whenever the indenter, anvil, or test force changes. A block supports a finite number of valid indentations, and once the grid is used up it retires whether or not it looks worn.
The hardness bench stock list:
• Vickers and Knoop diamond indenters, with a dated spare
• certified test blocks matched to your hardness ranges
• mounting resin and cups for small or odd-shaped parts
• the abrasive and polishing consumables from earlier, reused for metallographic prep
Fracture toughness work adds diamond saw blades for notch cutting, chevron notch tooling, and precrack supplies. Wear testing, if the lab runs ball-on-disc or similar, consumes counterbody balls by the bag. Chemical durability testing consumes its own vessels, reagents, and seals. Ceramics labs spread wider than most people expect, and each technique brings a consumable tail.
For a deeper dive on the hardness side, our guide to hardness testing consumables covers indenters, test blocks, and verification records in detail.
Furnace Consumables and Sintering Support
Labs that sinter their own samples, and many ceramics labs do, carry a second consumables budget hidden in the furnace room.
Saggers and setter plates protect parts during firing. Cordierite and mullite saggers handle general work. Silicon carbide plates take heavier loads, and alumina setters go where purity matters. They crack, they glaze themselves with stray flux, and they get replaced on a schedule that only makes sense to whoever runs the furnace. Setting plates with kiln wash or a barrier coating extends their life and keeps parts from sticking.
Fiber board and refractory blankets round out the list. They line repair spots, plug tube ends, and insulate temporary fixtures, and they shed fibers that end up everywhere unless you cut them on a dedicated bench with a mask on. Cheap consumable, messy habit, worth containing.
Heating elements and thermocouples are consumables wearing capital prices. Silicon carbide elements age in service: their resistance climbs run after run until the controller runs out of headroom and the furnace cannot reach setpoint. Platinum-rhodium thermocouples, Type S and Type B among them, drift at 1500 °C and need periodic replacement and calibration. Alumina furnace tubes crack on thermal shock for the same reasons crucibles do. Keep one spare of each on the shelf; a furnace down for a thermocouple is worse than a furnace down for a holiday, because the replacement has a lead time.
Small furnace-room items that always run out: high-temperature gloves, tongs with insulated tips, kiln wash, alumina cement for repairs, and heat-resistant marking crayons that survive firing. Every one of them is a two-dollar item that can stop a six-figure instrument.
Buying and QA Considerations for Ceramics Consumables
Purity grades are the first spec to pin down. Alumina labware grades differ meaningfully across the 86 to 99.9% range in density, conductivity, and strength, so know what you are buying before price comparisons start. For crucibles feeding elemental analysis, put the purity number in the purchase order and require a certificate with the lot.
Certificates matter more in this category than in most. A certificate of analysis or purity statement on crucibles, films, and binders costs the supplier little and gives you a defense when a contamination investigation points at your bench. File them with the lot number attached, and make the file part of the inventory rather than an afterthought.
Dedicate consumables by chemistry. A crucible that has seen a sodium flux will season every future run at temperature. Grinding vessels follow the same rule. Physically separate them, label them, and retire them on suspicion rather than on schedule.
Watch lot drift. Vendors change mines, presses, and binders without ceremony. Incoming inspection on critical lots, even a quick XRF scan of a pressed blank or a visual check of crucible surfaces, catches the drift before your data does.
Shelf life applies in this category as well. Diamond suspension settles and binder powders cake in humid storage. Rubber-based mounting resins age too. Date everything when it arrives, rotate stock oldest first, and hold off on a year’s supply of anything water-based.
Price logic here is different from chromatography consumables. The crucible that costs twice as much but sheds no contaminants into your XRF sample is the cheap one. The same reasoning applies across a materials lab: if you also run polymer characterization, you will see the identical pattern in melt flow index testing, where die condition and barrel cleanliness decide the number on the certificate.
One more buying rule: match consumable specs to the test standard, not to the catalog. If ASTM C1161 or ISO 17167 governs your mechanical data, the consumable decisions that touch specimen prep inherit those requirements. Auditors and customers both read it that way.
A Starter Checklist for a Ceramics Testing Lab
For a new lab, or an established lab adding ceramics capability, here is the starter list I would hand to procurement:
• SiC abrasive papers, 120 through 1200 grit, plus diamond suspension at 6, 3, and 1 µm
• polishing cloths, pads, and grinder lubricant
• agate mortar and pestle, plus agate or zirconia lab mill sets
• test sieves, a sieve shaker, and a sample splitter
• alumina crucibles at 99.7% or better, in three sizes, with matched lids
• one small platinum crucible for the runs that demand it
• TGA and DSC crucibles in alumina, matched to your analyzer model
• dilatometer sample holders in fused silica and alumina
• XRF sample cups, support films, binders, and a pellet die
• low-background silicon holders for XRD
• certified hardness test blocks and a spare diamond indenter
• a spare furnace thermocouple, high-temp gloves, tongs, and kiln wash
• a file folder for every certificate that ships with the above
That last line is not a joke. In this field, the paperwork is part of the inventory.
Conclusion
Ceramics testing labs look rugged from the outside: furnaces, presses, heavy fixtures, materials that laugh at solvents. The day-to-day reality is built on consumables that are easy to underspecify and hard to troubleshoot after the fact. Get the crucible purity right, match the grinding sequence to the test standard, guard the XRF prep against cross-contamination, and verify the hardness bench against certified blocks, and most of the mysterious data problems in this field never happen. Start with the checklist above, adapt it to your instrument list, and go deeper where your workload is heaviest: our guides to hardness testing consumables and XRF sample preparation consumables are the natural next reads.
Frequently Asked Questions
What crucible should I use for TGA on ceramic powders?
Alumina is the sensible default up to roughly 1500 °C in air. Move to platinum if your sample reacts with alumina or you need higher temperatures, and to glassy carbon when cost rules platinum out. Match the crucible to the atmosphere as well as the temperature.
Why is my flexural strength data so scattered?
Surface finish and edge condition are the usual suspects. Ceramics fail from flaws, so a coarse grind or a missing chamfer lowers and widens the strength distribution. Follow the specimen preparation options in ASTM C1161 and grind every bar in the batch the same way.
Can I press XRF pellets without a binder?
Sometimes. Organic-rich samples press fine on their own, but mineral-rich ceramic powders usually need a cellulose or wax binder to survive handling. Pressed pellets beat loose powder cups on accuracy and detection limits either way.
How pure does alumina labware need to be?
For routine ignition work, 99.7% is the standard grade. For crucibles feeding elemental analysis or trace-level work, stay at 99.7% or higher and require a purity statement on the certificate, because lower grades carry more silica and alkali impurities that can transfer to your sample.
How often should I replace a hardness test block?
A test block supports a finite number of valid indentations. Retire it when the marked grid is used up, and replace indenters whenever daily verification starts drifting even after cleaning.