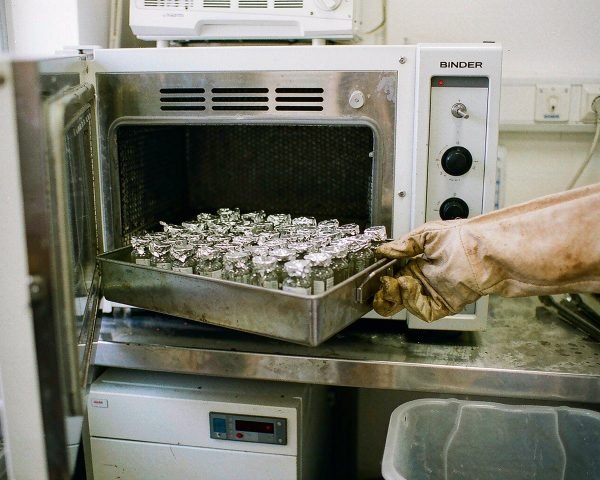

Someone on my team once spent three weeks chasing a phantom endotoxin spike in a formulation study. The media was clean, the water was WFI, the technique was solid. The culprit turned out to be a tray of “sterile” vials straight from the autoclave. Sterile, yes. Pyrogen-free, no. If you’ve ever wondered why an autoclaved vial can still fail an LAL test, this one’s for you.
The Short Answer
Depyrogenation is the destruction or inactivation of bacterial endotoxin by dry heat. The reference cycle is 250 °C for at least 30 minutes in a validated oven. Autoclaving kills bacteria, but it does not remove pyrogens.
That gap between “sterile” and “pyrogen-free” is where a lot of good work quietly goes wrong, so let’s walk through what’s actually happening and how to handle it at a normal bench, not a pharma filling line.
Pyrogens vs. Sterility: Why the Autoclave Doesn’t Help
Pyrogens are substances that cause a fever when they enter the bloodstream. The one that matters most in a lab is bacterial endotoxin, a heat-stable lipopolysaccharide (LPS) from the outer membrane of Gram-negative bacteria. Even after the bacteria themselves are dead, fragments of that outer membrane can stick around on glassware and trigger the immune response anyway.
Here’s the uncomfortable part: standard steam sterilization runs at 121 °C, and endotoxin shrugs that off. Research on dry-heat destruction shows endotoxin needs far more thermal abuse than spores do before its pyrogenic activity collapses. That’s why an autoclaved vial can pass a sterility check and still light up a Limulus Amebocyte Lysate (LAL) test, the standard assay that detects endotoxin at concentrations down to fractions of an EU/mL. We’ve covered what endotoxin is and which consumables need low-endotoxin claims in another article, so I’ll just say this: if your work involves cell culture, injectables, or anything that touches blood, sterility is only half the story.
The Standard Dry-Heat Cycle
The textbook reference cycle comes from USP <1211>, Sterility Assurance: expose glassware to 250 °C for at least 30 minutes to achieve a 3-log reduction in endotoxin. You can browse the USP general chapters at USP’s official site to see how they frame depyrogenation alongside sterilization. The 3-log target isn’t arbitrary. A classic kinetics study by Nakata measured destruction of E. coli O55:B5 endotoxin in a dry-heat oven and found that at 250 °C for 30 minutes, the reduction quickly reached 3 log cycles with no residual pyrogenicity, while milder conditions left activity behind. You can read the abstract yourself on PubMed.
A few practical wrinkles:
- The clock starts when the load reaches temperature, not when you press start. An oven crammed with foil-wrapped beakers can take 30-plus minutes just to get there.
- 250 °C for 30 minutes is the classic cycle, and yes, your oven’s actual wall temperature lags the display. A cheap benchtop oven with a single top element can have hot spots and dead zones that swing 20 to 30 degrees.
- Pharmaceutical depyrogenation tunnels run hotter and faster, often 300 °C or more with exposure times under a few minutes, because they’re validated continuously with conveyor speed. You don’t have that machinery, which is exactly why the longer static cycle exists for bench work.
One more thing worth knowing: FDA’s aseptic processing guidance treats depyrogenation of glass containers as part of the overall contamination control strategy for sterile products, not an optional polish. The same logic applies to your bench. Read the section on glassware in FDA’s aseptic processing guidance and you’ll see depyrogenation named explicitly.
What You Can (and Can’t) Depyrogenate at the Bench
Dry heat is brutal. That’s the point. So the compatibility list is short.
Safe to cycle:
- Type 1 borosilicate glass vials and general glassware
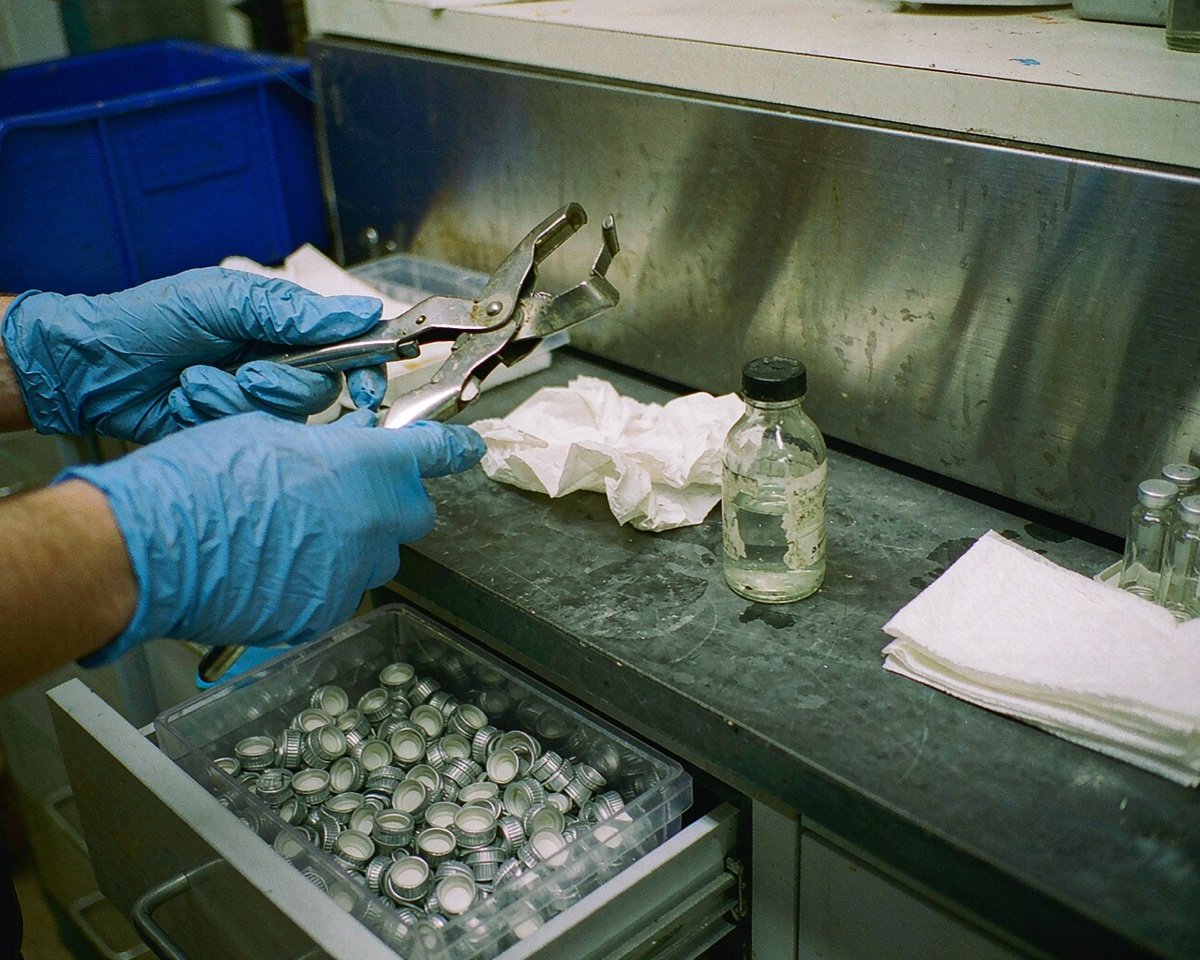
- Aluminum foil caps and crimped aluminum seals
- Stainless steel tongs, forceps, and trays
Off the list entirely:
- Anything plastic. Polypropylene vials and tubes soften well below 250 °C and will come out looking like modern art.
- Rubber and silicone septa. They degrade, shed particles, and shed extractables into your next run.
- Membrane filters, syringe filter housings, and most cap liners. If you need depyrogenated filters, buy them that way; manufacturers achieve it with validated processes, not ovens you’d trust with a Monday morning.
If you’re unsure whether a consumable survives an autoclave, it definitely won’t survive a depyrogenation oven. Our guide on whether you can autoclave HPLC vials and septa is a decent proxy for oven tolerance too.
A Bench Workflow That Actually Holds Up
This is the routine I’ve settled on after enough failed LAL screens to develop opinions.
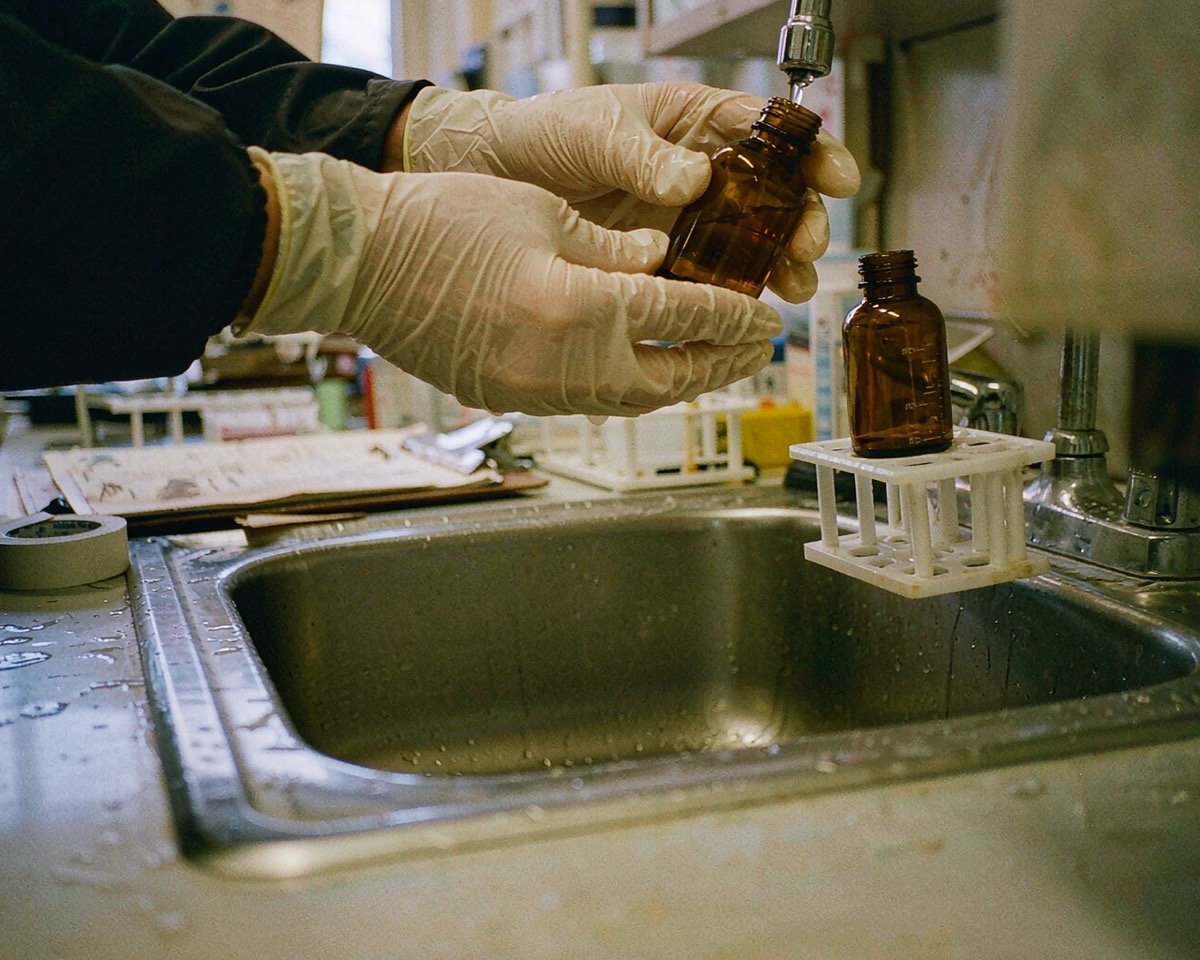
- Wash thoroughly. Detergent wash, then three rinses with purified or distilled water, then a final rinse with water for injection or LAL reagent grade water if you have it. Residual detergent itself can interfere with LAL tests, so don’t skip the rinses.
- Dry completely. Water in the oven cycle wastes energy and can leave mineral spotting, which gives endotoxin more surface to cling to.
- Foil-cap everything. Loose aluminum foil over each opening. After the cycle, the foil is what keeps dust and airborne endotoxin off the glass, so crimp it down snugly.
- Run the cycle. 250 °C, 30-minute hold after the load equilibrates. Let the oven come fully to temperature with the load inside before you start counting. I put a thermocouple probe inside a sacrificial dummy vial in the center of the tray, because the display lies and the probe doesn’t.
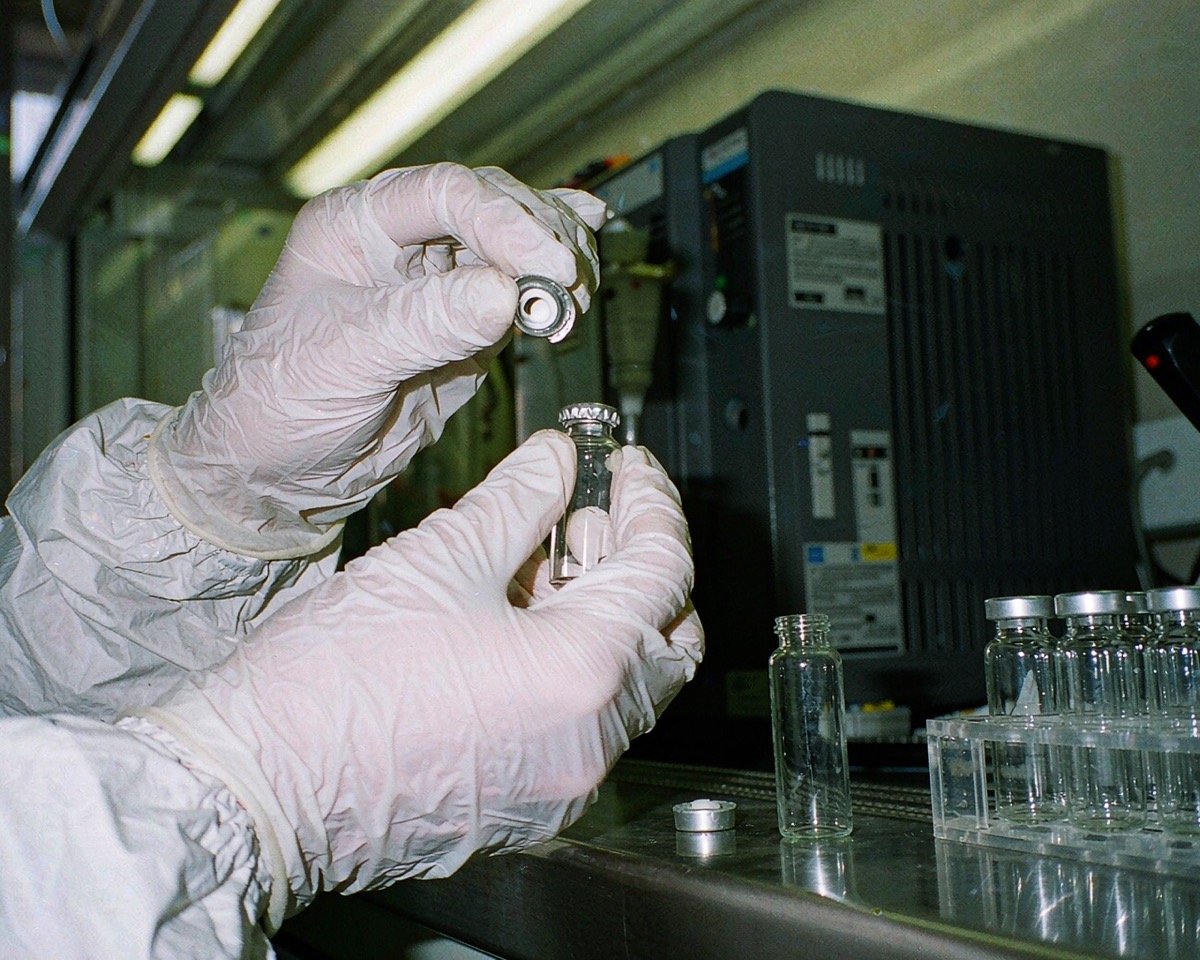
- Cool and handle correctly. Let everything cool in the oven with the door closed, then handle only with heat-sterilized tongs or pyrogen-free gloves. Grabbing a depyrogenated vial with a bare hand or a used nitrile glove recontaminates it in one touch. Been there, done that, reran the batch.
- Store sealed. Keep foil-capped vials in a closed container or cabinet. Depyrogenation gives you a clean surface; storage decides how long it stays that way.
The whole cycle takes about three hours door to door, most of it unattended. The expensive part isn’t time. It’s the validation burden if this work feeds anything regulated.
When Buying Pre-Depyrogenated Vials Makes More Sense
Sometimes the honest answer is that your oven time is better spent on something else. If you regularly need vials for endotoxin-sensitive work, buying vials that arrive cleaned and certified saves you the wash, the cycle, and the paperwork. Vendors like MicroSolv manufacture certain vial lines under pyrogen-free conditions and pack them in cleanrooms, which gives you a documented starting point instead of a “trust me” one. Their knowledge base explains how pyrogen-free vials are manufactured and packaged if you’re curious what the commercial process looks like.
For GMP-adjacent work, the calculation gets even simpler. A validated supplier certificate of analysis is easier to defend in an audit than your lab oven’s logbook. Our pharmaceutical lab consumables guide goes deeper on which documentation to ask for. The trade-off is cost per vial, which usually only stings at high volumes, and, honestly, if you’re running high volumes of endotoxin-critical work, a validated tunnel or outsourced washing is a conversation worth having anyway.
Verifying Your Cycle
Trust, but verify, and by verify I mean test.
The gold standard is an endotoxin challenge: vials spiked with a known amount of E. coli endotoxin, typically 1,000 EU or more, run through your cycle alongside your load, then extracted and tested by LAL. A passing cycle shows at least a 3-log reduction. Suppliers sell ready-made endotoxin challenge vials (ECVs) for exactly this, and Lonza has a solid overview of LAL assay types and endotoxin testing resources if you’re choosing between gel-clot and kinetic methods.
How often to challenge? If this is critical work, treat your oven like pharma treats a depyrogenation tunnel: validate the cycle, then requalify periodically and after any repair or relocation. For routine bench work, challenging each new oven placement and annually is a defensible middle ground. The difference between these two levels of rigor mirrors the distinction between sterile and low-bioburden claims we covered earlier: the claim you make determines the evidence you need.
Conclusion
Depyrogenating glass vials at the bench is not complicated, but it is unforgiving of shortcuts. Wash properly, dry completely, foil-cap everything, hold at 250 °C for 30 minutes after the load equilibrates, and handle the results like the clean surfaces they are. Verify the cycle with endotoxin challenge vials whenever the work justifies it, and know your limits: plastics and septa never go in the oven, and no cycle fixes sloppy storage. If the volume or the regulatory stakes get high, buying certified pre-depyrogenated vials is often cheaper than defending your own process. Start with our endotoxin explainer for the underlying science, then check the sterile vs. low-bioburden guide to figure out which claims your application actually requires.
Frequently Asked Questions
Can I use a regular kitchen-style drying oven for depyrogenation?
Only if it reliably holds 250 °C and you’ve verified temperature uniformity with a probe. Most kitchen ovens have wide hot spots, imprecise thermostats, and no over-temperature protection, which is why a muffle furnace or validated lab oven is the safer choice for anything that matters.
Does 200 °C work if I run it longer?
Not reliably for a 3-log endotoxin reduction. Kinetic studies show 200 °C for 60 minutes fails to achieve the 3-log reduction that 250 °C for 30 minutes delivers, even though much of the pyrogenic activity is reduced. Stick with the reference cycle unless you validate your own.
How long do depyrogenated vials stay pyrogen-free?
Indefinitely if they stay sealed and protected from dust and moisture. The endotoxin doesn’t “come back,” but airborne contamination and handling can re-contaminate clean surfaces, which is why foil caps and clean storage matter as much as the cycle itself.
Is depyrogenation the same as sterilization?
No. Sterilization destroys viable microorganisms; depyrogenation destroys or inactivates endotoxin. Dry heat at depyrogenation temperatures will sterilize as a side effect, but steam sterilization at 121 °C does not depyrogenate. A vial can easily be one without the other.