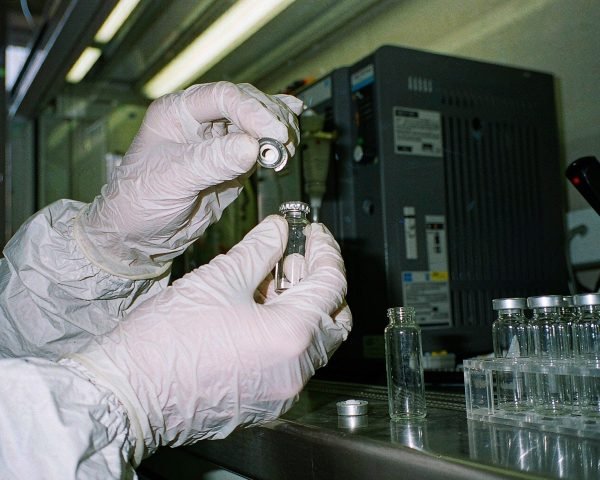

Last March I watched a routine residual solvents batch fall apart for a boring reason. The check standard drifted 15% across the sequence, and after two days of blaming the inlet liner I found the real culprit: one headspace vial whose cap spun like a lid on a loose jar. One bad crimp, sixty wasted injections.
I check every crimped vial before it goes in the tray now. The routine below takes about ten minutes for a rack of fifty, and it has paid for itself many times over.
The Short Answer
Inspect the crimp collar, run the spin test, and weigh the vial before and after incubation. Weight loss above a few milligrams means the septum is not sealing. For regulated work, also use your instrument’s built-in vial leak check.
A leaking crimp never announces itself. No alarm sounds, no error prints. The method just drifts, your RSDs (that’s relative standard deviation, how tightly repeat injections agree) climb, and you spend the afternoon blaming hardware that is perfectly fine.
Why a Leaking Vial Costs More Than One Sample
Evaporation is the obvious problem. Solvent escapes, analyte concentration climbs, and every result from that vial is wrong in a way you cannot fix after the fact. Headspace GC makes it worse, because volatile compounds partition into the gas phase and escape through any gap long before injection. Restek tested this directly: propane, butane, and isobutane in 20 mL headspace vials lost measurable response over six hours even with crimp caps, and looser screw caps lost considerably more (Restek’s headspace cap comparison).
Oxygen is the sneakier enemy. A gap that lets solvent vapor out lets air in, and oxygen will oxidize sensitive analytes or chew up an ECD (electron capture detector) baseline. Either way, a leaking vial means a rerun: fresh prep, fresh standards, fresh instrument time you did not budget for.
One leaking vial in a tray of fifty is all it takes.
What a Proper Crimp Looks Like
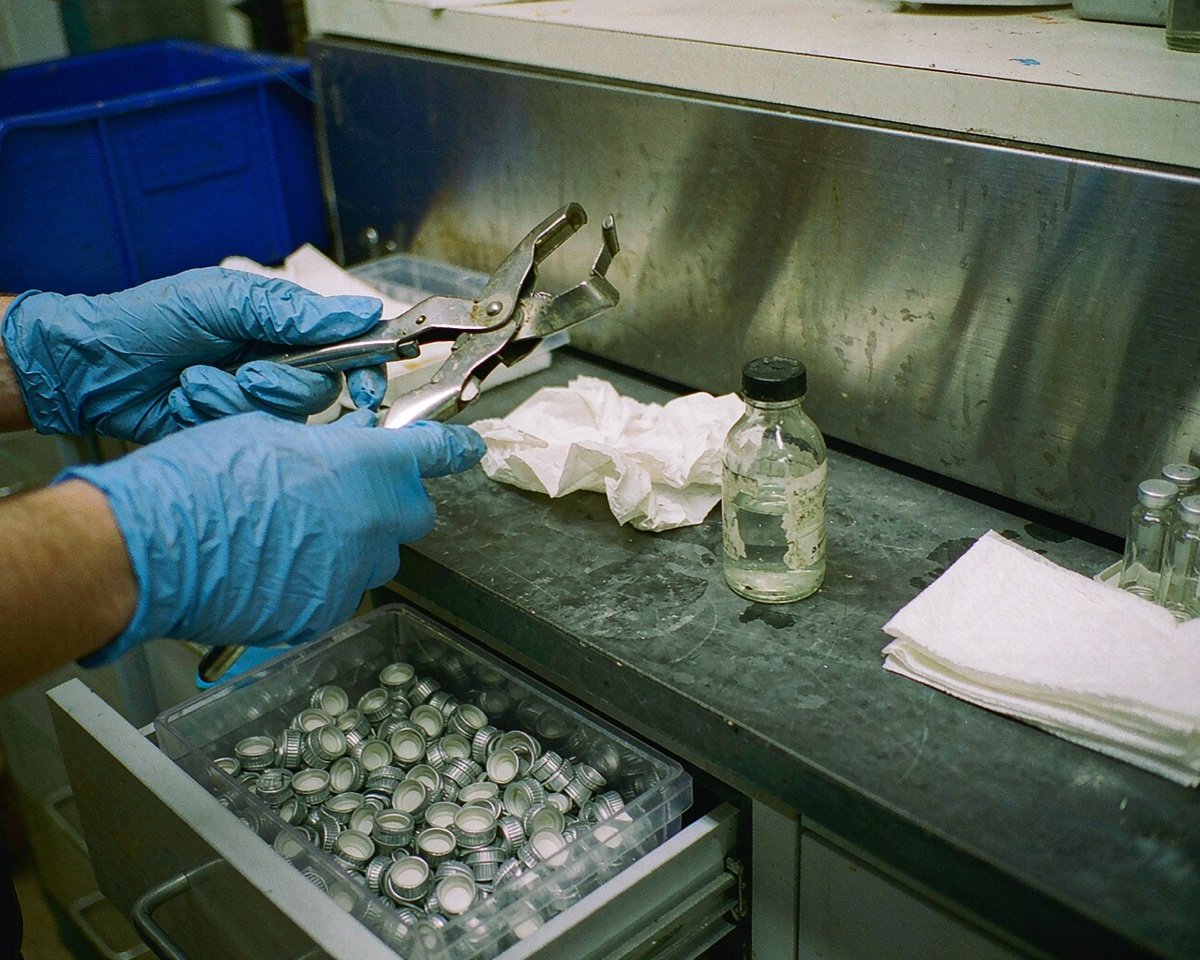
Before testing anything, know what good looks like. The aluminum skirt should curl evenly under the vial lip, like a pie crust edge, with no pleats or folds. The septum sits flat and centered on top, with at most a slight dimple from compression. Agilent’s headspace sampler manual puts it plainly: no folds where the cap wraps under the neck, a flat centered septum, and a cap that is neither loose nor crushing the septum, because over-crimping distorts the septum and can cause the very leak you are trying to prevent (Agilent’s 8697 headspace sampler manual).
Small folds can be fixed by rotating the vial about 10 degrees and crimping again, per the same manual. A septum dented into a dome means the jaws traveled too far, so loosen the tool before sealing anything else.
Bench Leak Tests, Ranked by Effort
Visual check and collar inspection (seconds)
Look at the skirt and septum under good light. Run a fingernail around the collar; it should feel even all the way around. This catches most gross failures before any other test is needed.
The spin test (five seconds)
Grip the cap and try to twist it with your fingers. A good crimp resists turning, or spins with slight resistance but never slides off. A cap that rotates freely means the skirt never locked under the glass lip. One honest caveat from both Agilent and Restek: some 20mm headspace seals hold pressure fine even when the cap spins, so treat this as a screen rather than a verdict. I still fail free-spinners every time.
Weigh before and after incubation (ten minutes of bench time)
This is my favorite test for evaporation, and it is just gravimetry. Tare the sealed vial on an analytical balance, incubate it as your method would, say 80 °C for 30 minutes, then weigh again. A tight 20 mL vial loses almost nothing. If a vial drops more than about 10 mg under those conditions, or anything above the tolerance your method can live with, the septum is leaking. This catches the slow leaks a visual check never will, and the data doubles as evidence for your lab notebook.
Water or dye immersion (a few minutes)
Submerge the sealed vial in warm water or dilute dye and watch for a bubble stream from the seal line. A gentle squeeze with gloved hands raises the pressure inside and makes small leaks easier to spot. Two cautions: water can wick into an already-pierced septum, and immersion says nothing about micro-leaks. Save it for gross failures and for troubleshooting a suspect cap lot.
Pressure decay and instrument leak checks (built in)
Modern headspace samplers pressurize each vial and watch whether the pressure holds. Agilent’s User Vial Leak Test seals five practice vials, measures the leak rate, and even suggests a threshold for your method. Thermo Fisher’s knowledge base attributes most “Vial Leak Check Failed” warnings on the TriPlus 300 to badly crimped vials rather than instrument faults, which tells you how common this failure really is (Thermo Fisher’s TriPlus leak check notes). If your instrument offers this test, use it. It is the closest thing to a real-world pass/fail you can get without injecting.
Helium and oxygen sensors (serious work only)
For validation studies or long storage trials, bench tests stop being enough. Helium leak detection traces the escape rate of helium from a filled vial, and sensor-based methods go even further: a NIOSH team used SIFT-MS to quantify leaks down to 0.14 μL of liquid and 24 μL of headspace vapor in sealed drug-transfer vials (the NIOSH leak-quantification study). Oxygen-sensing dots inside the vial give a cheaper optical readout for longer-term work. Most QC labs never need this tier, but it exists when regulators ask hard questions. CHROMacademy covers closure quality and pressure integrity in its static headspace training if you want the deeper theory (CHROMacademy’s headspace course).
Why Vials Leak in the First Place
Four culprits cover most cases.
Wrong cap size. An 11mm cap squeezed onto a 13mm neck, or an 18mm cap on a 20mm headspace vial, leaves the skirt nothing to grip. The sizes look similar on the bench and behave nothing alike in the crimper. We broke down the differences in our 11mm vs 20mm crimp caps guide (11mm vs 20mm crimp caps).
Worn crimper jaws. Jaws deform with use, and a tool that crimped perfectly last year can start producing under-crimps. Agilent notes that crimp settings drift as tool components wear in, so recheck the setting whenever a batch looks soft.
Undersized septum. A septum smaller than the cap’s seat leaves an annular gap around the edge. Headspace septa should be slightly oversized so compression fills the seat completely.
Glass variance. Neck finish dimensions vary between manufacturers and between production lots, especially in moulded vials. A crimper adjusted for brand A can under-crimp brand B, which is why you adjust for the vial in your hand, not the one from last quarter.
When to Replace the Batch, and How to Prevent the Next One
Re-crimp one leaking vial and move on. But some failures are batch-wide, and knowing when to stop salvaging saves hours.
Pull ten random vials from the batch and test them. If two or more fail, treat the whole batch as suspect: the crimper setting was wrong, a new cap lot is out of spec, or the jaws are done. Re-crimping your way through two hundred vials one spin test at a time is not a plan.
Prevention is unglamorous. Clean and inspect your crimper jaws on a schedule, because dried residue and worn springs cause more leaks than bad caps do; our crimper maintenance guide covers the full routine (how to clean and maintain a vial crimper). Buy caps and septa with consistent tolerances, since cheap aluminum skirts fold instead of curling. Write the passing crimper setting on the whiteboard so every operator uses the same number.
Conclusion
Leak testing crimped vials is less a skill than a habit, and the habit costs minutes. The visual check, the spin test, and a before-and-after weigh catch nearly every bad seal before injection, and your instrument’s leak check covers the rest. The stakes are real: one spinning cap cost me a full sequence and two days of re-prep nobody had scheduled. If crimps keep failing in your lab, work backward from the seal, starting with the cap size and the crimper setting. Our crimping headspace vials guide walks through the sealing motion step by step (crimping headspace vials, step by step), and if evaporation keeps showing up in your data even with tight crimps, our evaporation prevention guide covers storage and autosampler strategies (how to prevent sample evaporation in autosampler vials).
Frequently Asked Questions
How much weight loss indicates a leak?
There is no universal threshold, but for a 20 mL headspace vial at 80 °C, more than about 10 mg over a 30-minute incubation deserves suspicion. Establish your own baseline with known-good vials, then flag anything above it.
Can I re-crimp a cap that failed the spin test?
Sometimes, once. Agilent allows a second crimp after rotating the vial slightly, but repeated crimping deforms the aluminum skirt and stresses the glass lip. For anything quantitative, start with a fresh cap.
Does the spin test damage the seal?
Not if you use light finger pressure. The test checks whether the skirt locked under the neck, not how hard you can unscrew it. A cap that moves easily was never sealing well anyway.
Why do my crimps pass the spin test but still leak?
Grip and compression are different things. A cap can resist spinning while a dented or off-center septum leaves a vapor path at the edge. Follow the spin test with a weight-loss check whenever the method is quantitative.