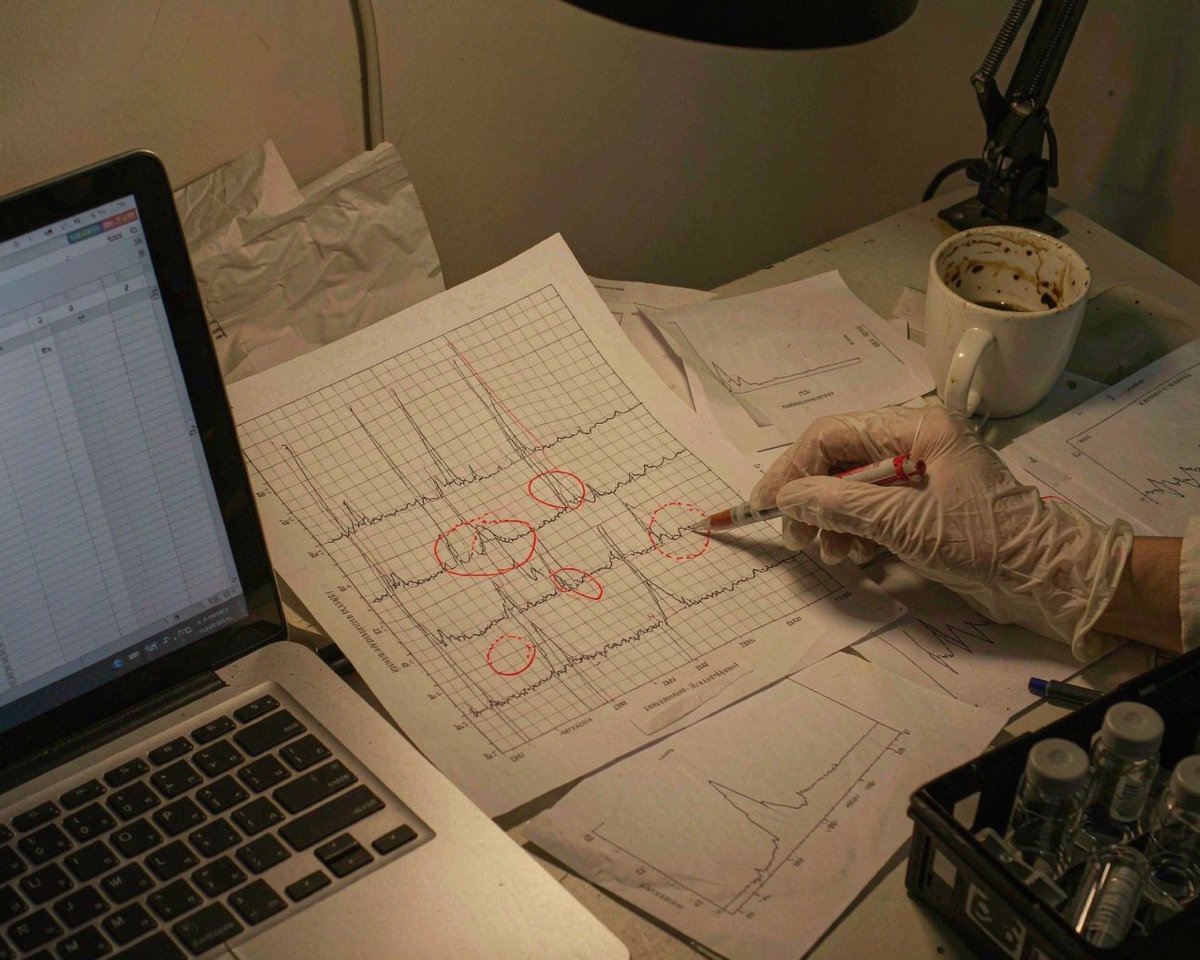

Here’s my favorite GC troubleshooting story. A lab spent two weeks chasing active analyte adsorption: response factors drifted, pesticides recovered at 60%, and everyone blamed the column, then the standard, then the instrument. The fix cost about six dollars. The liner had been in the inlet since the last maintenance visit, two thousand injections earlier.
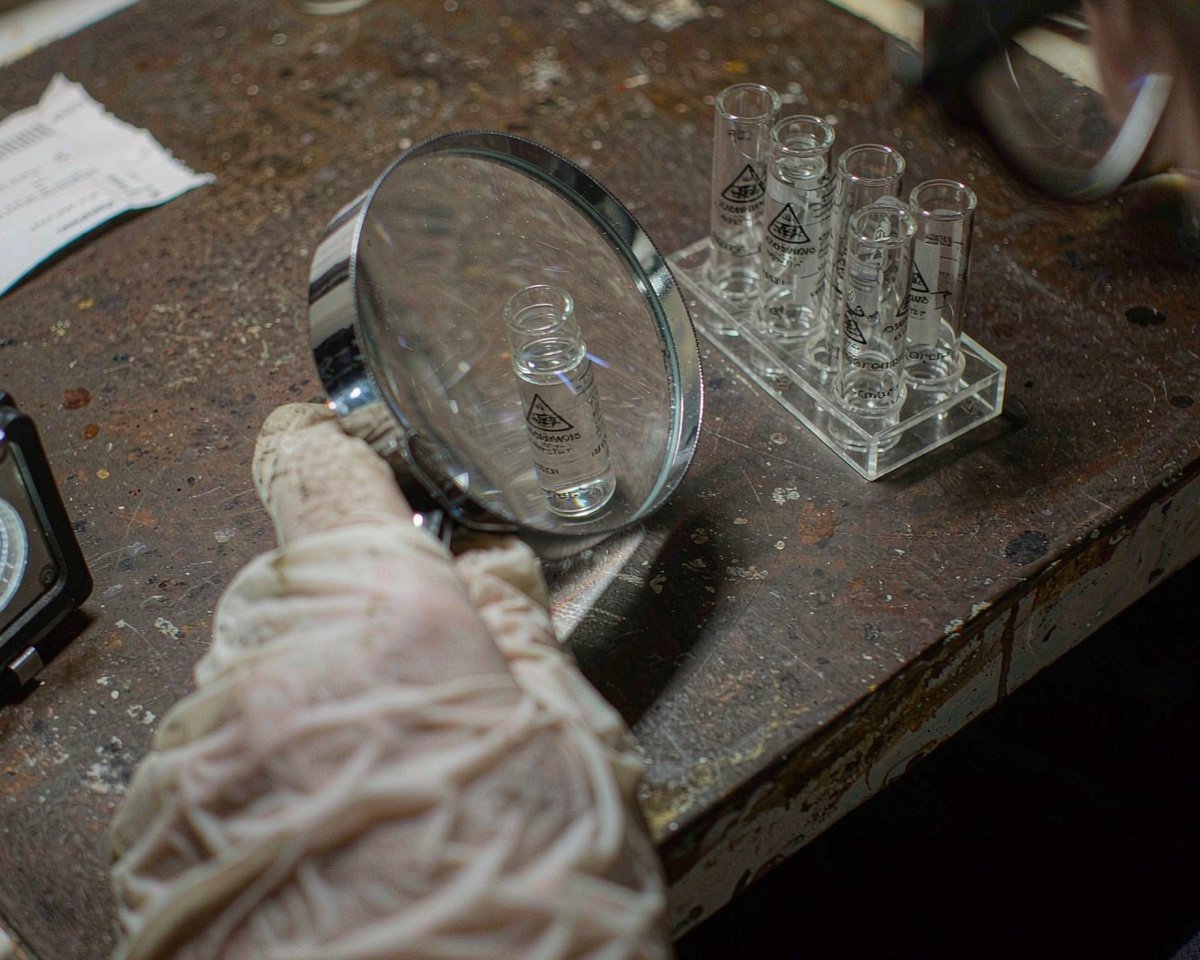
The inlet liner is where your sample vaporizes and meets the column. It’s a five-centimeter piece of deactivated glass that sees solvent, matrix, septum fragments, and 300°C every single injection. It is also, by injection count, the most frequently consumed item on a GC after the septum, and the one labs forget most often.
What the Liner Actually Does
In a split or splitless inlet, the sample never touches the column first. The syringe deposits liquid into the liner, heat flash-vaporizes it, carrier gas mixes and transports it, and only then does the vapor reach the column head.
That makes the liner responsible for three things:
• Complete, gentle vaporization without degrading active analytes
• Homogeneous transfer so the split ratio (or the splitless focus) is reproducible
• Trapping junk that would otherwise contaminate the column
Liner design encodes those jobs. Split liners are narrower to promote circulation; splitless liners are wider and usually tapered to focus vapor onto the column. Glass wool wipes the needle and mixes the plug. Deactivation chemistry keeps actives from sticking to the glass. Agilent’s GC inlet fundamentals guide covers the geometry and volume logic in detail.
Choosing a Liner Without Guessing
The two decisions that matter most: split versus splitless geometry, and wool versus no wool.
• Split injections. Use a split liner with glass wool positioned to wipe the needle. The wool homogenizes the vapor plug, which tightens your split ratio and peak areas. Restek’s inlet specialist runs through his defaults in the GC inlet liner choice guide, and his split recommendation is exactly what I use: a precision split liner with wool.
• Splitless injections. Use a single-taper liner. The taper funnels vapor toward the column opening, which focuses early peaks and improves transfer. Wool goes at the bottom in dirty matrices to trap non-volatiles, but for very active compounds (some pesticides, for instance), wool can adsorb, so many methods specify wool-free.
• Deactivation. Buy deactivated liners, always, unless your method explicitly says otherwise. The deactivation layer is what stands between your organophosphates and bare glass silanols. Agilent’s Ultra Inert line and equivalent deactivations from other vendors exist for this reason; the Agilent GC supplies catalog shows the liner family and its part-number logic.
One more choice I get asked about: liner volume. Match the liner’s vapor volume to your injection volume. Overfill it and you get flashback (sample vapor escaping into the septum area and purge lines), which shows up as carryover and ghost peaks. Agilent publishes vapor volume calculators for common solvents; use one when you push injections above 1 µL.
What Actually Fouls a Liner
Understanding the debris helps you predict replacement intervals. The usual residents, in order of frequency in my experience: septum fragments from repeated needle passes, non-volatile matrix residue that paints the glass brown over time, pooled solvent from injection volumes the liner wasn’t sized for, and needletip deposits from contaminated syringes. Each has a different fingerprint, and each points at a different fix: change septa on schedule, clean up samples, match liner volume, or clean the syringe.
Active analyte loss is the sneakier failure because the liner can look clean while chemistry is already happening. A deactivation layer wears with use and with exposure to air leaks, and once bare silanols show, compounds like phenols and amines tail or vanish. If response for those classes drops while hydrocarbons hold steady, suspect the liner’s surface before the column.
When to Change the Liner
There is no universal interval, but there are reliable signals:
• Peak tailing or response loss for active analytes, while standards are fresh
• Rising backpressure or changed split flow behavior
• Visible residue: brown bands, pooled liquid, septum corings on the wool
• Carryover or ghost peaks appearing in blanks
In dirty-matrix work (soil extracts, biological samples), labs change liners daily or weekly. In clean pharma work, hundreds of injections between changes is normal. My advice: establish your own interval by pulling the liner at 100, 250, and 500 injections and inspecting it, then set the replacement point before visible failure.
Change the septum at the same time. The septa replacement guide covers that schedule, and the two parts share failure modes since a hard septum sheds fragments straight onto the liner’s wool.
The Rest of the Inlet Ecosystem
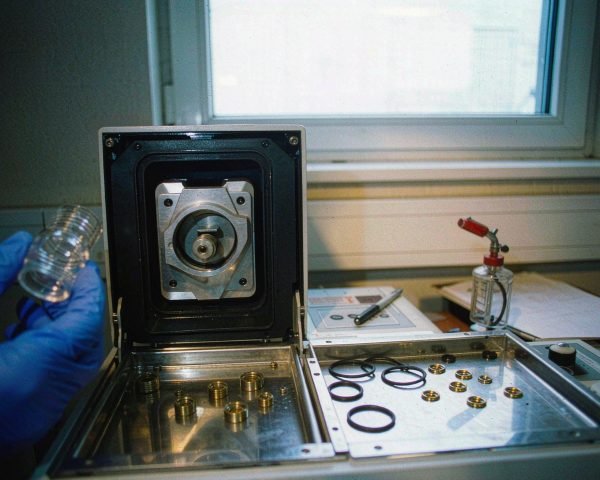
The liner doesn’t work alone. The gold seal (or graphite seal) at the liner’s base, the O-ring, and the ferrule all wear on the same schedule. A new liner into a worn seal gives you a leak that mimics a bad liner, so replace seals with liners and save yourself the re-troubleshooting.
Agilent’s split/splitless parts quick reference maps which seal and ferrule combinations pair with which liners, and it’s the sheet I keep next to the GC.
Two storage notes for your liner stock: keep spare liners in their original sealed packaging until use, since bare deactivated glass picks up ambient film and fingerprints are permanent, and never install a liner you’ve handled by the glass with bare fingers. Skin oils survive deactivation chemistries and will advertise themselves at trace levels for weeks.
If your inlet problems turn out to be column-side instead, that’s a different consumable: a guard column and retention gap protect the analytical column, which I covered in the guard column guide.
Conclusion
The inlet liner is a low-cost consumable with an outsized effect on GC data quality: it determines how completely your sample vaporizes, how reproducibly it transfers, and how much junk reaches the column. Choose split or splitless geometry to match your injection mode, take glass wool when you need homogenization and skip it for very active analytes, insist on deactivated glass, and match liner volume to injection volume to avoid flashback. Change liners by inspection-based interval rather than hope, and replace the seals and septum alongside. Two minutes of inlet maintenance per week prevents the two-week chromatography mysteries that nobody budgets for. Keep a few spare liners of your standard type in the drawer, log the change like any other lot, and your baseline will thank you.
Frequently Asked Questions
How often should I change a GC inlet liner?
No fixed rule exists. Dirty matrices may need daily changes; clean methods can run hundreds of injections. Inspect at set intervals (100, 250, 500 injections), note when residue or drift appears, and schedule replacement just before that point.
Does glass wool in the liner cause analyte loss?
It can, for very polar or active compounds, because wool presents extra active surface. If recovery of actives suffers, switch to a wool-free tapered liner and compensate for the lost mixing with good injection technique.
Can I reuse a dirty liner after cleaning?
Solvent rinsing and re-deactivation rarely restore original performance, and re-deactivating at home is unreliable. Liners are inexpensive relative to the troubleshooting cost of a marginal one, so replacement is the better default.
What is liner flashback?
Flashback happens when injected solvent expands beyond the liner’s vapor capacity and escapes into the septum region and purge line. Symptoms are carryover, ghost peaks, and sometimes septum damage. The fix is a larger-volume liner or a smaller injection.