
Every HPLC lab has a budget line for vials, filters, and columns. Almost none have one for the vessel catching everything the autosampler throws away. Then one Friday evening a waste bottle that nobody remembers filling overflows onto the bench, or worse, back up a line, and the overlooked consumable becomes the evening’s entire personality.
I inherited a lab once where the syringe wash waste was a re-purposed 250 mL beaker sitting inside a cardboard box. It worked beautifully for about two weeks. The Sunday crew (not their fault, nobody had written anything down) let it fill, and the wash solvent crept out of the beaker, through the cardboard, onto the bench. The repair cost more than a decade of proper waste bottles.
So let us give this unglamorous item the five minutes it deserves.
The Short Answer
Autosampler waste vials (and their bigger cousins, waste bottles and canisters) collect rinse solvent, purge output, leak pan drainage, and injector waste. Use a chemically compatible bottle sized to your sequence length with a proper cap that keeps lines organized and stops spills, empty it on a schedule tied to waste volume, and never let waste lines sit submerged in collected liquid.
READ ON
Here is where the waste actually comes from, how to size and cap the vessel, and the habits that keep the worst-timed spill in the lab from happening on your shift.
Where All That Waste Comes From
An autosampler produces waste from more places than people expect, and each stream has its own habits:
- Needle wash and syringe rinse solvent: the steady producer. Every injection cycle rinses the needle and syringe, and that solvent goes straight to waste. A 60-injection sequence with three washes per injection fills a small bottle faster than most people estimate.
- Purge and prime output: the initial system flush, plus any purge valve discharge during the run.
- Leak pan drainage: the drainage channels in each module route leaks and condensation to a waste outlet. Steady when everything is fine, suddenly interesting when a seal fails.
- Condensate from cooled trays: an autosampler cooler sheds anywhere from a few milliliters to a couple of liters of water per day depending on humidity, and the module documentation treats condensate drainage as its own waste stream, routed separately from injector waste (Agilent 1290 autosampler manual).
That last one surprises people most. Your tray cooler is quietly producing liquid waste on a humid week, and if its line feeds a shared bottle nobody checks, the arithmetic does itself at the worst time.
Sizing: Match the Bottle to the Sequence
The old Agilent 7673 autosamplers used tiny 4 mL waste vials with diffusion caps, sized because the syringe dispensed its rinses into them directly. Their manual’s arithmetic still teaches the right habit: know your waste volume per run, and size the vessel to outlast the sequence (Agilent 7673 manual).
The modern version of that math:
- Estimate wash waste per injection (wash volume times washes per injection).
- Multiply by sequence length, then add 30 percent.
- Compare with the vessel actually connected.
A 100-injection overnight sequence with 500 µL of wash per injection produces roughly 65 mL of wash waste. That fits any small bottle. But add purge output, leak drainage, and a humid week of condensate, and a 250 mL vessel can greet you at 7 AM in a way you did not plan.
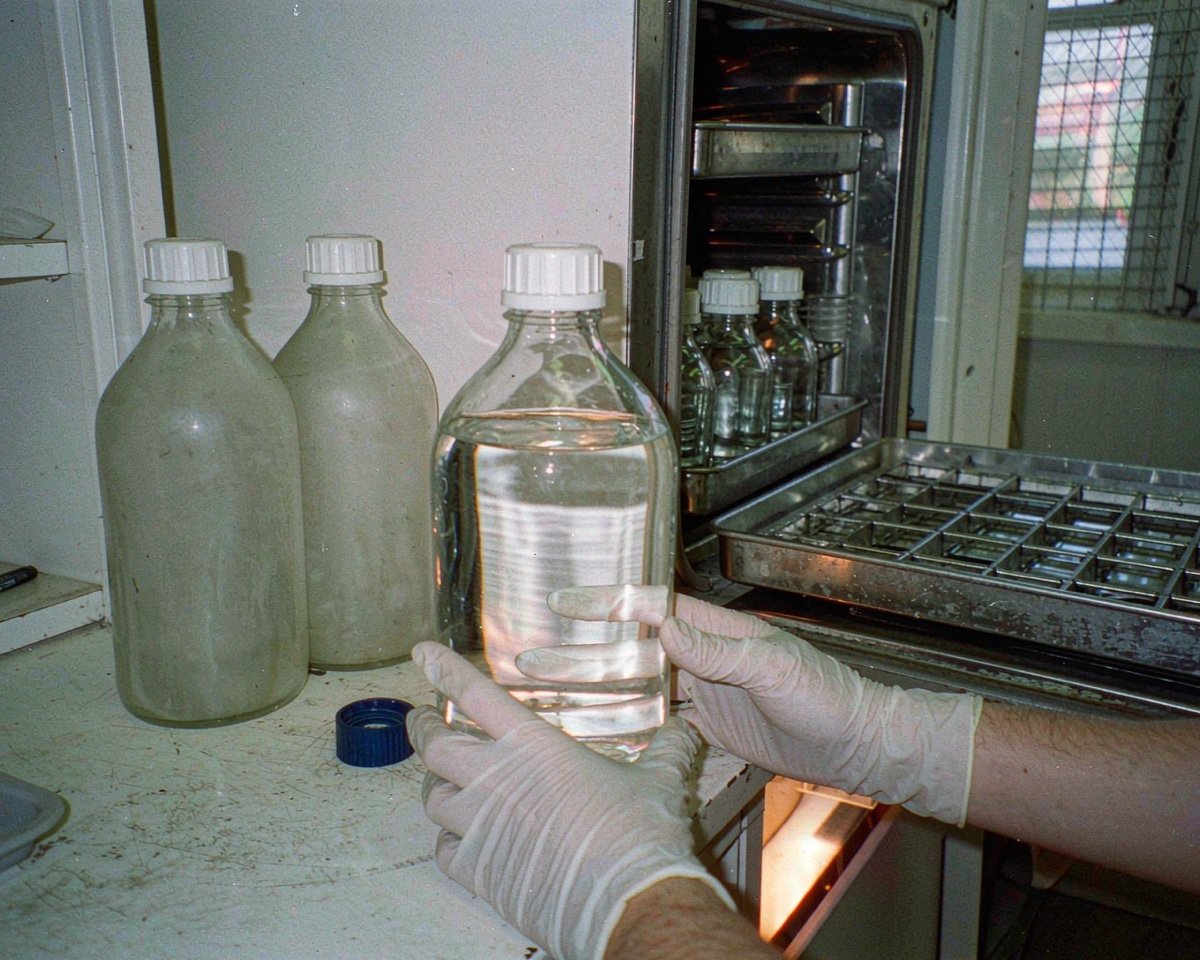
For stack-level waste, labs standardize on larger canisters (2 to 6 L) with proper caps; Agilent recommends its 6 L waste canister class with a Stay Safe-style cap for condensate and waste duty (Agilent Infinity II technical note). For benchtop duty, 1 L GL45 bottles are the workhorse. Our solvent reservoir bottle guide covers the bottle specs that matter, and most of them transfer directly to waste duty.
Caps: The Part Everyone Under-Specifies
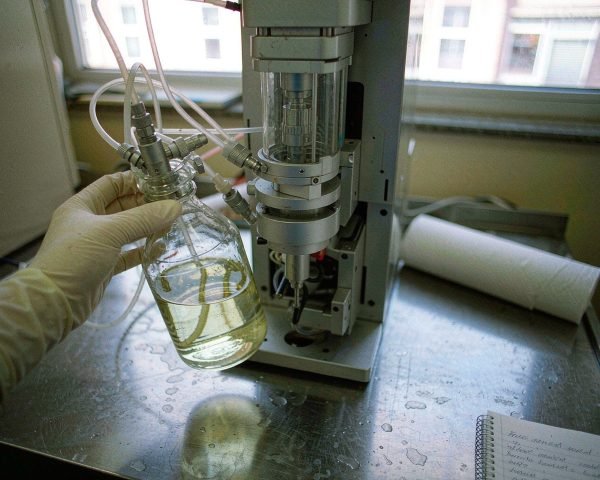
An open bottle catches waste and evaporates it into the room. A fully sealed one builds pressure. The right cap has multiple line ports (one per waste line) plus a vent or filtered port, and gaskets that match your solvent chemistry.
Chemistry matters more at the waste bottle than anywhere else, because the contents are everything you have run this week, combined. A PP cap that laughs at aqueous buffer may swell in a week of DMSO-rich washes. GL45 caps with PTFE or ETFE ports cover most LC work; check compatibility when your methods run aggressive organics.
The Overflow Rule That Prevents the Friday Problem
Waste lines must never sit submerged in the collected liquid. A line under liquid can siphon or back up when the system pressurizes, pushing waste back toward the module. This is not folklore; instrument documentation repeats it because the failure mode is real (Agilent technical note).
Habits that keep the rule intact:
- Cut waste lines long enough to reach the neck but not the bottom of the bottle.
- Empty on schedule, not on sight. Tie the check to something you already do, like mobile phase changes.
- Log the emptying. A date on tape at the bottle neck tells the next person what they are walking into.
- Route condensate separately. It is the stream that fills silently at 3 AM.
Our guide on preventing leaks and contamination in vials covers the sample-side version of the same discipline.
What Goes In (and What Should Not)
A waste bottle is not a disposal system; it is temporary storage with an inventory problem. Anything volatile evaporating from an open or vented waste bottle goes into the lab air. Acetonitrile-rich waste evaporating in a small room is a real exposure, and the vapor is flammable. Keep volumes small, vents filtered, and bottles capped when lines allow.
Solvent compatibility also ages the bottle. Glass handles everything; PP handles aqueous and most organics; some plastics cloud and craze after weeks of DMSO or strong solvent exposure. Inspect the bottle itself during your scheduled emptying, because a cracked waste bottle is the whole problem wearing a disguise.
For what happens after the bottle, disposal follows your institution’s hazardous waste rules, and our consumables disposal guide covers the vials, filters, and gloves side of that path.
A Minimal Routine That Works
If your lab has no waste-bottle SOP, here is the version that fits on an index card:
- Check the level at the start of each sequence, not just the end.
- Empty anything above half full; note the date on the neck tape.
- Glance at every waste line: in the bottle, not touching liquid, no kinks.
- During mobile phase changes, wipe the cap ports and check the gasket.
- Monthly, inspect the bottle and cap for solvent damage.
Total time: about two minutes a day. The failure it prevents is the kind that ruins a weekend.
Conclusion
Waste vials and bottles are the least glamorous consumable in the lab and among the cheapest to get right. Know where your waste streams are (wash solvent, purge, leaks, condensate), size the vessel to your real sequence arithmetic rather than to whatever bottle was empty, and cap it properly so evaporation and pressure both stay managed. Keep lines out of the collected liquid, empty on a schedule that has a date on it, and give the bottle itself a monthly once-over for solvent damage. None of this is hard, which is exactly why it gets skipped until the evening it cannot be. Two minutes of routine beats one flooded bench every time, and the next person to run a sequence on your instrument will inherit a system that makes sense. For the neighboring topics, our carryover reduction guide covers what all that wash solvent is actually doing, and the same instrument-hygiene mindset applies to every vial you inject.
Frequently Asked Questions
How often should I empty my autosampler waste bottle?
Base it on waste volume, but a practical default is at the start of every sequence, emptying anything above half full. A small wash-waste bottle on a busy instrument can fill in a day or two; a 6 L stack canister may last weeks. Date the bottle when you empty it so the next person knows.
Can I use any bottle as an autosampler waste container?
No. Use a chemically compatible bottle with a proper multi-port cap and vent. Repurposed food containers or open beakers allow evaporation into the lab air, spill easily, and offer no line management. GL45 lab bottles with waste caps are inexpensive insurance.
Why is there water in my waste bottle if I never run aqueous methods?
That is condensate from your autosampler cooler, which can produce from a few milliliters to a couple of liters per day depending on humidity. Route tray condensate to its own canister rather than sharing the wash-waste bottle, or it will fill silently overnight.
Should waste lines go to the bottom of the bottle?
No. Lines should end below the neck but above the liquid level. Submerged lines can siphon or allow backflow into the module when the system pressurizes or drains, pushing collected waste back into the flow path.