
# What Consumables Does Seed and Germination Testing Need?
Setting up a seed lab is mostly a shopping problem. The instrument list is straightforward, but the consumables are where budgets quietly leak, because germination tests burn through paper, media, boxes, and reagents week after week. Here is a practical rundown of the seed germination testing supplies you need on the shelf, based on how ISTA-style labs actually run these tests.
Germination paper (top-of-paper, between-paper, or pleated), sterilized sand or a soilless growing medium, petri dishes or germination boxes, a cabinet that holds the 20/30 °C alternating cycle with light, and tetrazolium for viability checks. Moisture testing adds metal dishes, a reference oven, and a desiccator.
Each of those groups has quirks that cost real money when you get them wrong. Let’s walk through them one at a time.
Germination Paper: TP, BP, and PP
Paper is the default substrate, and the ISTA Rules recognize three placements: top of paper (TP), between paper (BP), and pleated paper (PP). The ISTA substrates overview explains how these methods, plus sand and organic media, make up the official germination methods. For most vegetable and field crop seed, you’ll reach for TP or BP almost daily.
Pleated paper deserves a mention because labs underestimate it. A standard PP strip has 50 pleats, you place two seeds per pleat, and one strip holds a full 100-seed replicate, which makes counting and spacing nearly foolproof. For small-seeded lots like tobacco or carrot, that spacing matters: crowded seedlings twist together and slow down evaluation.
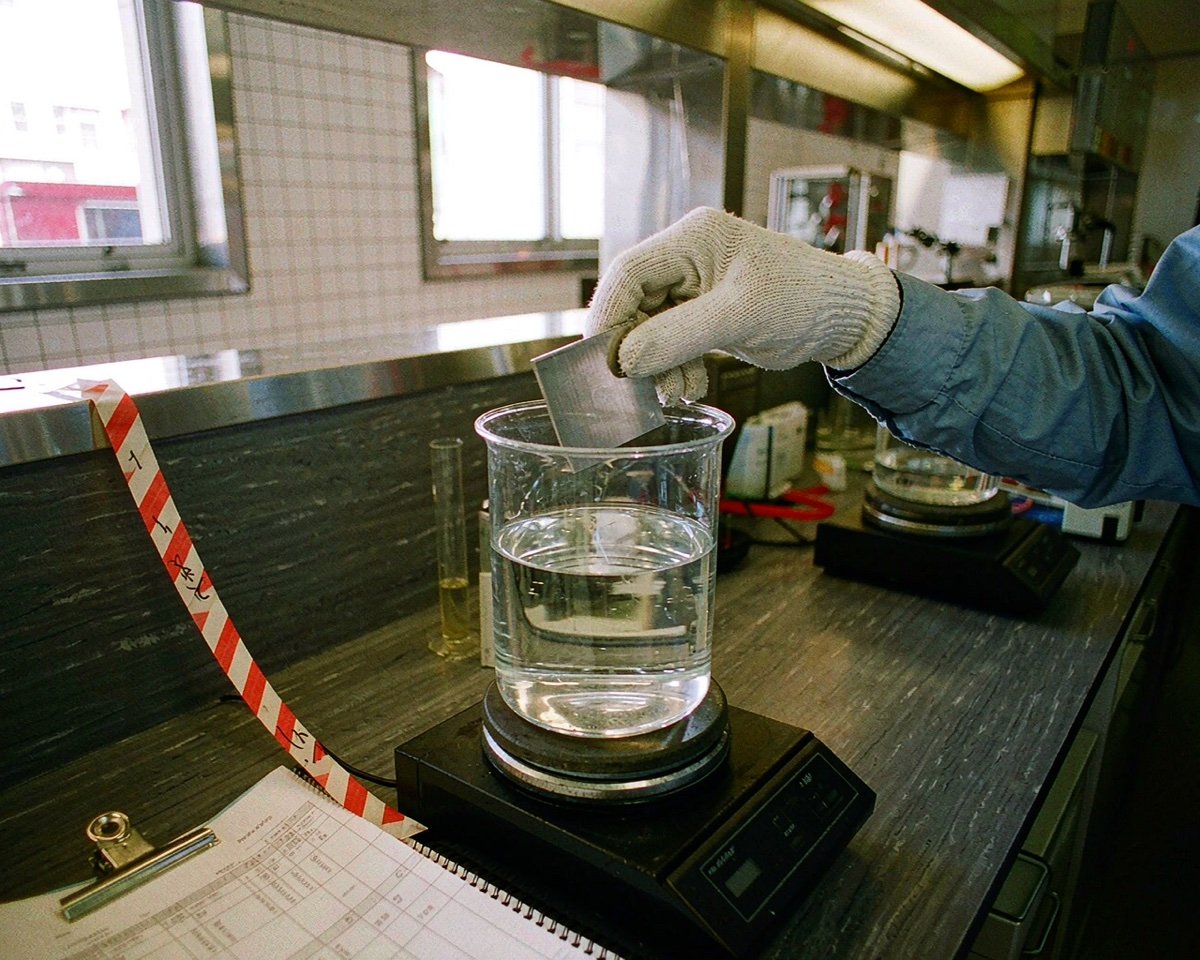
The hidden consumable here is water discipline. In one ISTA method validation study, participating labs hydrated their paper anywhere from about 3.5 mL per gram of paper to hundreds of milliliters per tray, and every lab had its own number in the SOP. Pick a ratio, write it down, and stick to it. I once watched a lettuce test fail twice in a row because someone topped up drying blotters with cold tap water overnight and shut the cabinet door; the retest pushed the phytosanitary certificate past a shipping deadline, and the grower lost a week of planting windows. In my experience, most labs get away with loose moisture habits until the day they don’t.
Sand and Soilless Media
Some seed refuses to behave on paper. Large seed like maize and beans, heavily contaminated lots, and species where seedling evaluation needs soil-like resistance usually get the sand method (S), top of sand (TS), or top of organic growing media (TO). The FAO’s seed testing handbook publishes the ISTA substrate and temperature table by species, so you can check which method applies before you commit.
Sand prep is its own mini-consumable chain. The standard approach calls for sand sieved to a defined particle range, washed, then sterilized in an oven at around 200 °C for six hours to kill weed seed and microbes. You’ll want dedicated sieves, labeled sand bins, and a rep-supply routine, because one dirty batch can contaminate an entire week of tests.
If your lab also handles field soil or compost analysis, the consumables overlap more than you’d think, and we cover that ground in our soil and agriculture testing lab guide.
Dishes, Boxes, and the 20/30 °C Cabinet
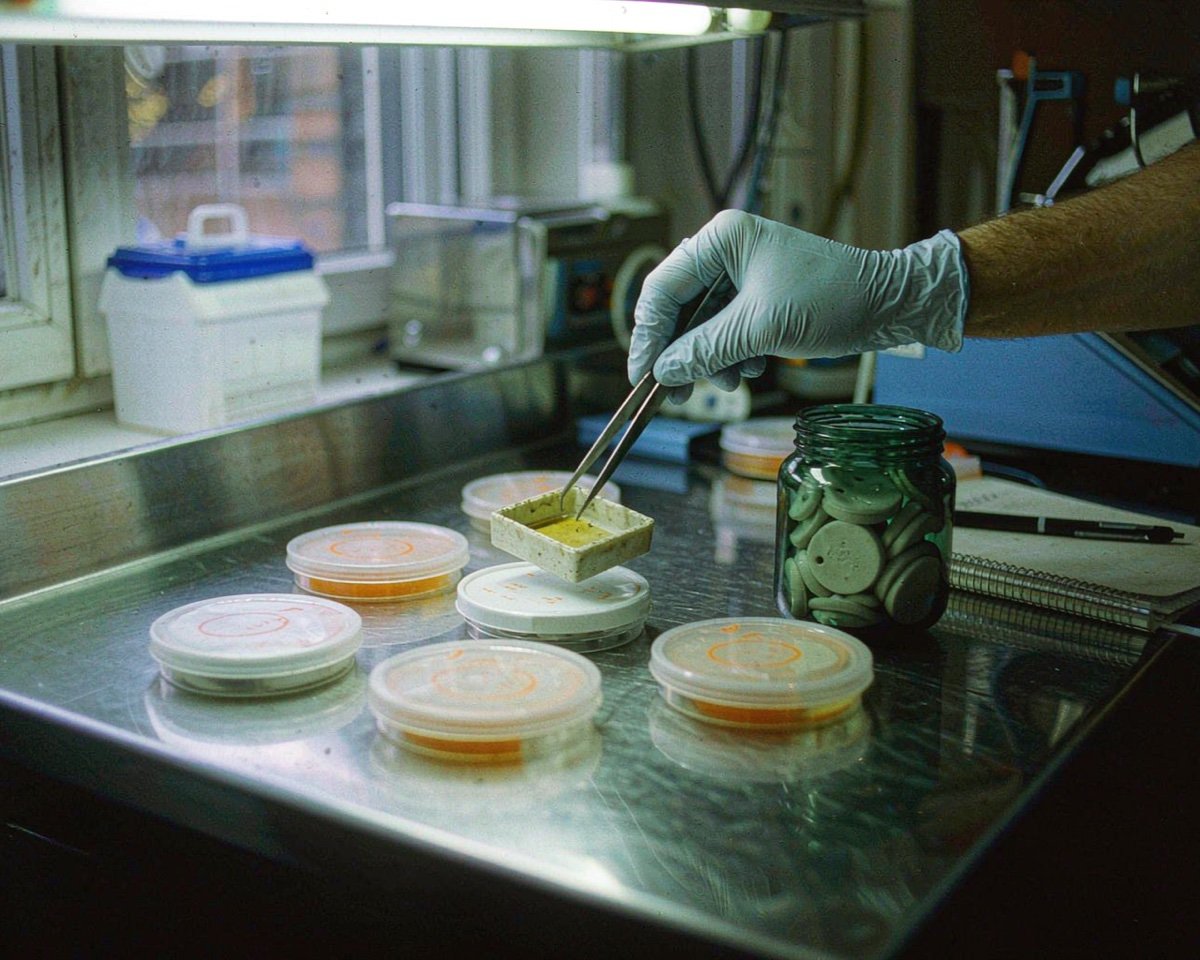
Petri dishes do the light work. A 90 mm polystyrene dish with two filter paper discs holds a small replicate or a tetrazolium sample, and they’re cheap enough to treat as single-use. For full replicates, most labs use rigid plastic germination boxes, something in the range of 38 by 30 cm, with transparent lids that hold humidity without blocking light.
The cabinet itself isn’t a consumable, but it dictates what you buy for it. The classic ISTA regime for many species is 20/30 °C alternating: 16 hours at 20 °C, then 8 hours at 30 °C, with cool white light at roughly 750 to 1,250 lux supplied for at least 8 hours in every 24. Check that your boxes, dishes, and pleated strips fit your shelves with airflow to spare, because an overcrowded cabinet creates hot and dry corners that show up as “mystery” variation between replicates.
One caution: if you handle treated or surface-sterilized seed, your dish and box handling should be as clean as your tissue culture bench. The same discipline applies, and our plant tissue culture consumables guide walks through the sterile-handling supplies in detail.
Tetrazolium and Vigor Test Supplies
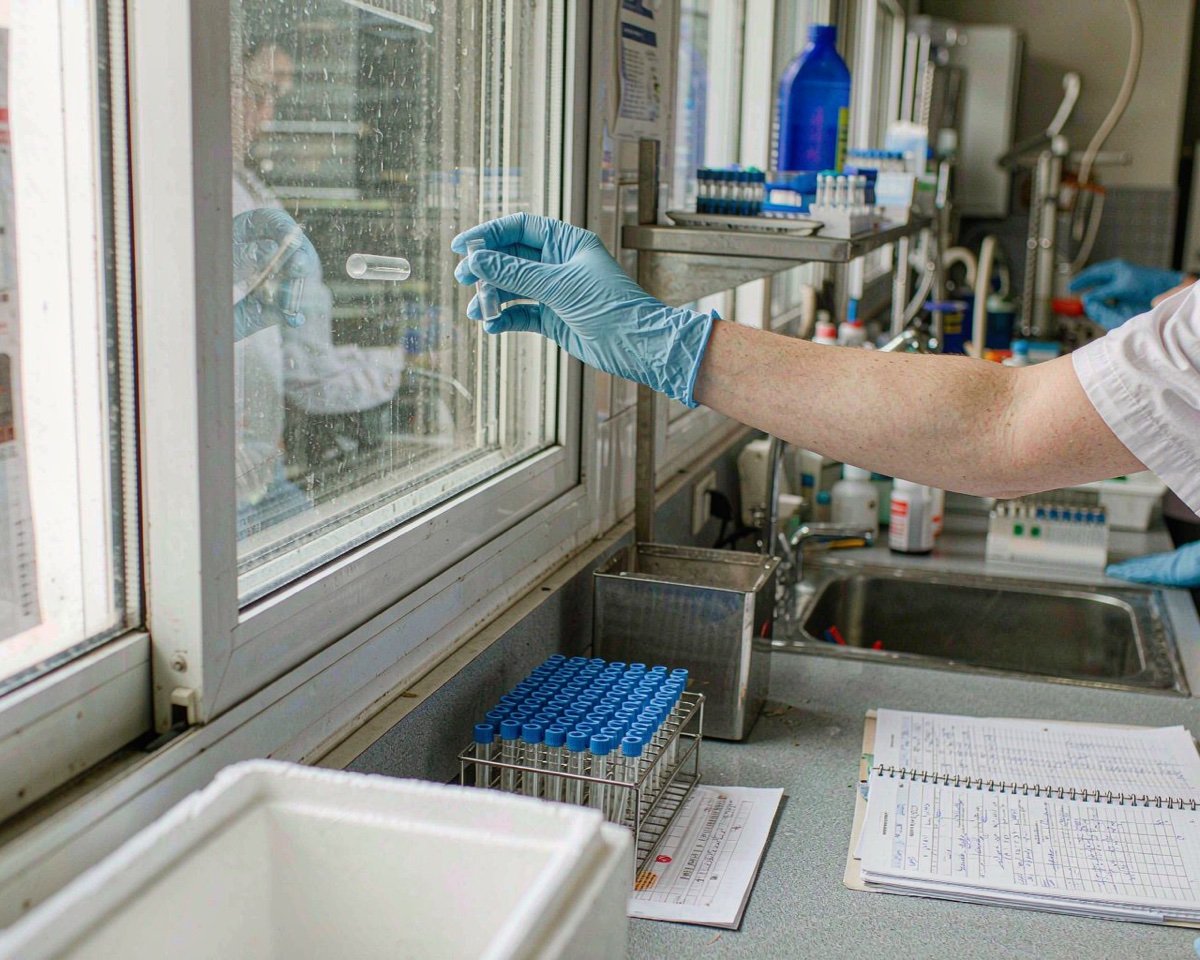
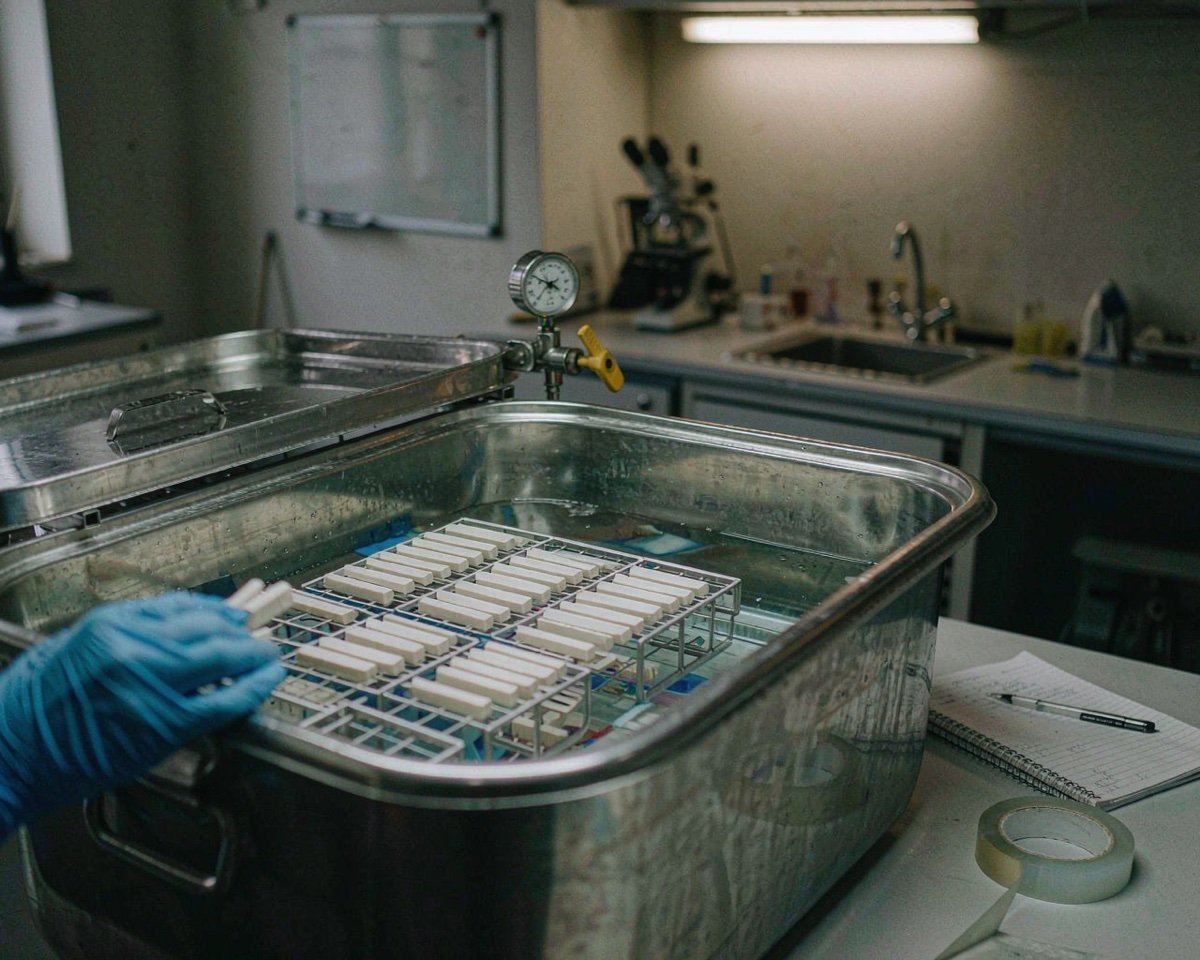
Tetrazolium (TZ) is your fast answer when a germination test would take weeks or when dormancy clouds the picture. Living tissue reduces colorless 2,3,5-triphenyltetrazolium chloride to a red formazan, so stained embryos read as viable. A published TZ assay protocol uses a 1% solution, incubation at 30 °C for 24 to 48 hours in the dark, then evaluation under a stereo microscope. The reagent itself is listed as a flammable solid with skin and eye irritation warnings, so stock gloves and eye protection alongside the amber bottle, and store it at 2 to 8 °C.
Vigor testing adds a second shopping list. Accelerated aging uses sealed boxes with a mesh tray over 40 mL of water, held near 100% relative humidity at 41 °C for 48 to 72 hours before a standard germination retest; a soybean study in PMC shows the full setup, including the conductivity test where 50 seeds soak in 75 mL of deionized water for 24 hours before you read leachate on a conductivity meter. That means plastic aging boxes, mesh screens, conductivity cups, and a meter with calibration standards all belong on the order.
Moisture Testing Consumables
Moisture content looks like the simplest test in the lab, and it punishes sloppiness the hardest. The reference method dries two 4 to 5 g replicates in metal moisture dishes with snug lids at 103 °C (±2 °C) for about 17 hours, cools them in a desiccator, and weighs to three decimal places. From the moment the sample leaves its moisture-proof container until it’s weighed into the dishes, exposure to lab air should be under two minutes.
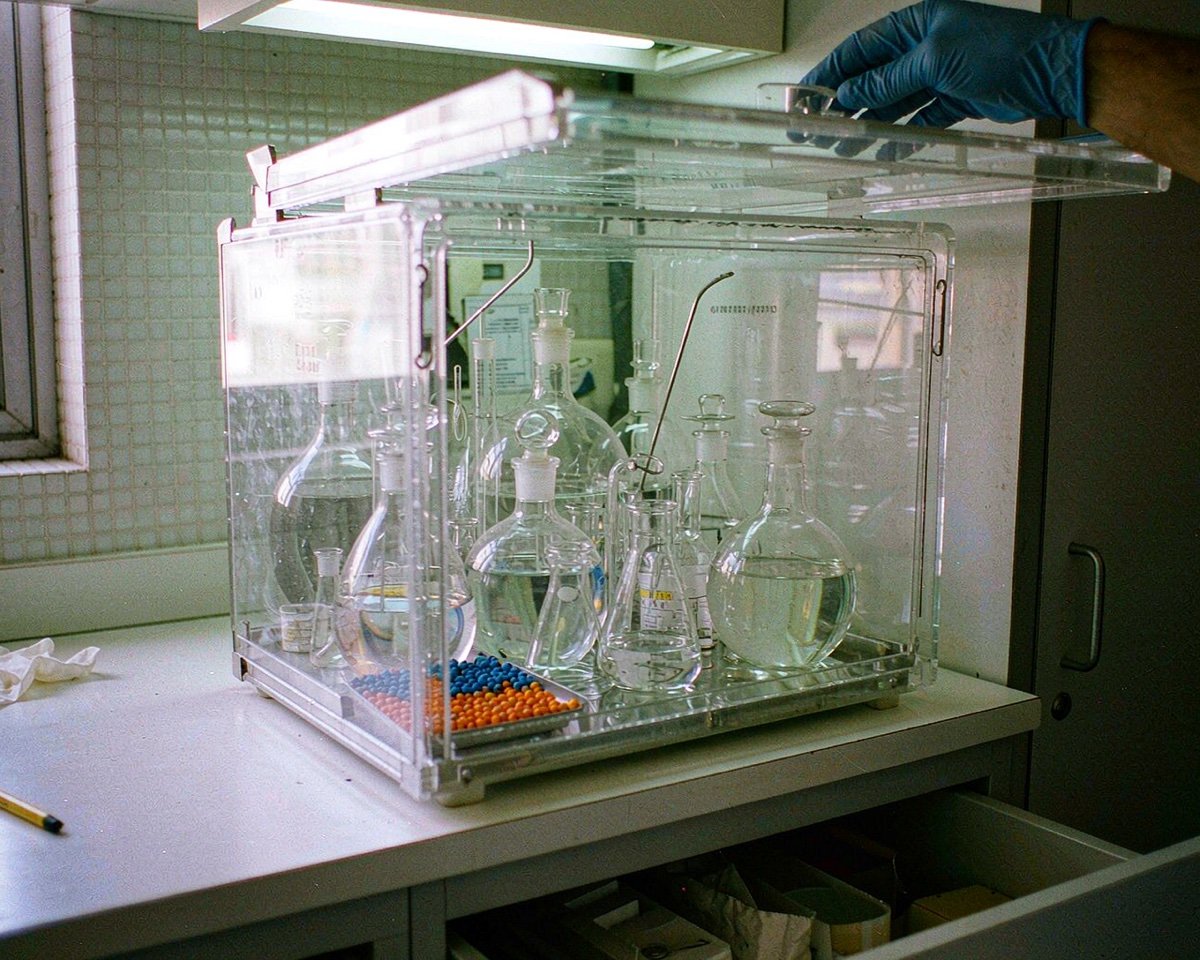
The consumables are unglamorous: numbered metal dishes with matching lids, a working desiccator with fresh desiccant, tongs, and a balance checked daily. Skip the desiccant refresh and your “dry” weights creep upward, which quietly biases every moisture number you report. If your lab also tracks water activity on seed or food lots, the sample-handling logic is the same, and our water activity testing guide covers that side of it.
Buying Notes From the Bench
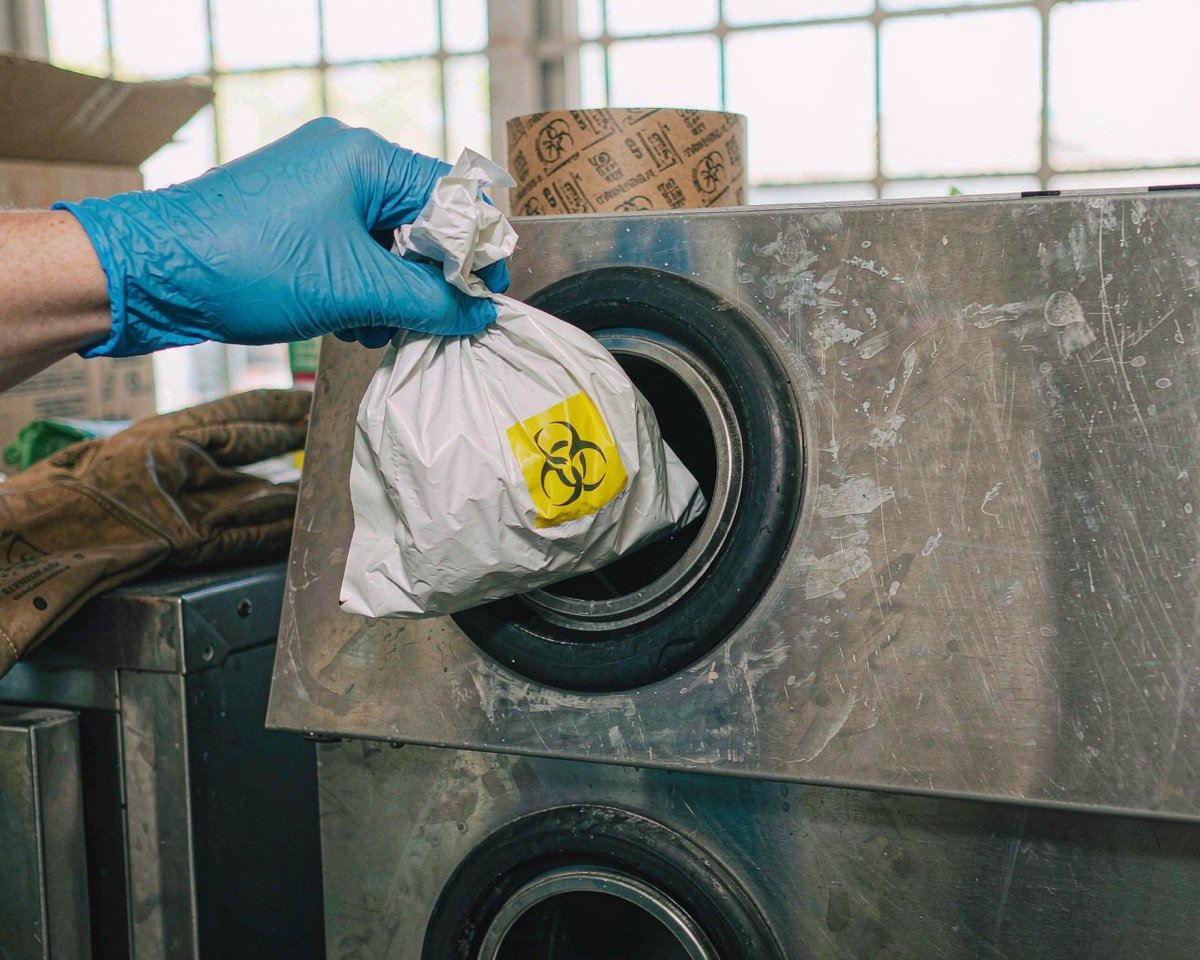
Treated seed deserves a safety note. Fungicide- and insecticide-coated seed is everywhere now, and the EPA has an open rulemaking on pesticide-treated seed that may tighten labeling and handling requirements. Gloves are non-negotiable when you’re counting dyed seed, and a dedicated dust-off area near the counter beats breathing pink pesticide dust all afternoon.
A few procurement habits pay for themselves. Buy paper in one lot per quarter so hydration behavior stays consistent between tests. Order boxes and dishes with spare lids, because lids crack and lids are what hold your humidity. And test one new paper lot against your current stock before you switch the whole lab over.
My default is pleated paper for anything small-seeded and sand only when the Rules push me there. Other labs run happily the other way, and that’s fine, as long as the method matches the species table and the results hold up on retest. For a broader view of how these items compare with other lab categories, our environmental testing lab consumables guide is a useful cross-reference.
Conclusion
A germination test is only as good as the substrate under the seed. Paper in its three placements, sterilized sand or organic media, dishes and boxes that hold humidity, a cabinet programmed for the 20/30 °C alternating cycle, tetrazolium for fast viability calls, and an honest moisture setup: together they cover the everyday workload of a seed lab. None of these items is expensive alone, but running out of any one of them mid-week stalls certificates and retests, so buy ahead of demand and standardize hydration ratios in your SOPs. If you’re building out a bigger lab program, the soil and agriculture testing guide and the plant tissue culture consumables guide both pick up where this list leaves off.
Frequently Asked Questions
What paper is used for germination testing?
Labs use crepe or kimpak-style germination paper, blotter paper, or pleated paper strips, depending on whether the method is top of paper, between paper, or pleated paper. The paper must hold moisture evenly and stay inert to the seedling, so quality control on each lot matters.
Why do germination tests use 20/30 °C alternating temperatures?
Many species germinate better with a temperature cycle that mimics day and night. The ISTA regime is typically 16 hours at 20 °C followed by 8 hours at 30 °C, with light during part of the cycle.
How much tetrazolium solution do I need for a seed viability test?
A 1% aqueous solution is the common strength, applied after preconditioning or scarification, with incubation at about 30 °C in the dark for 24 to 48 hours. Store the solution in an amber bottle at 2 to 8 °C.
Can I use regular sand from a hardware store for germination tests?
No. Sand for seed testing must be washed, sieved to the specified particle size, and heat-sterilized to remove weed seed and pathogens. Unsieved play sand introduces contamination and variable moisture that wreck replicate uniformity.
What’s the difference between a germination test and a vigor test?
A germination test measures whether seed produces normal seedlings under ideal conditions. Vigor tests like accelerated aging or conductivity measure how fast seed deteriorates, which predicts field performance and storage life.