
# What Consumables Does Flow Cytometry Need?
If you’re setting up a flow cytometry bench or stocking for one, the instrument gets all the attention while the plasticware quietly decides whether your runs work. I’ve been on the procurement side of this, and the good news is that flow cytometry consumables form a short, predictable list.
Flow cytometry needs six core consumables: 5 mL sample tubes (12 × 75 mm, round-bottom polystyrene), 40 µm cell strainers, filtered sheath fluid and buffers, reagent reservoirs, low-retention pipette tips, and 96-well plates for high-throughput work. Trucount-style counting tubes round out the list if you run quantitative panels.
Here’s the full breakdown, item by item, including the mistakes that clog fluidics and waste antibodies.
Sample Tubes: The 5 mL Round-Bottom Standard
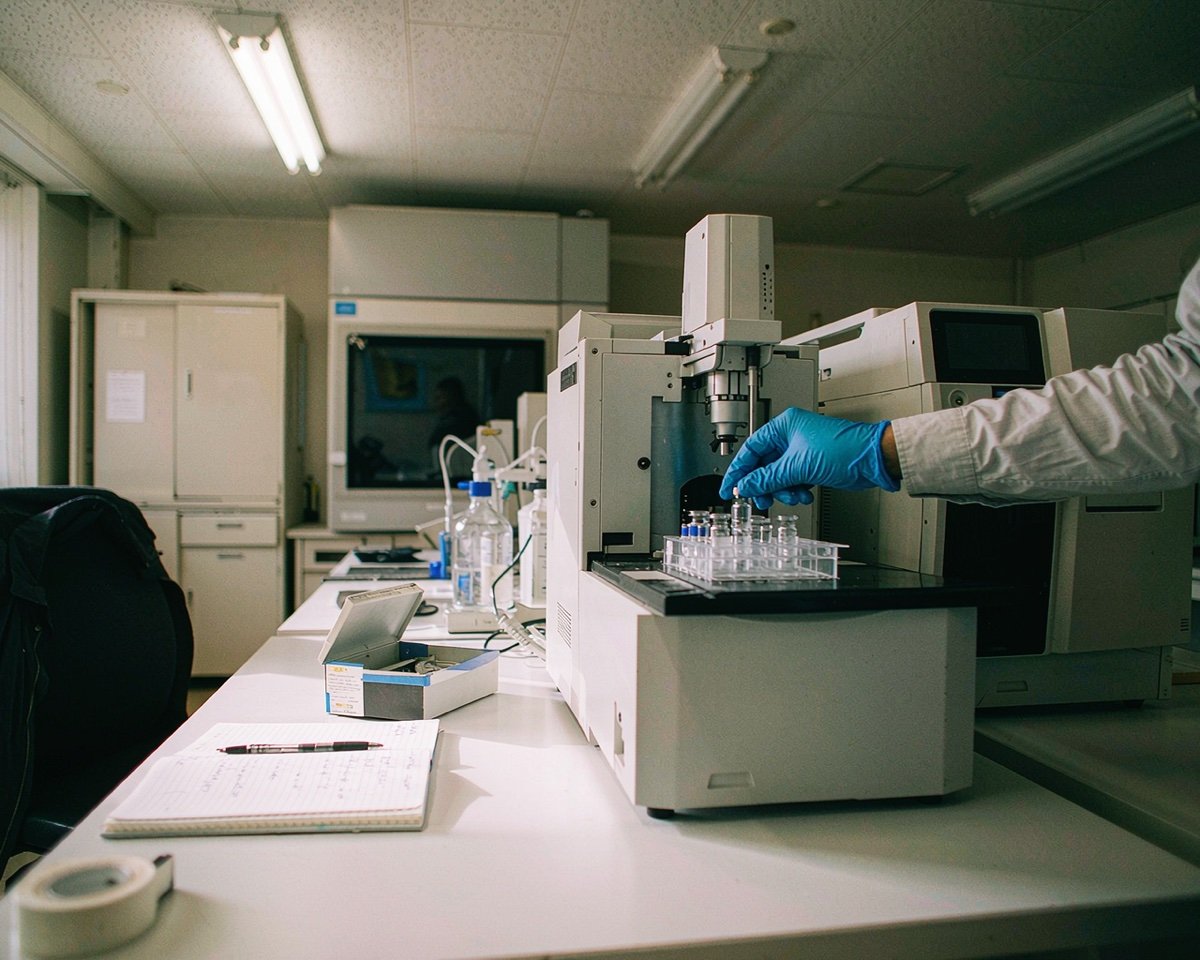
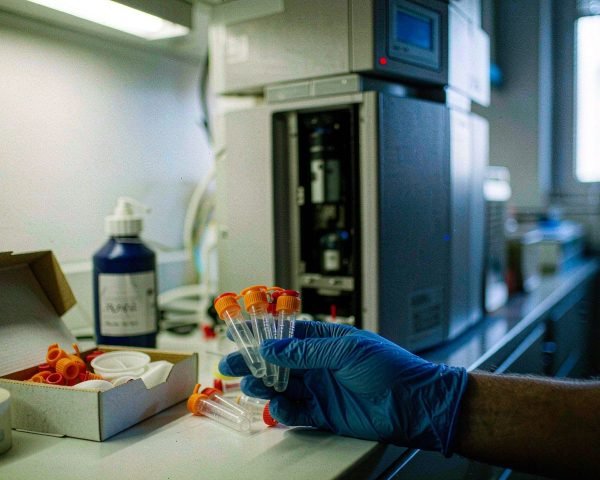
The workhorse is the 5 mL polystyrene tube with a 12 × 75 mm footprint. Nearly every analyzer’s sample port is built around this geometry, and the round bottom matters: it lets the sample pool into a shallow layer so the pickup needle can draw almost every last microliter. Conical bottoms leave your sample sitting in the tip of the cone where the needle can’t reach.
Polystyrene is the default for analyzers because it’s optically clear. Polypropylene versions exist and sorters often accept them, since polypropylene handles harsher fixatives and lower temperatures. If your core facility gave you an instrument list, check which tube material it accepts before you order a case of the wrong one.
Three variants cover most needs:
• Snap-cap tubes for standard acquisition.
• Tubes with an integrated 35 µm or 40 µm cell strainer cap, which let you filter and acquire in one vessel.
• Trucount-style tubes with a pre-filled lyophilized bead pellet on the lid, used for absolute counting (cells per µL of blood). These are brand-specific, so match them to your assay kit.
One habit worth copying from core facilities: label the tube wall, not the cap. Caps get swapped in a busy rack, and a swapped cap is an untraceable sample error.
Cell Strainers: Why 40 µm Is the Default
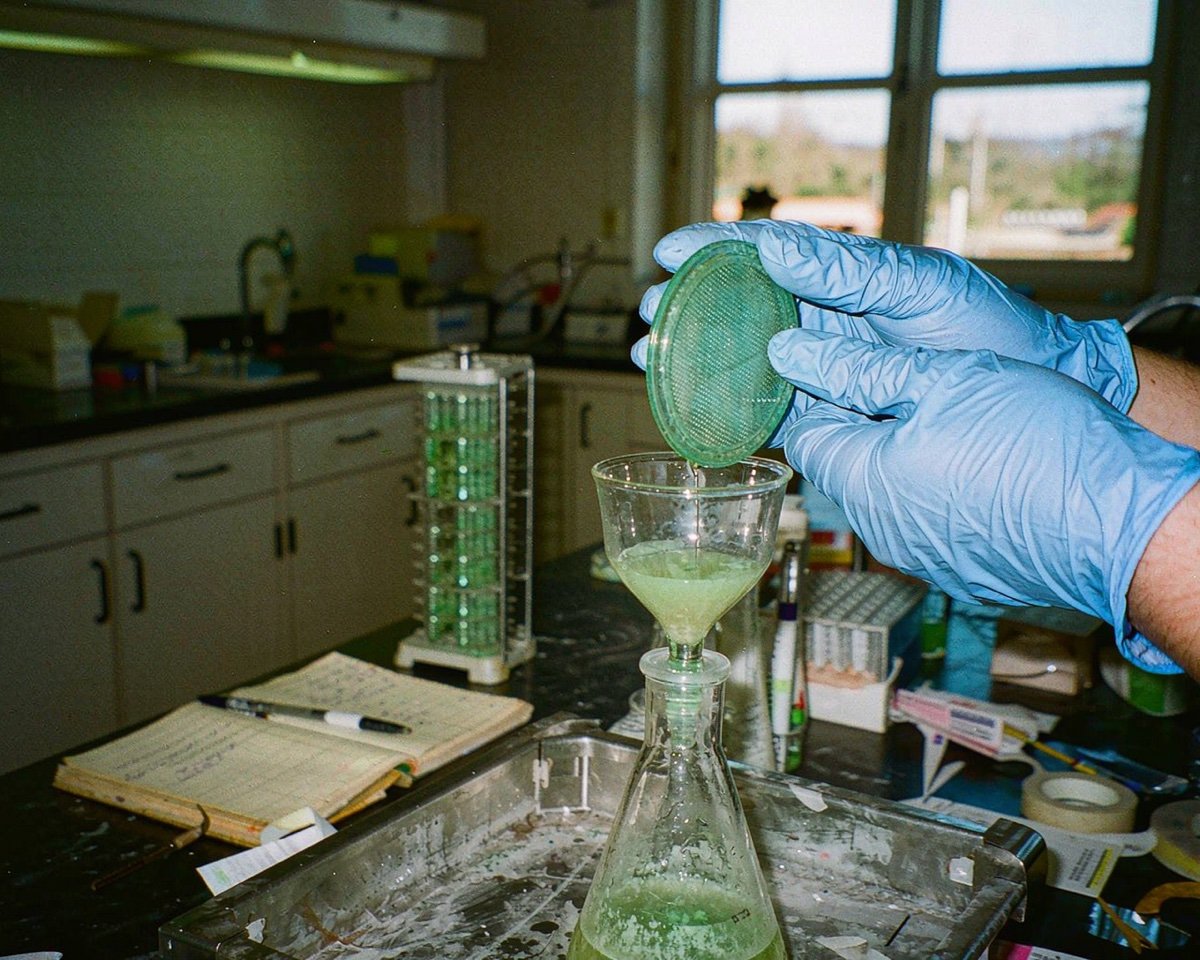
Clogs are the number one consumable-related failure in flow cytometry, and clumps are the number one cause of clogs. A 40 µm cell strainer catches aggregates and tissue fragments before they reach the nozzle. For most single-cell suspensions, especially anything from digested tissue, this is the default mesh size. Thermo Fisher’s flow cytometry protocols recommend passing dissociated samples through a 40 µm strainer before acquisition for exactly this reason, and BioLegend’s cell separation protocols build a 70 µm filtration step into their standard workflows.
You have two formats. Standalone strainers that sit on top of a 15 mL or 50 mL centrifuge tube, useful during sample prep, and strainer-cap tubes that combine filtration with acquisition. If you work with tumoroids, organoids, or primary tissue, I’d keep both on the shelf; the standalone strainer does the coarse work, the cap tube catches whatever re-clumped during staining.
Don’t push samples through with a pipette plunger if you can avoid it. Gentle pressure or gravity keeps the mesh intact and avoids forcing debris through anyway.
Sheath Fluid and Buffer Prep: Filtration Is Not Optional
The fluidics system is the heart of the instrument, and it only tolerates clean liquid. Undissolved salt crystals, precipitated buffers, algae, and dust all end up lodged in the flow cell or nozzle. A sheath filter on the instrument catches some of this, but it’s a last line of defense, not a license to run dirty buffer. Once that filter clogs, you’re looking at pressure instability and a service visit.
Practical rules I follow:
• Make PBS or sheath from high-purity water and pre-filtered stock. If you mix salts yourself, filter the final solution through a 0.22 µm filter before it touches the instrument.
• For small buffer volumes (staining buffers, wash buffers with BSA), a 0.22 µm syringe filter is the fastest route; 0.22 µm also removes bacteria and most particulates that a 0.45 µm filter would pass.
• Sterile-filtered, pre-mixed sheath concentrate is worth the money if your team mix buffer inconsistently.
• Never top off an open sheath cubainer with unfiltered water. I once watched a shared sorter go down for two days because someone poured tap-distilled water straight into the sheath tank; the pressure trace never recovered until the filter and probe were replaced.
The evidence for buffer filtration isn’t just folklore. A study on microparticle detection found that analyzing unfiltered buffer added significant background noise and false-positive events from precipitates and debris, and the authors concluded buffers should be filtered as standard practice (source).
Reagent Reservoirs and Low-Retention Pipette Tips
Antibody master mixes are expensive. A stained panel can carry hundreds of dollars of fluorochrome-conjugated antibodies, and every microliter that clings to a reservoir wall or a regular tip is money in the trash. Low-retention tips and low-profile reservoirs recover more of that mix. If you’re designing a new panel from scratch, BD’s panel design resources are the best starting point for matching fluorochromes to your instrument before you order anything.
For panels, use a chilled reagent reservoir (or an ice-cold aluminum block under a standard one) and prepare the antibody cocktail in one reservoir rather than per-tube additions. Master mixes reduce pipetting error and keep incubation timing consistent across the plate. Tip choice matters here too; low-retention tips with filters protect both your sample and your pipette.
Antibody Incubation: Tubes, Plates, and Light Protection
Surface staining incubates 15 to 30 minutes, and fluorochromes fade under bright light. So the consumables here are simple but specific:
• 5 mL tubes or V-bottom 96-well plates for the staining reaction. Plates win when you have many samples; tubes win for low sample counts and wash steps that need visible pellets.
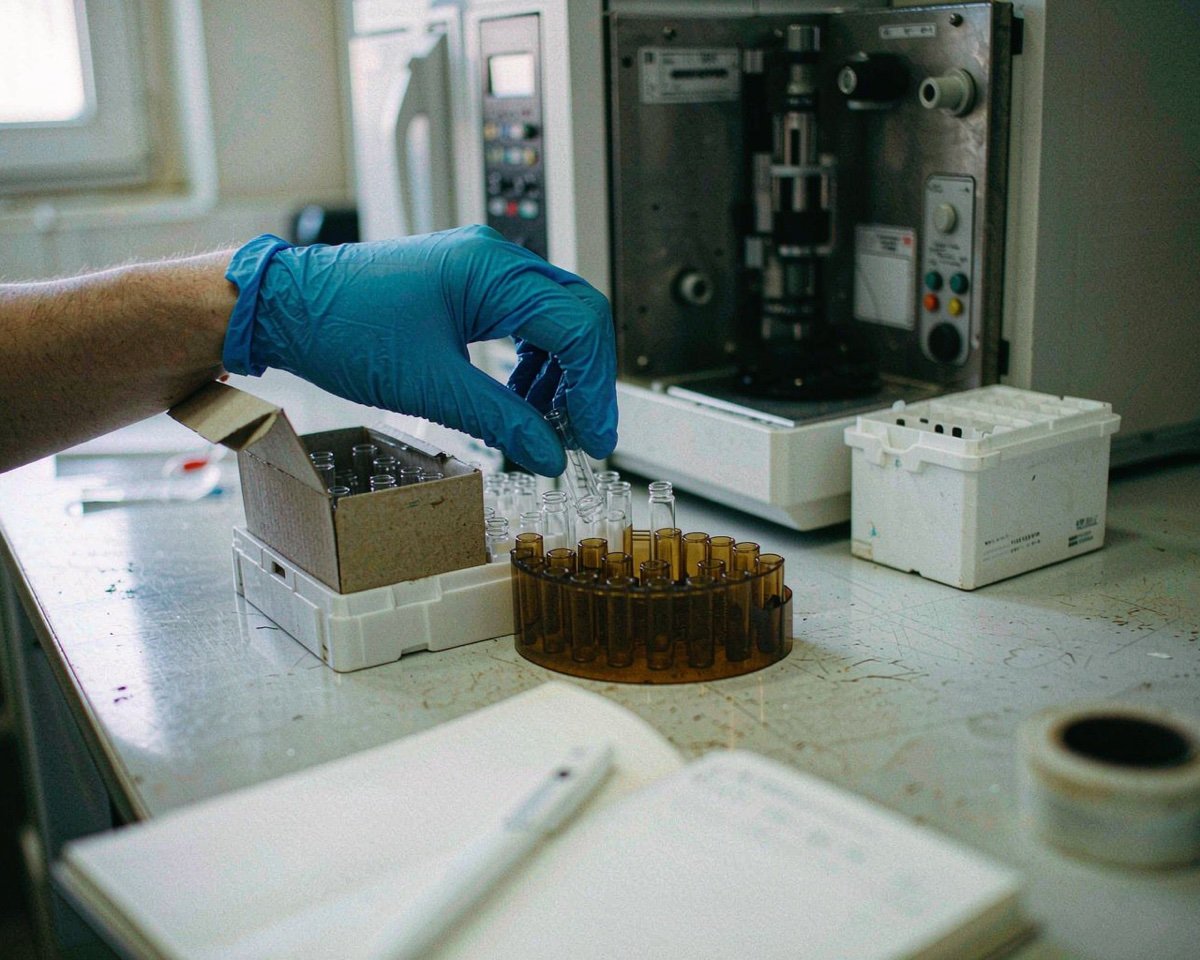
• Amber microcentrifuge tubes or a foil-wrapped rack for antibody cocktails. Tandem dyes are the most light-sensitive, and they also degrade in fixative, so stained samples shouldn’t sit overnight unless your protocol says so.
• A plate sealer if you transport plates between the bench and the instrument, so edges don’t evaporate.
For wash steps, remember that 96-well plates and 5 mL tubes centrifuge differently, so match your vessel to the rotor you actually have.
Acquisition Hygiene: Keeping the Fluidics Alive
Most instrument downtime traces back to what flowed through it. Beyond filtered buffers, three habits protect the machine:
1. Run a tube of filtered water or cleaning solution at the end of every session, per your instrument’s shutdown protocol.
2. Strain every sample, every time, even the “clean” ones. The Eur J Immunol guidelines on flow cytometry and cell sorting specifically recommend filtering all samples before analysis because primary-tissue preparations are prone to clogging instruments (source).
3. Bleach and water runs after potentially biohazardous samples, both to decontaminate the fluidics and to keep sample carryover out of your next run.
If your lab runs a cell sorter, add aerosol management to the list. Sorters generate aerosols at the sort chamber, and every major manufacturer requires an aerosol containment system (AAMS on BD sorters, for example) with regular testing, especially for samples with any infectious potential. This is a hard requirement, not a nice-to-have; sort operators should be trained on it before their first sort.
96-Well Plates for High-Throughput Work
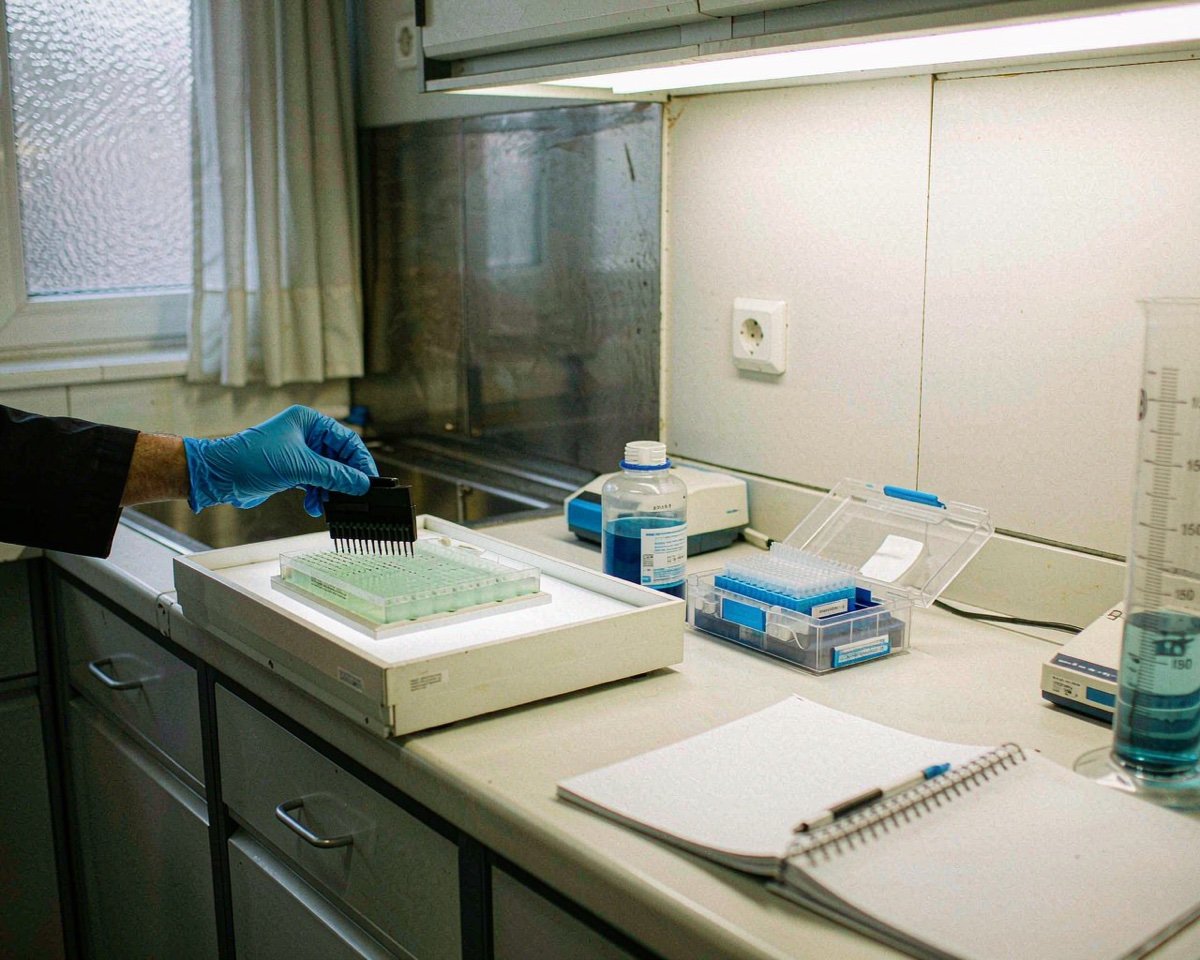
If your analyzer has a plate loader (HTS options on many analyzers), stained samples live in 96-well plates. Use V-bottom or round-bottom plates so cells concentrate into a drawable volume; flat-bottom plates leave sample spread across the well floor. Choose non-treated polystyrene for staining, and low-retention or non-binding surfaces if you work with scarce cells.
Plates also change your consumable math: plate-based staining uses far less antibody per sample than tube-based staining, which is one reason high-throughput immunophenotyping labs rarely stain in tubes anymore.
A Short Buying Checklist
If you’re building an order list for a new flow bench, start here:
• 5 mL polystyrene tubes, 12 × 75 mm, snap cap (and strainer-cap versions)
• Standalone 40 µm cell strainers for 15/50 mL tubes
• Sterile PBS or sheath concentrate, plus 0.22 µm filters for in-house buffer prep
• Reagent reservoirs (low-profile) and low-retention filtered tips
• V-bottom 96-well plates and plate sealers
• Amber tubes or foil for light-sensitive incubations
• Cleaning solution (bleach, diluent, and instrument-specific cleaner)
Many of these overlap with general cell-culture stock. If your lab already buys sterile, certified plasticware, check whether it meets the same claims you’d want here; our article on DNase- and RNase-free consumables explains which claims matter for which workflows.
Conclusion
Flow cytometry doesn’t need exotic consumables; it needs the right ones, kept clean and used consistently. Sample tubes matched to your instrument, a 40 µm strainer between every tissue prep and the nozzle, buffers filtered at 0.22 µm before they see the fluidics, and low-retention plastics that don’t eat your antibody budget. Get those four things right and most acquisition problems stop before they start. When you’re ready to build out the rest of the bench, our guides to 96-well plates and how autosamplers use them and pipette tip selection are good next reads. And if you’re comparing suppliers, ask for lot documentation and filter performance data up front; a good vendor answers those emails quickly.
Frequently Asked Questions
What tubes are used for flow cytometry?
Most analyzers use 5 mL round-bottom polystyrene tubes with a 12 × 75 mm footprint and a snap cap. Sorters may also accept polypropylene versions, and strainer-cap tubes combine filtration with acquisition in one vessel.
Why is sheath fluid filtered?
The fluidics system has narrow channels that clog easily from salt crystals, precipitates, and particles. Filtered sheath keeps pressure stable, protects the flow cell, and prevents debris from appearing as false events in your data.
What size cell strainer for flow cytometry?
A 40 µm strainer is the standard choice because it removes clumps and aggregates that would clog the nozzle while letting single cells pass. Use it on all dissociated tissue samples before acquisition.
Do I need to filter PBS for flow cytometry?
If you prepare buffer from dry salts or stock concentrates, yes, filter it through a 0.22 µm filter before use. Undissolved salts and contaminants are a leading cause of fluidics clogs and instrument downtime.