
# Packaging and Transit Lab Consumables: The Complete Guide
A carton that survives a warehouse in Shanghai can fail on a truck ride in São Paulo. That is why packaging and transit testing labs exist, and why their shopping list looks strange to outsiders. This guide covers the machines, the consumables behind them, and the standards that decide both.
The short answer: A packaging and transit testing lab needs two budget lines: machines that simulate distribution hazards (drop, vibration, compression, climate) and cheap consumables that make results valid: dye penetrant, blotter paper, board samples, and PPE. Most labs overbuy the machines.
Read on, because the consumables side is where labs quietly get into trouble. A $40,000 drop tester cannot save a test run when the dye solution was mixed wrong, the blotter paper was damp, or the sample cartons came from a different board lot than the last submission.
What a Packaging and Transit Testing Lab Actually Does
Strip away the jargon and the job is simple: reproduce a journey in a room. Products get dropped, shaken, squeezed, frozen, and humidified in a sequence that mimics what happens between the factory and the customer. Then somebody inspects the wreckage and decides whether the packaging design earned its certificate.
The workflow has five steps, and four of them depend on consumables. First comes sample preparation: cutting board specimens, sealing pouches, building the pack-out exactly as the shipper does. Then conditioning, where samples sit in a controlled climate until the materials reach equilibrium. The test sequence itself follows a chosen standard, hazard by hazard. After that, inspection: seal checks, leak tests, photographs, measurements. Finally, the report, which becomes the evidence a customer takes to their own auditors.
Notice what gets consumed. Every destructive test destroys samples, sometimes dozens per run. Labels peel, tapes tear, gloves puncture, dye stains everything it meets. The machines amortize over a decade; the consumables run out every week.
Who hires these labs? Medical device manufacturers validating sterile barrier systems, pharma companies qualifying shippers for cold chain, food brands fighting crushed cartons from e-commerce, and electronics firms whose return rates depend on cushioning. The lab’s report is often the last signature before a product ships worldwide, which is why the consumables behind it deserve more respect than they usually get.
I learned this the hard way early in my career. We booked a full ASTM D4169 sequence for a medical device customer, and nobody checked that we had enough spare cartons. The vibration test chewed through the primary samples, the compression test needed more, and by the drop stage we were rationing the last three boxes like wartime bread. The retest slot sat empty for eight days while fresh board came in from the converter. Since then, my rule is simple: order double the samples the protocol asks for, minimum.
The Standards That Build Your Shopping List
You cannot buy equipment for a packaging lab by walking the aisles. The standards tell you what the machines must do, how hard they must hit, and what the climate has to be. Buy against the standard, not against the sales brochure.
ASTM D4169: The Distribution Cycle Blueprint
ASTM D4169 is the backbone practice for performance testing of shipping containers and systems. It defines distribution cycles (DC-1 through DC-18) that represent different journeys, from single-parcel air freight to MIL-STD-2073 military distribution. Each cycle assigns a schedule of hazards: handling and shock, stacking and compression, vehicle vibration, and climatic exposure, each at a specified assurance level.
Two details in D4169 shape your consumable planning. The practice requires that the shipping unit stay unopened until the full sequence finishes, which means you need enough identical samples to complete the whole schedule in one run. And the tests run sequentially on the same containers, so conditioning chambers and hazard machines have to share the same specimens without gaps in scheduling. Plan consumables for the entire cycle up front, not test by test.
ISTA Procedures: Fast Screening to Full Simulation
ISTA test procedures split into families that map neatly onto lab budgets. The 1-Series are non-simulation integrity tests, useful early in design as a screening pass. The 2-Series adds partial simulation, usually atmospheric conditioning or shaped random vibration. The 3-Series, the general simulation tests, reproduce the actual damage-producing motions and forces of specific transport modes. Then there are the member performance tests, like 6-AMAZON.COM, which vendors must satisfy to sell into certain retailers.
ISTA 3A deserves special attention because parcel shipments pay the bills at many labs. The procedure covers standard, small, flat, and elongated package types up to 70 kg, and includes an optional random vibration test under low pressure that simulates air transport at altitude. That optional element is a leak test in disguise: it checks whether closures and seals hold when the package is pumped at altitude. If you offer 3A with the low-pressure option, budget for the leak-detection consumables in the next section.
ISO 11607: When the Package Is the Product
For medical devices and terminally sterilized products, the packaging itself carries a regulatory obligation. ISO 11607-1:2019 specifies requirements for materials, sterile barrier systems, and packaging systems that must maintain sterility until the point of use. In practice this means your lab’s seal-strength, dye-penetration, and transit work feeds directly into a customer’s validation file, and your consumables become part of their audit trail.
The practical consequence: traceability. Methylene blue dye bought from an unknown supplier, blotter paper stored open on the bench, pouches sealed on a bar sealer whose temperature nobody checked. All of it can unravel a validation. A lab that serves medical device customers treats consumables with the same lot discipline as the samples themselves, and that starts with knowing your COA from your COC paperwork.
Transit Simulation: The Heavy Equipment
Now to the machines. I will keep this section honest: you do not need everything on day one, and some of it you may never need in-house at all.
Drop Testers and Their Fixtures
The drop tester is the workhorse. A free-fall machine lifts the package to a set height and releases it onto a rigid deck, most often plywood over concrete, in a controlled orientation: flat face, edge, then corner, in the sequence the procedure demands. Incline impact machines do the same job by rolling the package down a ramp on a wheeled dollie, which suits heavier, palletized loads.
Drop heights are not arbitrary. ISTA procedures key them to package weight, and the numbers sting. A small parcel carton in the 3A standard category can face a 970 mm free-fall, while a 20 kg carton in an ISTA 1A screen faces roughly a 760 mm drop onto plywood over concrete, edge first, then corner. When a customer ships frozen products, I have run drops at -18 °C after the chamber soak, and brittle adhesives and cold-shrink film make that scenario brutal compared to an identical drop at room temperature. If you only remember one thing about drop consumables, remember this: the deck surface itself is a consumable of sorts. Plywood dents, splinters, and delaminates. Inspect it on a schedule, and keep spare sheets of the specified grade on hand, because a scarred deck changes the impact energy the package actually receives.
Vibration Tables
Two families exist. Fixed displacement (repetitive impact) tables run a simple back-and-forth stroke, typically a 25.4 mm total displacement in the 1-Series, with a resonance dwell test where the table hunts for the package’s natural frequency. Random vibration tables, driven by a controller and shaker, reproduce measured road spectra, usually across 3 to 100 Hz in the 3-Series.
The consumable side here is less obvious but real. Random vibration work requires accelerometers, and those accelerometers require periodic calibration against a reference; the calibration certificates are consumable paperwork with dates on them. Fixture hardware wears: threaded inserts strip, mounting plates warp after years of banging. And every test destroys cushioning and void-fill inside the samples, which must be replaced from the same lot for the retest.
Size the table to your market before you buy. A lab serving e-commerce brands lives on small parcels and needs table area, not tonnage. A lab serving industrial equipment customers needs shaker force for palletized loads and a taller compression platen, and will spend most of its budget on fixtures rather than consumables. I have seen more money wasted on oversized shakers than undersized ones, because the big machine arrives and then sits unused while the queue backs up on the small one.
Compression and Stacking
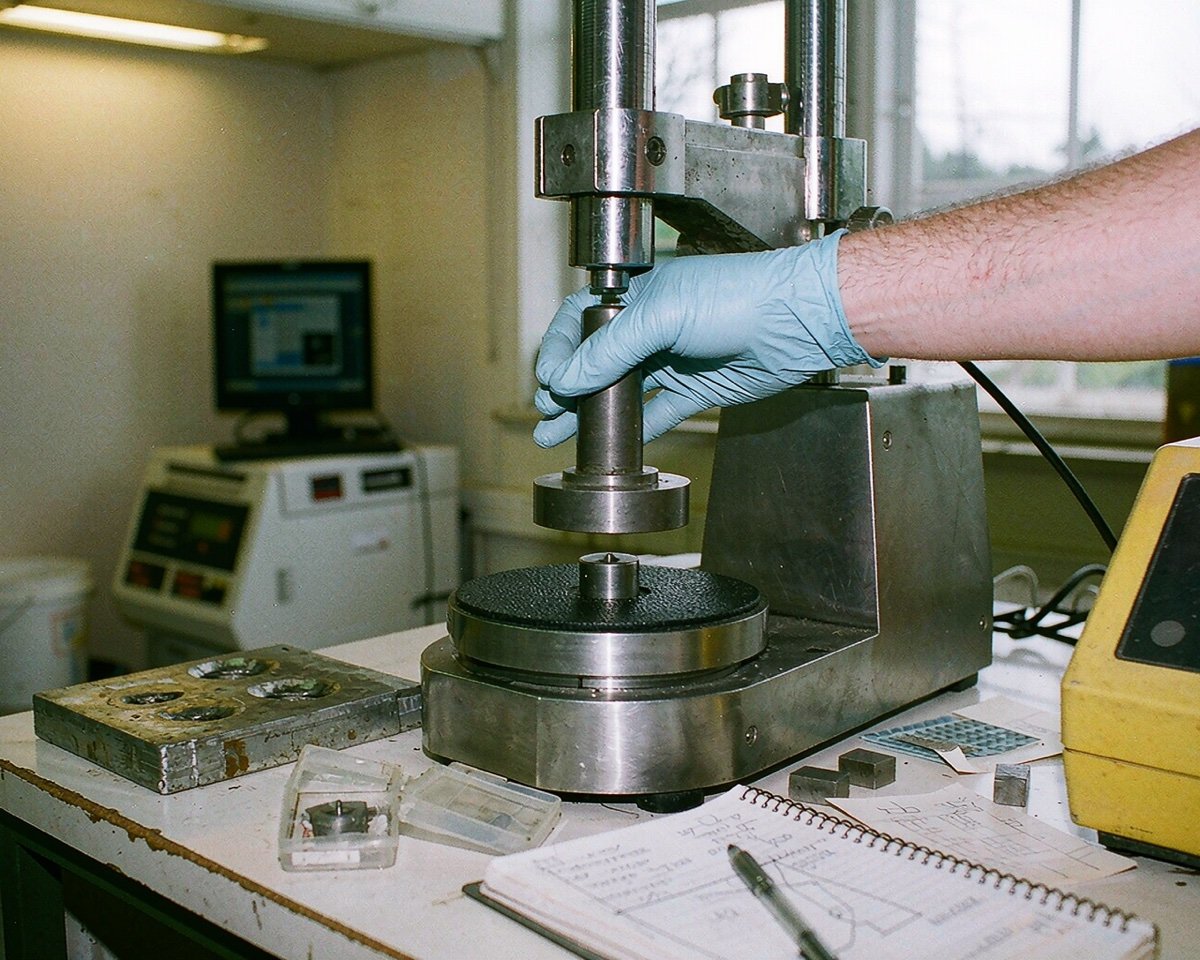
Compression machines squeeze packages from above (and sometimes from all sides) to simulate warehouse stacking and clamp-truck handling. Load is calculated from the package weight and a stacking factor, so a 15 kg carton headed for a 4-high stack faces serious force for an hour or more. Consumables here are mostly measuring: platen faces wear, and the calibrated load cells need annual certification, with the paperwork filed alongside everything else.
Climatic Chambers
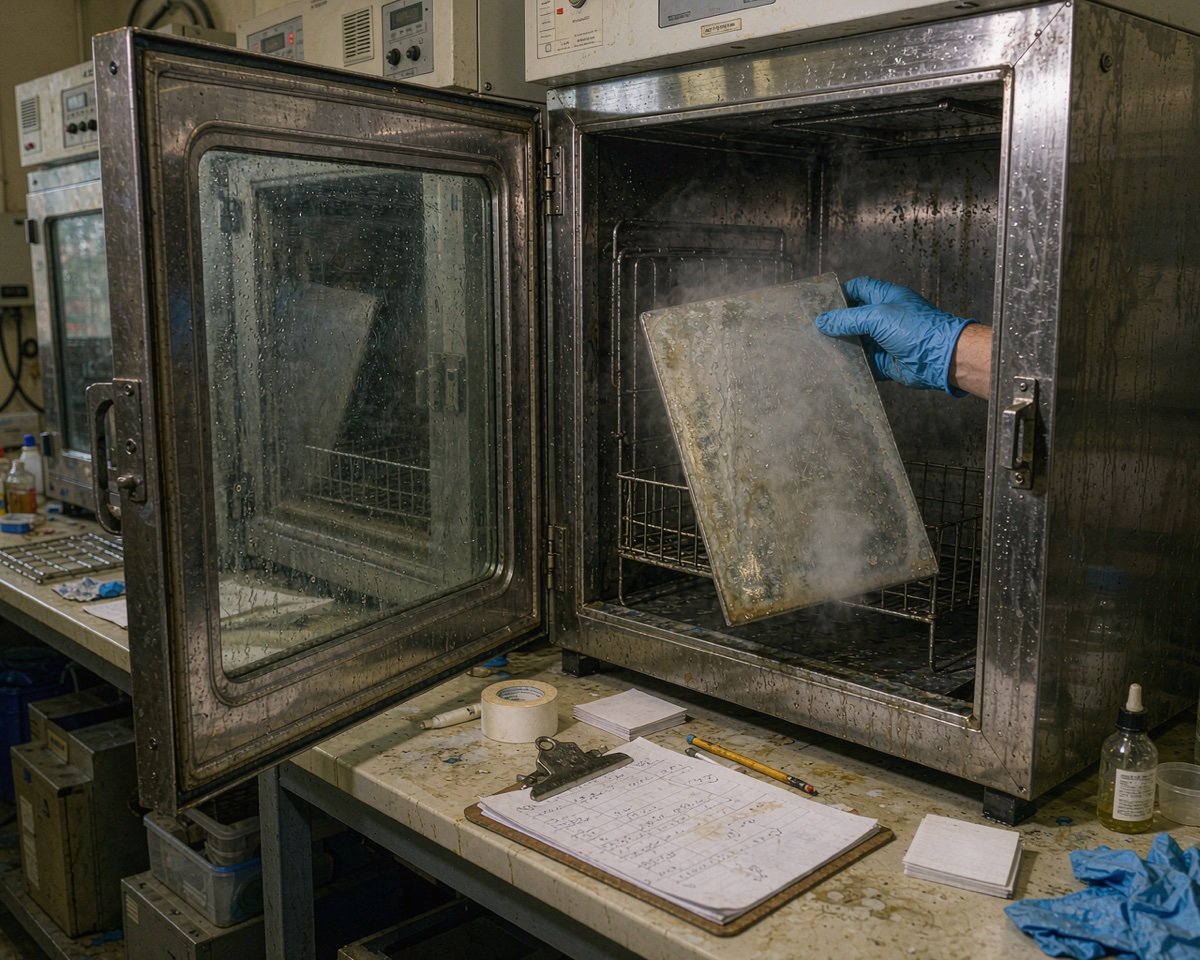
No serious transit lab skips the chamber. Conditioning is where samples soak at 23 °C and 50% RH before anything else happens, and where the nastier profiles live: 38 °C and 85% RH for 72 hours to simulate a tropical port, or a frozen cycle for cold-chain products. The chamber itself is capital equipment; the consumables are the calibration records, the sample racks that rust over years of condensation, and the patience to wait out 72-hour soaks without pulling samples early. Corrosion-resistant racking sounds trivial until you watch cheap steel racks shed rust flakes onto white corrugated samples mid-soak.
Seal and Leak Testing: The Consumables That Do the Real Work
Here is a confession: the machines in this section are modest. The consumables are the stars, and they are also where audits bite hardest.
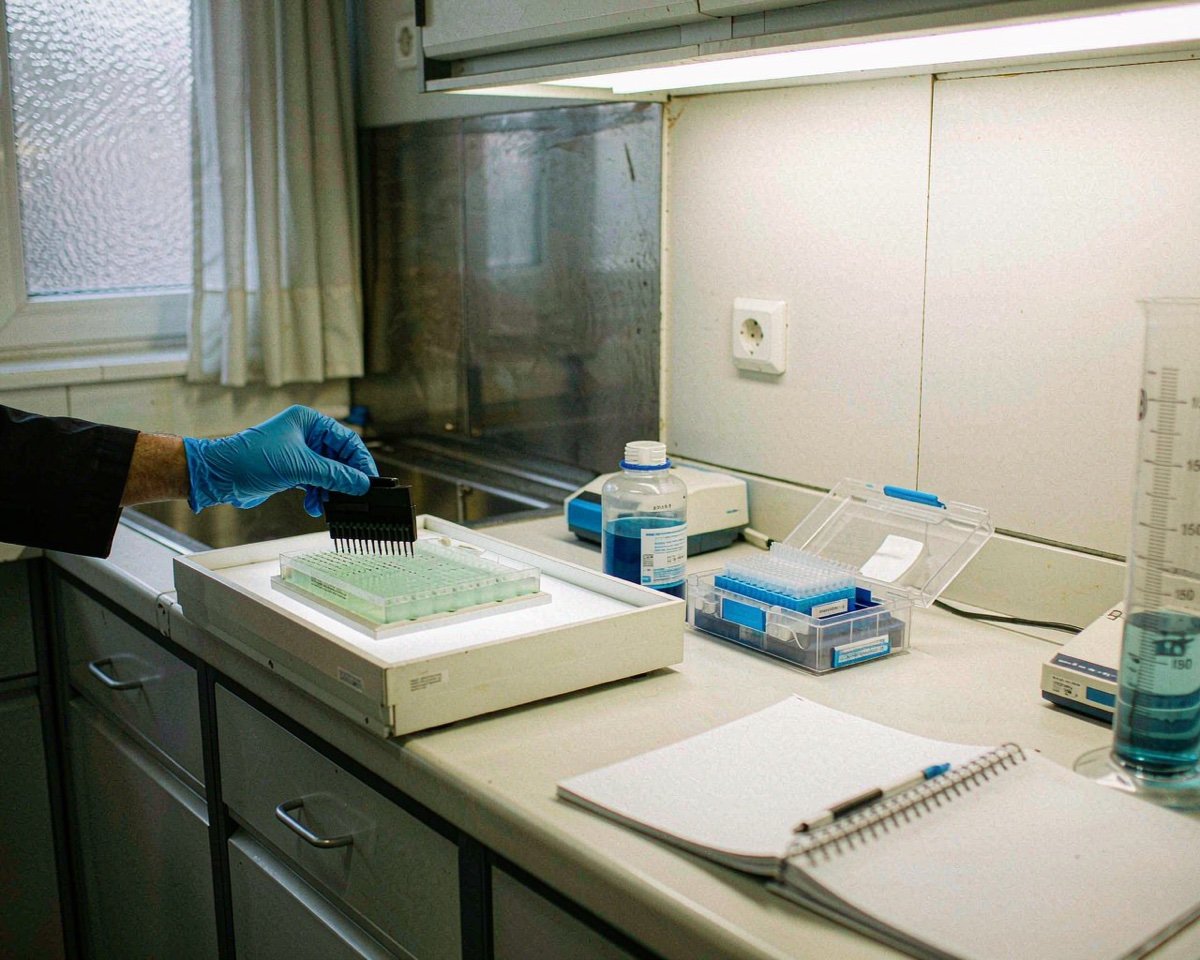
Dye Penetration Kits
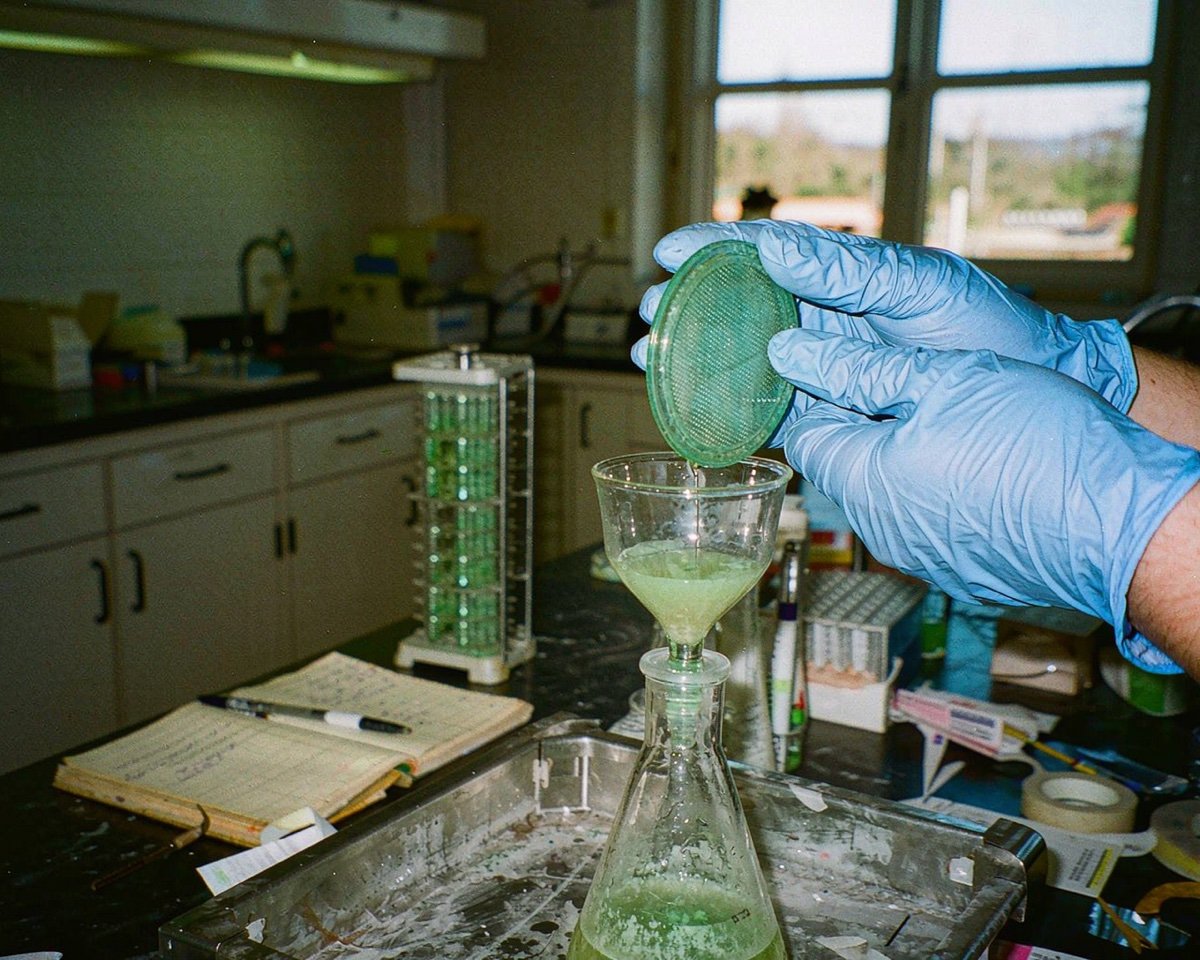
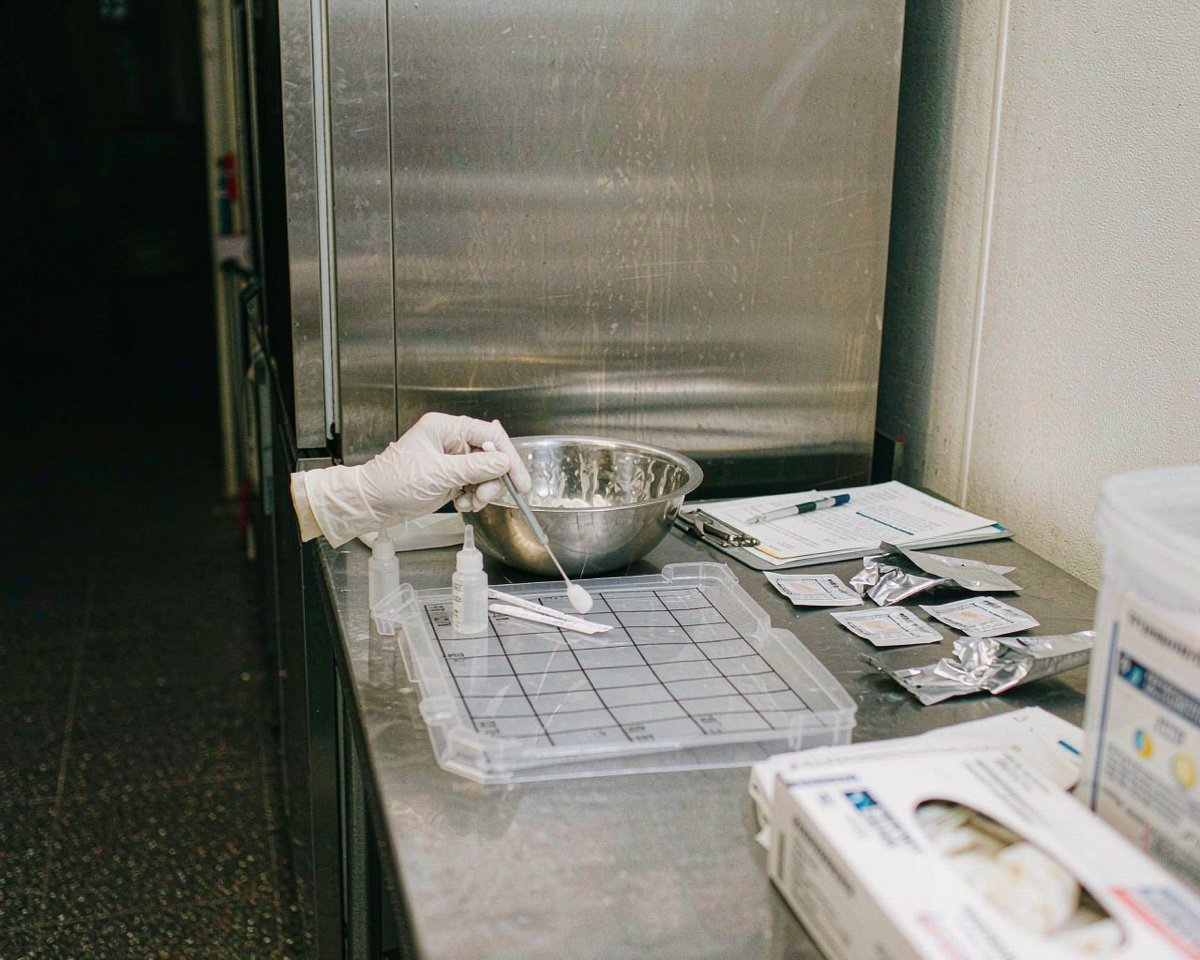
ASTM F3039 is the go/no-go dye test for nonporous packaging. Method A detects a leak channel as fine as one formed by a 50 µm wire in edge seals; Method B finds defects of 10 µm or larger in flat sheet. You paint or roll a dye penetrant along the seal edge, wait the specified contact time, then press the seal against an absorbent surface and look for staining. Any stain at all is a fail. The method is deliberately simple, deliberately destructive, and it catches the channel leaks that visual inspection misses every time.
The consumables list for this is short and unforgiving:
• Dye penetrant solution, prepared to the standard’s recipe, fresh, and dated on the bottle.
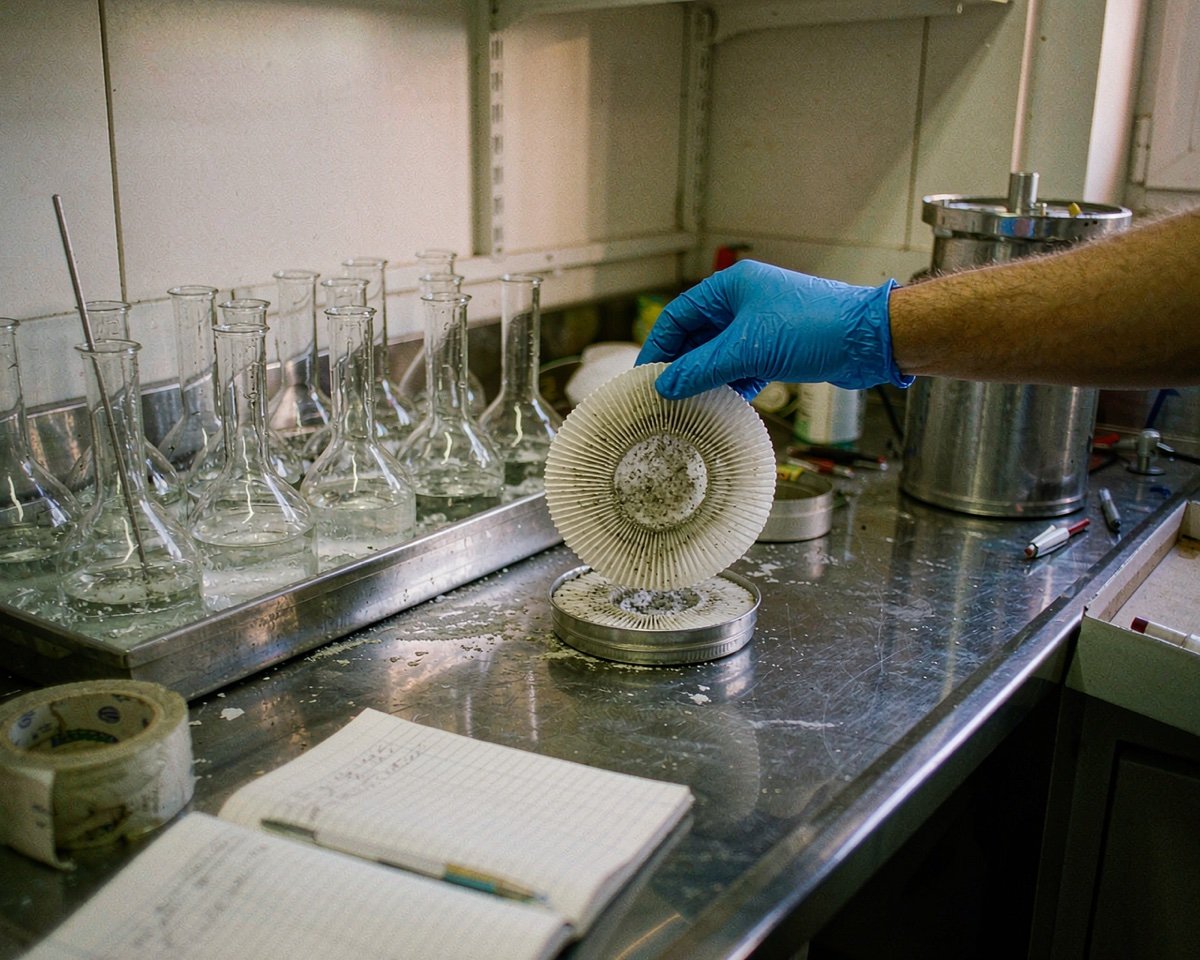
• Absorbent blotting paper or board, kept dry, since moisture dilutes the stain and hides failures.
• Application swabs or a small soft roller, replaced regularly because dried dye chunks scratch pouches.
• Nitrile gloves and eye protection, because the dye is persistent and stains everything it touches, including benchtops and reputations.
One warning from experience: do not let anyone substitute “methylene blue from the histology shelf” without checking the standard’s formulation. Different dye penetration methods use different solutions, and the wrong solvent can wick through materials it should never touch. I once watched a technician’s improvised dye produce a false failure on a foil laminate batch, and it took a full day and a fresh, properly mixed bottle to calm the customer down. Mix to the recipe, label the bottle, bin it when it ages.
Porous Materials Need Their Own Dye Test
The moment a package includes a porous sheet (medical Tyvek header bags are the classic case), F3039 is off the table. Dye will wick through porous material no matter how careful you are, so the same chemistry that works on foil laminates would fail every Tyvek pouch ever sealed.
For those packages, ASTM F1929 is the method built for the job. It detects channel leaks of 50 µm or larger in edge seals formed between a transparent film and a porous sheet, using three application options: injection, edge dip, and eyedropper. The method also sets a strict material condition: the porous layer must retain the dye and keep it from discoloring the seal area for at least five seconds. Uncoated papers are flagged as especially prone to premature wicking, which is exactly the false-positive trap that ruins a test day.
So your consumables shelf needs two separate dye kits, clearly labeled, never cross-used. Keep a log of which kit went with which substrate. A laminated film pouch tested with porous-material dye, or a Tyvek header bag tested with nonporous dye, produces numbers no auditor should accept, and some auditors will check.
Tensile Tester Grips for Seal Peel Testing
ASTM F88 measures seal strength by pulling a strip of sealed pouch apart in a universal testing machine and reporting force per unit width, plus the failure mode. The test defines three grip techniques (A unsupported, B supported at 90°, C supported at 180°) because how you hold the tails changes the number you get.
Consumables for seal peel work:
• Specimen strips, cut across the seal, typically 25.4 mm wide, with parallel edges. A precision double-blade cutter earns its price within a month; scissors do not.
• Grip faces. Rubber-faced grips chew up over time, and a slipping jaw turns a valid peel into a junk datapoint.
• Spare sealer bars and PTFE covers for the bench sealer that produces the test seals, because scorched PTFE transmits heat unevenly and your seal curve starts lying to you.
My plain opinion: pick Technique A for medical pouch work and never change it mid-study. Results between techniques are not comparable, and I have seen two years of baseline data invalidated because someone “improved” the setup halfway through a shelf-life program. Whatever technique your protocol names, write it on the wall next to the tensile tester.
Burst and Whole-Package Tests
Burst testing rounds out the picture. For corrugated board, a Mullen-type burst tester pressurizes a clamped specimen until it ruptures, and the board samples themselves are consumables cut from the customer’s material. For whole flexible packages, internal pressurization methods inflate the package until it bursts or creeps, and each test annihilates one package. These methods are fast, but they eat samples, so the “order double” rule applies double here.
Sample Prep: Board, Boxes, and the Bench That Cuts Them
Sample preparation decides whether everything downstream means anything. A test report is only as honest as the specimen, and specimens come from consumable stock.
Corrugated board testing needs a constant-pressure specimen cutter for edge crush and flat crush samples, because a ragged edge understates the board’s real strength. Keep board stock from the same lot as the customer’s production material; a carton from a different mill run can differ enough to poison a comparison. Boxes for full pack-outs must be built exactly as the shipper builds them, down to the tape overlap and the corner folds, which is why a good lab photographs the reference pack-out and pins the photo above the bench.
Sealing supplies follow the same logic: the specified tape, the specified tape gun, replaced when the blade dulls. Void fill, cushioning, and dividers come from the customer’s actual bill of materials, not from whatever is in the storeroom. And every specimen gets a durable label with an ID that survives the conditioning chamber, because an unidentifiable wet carton after a 38 °C soak is a very expensive piece of garbage. Our guide to vial packaging options before bulk orders covers a related point from the supplier side: how packaging itself is specified and QC’d before it ever reaches a lab bench.
PPE and Bench Safety
Packaging labs look harmless and are not, quite. Drop decks drop things on fingers as easily as floors. Burst testers release stored energy. Dye solutions and conditioning chambers add chemical and heat hazards on top. Stock cut-resistant gloves for box cutting, safety glasses for anyone within a meter of a drop or burst test, and steel-toe footwear as policy, not suggestion. Nitrile gloves belong in the dye area only; keep them away from heat sealers, where a hot bar turns a glove into a skin contact burn. Budget for replacement gloves weekly, not monthly, because people will keep wearing torn pairs to avoid the storeroom trip.
Documentation: The Cheapest Consumable
Every test above ends in paper, or at least it should. Specimen ID labels, pack-out photographs, chamber charts, calibration certificates, witness sheets: these are consumables, bought in bulk, filed by project. A camera dedicated to the lab (phone cameras wander off) and a printed inspection checklist per standard keep the report defensible later.
Traceability deserves its own habit. When a sample enters conditioning, its label should record what it is, which lot, which conditioning profile, and what test it is queued for. When dye gets mixed, the bottle gets a mixed-on date and a mixed-by name. When a grip face gets replaced, the maintenance log notes it. None of this costs more than labels and discipline, and it converts your consumables from expenses into evidence. Labs that skip it usually meet their comeuppance during a customer audit, holding a perfect result they cannot trace to a method.
Think about retention too, because audit findings often arrive months after the test. Reports, pack-out photos, chamber charts, and raw force-displacement files need a filing system that survives staff turnover. A simple project folder structure, one folder per submission with a printed index sheet inside, beats any clever digital scheme that nobody maintains. And date everything. An undated photograph of a test sample proves approximately nothing a year later.
A Starter Shopping List
If you are standing up a new transit-testing bench, the table below condenses everything above into one page. Prices vary by region, so treat the tiers as relative, not absolute.
| Item | What to look for | Why it matters |
|---|---|---|
| Drop tester + spare deck plywood | Height range covering your customers’ package weights; plywood spec per the procedure | The deck is the reference surface; a dented deck skews every impact result |
| Fixed displacement vibration table | 25.4 mm total displacement capability, resonance dwell function | Covers 1-Series screening work at low running cost |
| Bench heat sealer + spare PTFE | Adjustable temperature, dwell, and pressure | Every seal-strength and dye sample starts here |
| Precision double-blade cutter | Clean, parallel 15-25.4 mm strips | Ragged strip edges distort F88 seal-strength data |
| Two dye kits + blotter stock | One formulated for nonporous film, one for porous sheet | Mixing the two invalidates results and invites audit findings |
| Tensile tester with seal-peel grips | Rubber grip faces, 200-300 mm/min separation, force per width reporting | The core instrument for F88 work |
| Corrugated board stock + ECT cutter | Board from the same lot as production material | Comparisons are meaningless across board lots |
| Conditioning chamber access | 23 °C/50% RH baseline, plus 38 °C/85% RH capability | Conditioning is mandatory before the sequence starts |
| Labels, cameras, logbooks | Labels rated for humidity and freezing | An unidentifiable sample is a wasted test |
| PPE stock | Cut-resistant gloves, safety glasses, nitrile for dye work | Cheap insurance for hands, eyes, and benches |
One honest note on prioritization: if the budget forces a choice between a better machine and a deeper consumables stock, take the consumables. A modest machine with fresh dye, clean blotter, correctly cut specimens, and a calibrated sealer will outperform a flagship instrument run on stale supplies every single time.
Buying and Maintenance Tips
A few rules I would hand any lab manager building this area from zero:
Buy consumables against the protocol, not the convenience shelf. The dye recipe, the blotter grade, the plywood deck spec, the tape: each standard names or constrains them. Cheap substitutions show up as unexplained test-to-test scatter, and scatter is what audits ask about.
Keep a consumables kanban. Dye bottles, blotter stock, nitrile gloves, specimen labels, spare grip faces, spare sealer PTFE: set a minimum level for each, and reorder at the line. Every one of these has a lead time, and none of them tolerates “we ran out mid-run.” Our article on the lab consumables buying calendar walks through the reorder logic that works for the rest of the lab, and it applies here too.
Calibrate on a calendar, file the certificates. Accelerometers, tensile load cells, chamber sensors, compression load cells, the sealer’s thermocouple. The machines matter less than the dates, because an out-of-date calibration quietly invalidates every result since the last one.
Order spare samples with every job. Twenty percent extra minimum, more for destructive sequences, and store them in the same conditions as the test samples. The day you need them, the converter’s lead time will be two weeks and the customer’s deadline will be tomorrow.
Finally, train the “why” alongside the “how.” A technician who knows why the blotter must stay dry or why the deck plywood gets inspected will catch problems you never wrote into the SOP. One who only follows steps will not.
Conclusion
A packaging and transit testing lab earns its keep on two axes: machines that can hit hard, shake hard, and hold a climate steady, and the humble consumables that make every one of those results mean something. The standards, ASTM D4169, the ISTA families, and ISO 11607, tell you what to buy and how hard to test. The consumables, dye penetrant and blotter, board specimens and labels, grip faces and gloves, decide whether the result survives an audit. When you plan the lab, plan both budget lines together, and keep the paperwork trail as carefully as you keep the samples.
If your testing extends to getting real samples to the lab in the first place, start with our rules for shipping samples that must arrive valid. And if you are weighing transport modes for consumables moving in the other direction, our comparison of air vs sea freight for lab consumables covers the trade-offs from a buyer’s seat.
Frequently Asked Questions
What is the difference between ISTA and ASTM D4169?
Both evaluate shipping containers, but they organize the work differently. ASTM D4169 defines distribution cycles with assigned hazard schedules and assurance levels, often used in pharma and military supply chains. ISTA procedures are grouped by simulation depth (screening, partial, general simulation) and by transport mode, with member-specific procedures like 6-AMAZON.COM for retail supply chains. Many labs run both, choosing based on the customer’s market and the regulatory file involved.
What is the dye penetration test in packaging used for?
It detects leaks in sealed, nonporous packaging, especially channel defects along heat seals. Under ASTM F3039, a dye penetrant is applied to the seal edge, and after a set contact time, the seal is checked against absorbent material for staining. Any visible stain fails the package. The test is quick, go/no-go, and destructive, so it is used for screening and validation rather than production release of every unit.
How many package samples do I need for a transit test?
It depends on the protocol, but destructive sequences like drop, vibration, and compression consume multiple identical units, and dye or burst testing consumes more. A practical starting point is to count the units each scheduled test requires, add at least 20% spare, and condition the spares alongside the primary samples. If a retest is likely (new packaging designs often need one), treat the spare count as a minimum, not a target.
What equipment does a basic packaging test lab need to start?
Start with a drop tester with a plywood-over-concrete deck, a fixed displacement vibration table, a bench heat sealer, a precision specimen cutter, and access to a conditioning chamber, either in-house or through a partner lab. Add a universal testing machine with seal-peel grips and a dye penetration kit for seal work. Compression and random vibration systems can follow as demand grows, since both can also be outsourced per project.