

# 9 Consumables Rules for a New Instrument Installation
The purchase order covers the instrument. It does not cover the vials, filters, and septa that decide whether a new instrument installation finishes in three days or drags into a three-week delay. These nine rules cover the consumables side of install week.
The Short Answer
Order consumables before the instrument ships, qualify the lot before the vendor’s OQ, and run the first weeks on one dedicated lot. Use correct solvent grades, protect the column with a guard and inline filter, match septa to the autosampler, stock spares, and document lots from day one.
Below is the checklist I wish someone had handed me before my first install. Each rule costs minutes now and saves days of requalification later.
1. Order the Install Consumables Before the Truck Arrives
The vendor’s site prep checklist covers power, bench space, gas supply, and room temperature. It does not tell you that the engineer will want to run a test injection the same afternoon, and that test injection needs a compatible vial sitting on your bench.
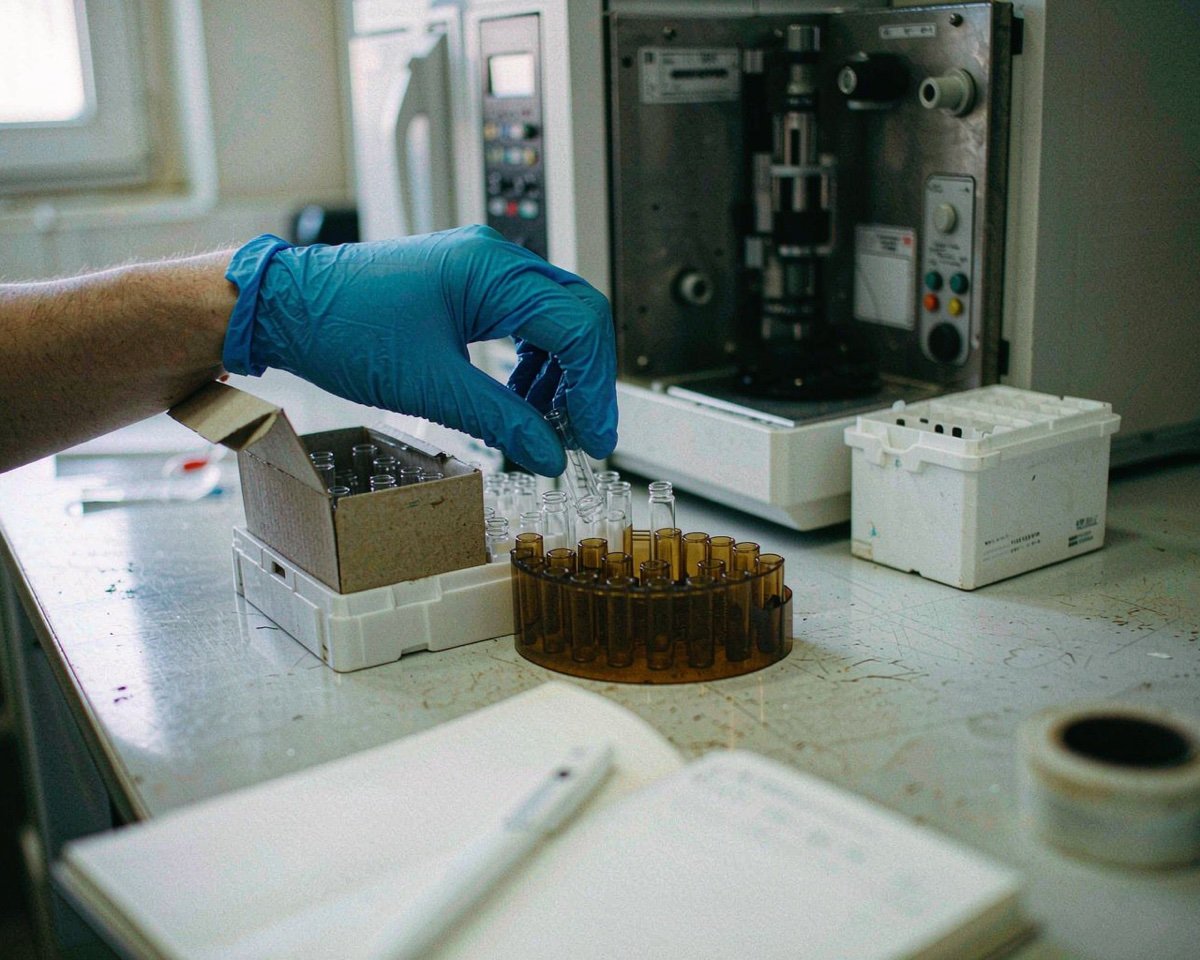
Build the consumables order when you sign the instrument PO, not when the delivery notice arrives. For an HPLC, my baseline list covers two packs of autosampler vials matched to the needle and rack format, caps and septa, syringe filters in the pore size your methods use, a liter of HPLC-grade water and organic solvents, and the maintenance parts an engineer typically consumes during commissioning. GC and LC-MS add their own lines, like inlet liners or source-clean supplies. Vendors such as Agilent publish their consumables portfolios online, so cross-checking part formats against your configured autosampler takes about twenty minutes and saves a scramble.
Allow four to six weeks of lead time. Instruments and consumables ship from different warehouses on different schedules, and the two arriving within the same week is luck, not planning. If your supplier needs custom printing or bulk packaging, add more time.
Here’s my old mistake: our first Agilent install arrived on a Tuesday and the engineer asked for 9-425 screw-neck vials. We had 8-425 crimp vials borrowed from the neighboring lab. One afternoon lost, the engineer’s visit cut short, and a rush order placed with overnight freight charges that cost more than the vials themselves. Without this rule, install week becomes a series of small emergencies, and each one eats engineer time you’re already paying for.
2. Lot-Qualify Consumables Before the Vendor’s OQ
Most labs meet the qualification vocabulary at install: IQ (installation qualification) confirms the instrument was installed correctly, OQ (operational qualification) proves it performs across its specified range, and PQ (performance qualification) shows it holds up under your real methods. The CASRAI IQ/OQ/PQ reference describes the standard sequence, including the HPLC case where OQ runs on the vendor protocol and PQ runs on your own samples and matrices.
What the sequence assumes, quietly, is that the vials, filters, and solvents used during qualification behave themselves. A filter lot that leaches plasticizers will fail your OQ blank, and everyone will blame the instrument. I’ve watched a two-day hunt for a “pump problem” end with one bad lot of 0.22 µm filters shedding fibers into the standards. The engineer was innocent the whole time.
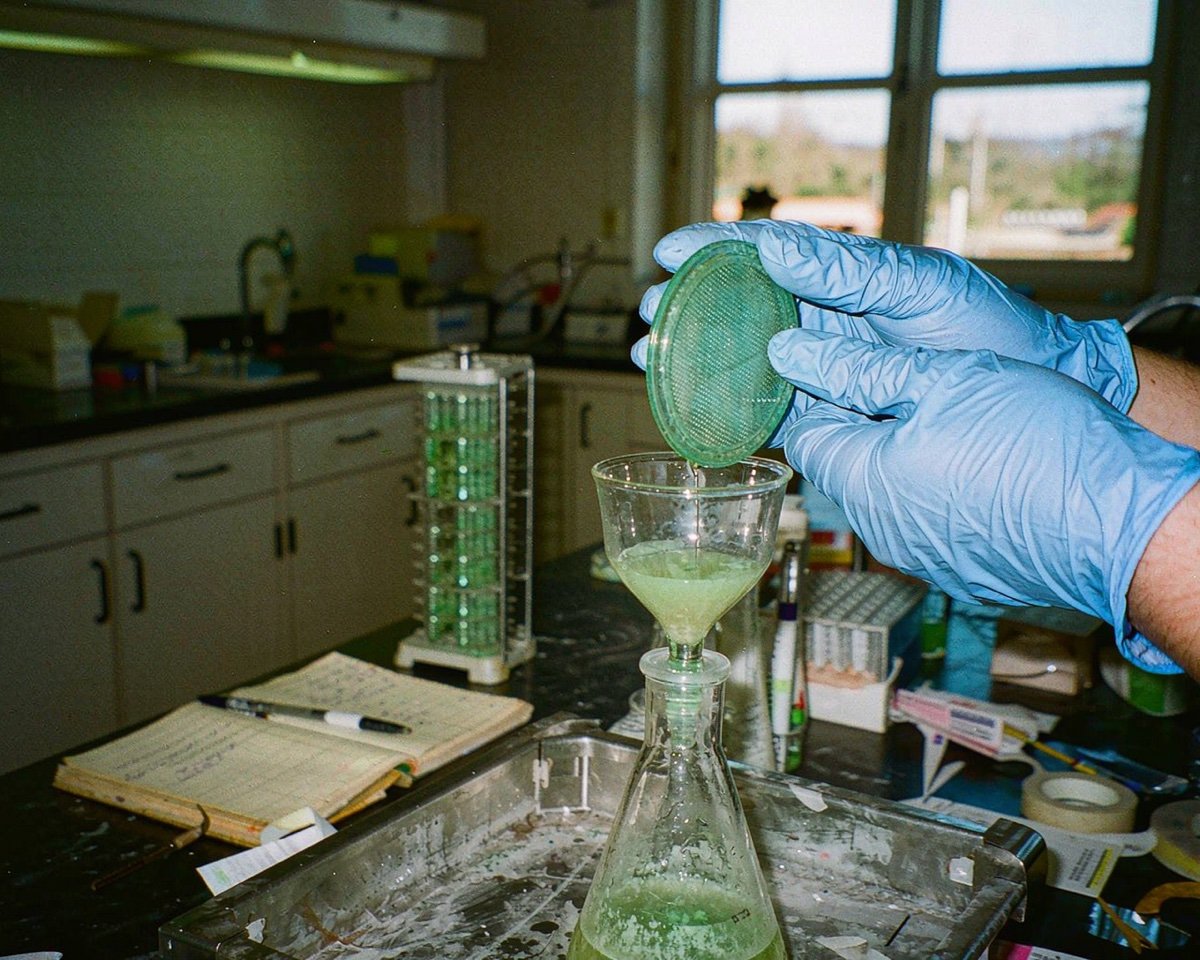
So run a small consumables check before the engineer arrives. Filter a blank through the same filter model you’ll use in your methods, inject it from the same vial type, and confirm the baseline is clean across the wavelength range. Repeat with the mobile phase you plan to qualify on. If anything shows up, you’ve found it while it still costs nothing.
This pre-check takes ten minutes and protects a qualification schedule that usually books the engineer weeks in advance. If you want the full logic, our guide on whether lab consumables need IQ/OQ/PQ walks through which consumables deserve formal checking and which don’t. Skip this rule and the likely failure mode is an OQ that fails on a consumable artifact, followed by a re-scheduled engineer visit and a week of idle instrument.
3. Keep a Dedicated Install Lot
Lot-to-lot variation in consumables is small but real. Glass surface treatment, septa hardness, and filter polymer formulations all shift slightly between production runs. During install week, that variation is noise you do not need, because every anomaly you investigate costs time against a deadline.
The rule: buy enough from a single lot to carry you through IQ, OQ, and the first month of routine use, and physically label that box as the install lot. When your system suitability passes on lot A and drifts two weeks later, your first question is “did anything change?” If nothing changed except a new filter lot, you’ve narrowed the search in seconds. If you can’t answer the question because three different lots entered the workflow, you’re back to guessing.
One dedicated case also gives you a clean reference for the future. When you eventually validate a replacement filter lot against the old one, you want the original material on hand, not a memory. I keep the sealed remainder of the install lot on the qualification shelf, dated and signed, until the instrument has three months of clean history behind it.
What goes wrong without it: mixed lots during qualification make every later drift ambiguous, and ambiguous drifts trigger requalification you can’t scope. That’s the expensive version of a problem the label on a box would have prevented.
4. Match Solvent and Mobile Phase Grades to the System
The cheapest way to spoil a new instrument is feeding it the wrong solvent grade. Technical-grade acetonitrile carries trace impurities that show up as ghost peaks in gradient methods, and unfiltered aqueous buffers grow bacteria in the reservoir within days at room temperature.
Decide the grades before install day. UV methods need HPLC-grade solvents and filtered mobile phase. LC-MS needs LC-MS grade across the board, because the detector counts every ion you give it, including the ones you didn’t mean to deliver. Preparation details matter more than people expect. Shimadzu’s technical guide on mobile phase preparation and solvent ratios shows how a 50/50 ethanol-water mix prepared by simple volume differs from one prepared to a true volume percentage, and how cold solvents fresh from storage change what the pump actually delivers. Small stuff, until retention times drift on week one and nobody can explain why.
Filter aqueous mobile phase through a 0.22 µm membrane and degas it, or confirm the module has an inline degasser. Waters’ own application notes filter samples through a 0.45 µm syringe filter before injection as a baseline step, which tells you something about where particles come from and where they end up (see the Waters prep LC method notes for a worked example).
What goes wrong without this rule: baseline noise nobody can trace, ghost peaks blamed on the column, and pump seals aging faster than they should in dirty solvent. I’ve also opened a buffer reservoir that had been quietly growing algae over a long weekend, and the smell stays with you. Grade decisions made once, at install, prevent all of it.
5. Fit a Guard Column and Inline Filter from Day One
A guard column isn’t an accessory. It’s a sacrificial front end that catches particles and strongly retained junk before they reach the analytical column, and column manufacturers treat it as standard practice rather than an option. Agilent’s preparative LC column guide states that guard column use is highly recommended and pairs it directly with sample filtration to maximize column life. Restek makes the same case from the materials side, documenting how a matched guard protects the analytical column and even improves recovery for analytes that bind to metal surfaces.
New instruments are the best moment to build this habit, because nothing defends a costly column like a barrier that’s already plumbed in. An inline solvent filter on the pump inlet and a precolumn filter or guard cartridge ahead of the column together cost a fraction of one analytical column replacement, and they take effect from the very first injection.
My default: every new HPLC gets a guard on day one, no exceptions, and the spares box includes replacement cartridges before the instrument is signed off. Our explainer on guard columns as cheap insurance for your HPLC column covers how to pick the cartridge chemistry so it doesn’t change your separation.
Skip this and the failure arrives on a predictable schedule: pressure creeps up over the first weeks, then one morning the column clogs on a rush job and the replacement is out of stock. Column cemeteries are full of samples that should have been filtered.
6. Match Septa and Caps to the Autosampler, Not to the Shelf
Autosampler needles vary in gauge, penetration angle, and side-port design. A septum that behaves in one vendor’s system may core and shed silicone into the next one’s vials, and a cap crimped to the wrong depth either leaks solvent or fights the needle on every pass. These mismatches rarely announce themselves at install. They surface weeks later as random carryover, occasional missed injections, and pressure events that come and go.
Before install, pull the autosampler specification: needle gauge, vial volume and neck finish, septa thickness tolerance, and whether pre-slit or solid septa perform better in your methods. Shimadzu’s LC consumables catalog lists the autosampler-side parts by unit, needle seals and rotor seals included, which is a useful map of everything the system touches on each injection. Then make one person responsible for ordering caps and septa that match that spec, and file the spec in the instrument documentation.
What goes wrong without it: a needle that bends on an oversized septum, septa particles migrating into the needle seat, and injections that silently fail while the sequence runs overnight. The overnight part is what makes this rule sting, because twelve hours of samples walk into the waste container before anyone looks at the data.
Our roundup of consumables that cause autosampler errors lists the ten most common mismatches, and most of them trace back to this exact rule being skipped during install.
7. Stock the Spare Kit for the First 90 Days
The first three months of a new instrument are when it teaches you its habits. Seals wear in, fittings find their torque, and the parts the service engineer touched during commissioning are the parts most likely to need replacement soon after. A lab with no spares waits on freight. A lab with spares swaps a part and keeps running the same afternoon.
For an HPLC I’d start with plunger seals, the needle seat and needle seal, inline solvent filter elements, a couple of guard cartridges, extra vials and septa, and a second column of the same chemistry if the schedule depends on it. GC adds inlet liners, septa, and traps. LC-MS adds source-clean supplies and ion-source consumables specific to your probe. Cost of the whole kit is trivial next to one week of instrument downtime, and downtime early in an instrument’s life tends to be expensive precisely because everyone is still scheduling work around it.
One detail that separates good spare kits from crowded drawers: label the kit for this instrument, store it near the system, and log replacements as they happen. Shared, unlabeled spares have a way of vanishing exactly when needed.
What goes wrong without it: a weeping plunger seal on a Friday afternoon, no replacement in the building, and a formal method transfer pushed by a week. Our guide to HPLC consumables to keep as spares covers the dozen items that prevent the most common unplanned stops.
8. Document Lots from Day One
Auditors ask boring questions with sharp edges: which vial lot, which filter lot, when did it change. If your records start at “sometime after installation,” every result the instrument produces in its early weeks inherits a gap, and gaps are where findings grow.
So treat consumables like reagents in the logbook. Record lot numbers and receiving dates for vials, septa, filters, and solvents. Keep the certificates of analysis that arrive folded inside the boxes, filed by lot, and note in the instrument log whenever a lot changes. Each entry takes under a minute, and the accumulated file answers the audit question before it’s asked.
I learned this the expensive way. During a customer audit, the auditor picked a single chromatogram from our stability study and asked for the filter lot used that day. We had it, because the lab that ran the study logged everything, and the answer took ninety seconds. The sister site across town didn’t, and spent two weeks reconstructing records for a finding that was entirely preventable with a notebook habit.
What goes wrong without it: an out-of-specification investigation that can’t rule consumables in or out, so it has to expand to cover the instrument, the method, and the analyst. Consumable lot records are the cheapest boundary wall around an investigation. Draw it on day one, not on audit day.
9. Train the Team on Consumable-Specific Failure Modes
A new instrument often means new people touching it, and most chromatography failures I’ve been called into were consumable behaviors nobody had explained to the person at the bench. Septa coring after too many punctures. Buffer reservoirs quietly growing algae over a long weekend. Vials capped so tightly the septum shreds into the sample. Sample evaporating from a 200 µL well over an 18-hour sequence because the cap wasn’t sealed for the solvent in it.
Ten minutes of targeted training at install prevents each of these. Cover the failure modes specific to your configuration: what coring looks like under the bench loupe, when to change the solvent inlet frit, how to cap a vial to the right torque, why the rinse solvent matters for carryover, and which samples need filtration before injection. Tie each failure mode to one symptom the team will actually see, so the next pressure spike or ghost peak triggers the right first guess instead of a service call.
What goes wrong without it: the lab develops a habit of calling service for things a fresh septum would fix. Engineers don’t mind, but your budget does, and your uptime suffers while everyone waits for the visit. The training also transfers when staff rotate, because it lives with the instrument, not with one person’s memory.
Conclusion
A new instrument arrives as hardware, but its first year of performance is decided by consumables. Order before delivery so install day runs on your vials, not improvised ones. Qualify the lot before OQ, then hold that lot through early use so you can always answer “what changed?” Use the right solvent grades, keep the column protected behind a guard and inline filter, and match every septum and cap to the autosampler spec. Stock the spare kit, log every lot from the first blank, and teach the team the failure modes that show up as symptoms rather than error codes. None of this is complicated, and all of it is cheapest the week the instrument lands. Labs that follow these nine rules start producing defensible data on schedule; labs that skip them usually relearn the same lessons one downtime event at a time. When you’re ready to build the order, our HPLC spares guide is the natural next read.
Frequently Asked Questions
How far in advance should I order consumables for a new instrument?
Order when you sign the instrument PO. Delivery times for instruments and consumables move independently, and a missing vial format can stall an install even though the instrument arrived on schedule. Four to six weeks of lead time covers most consumable orders comfortably.
Do I really need one specific lot for qualification?
It’s the cheapest way to eliminate a variable. If system suitability passes on one lot and a problem appears after you switch lots, you’ve narrowed the cause in minutes instead of days. One case of vials and one pack of filters per lot usually covers IQ through the first month of use.
What solvent grade does a new HPLC need?
HPLC-grade solvents and filtered mobile phase for UV work. If the system feeds a mass spectrometer, use LC-MS grade solvents and volatile additives throughout, because the detector responds to every impurity. Matching the grade to the detector matters more than buying the most expensive option on the shelf.
Which consumables fail most often in the first month?
Seals and septa. Plunger and needle seals wear in during the first weeks, and autosampler septa fail from repeated punctures or wrong hardness for the needle. Keep both in the spare kit, and expect to replace them earlier in month one than you will after the system settles in.