
# Marine and Aquaculture Lab Consumables: The Complete Guide
A shrimp farm loses a whole pond cycle to ammonia nobody saw coming. The sensors were fine; the sampling gear was not. This guide walks through the consumables marine and aquaculture labs actually burn through, and how to buy them well.
Aquaculture labs live on three testing fronts: water chemistry, contaminant and residue analysis, and microbiology. The right consumables, from sample bags to LC-MS vials, decide whether your data holds up and whether a batch ships.
If you run a hatchery lab, a seafood QC bench, or an environmental monitoring program, this guide will save you money and rework. We’ll go section by section, with the standards and method expectations behind each purchase.
Why Aquaculture Deserves Its Own Consumables Playbook
Aquaculture now supplies more than half of the seafood eaten worldwide, and in 2022 it passed capture fisheries as the top producer of aquatic animals for the first time in history. The FAO puts 2022 global fisheries and aquaculture production at 223.2 million tonnes, with aquaculture contributing 94.4 million tonnes of aquatic animals, about 51 percent of the total. The FAO newsroom summary of the 2024 State of World Fisheries and Aquaculture report is worth a read if you want the full numbers: FAO aquaculture production report.
Those fish and shrimp don’t test themselves. Behind every export certificate sits a bench full of consumables that most people never think about: the bags pond water goes into, the vials tissue extracts land in, the filters that keep debris out of an HPLC column that costs more than your car.
NOAA Fisheries makes the same point from the production side: aquaculture already supplies more than half of all seafood produced for human consumption, and the agency expects that share to keep climbing as wild capture fisheries plateau. Its aquaculture program pages are a good orientation to the industry’s shape and scale: NOAA Fisheries aquaculture overview.
Here’s what makes this field different from, say, a pharma QC lab. Your samples come in wet, salty, muddy, and biologically alive. Seawater corrodes, sediment clogs, and fish tissue carries fats that wreck careless extractions. A consumables list copied from a clean-water lab will fail you within a month.
The stakes show up on multiple fronts. Production decisions get made daily off your water numbers. Importing countries reject shipments over residues measured at part-per-billion levels. And an unusable dataset can mean a pond harvested blind or a container held at port while lawyers argue.
In my experience, the labs that struggle aren’t the ones with bad instruments. They’re the ones that treated consumables as an afterthought and bought whatever was cheapest that week. Let’s fix that before it happens to you.
Water Quality Testing: The Daily Workload
Ask anyone who runs a hatchery or pond-side lab what they do most, and the answer is water testing. Ammonia, nitrite, nitrate, pH, dissolved oxygen, salinity, alkalinity. These parameters run on daily cycles, and each one carries its own consumable habits.
The Nitrogen Cycle Runs Your Consumables Budget
Ammonia is the parameter that kills fish, so it’s the one you’ll test most. In aquaculture water, un-ionized ammonia (NH3) is the toxic fraction, and its share climbs with pH and temperature, which is why a pond can look fine at dawn and stress fish by mid-afternoon.
Most labs run ammonia colorimetrically. The EPA’s Method 350.1, the phenate method, covers ammonia in drinking, ground, surface, and saline waters over a range of 0.01 to 2.0 mg/L as N, and it specifically calls out salinity interference, directing analysts to use potassium tartrate to mask calcium and magnesium in seawater matrices. The method PDF is here: EPA Method 350.1 for ammonia nitrogen.
What does that mean at the bench? A few practical things:
• Your cuvettes and reaction vessels see hundreds of cycles a month. Scratched plastic shifts absorbance, so buy more than you think you need.
• Colorimetric reagents are light-sensitive. Amber reagent bottles aren’t a luxury here; they’re the difference between a working standard curve and a drifted one.
• If you dilute samples, your dilution water quality matters as much as the reagents. Many labs keep a small stock of certified ampoules or prepare their own from glass-distilled water stored in borosilicate.
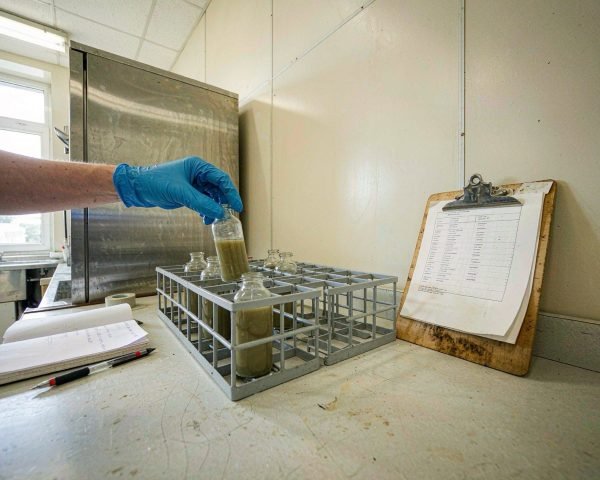
Nitrite and nitrate usually follow on the same spectrophotometer. The consumable story is similar: clean cuvettes, fresh reagents, and tubes that don’t carryover. One habit I’d recommend: dedicate a rack to standards and a separate rack to samples, and never let the third vial in the tray be a standard by accident. I once watched a week of nitrate data get thrown out because someone grabbed the wrong tube from a shared rack.
pH, Salinity, and Dissolved Oxygen
The classic trio gets less consumable attention than it deserves, mostly because the meters do the work. But electrodes and calibration buffers are consumables with a shelf life. pH electrodes in saline samples age faster than in freshwater; junctions clog with sulfides from anaerobic pond sediment. Keep spare electrodes on hand and calibrate daily with fresh buffers, not the bottle that’s been open since last quarter.
Conductivity standards for salinity, and the membranes on dissolved oxygen probes, follow the same logic. A DO probe membrane that has a wrinkle or an air bubble reads low, and low DO readings on a summer afternoon are exactly what trigger emergency aeration decisions. Cheap insurance: one spare membrane set per probe, checked monthly.
Sampling and Sample Handling Gear
The test is only as good as the sample, and pond and cage sampling is harder than it looks. Water stratifies; the surface can be 3 degrees warmer than a meter down. Most protocols want a composite from several depths, which means sample bottles that actually seal and don’t leach.
For routine parameters, HDPE or polypropylene bottles work fine. For volatile or trace work, the rules tighten. If your program ever touches EPA-style volatile organic analysis in coastal waters or effluents, you’ll need proper pre-cleaned VOA containers with PTFE-lined septa; we’ve covered that in detail in our EPA VOA vial guide.
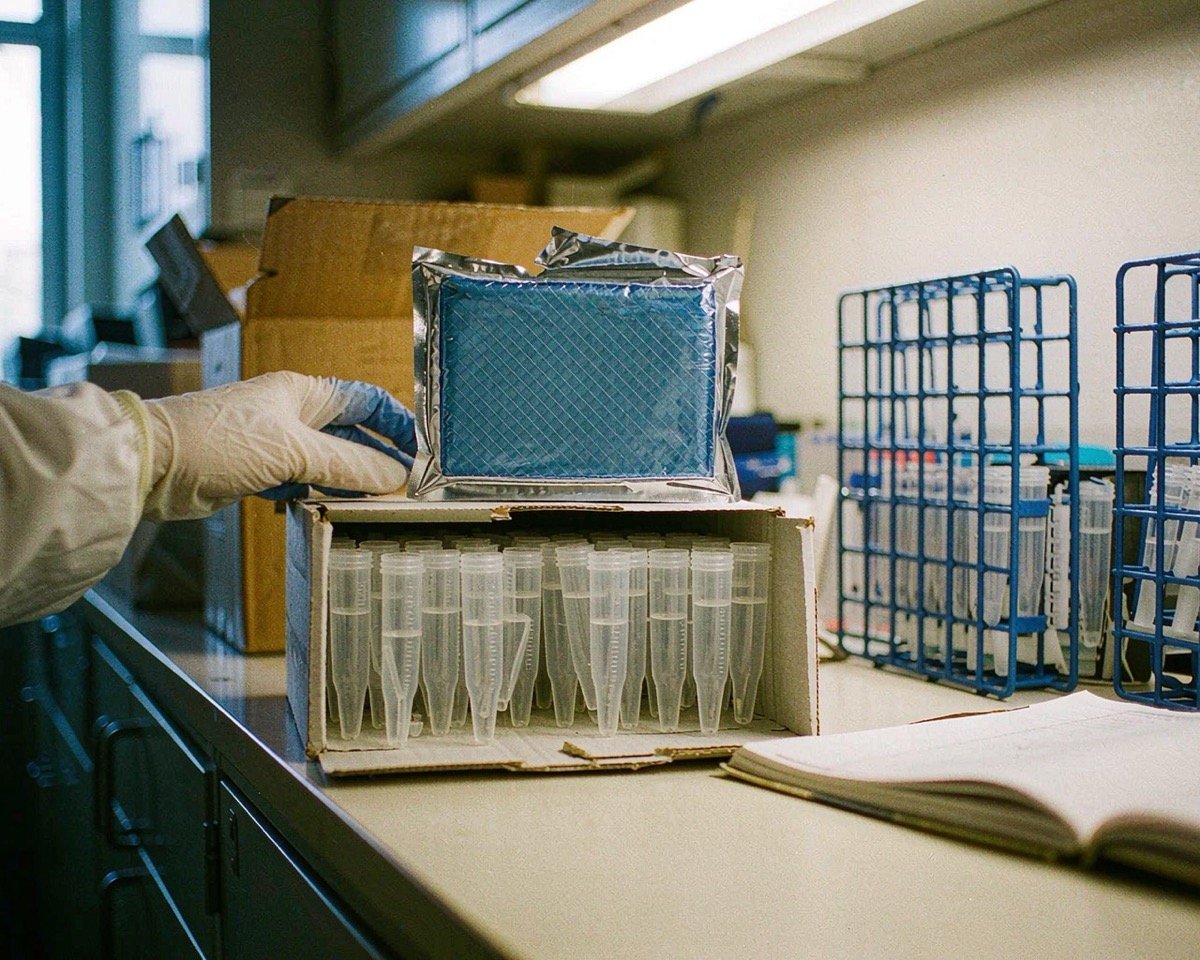
For microbiological sampling of tank water, hatchery inflow, or processing water, sterile sampling bags with integrated thio tabs are the standard tool. They’re cheap, they seal, and they don’t break when a field tech drops one on the dock. If you’re specifying them, our sterile sampling bags guide covers the options.
One decision to make this week if you haven’t: write down your holding times and post them where samples come in. Ammonia holds 28 days refrigerated and acidified per EPA practice, but unacidified samples for nutrient work often need analysis within hours. The nicest consumables in the world won’t rescue a sample that sat in a warm truck overnight.
Filtration for Water Samples
Suspended solids are the enemy of both spectrophotometry and ion chromatography. Turbidity is a named interference in EPA Method 350.1, and the fix is filtration before analysis.
What to keep on hand:
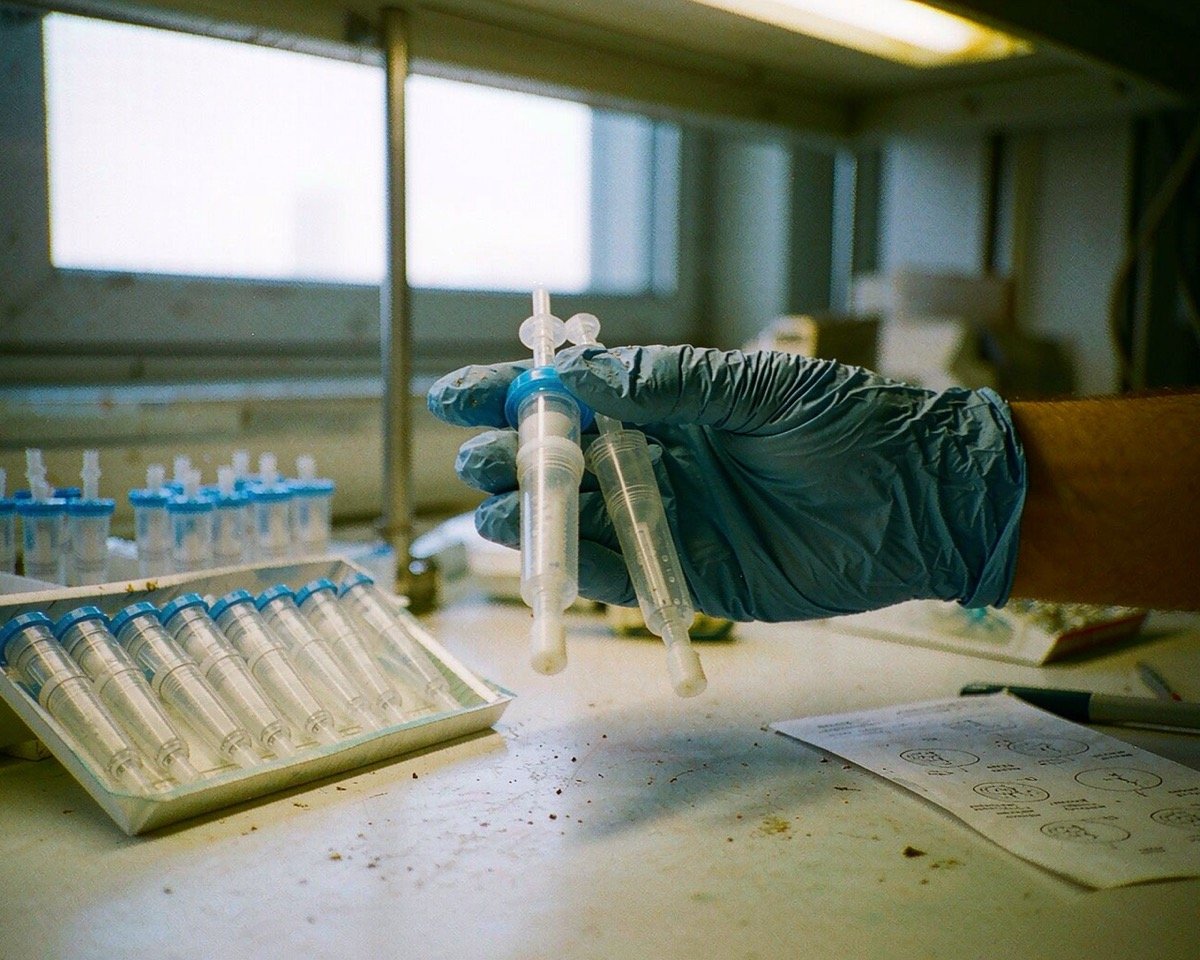
• Syringe filters, 0.45 µm, for clarifying water samples before colorimetric tests. For seawater with heavy particulate load, a glass fiber prefilter ahead of the membrane doubles filter life.
• Membrane discs (47 mm) and a vacuum filtration setup when you’re processing many samples a day; per-sample cost drops sharply.
• Spare filter funnels and tubing, because a cracked funnel at 4 p.m. ends your day.
A 0.45 µm MCE or PES membrane handles most nutrient work. Match the membrane to the analyte: if you’re measuring trace metals, avoid cellulose-based filters that can leach, and condition the filter with sample before you collect the aliquot you’ll actually analyze.
Contaminant and Residue Analysis: Where the Big Instruments Live
Water chemistry is the daily bread. Residue analysis is the high-stakes work, the testing that determines whether a shipment of shrimp or salmon clears an import inspection. This is LC-MS territory, and it has the most demanding consumables list in the building.
Why Residue Testing Matters So Much in Aquaculture
Farmed fish and shrimp are dosed with veterinary medicines: antibiotics like fluoroquinolones and sulfonamides, parasiticides, antifungals. Some of these are approved in producing countries and banned in importing ones. Regulators know this, and residue monitoring programs screen imported aquaculture products aggressively.
FDA researchers have published wide-scope screening methods that detect dozens of veterinary drug classes in fish, shrimp, and eel tissue, with screening limits mostly between 0.5 and 10 ng/g using high-resolution mass spectrometry. Their work also found residues in imported aquaculture samples that targeted methods had missed. The paper is open access: FDA LC-HRMS screening method for aquaculture contaminants.
The practical takeaway for a lab buying consumables: at ng/g levels, everything in the workflow can add background or eat your analyte. Solvent quality, vial cleanliness, filter lot, all of it shows up in the chromatogram.
Sample Preparation Consumables for Tissue Testing
Tissue extraction is where consumable budgets go to die, mostly because homogenization is brutal on gear. A fish muscle homogenate will dull blades, chew gaskets, and splash everywhere.
The core list:
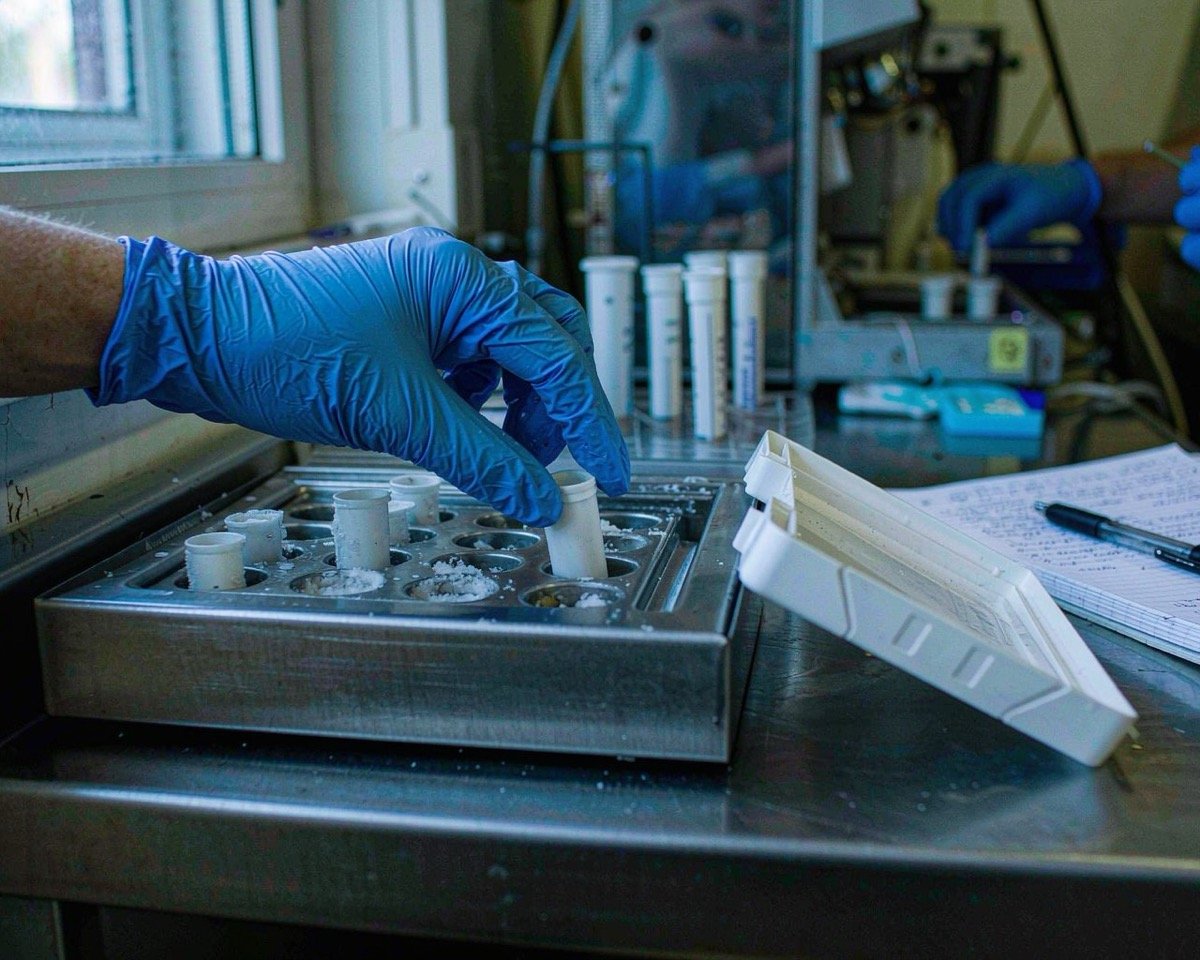
• Disposable homogenizer blades and blender jars. Trying to save money by washing and reusing homogenization gear is how you get carryover between samples. For residue work at low levels, disposables are worth every cent.
• Centrifuge tubes, 50 mL conical, solvent-resistant. QuEChERS-style extractions with acetonitrile need tubes that survive the shake and the centrifuge. Check the tube’s solvent rating; not all polypropylene is created equal.
• QuEChERS salt packets and dSPE cleanup tubes. If your lab runs the AOAC or EN versions of the method, buy pre-weighed packets. Weighing salts by hand introduces error and wastes tech time.
• SPE cartridges for cleanup when the method demands it. The FDA method above uses an SPE cartridge to strip phospholipids and other matrix components before injection; dirty extracts will bury your analytes and foul your source.
The extract that comes out the other end is acetonitrile-rich and dirty even after cleanup. It goes into an LC-MS vial, and that vial is the last consumable your sample ever touches. At ng/g screening levels, I’d rather pay for low-adsorption, MS-certified vials than rerun a batch because the analyte stuck to the glass or a ghost peak walked into the chromatogram.
If you’re building or revising a residue workflow, our veterinary drug residue testing consumables guide maps the whole chain from homogenization to injection.
Heavy Metals and Trace Element Work
Some programs also run metals: cadmium in shellfish, arsenic species in seaweed, mercury in large pelagic fish. Atomic absorption, ICP-OES, or ICP-MS each pull their own consumables list: digestion vessels, acid-purified water, and sample containers that don’t add metals of their own.
Two rules that save pain. Don’t store acid digests in ordinary plastic; use acid-washed HDPE or PFA. And never let a metals bench share consumables with an organics bench, because contamination control habits differ and cross-shelf borrowing ruins both.
Environmental monitoring programs in the US use EPA’s National Aquatic Resource Surveys as the model for coastal and estuarine sampling designs, and their documentation is a useful template if you’re standing up a program: EPA National Aquatic Resource Surveys.
Autosampler Vials and the LC Bench
The residue lab’s daily habit is the injection, and injections happen in vials. Get this consumable wrong and everything upstream is wasted, so it earns its own subsection.
Neck finish is the first check. Most modern HPLC and LC-MS autosamplers from Agilent, Waters, and Shimadzu take 2 mL vials in 9 mm screw-thread format, though older instruments and specialty work still use 8-425 crimp or 11 mm snap designs. Match the vial to the autosampler manufacturer’s drawing, then verify once with a real injection before you order a year’s supply. A vial that sits 0.5 mm too low in the tray can cause partial needle misses that look like random low recovery, and that is a miserable week of troubleshooting nobody needs.
Material comes second. Type 1 borosilicate glass is the default for acetonitrile extracts. Polypropylene earns its place for high-pH or strong-complexing matrices that attack glass, and amber glass is worth it whenever extracts wait in the tray under lab lights, which is most afternoons in a busy residue lab.
Volume is the third check, and the one that quietly eats samples. A standard 2 mL vial needs roughly 200 µL to wet the needle reliably; below that you get air injections. If your final extract is 150 µL after cleanup, use inserts or a low-recovery vial with a conical well. This comes up constantly with QuEChERS workflows, where the extract volume after evaporation and reconstitution is often exactly the amount that’s too small for a standard vial. Plan for it when you write the method, not at 6 p.m. on validation day.
Caps and septa complete the chain. PTFE/silicone septa handle most residue work and re-seal well for reinjection. If your method holds samples for days between injections, septum choice matters even more, because every puncture is a potential evaporation path. In my experience the labs that complain most about drifting concentrations between injections are the ones punching the same septum five times.
Microbiology: Hatcheries, Farms, and Processing Plants
The third front is microbiological. Hatcheries monitor broodstock and larval rearing water for Vibrio and total bacterial counts. Processing plants run hygiene swabs, coliform counts, and increasingly Listeria and Salmonella monitoring on ready-to-eat products. Export certs can hinge on any of these.
Consumables That Carry the Load
Micro runs on a different consumable rhythm than chemistry: pre-poured plates, sterile diluent bottles, sterile sampling bags, swabs, pipette tips, and dilution tubes. Volume is the story. A processing plant QC bench can burn through several hundred sterile bags a week without anyone noticing, until the stock runs out on a Friday.
Media bottles deserve a mention. If your lab pours its own plates or media, borosilicate media bottles with GL45-style caps survive repeated autoclave cycles and keep media clean during storage. Buy in matched cap sets; a cracked cap that doesn’t seal will contaminate a whole bottle of expensive media.
Sterility claims on consumables matter differently in micro than in chemistry. A “sterile” bag that was gamma-irradiated in validated packaging is trustworthy out of the pack; a bag from a torn outer sleeve is not, no matter what the box says. Train staff to check packaging integrity before use, and to never re-sterilize single-use items in an autoclave on a whim. If a package is open, it’s gone.
Chain of Custody and Shipping
Marine labs often send samples out: tissue to a reference lab, water to a central facility, isolates for serotyping. Every shipped sample needs containers that survive the trip and documentation that survives the audit. Temperature abuse and leakage are the two classic failures, and both are consumable problems. That means absorbent sleeves and leak-proof secondary containers, plus cold chain packing rated for the trip, not just the paperwork. Seafood and water shipments face extra scrutiny because they’re perishable biologicals, so build the packing list with the same care as the testing list.
Special Matrices: Sediment, Seaweed, and Salt
Not every sample is finfish muscle or pond water, and the awkward matrices are where consumable lists really get stress-tested.
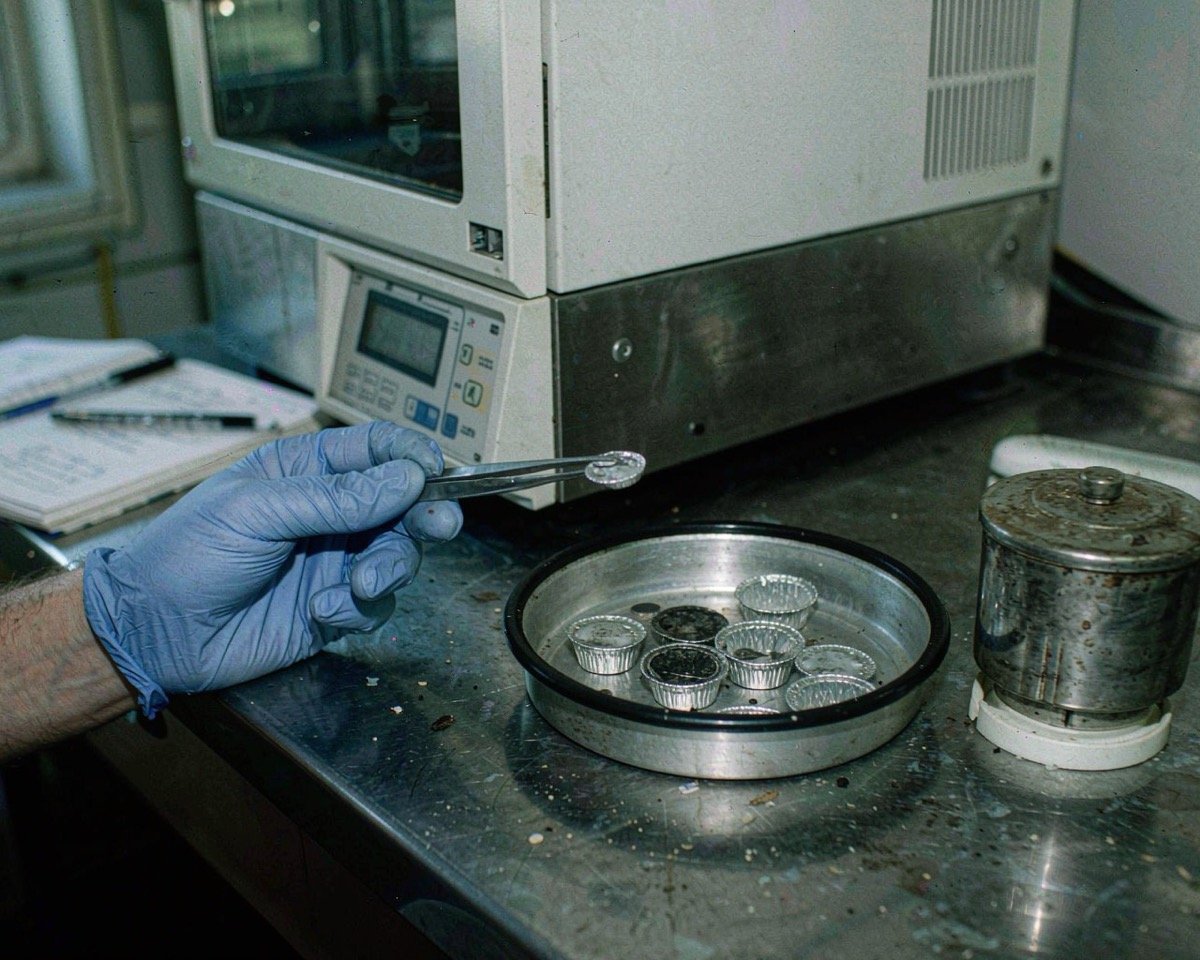
Sediment is the archive of everything the water carried. Contaminant trend work in coastal environments relies on it, and it punishes weak sample prep. Wet sediment is abrasive and often sulfidic, so homogenization gear takes a beating and stainless parts can corrode. Freeze-drying followed by sieving through clean stainless or nylon sieves is the common route, and every sieve, spatula, and mixing bowl needs its own cleaning log. Cross-contamination between a contaminated harbor sample and a clean reference site sample is the kind of error that ends a monitoring program’s credibility.
Seaweed and algal biomass bring a different problem: salt and iodine. Salt crusts interfere with homogenization and can corrode equipment, and high iodine content plays havoc with some ICP-MS and LC-MS setups. Sample containers matter here too; iodine species can interact with some plastics and with metal components, so glass containers with PTFE-lined caps are the safer default for algal work.
And then there’s brine. Salt pond water at 60 ppt or hypersaline effluent will precipitate salts out of reagents and buffers that work fine in freshwater. If your lab straddles freshwater and marine testing, label your reagent prep glassware by matrix, and don’t share volumetric flasks between the two without a rinse protocol. In my experience this sounds paranoid until the day a conductivity standard made up in “the same water” turns out to have been prepared with deionized water that had sat in a metal-lined container.
The common thread: for each new matrix, walk the whole consumables chain from collection to injection and ask what the matrix does to each item on it. Twenty minutes of thinking per matrix beats a season of reruns.
Certificates, Lots, and Incoming Inspection
Procurement for a regulated or export-facing lab isn’t finished when the box arrives, because the paperwork is part of the product.
Certificates of analysis and certificates of conformance tell you what the manufacturer claims and what they tested. For sterile consumables, look for sterilization batch records and irradiation certificates. For LC vials and filters, look for lot-level extractables or background testing, especially if you run LC-MS where a dirty lot becomes ghost peaks. Read the certificates before you file them, because an unfiled certificate is a legend and a filed one is evidence.
Lot discipline is the other half. Assign lot numbers a place in your bench records the same way you record reagent lots. When a method’s background shifts, the first two questions are always “which reagent lot” and “which consumable lot.” Labs that can’t answer either question spend their troubleshooting time guessing.
Incoming inspection doesn’t need to be elaborate. A simple visual check on arrival, count verification, and a quick functional test on new lots of method-critical items (filter a standard, check the flow; inject a blank from a new vial lot) catches most problems before they reach a run. Write down what “acceptable” looks like for each item before you start, so the check is a comparison rather than a mood.
For export-facing labs there’s one more layer: tender and buyer specifications. Government and retailer contracts increasingly name consumable grades, certifications, or documentation requirements explicitly. Read those clauses when the contract is signed, not when the first inspection is scheduled, because sourcing a compliant grade under deadline is exactly as fun as it sounds.
Building a Stock Plan That Doesn’t Fail You
Now for the procurement side, because a perfect consumables list with no supply plan is still a failed plan.
Consuming by Volume, Buying by Risk
Sort your list into tiers, and give each tier its own buying strategy. Tier one is high-volume and low-risk, things like bags, tips, tubes, and gloves. Tier two is method-critical, where I’d put filters, reference standards, and reagent-grade solvents. Tier three is instrument-specific, such as LC vials matched to your autosampler or ICP cones. Tier one gets bulk discounts and a standing reorder point. Tier two gets supplier qualification and lot-to-lot vigilance. Tier three gets compatibility verification before you buy anything.
The reorder point is the piece most labs get wrong. Set it at consumption over your worst-case lead time, not your average one. Sea freight from Asia can run six weeks in a bad quarter. A lab I worked with kept 30 days of bags on hand and got caught when a port strike stretched delivery to nine weeks; the plant’s micro testing fell back to a borrowed bench at a competitor’s lab, which is exactly as awkward as it sounds.
Compatibility and Cost Without Regret
The honest question every buyer asks: can I use compatible-brand consumables instead of the instrument maker’s? For water chemistry consumables, almost always yes. For LC vials and filters, usually yes, provided the dimensions and materials match the spec your method was validated with.
The discipline that makes it work: qualify the alternative once, deliberately, against your method. Run your standard suite, compare recoveries and backgrounds, document it, then switch with confidence. What kills labs isn’t the compatible vial; it’s the unqualified one slipped into a validated method by whoever was ordering that week.
Cost matters too, and aquaculture labs in Asia, South America, and Europe all face the same squeeze: more testing, flat budgets. Bulk buying and consolidated shipping recover real money, but chase unit price only on tier one items. On tier two and three, the cheap filter that clogs halfway through a 40-sample batch costs more than the savings.
Storage and Shelf Life
Finally, storage. Sterile consumables have expiration logic: packaging integrity first, date second. Colorimetric reagents age on the shelf, faster in heat and light, and a coastal lab with no air conditioning will burn through reagent shelf life faster than the label claims. Buy reagents in sizes you’ll actually finish in their open-life window. The 500 mL bottle that costs half as much per liter is a false economy if a third of it goes in the trash.
Keep a simple shelf map and a first-in, first-out rule. It sounds basic, and it is, but the labs that skip it always seem to find a three-year-old box of bags behind the newer ones.
Conclusion
Marine and aquaculture testing asks more of consumables than most lab work does: salt, mud, fat, and live biology, all marching through your workflow daily. The labs that hold up are the ones that match consumables to method and buy by risk tier, and they never let a stockout decide their testing schedule. Start with the daily workload, water chemistry, and make sure your sampling and filtration gear is solid, then build the residue and micro programs on top. If you want to go deeper on the daily side, our water quality testing consumables guide covers the bench details, and for the high-stakes residue work, the veterinary drug residue testing guide maps the full workflow. Pick one weak spot from this guide and fix it this week. The ponds won’t wait.
Frequently Asked Questions
What consumables do I need to start a small aquaculture water testing lab?
Start with sample bottles (HDPE for routine, amber glass for light-sensitive tests), 0.45 µm syringe filters and a supply of spare syringes, clean cuvettes, and amber reagent bottles for colorimetric reagents. Add sterile sampling bags if you’ll do any microbiology. That baseline covers ammonia, nitrite, nitrate, and pH work at pond or hatchery scale.
Are glass or plastic bottles better for seawater samples?
For routine nutrient and chemistry work, HDPE or polypropylene is fine and far more durable in the field. Use glass when you’re testing for organics, trace metals at low levels, or anything that can sorb to plastic. The matrix itself doesn’t decide; the analyte does.
How often should water quality samples be filtered before analysis?
Filter any sample with visible turbidity, and filter unconditionally if your method names turbidity as an interference, as EPA Method 350.1 does for ammonia. Most coastal and pond samples carry enough suspended solids that filtering every sample is simpler than deciding case by case.
What filter pore size is standard for clarifying water samples before spectrophotometry?
0.45 µm is the conventional choice for nutrient and colorimetric work, small enough to remove most particulates without long filtration times. If your water is very turbid, put a glass fiber prefilter in front to keep the membrane from clogging after two syringes.
Do I need sterile consumables for water chemistry testing?
No, and paying for sterility there is wasted money. Sterile consumables matter for microbiological sampling and any work involving cell cultures or live organisms. For ammonia, nitrate, and pH testing, cleanliness matters but sterility doesn’t.