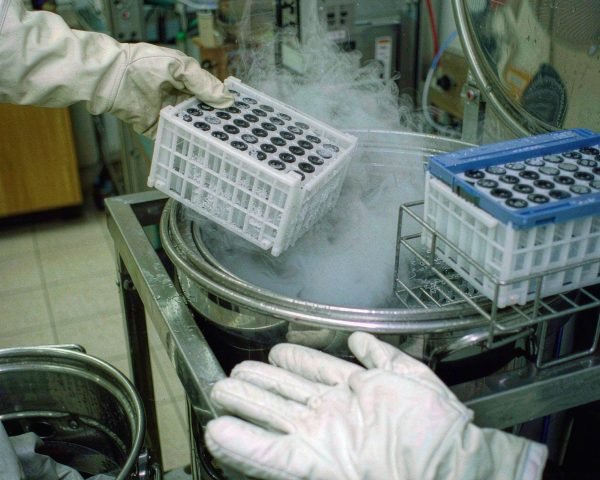

The first time I opened a liquid nitrogen dewar and watched a storage rack rise through the fog, I understood why people treat cryogenic storage as its own discipline. Everything at -196°C is fine until it isn’t, and the consumables involved (vials, caps, boxes, racks) are doing a job that ordinary freezer supplies simply cannot.
If your lab is starting biobanking, cell banking, or just long-term sample archiving, the vial-and-box layer is where reliability is won. It is also where a wrong cap choice or a box in the wrong phase of liquid nitrogen can cost you a shelf of samples that took years to collect.
The Short Answer
Cryogenic vials are small (0.5-5 mL, most often 1.2 or 2 mL) polypropylene tubes rated for storage down to -196°C in liquid nitrogen vapor phase, usually with internally threaded caps (with or without an O-ring) and sortable in storage boxes of 25, 81, or 100 positions. Store vials in the vapor phase above liquid nitrogen, pair vials with boxes and racks that share a labeling system, and never store in the liquid phase unless the vial is explicitly sealed for it.
READ ON
Below is how the consumable system fits together, what each component actually does, and the setup mistakes that new cryo programs make most often.
The Vial: Materials and Closure Styles
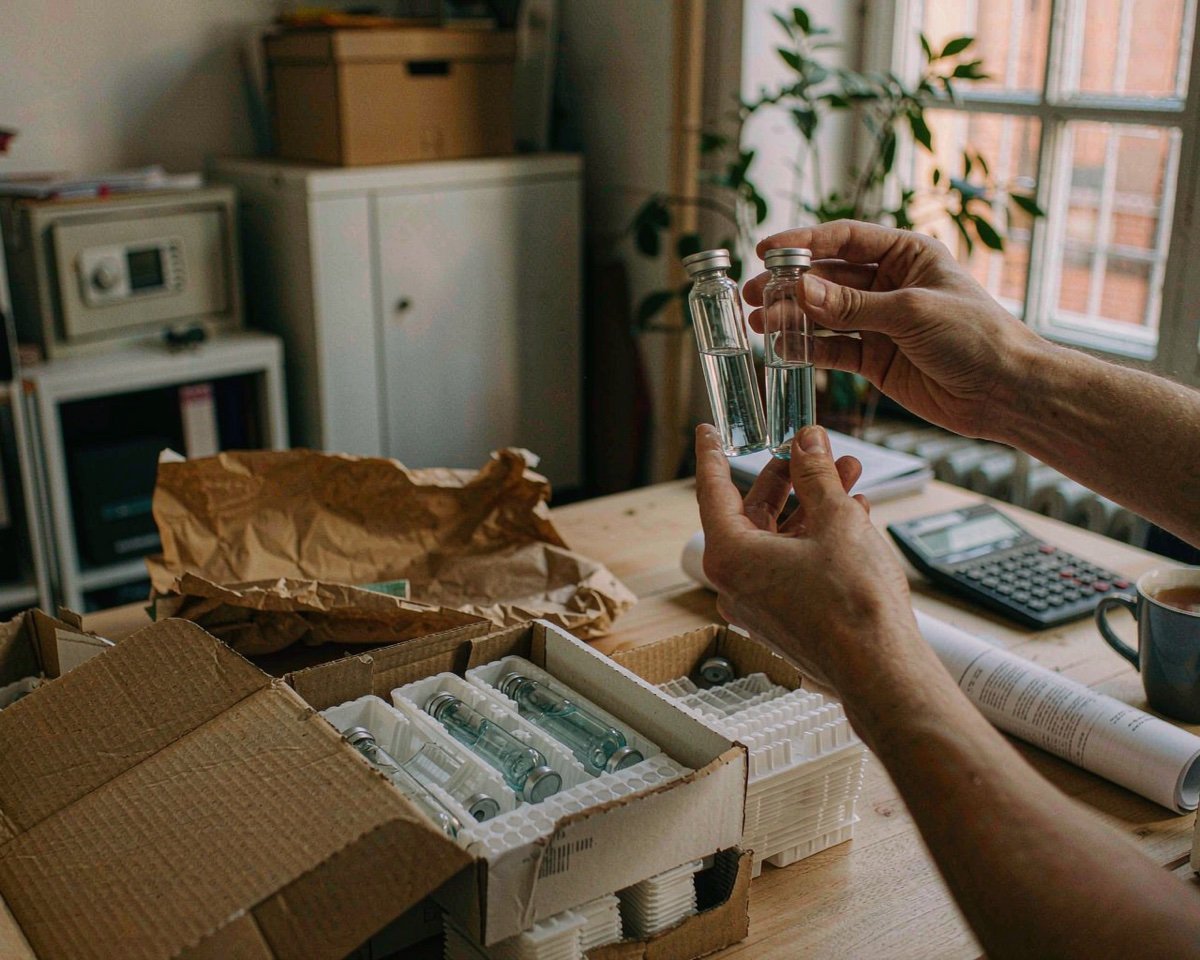
Almost all cryogenic vials are polypropylene, chosen because it stays tough and dimensionally stable at cryogenic temperatures where many plastics crack. The usual sizes are 1.2 and 2 mL (the biobanking workhorses), with 0.5 mL and 4-5 mL variants for special jobs.
The cap is where the engineering hides:
- Internally threaded, no gasket: the classic cryovial. The threads seal by design; some styles add a silicone washer.
- Externally threaded with O-ring: better sealing and easier handling, common for cell banking. The O-ring is the seal; inspect it.
- TPE (thermoplastic elastomer) caps: a newer closure that omits the separate O-ring, favored where silicones are unwanted.
One warning worth repeating to every new user: storage boxes and vials belong in the vapor phase above the liquid nitrogen, not submerged in it. Corning’s storage box documentation carries the warning explicitly, because vials submerged in liquid can draw nitrogen inside and rupture violently on warming (Corning cryo storage box specs).
Storage Boxes: The Grid That Holds Everything Together
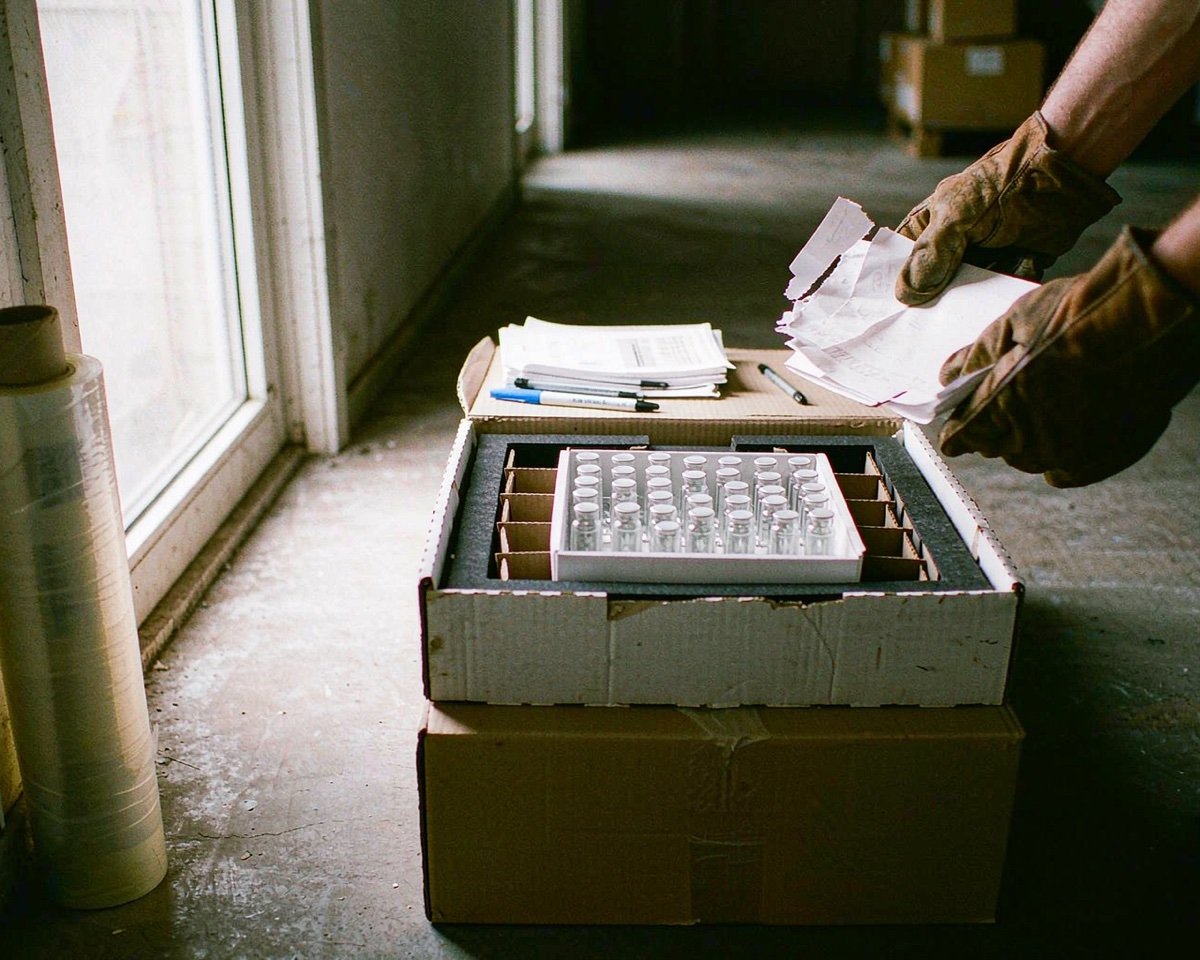
A cryo box is a molded grid (polycarbonate or cardboard) that holds vials in fixed positions. The common arrays:
- 5 × 5 (25 vials): small programs and deep nitrogen racking where weight matters. The classic small cryo boxes hold 1.2-2 mL vials in this array, and polycarbonate versions of these boxes are rated for use from cryogenic temperatures (vapor phase) up through autoclave temperatures (Fisher cryo storage box listing).
- 9 × 9 (81 vials): the standard cardboard cryo box for mechanical freezers; cheap, color-coded, and everywhere.
- 10 × 10 (100 vials): barcoded-vial systems, where the box itself is a keyed part of the inventory. Corning’s 2D-barcoded boxes hold 100 internally threaded vials in a 10 × 10 array with ridged sides for gripping with gloves (Corning 100-position box).
Polycarbonate boxes survive liquid nitrogen vapor, autoclaving, and years of rack shuffling. Cardboard boxes are cheaper and fine for -80°C mechanical freezers, but degrade with frost cycles; most vapor-phase LN2 programs standardize on PC.
The box’s real job is positional identity. Row F, column 7 means something only if the box grid and your inventory agree, which is why labeling discipline (below) matters more than the box brand.
Building the System: Vial, Box, Rack, Inventory
Cryogenic storage is a nested addressing system, and each layer needs the others:
- Vial: the sample, labeled with sample ID and date (cryo-rated labels or direct marking; ordinary labels fall off frozen).
- Box: a grid position for the vial, labeled on lid and sides.
- Rack or drawer: holds boxes in numbered positions inside the freezer or dewar.
- Inventory: a spreadsheet or LIMS that maps sample ID to box, position, rack, and vessel.
The failure mode is always the same: any single layer drifts and the whole address system lies. I once spent an afternoon hunting a cell line that the inventory swore was in rack 3, box 12, position D4. It was in box 13, position D4, because someone had re-stacked racks during a reorganization and updated the spreadsheet only partially. Two hours of searching for one digit.
Color-coded caps and boxes help humans navigate faster, but they are a convenience layer on top of the written inventory, never a replacement for it.
Labeling: The Part That Freezes First
Cryogenic temperatures kill ordinary labels. Adhesives embrittle and release; ink flakes. Use cryogenic-rated labels (or direct-print 2D barcodes for higher throughput), apply them to dry vials before freezing, and verify legibility after the first freeze-thaw cycle. For barcoded systems, the 2D codes on the vial bottom pair with 100-position boxes so a reader can inventory a whole box in one pass.
Our guide to labeling and tracking samples covers the general discipline, and most of it transfers directly to the cryo environment.
Temperature Realities: Where Your Vials Actually Sit
- Vapor phase LN2: -150 to -190°C depending on height above the liquid. The standard for cell lines and most biobanking, and the only phase where ordinary cryo vials and boxes should live. Worth knowing: research shows even vapor-phase storage carries some contamination risk from particulates in the nitrogen, which is why sealed samples and dewar hygiene matter (PubMed: LN2 contamination study).
- Liquid phase LN2: -196°C, used for some seed and sperm storage with specially sealed high-security samples. Not for standard screw-cap vials and boxes.
- -80°C mechanical freezers: the workhorse for RNA, protein, and many cell-based sample types, where cardboard boxes are acceptable and evaporation risk is lower.
Match vial and box materials to the phase: PC boxes and PP vials for vapor-phase LN2, cheaper options acceptable at -80°C. Our consumables storage guide covers the general shelf-life side, and the freeze-thaw behavior of samples in small vials is its own topic, which our sample freezing guide opens up for the analytical lab context.
Common Beginner Mistakes
- Storing standard screw-cap vials in the liquid phase. The drawn-in LN2 expands on warming and the result is a small explosion in someone’s glove.
- Overfilling vials. Leave headspace; a full vial cracks its bottom when the contents expand and glass-like PP has nowhere to flex.
- Ordinary labels. They will come off, usually into the bottom of the box where they become forensic puzzles.
- No inventory updates at the moment of handling. The spreadsheet that lags reality by a week is a spreadsheet full of hope.
- Mixing vial brands mid-collection. Cap systems and dimensions differ enough that mixed boxes seat unevenly in racks and readers. Our vial brand mixing guide explains the analytical version of the same problem.
Conclusion
Cryogenic storage works when the consumables form one coherent system: PP vials with the right closure for your program, polycarbonate boxes whose grid your inventory actually knows, racks that hold the boxes in numbered positions, and labels that survive the temperature they are serving. Keep vials in the vapor phase, leave headspace, update the inventory at the moment of handling rather than after, and treat the written record as the real storage system with the boxes as its physical shadow. A well-run cryo program feels boring from the outside, and boring is the goal: samples that thaw years later exactly as they were frozen. For the next steps, our sample labeling guide and the consumables storage guide cover the discipline that keeps the system honest.
Frequently Asked Questions
Can cryogenic vials go in liquid nitrogen?
Only in the vapor phase above the liquid, unless the vial is specifically sealed for liquid-phase storage. Standard screw-cap vials can draw liquid nitrogen inside during submersion, and the expanding gas on warming can rupture the vial violently. Corning, Nalgene, and other manufacturers state this on the box.
What is the difference between O-ring caps and TPE caps?
O-ring caps use a separate silicone gasket for the seal; TPE (thermoplastic elastomer) caps integrate the sealing material into the cap itself, avoiding silicone where protocols prefer it. Both are valid for cryogenic storage; the O-ring version needs gasket inspection, the TPE version replaces the whole cap when worn.
How many vials fit in a standard cryo box?
Common arrays are 5 × 5 (25 vials), 9 × 9 (81 vials), and 10 × 10 (100 vials). The 81-position cardboard box dominates -80°C freezers, while 100-position polycarbonate boxes are standard for 2D-barcoded vial systems.
How should I label vials going into cryogenic storage?
Use cryogenic-rated labels or direct 2D barcodes, applied to dry vials before freezing, with sample ID, date, and ideally the box position. Verify legibility after the first freeze, because adhesives and inks that survive room temperature regularly fail at -196°C.