
# 7 Consumables That Protect Your LC-MS Source
A dirty LC-MS source rarely announces itself. Sensitivity just slides, quarter by quarter, until someone asks why the LOQ stopped making sense. Most of the time the culprit is not the mass spectrometer. It is what we feed it, and how much ends up baked onto the capillary.
The short answer: LC-MS sources stay clean because of clean inputs, not heroic cleaning. LC-MS grade solvents, desalted samples, certified vials, guard columns, and a source-cleaning kit catch contamination before it reaches the capillary. Clean consumables cost less than one teardown.
What most labs skip is everything that happens before the contamination reaches the source. Each of the seven consumables below is one checkpoint on that journey. I’ve ordered them from the solvent bottle to the ion source itself, so you can walk your own workflow and see where your gaps are. None of the seven costs more than a service visit, and two of them cost less than lunch. That asymmetry is the whole argument for the list.
1. LC-MS Grade Solvents and Volatile Additives
Start with the biggest volume item you own. The mobile phase touches every part of the system before a single sample injects, so anything dissolved in the solvent bottle gets a free ride to the ion source.
Nonvolatile salts are the classic offender. They suppress ionization, raise the background, and eventually crystallize on the source components. A review in Analytical Chemistry describes the mechanism plainly: salts raise the boiling point of the electrospray droplet, trap analytes in the solid phase as the solvent evaporates, and cut signal even at concentrations as low as 10 mM, far below the 100 to 150 mM you’d find in physiological samples (read the review on PubMed Central). Once you’ve seen a peptide disappear behind a sodium adduct smear, you stop treating buffer choice as a detail.
The fix is boring and cheap. Use solvents made for LC-MS, in glass bottles, with trace metals and evaporative residue specified on the CoA. Fisher Chemical’s Optima LC-MS line, for example, is filtered, tested for trace metals by ICP-MS, and screened for UV-active impurities across the 200 to 400 nm range. That’s the level of spec you want to see on paper before the solvent enters your system.
Additives deserve the same scrutiny. Stick to volatile ones: formic acid, acetic acid, ammonium formate, ammonium acetate, ammonium bicarbonate. Phosphate buffer works beautifully on UV detectors and wrecks ESI sources, which is why Shimadzu’s LC-MS troubleshooting course lists nonvolatile mobile phase additives as a direct cause of contaminated interfaces and background noise.
If a method insists on phosphate, keep it away from the MS. Divert to waste, split the flow, or run the salt through a UV-only path if your hardware allows it. The source only sees what you send it, so decide deliberately what that will be.
If you only change one thing this week, stop topping off mobile phase bottles. Shimadzu’s own guidance says to replace solvent containers rather than refill them, because refilling concentrates whatever sits at the bottom of the bottle. I once chased a drifting sodium adduct background across five days of runs. The cause was a tech who “topped up” the aqueous bottle every afternoon from a beaker. Two liters of fresh mobile phase, poured clean, ended the mystery in one afternoon.
2. Desalting and Cleanup Consumables for Dirty Samples
Even a perfect mobile phase can’t save you from a dirty sample. Protein assays, biofluids, fermentation broths, and dissolution media all carry salts and surfactants straight toward your source.
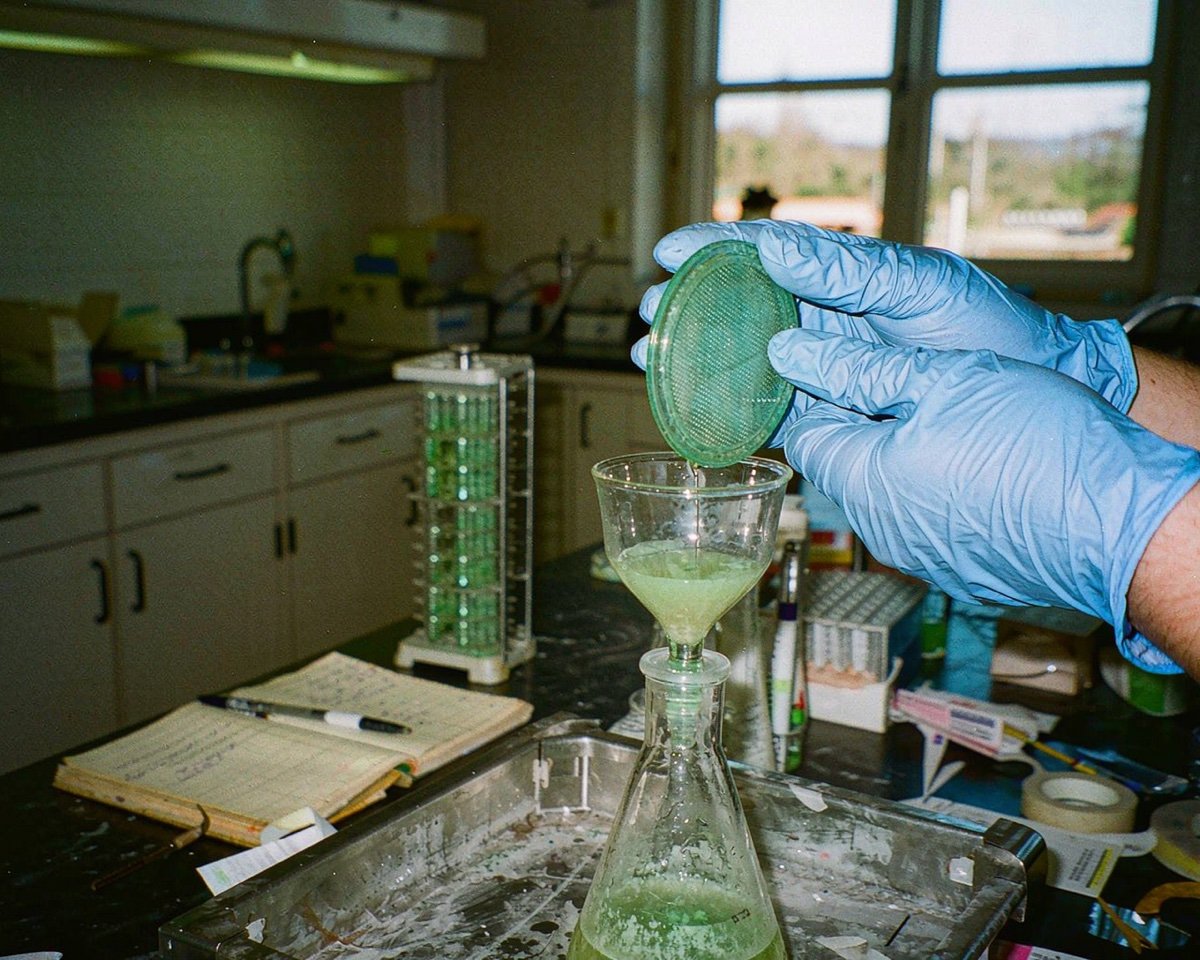
So treat cleanup as a consumable decision, not an afterthought. SPE cartridges, centrifugal ultrafilters, and 0.22 µm syringe filters all strip interference before injection. The same Analytical Chemistry review I mentioned above walks through the whole menu, from liquid-liquid extraction to online desalting, and the conclusion is consistent: near-complete salt removal before ionization is the only reliable way to avoid suppression effects.
A 0.22 µm PTFE or PVDF filter also catches particulates that would otherwise lodge in your needle seat and rotor seal. That’s a column-and-autosampler problem as much as a source problem, but the two show up together. One filter costs less than the hour you’d spend on a pressure troubleshooting call.
Volume matters too. A filter’s hold-up volume can swallow 20 to 50 µL of a precious sample, so wet the membrane with diluent first and account for the loss when you prep low-volume vials.
Standards deserve the same treatment. I’ve watched a freshly prepared calibration curve pick up a ghost peak because someone filtered the samples but poured the standards through yesterday’s filter. New lot, new filter, every prep. It’s a two-second rule at the bench and it holds up under audit.
Match the filter chemistry to the analyte, though. Nylon binds proteins aggressively. Regenerated cellulose is the safe default for proteinaceous samples. If you’re unsure, run the extractables check: push mobile phase through the filter, inject it, and look at the blank before you trust it with real samples. For a deeper dive on what filters can leach into your injectable, the Mastelf guide to syringe filter extractables and leachables covers the failure modes in detail.
3. Certified Low-Background Vials and Caps
Vials sit a few millimeters from the needle, and nobody audits them until the blank goes noisy. Then suddenly the third vial in the tray matters a lot.
Agilent’s troubleshooting guidance for autosampler contamination tells technicians to redo suspect runs with freshly made mobile phase and samples in new vials, right alongside checking the needle and needle seat. That’s the manufacturer admitting, in effect, that the vial is a plausible contamination source. Cheap vials with sloppy glass can leach metals and silanols; dirty packaging sheds fibers; reused vials carry everything the last sample left behind.
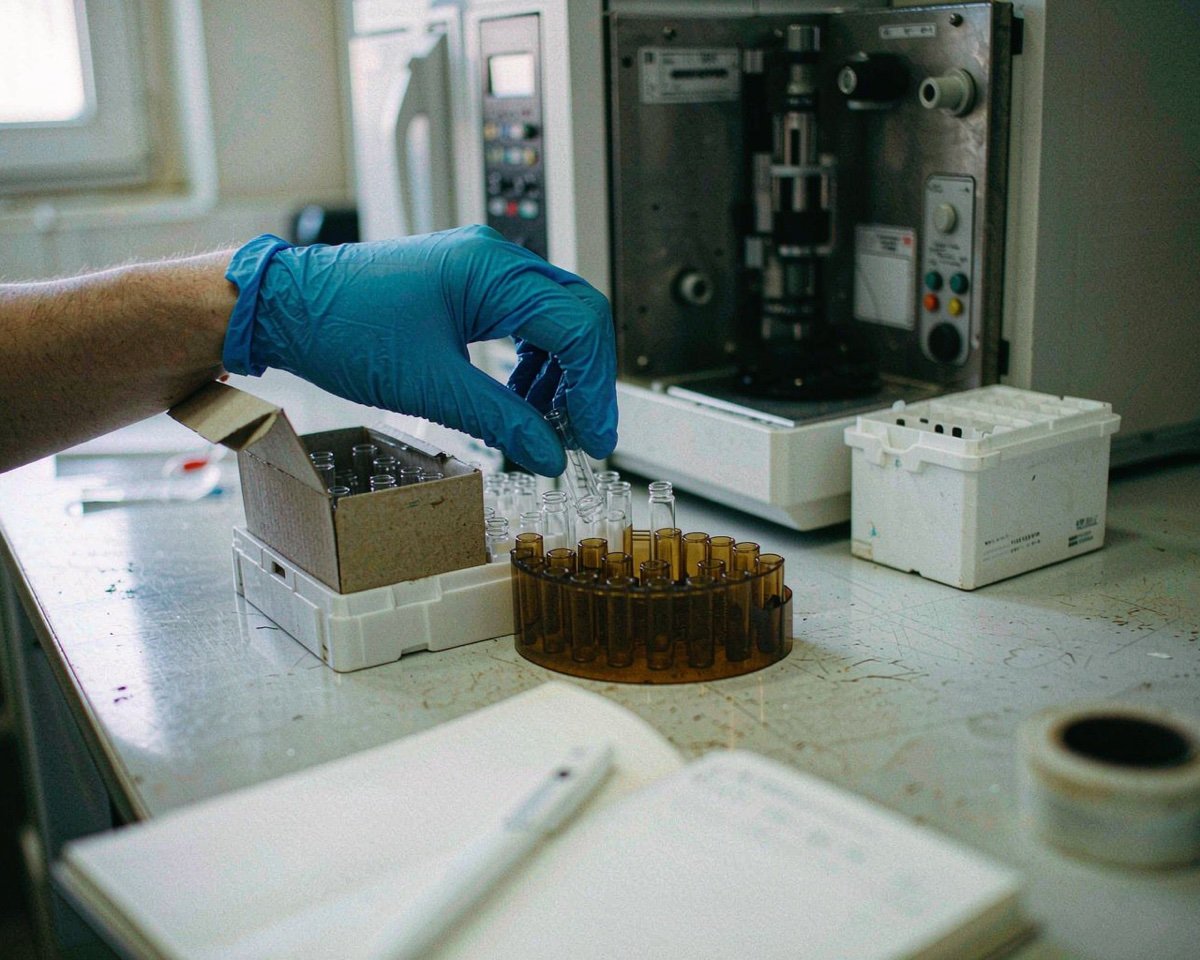
For LC-MS work specifically, look for vials sold as MS-certified, meaning the manufacturer screened them for background and extractables against an MS method. The screening step is the whole point. What MS certified vials actually guarantee breaks down which claims are tested and which are marketing, and it’s worth ten minutes before your next order. For bioanalytical work at low ng/mL levels, I default to certified vials without negotiating, because one rerun costs more than a case of them.
Caps matter as much as glass. A loose cap lets volatile sample components evaporate mid-sequence, which quietly shifts your response factors. If you’ve ever watched peak areas droop across a 60-injection batch while the RSD creeps toward 15%, check closure torque before you blame the detector. The Mastelf LC-MS vial tips page has a checklist for exactly this, including the seal and crimp checks that most SOPs skip.
One habit worth borrowing from GMP labs: log the vial lot with the sequence. When a background peak shows up two months later, a lot column in the run sheet turns an afternoon of guesswork into a ten-minute lookup. Same goes for caps: buy them from the same vendor as the vials when you can, because a cap and vial mismatch is a slow leak you’ll never see until the RSD tells you.
4. Guard Columns and Inline Filters
Your analytical column is a contamination sponge. Every junk component that survives sample prep binds to the head of that column, and under a gradient it eventually washes off and heads for the source.
A guard column or inline filter takes that abuse instead. Agilent’s maintenance documentation treats the LC filter elements as scheduled replacement parts, with defined procedures and intervals, not emergency fixes. That framing is correct: a 20 µm inline frit or a guard cartridge is a sacrificial part, meant to be swapped while it’s still cheap.
Swap them on a pressure trigger rather than a hunch. A frit that has doubled its pressure drop is telling you what it caught. Ignore the signal and the junk finds another home, usually the column inlet or the rotor seal.
The economics are lopsided. A guard cartridge runs a fraction of the cost of the analytical column it protects, and column replacement drags method requalification behind it. In my experience the labs that complain guard columns are “extra cost” are the same labs replacing analytical columns twice a year. The Mastelf guide to guard columns calls them cheap insurance, and the label fits.
Make the replacement interval explicit in your SOP. “Change the inline frit every 500 injections or when system pressure rises 10% above baseline” is a rule a night-shift tech can follow. “Change when needed” is a rule nobody follows.
5. PFAS-Aware Caps, Tubing, and Bottles
If your lab touches PFAS methods, your own hardware becomes the enemy. PTFE, the most common polymer in LC plumbing, is itself a polyfluorinated material that leaches background compounds into exactly the analytes you’re trying to measure.
Restek’s contamination walkthrough documents the usual suspects: PTFE tubing in degassers and pumps, PTFE frits, vial caps with PTFE-lined septa, even the PTFE filters used to fill mobile phase bottles at the factory. Their recommended substitutions are specific. Polypropylene vials with polyethylene caps for PFAS samples. PEEK or stainless tubing in place of PTFE where the system allows. A delay column to hold back system-derived PFAS so it elutes after your analytes.
You don’t need to run PFAS methods for this to matter. The broader lesson is that every polymer in the flow path is a potential extractables source, and “inert” is a claim, not a guarantee. When a new background peak appears at a steady retention time, I check what changed upstream of the injector before I touch the source. New bottle caps? New tubing batch? That question resolves more mystery peaks than any spectra library.
If your method lives at trace levels, treat any consumable change like a reagent change: run a blank through the new part before the real sequence. And keep a small archive of retired parts, labeled with the date they entered service. A marker and ten seconds now answers the “what changed upstream” question later, before anyone opens a spectra library at 6 p.m.
6. A Source-Cleaning Kit That Actually Gets Used
Here’s a confession: the best-protected source I ever ran belonged to a lab whose cleaning kit lived on top of the mass spectrometer, not in a cabinet three rooms away. Convenience beat SOP.
Agilent’s 6000 series maintenance guide specifies the tools for daily and weekly spray chamber cleaning: clean lint-free cloths, cotton swabs, clean gloves, and a flushing solution of LC-MS grade isopropanol and water, mixed 50:50 when you’re not sure what ran recently. The guide calls for daily spray chamber rinses and weekly deep cleans whenever discoloration shows on the spray shield or capillary cap. None of those items is exotic. All of them are consumables, and they need restocking like anything else.
Build the kit as a single bin: one pack of lint-free wipes, one jar of cotton swabs, one bottle of LC-MS grade IPA, one wash bottle of LC-MS grade water, a pair of powder-free nitrile gloves, and a printed copy of the cleaning procedure. When the wipe pack runs low, that’s the reorder trigger. One bin, one owner, one place.
Assign that owner by rotation, one name per month. Shared ownership means no ownership, and a missing bottle of LC-MS grade IPA at 8 a.m. has a way of stretching the cleaning interval by a week. Add a small log card inside the lid too: date cleaned, who cleaned, what the source looked like. Three lines per week buys you a trend line instead of a surprise.
The stakes are real. Source cleaning is what happens between the “sensitivity is dropping” email and the service engineer’s quote. Every week you stretch the interval, salts polymerize further onto the capillary, and the eventual recovery gets worse. In my experience a lab that cleans sources on schedule almost never calls for emergency service, and a lab that doesn’t calls twice a year.
7. Spare Autosampler Wear Parts and a Wash-Solvent Habit
The autosampler is the last stop before the column, and its wear parts quietly collect everything your other checkpoints missed. Agilent’s contamination article (linked above) puts the needle, needle seat, rotor seal, and stator head at the top of the suspect list for ghost peaks, and prescribes replacement in that order when blanks stay dirty.
So keep spares. A needle seat and a rotor seal cost less than one day of instrument downtime, and they’re the parts that fail dirty, not dead. A worn needle seat smears sample residue across every injection that follows. You’ll see it as carryover that no wash cycle fixes.
Speaking of wash: needle wash solvent is a consumable decision with outsized effect. Match the wash to the analyte, strong enough to dissolve what you injected, weak enough not to attack the septa. Agilent’s guidance in the same article includes flushing the wash solvent bottle and cleaning the wash port when contamination shows up, because a filthy wash port recontaminates every needle that passes through it. A 90:10 acetonitrile-to-water flush through the nebulizer at the end of a hard run, per Agilent’s own maintenance procedures, takes three minutes and clears the residue that would otherwise bake on overnight.
If your lab has ever lost a Friday to carryover that “came out of nowhere,” there’s a decent chance the nowhere was a six-month-old needle seat. Replacing wear parts on a schedule, with a blank run after each swap, converts a mystery into a maintenance log entry. One more detail from the same guidance: use freshly made solvent when you troubleshoot. Every part swap should end with a blank before you declare the problem solved, otherwise you can’t tell whether the fix worked or the old mobile phase was lying to you.
Conclusion
None of these seven consumables is glamorous, and that’s exactly why they work. LC-MS sources die by a thousand small exposures: a topped-off solvent bottle here, a bargain vial there, a guard cartridge nobody remembered to swap. Each item above moves one of those exposures away from the ion source and onto something you can replace for the price of a lunch. Start with the two cheapest and highest-leverage moves: commit to genuine LC-MS grade solvents and replace solvent containers instead of refilling them. Then work down the list as budget and attention allow. If you want to go deeper on vial selection specifically, the Mastelf LC-MS vial tips guide and the breakdown of LC-MS grade consumable claims are both short, practical reads. Your source, your sequences, and your Friday afternoons will all run cleaner.
Frequently Asked Questions
How often should I clean my LC-MS ion source?
Agilent’s maintenance guidance calls for a daily spray chamber rinse and a weekly deep clean when contamination symptoms persist, but your real interval depends on your matrix and injection load. If you run dirty biological samples at high volume, shorten it. Track sensitivity on a check standard, and let a 20% drop trigger cleaning rather than waiting for the calendar.
Do I really need LC-MS grade solvents, or is HPLC grade enough?
HPLC grade solvent is filtered for particulates and UV transparency, but it isn’t screened for the trace metals and nonvolatile residue that LC-MS detects. LC-MS grade solvents carry tighter specs on exactly those parameters, which is what keeps adduct background and ion suppression down. For UV methods, the difference may not matter; for ESI, it usually does.
What’s the first thing to check when sensitivity suddenly drops?
Check the mobile phase and a solvent blank before touching the source. Pump fresh mobile phase through, run several blanks, and see whether the background or a ghost peak follows. If the blank is clean and the check standard is still low, then schedule a source clean, since the salts have likely built up on the capillary or spray shield.
Are MS-certified vials worth the extra cost?
For trace-level bioanalysis, yes, because the certification means the manufacturer screened that vial design for extractables and background against an MS method, and one failed sequence costs more than a case of vials. For routine QC above mid-level concentrations, standard high-quality glass vials are usually fine. Match the spend to the sensitivity you actually need.
Can dirty consumables cause false positives in LC-MS?
Absolutely. Background peaks from leached plasticizers, cap liners, or residual surfactants can coelute with target analytes and register as real signal, especially in scan mode or at trace levels. The defense is unglamorous: run reagent blanks, test new consumable lots before real sequences, and treat any consistent background peak as a hardware question rather than a sample answer.