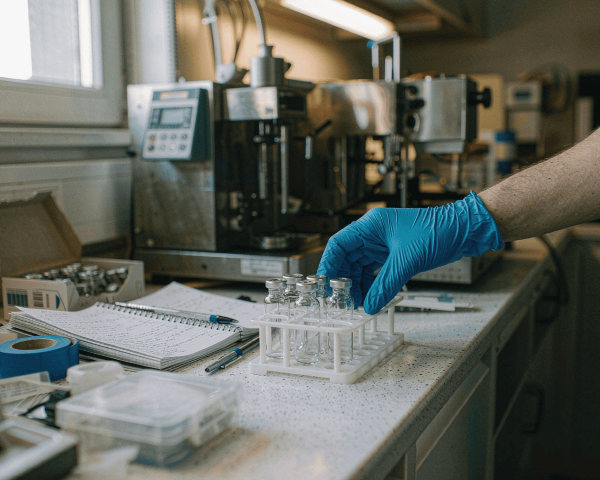

Setting up a new lab is a shopping problem, and most people solve it badly. They buy what the big catalog emails promote and discover mid-experiment that the boring stuff is missing.
The pattern is predictable. The instrument gets a room, the team gets trained, and then week one stalls because there is no 0.22 µm filter in the building. I have watched a brand-new QC bench lose three working days in its first month to missing consumables alone.
Stock these ten categories on day one and you will not be that lab. The list below covers what to buy, how much, and the mistakes I see first-time lab managers make with each one.
1. Autosampler Vials and Caps
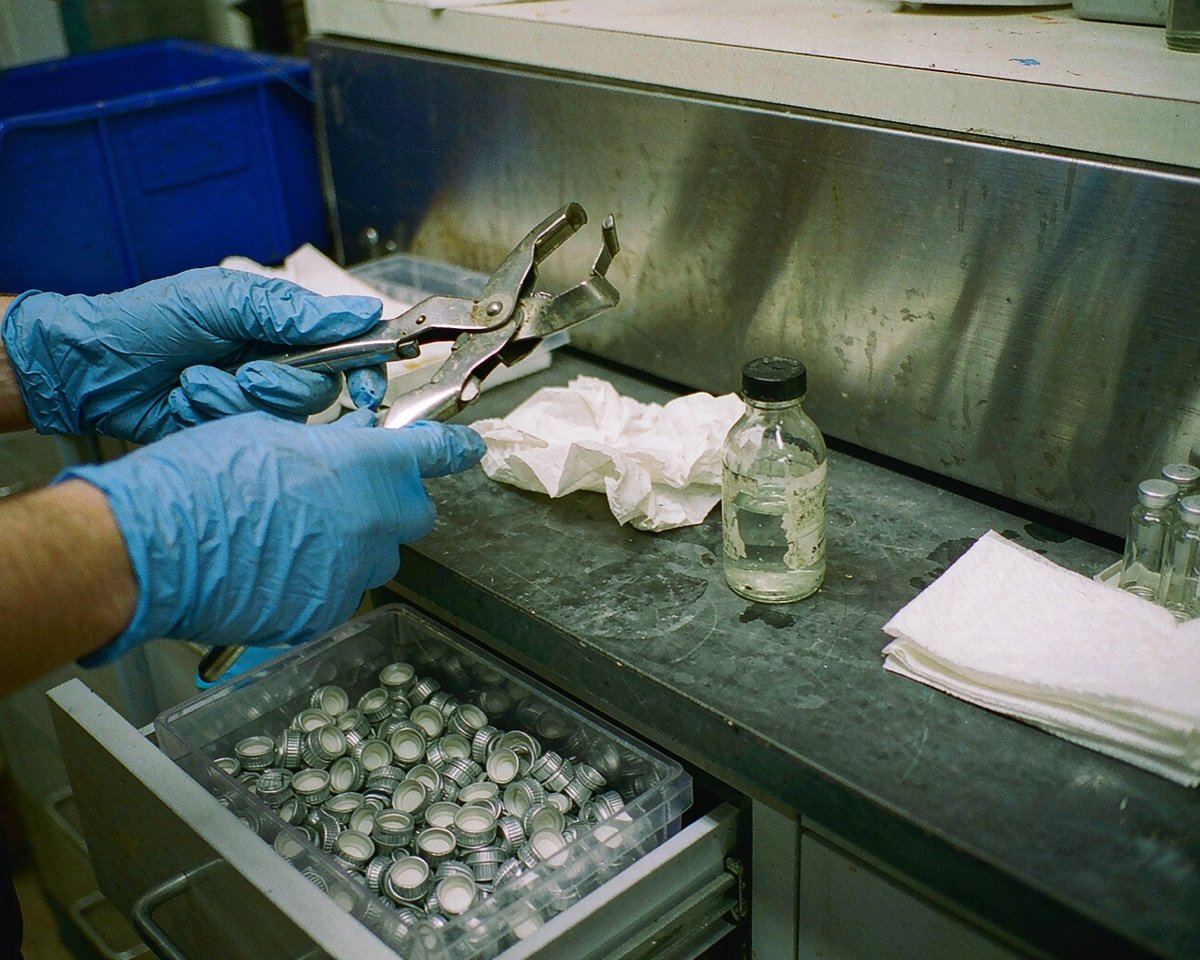
If your lab runs HPLC or GC, vials are the consumable you will burn through fastest. I’d start with 2 mL clear glass screw-neck vials, 9-425 thread, with PTFE/silicone caps. That combination fits Agilent, Waters, and Shimadzu autosamplers, which matters if your instrument fleet is mixed.
Buy clear and amber. Clear for routine work, amber for anything light-sensitive. A case of 100 sounds like a lot until your first method-development sprint eats 60 of them in two days. Thermo Fisher’s autosampler vial line gives you a sense of the performance tiers available, but compatibility with your specific autosampler matters more than the brand on the box.
Quantity guidance: a two-person chromatography lab running daily injections goes through 300-500 vials a month once methods are live. Order accordingly, and add a box of polypropylene vials if you ever run high-metal-content samples like ion chromatography work.
One honest warning from someone who has unpacked a lot of these: check the caps when the box arrives. A batch of caps with wrinkled septa will quietly cause evaporation and ghost peaks for weeks.
2. Syringe Filters
Every sample that goes into an HPLC should be filtered, so syringe filters belong on the day-one list, not the “order when we need them” list.
Keep two types minimum: 0.22 µm for LC-MS and sterile-ish work, 0.45 µm for routine HPLC. Then match the membrane to your solvent. PTFE handles aggressive organics, PVDF is low-binding for protein-containing samples, nylon covers broad general use, and PES flows fast for aqueous buffers. The Millex filter guide from MilliporeSigma lays out the membrane-by-membrane breakdown if you want the details.
Get 13 mm filters for 1-10 mL samples and 25 mm for larger volumes. A 4 mm filter clogs after about 1 mL, and nobody enjoys discovering that at 4:45 on a Friday.
Budget roughly one filter per sample prep, plus 20% for the ones that clog halfway through because someone tried to push a dirty extract through them. If your matrices are heavy in particulates, glass fiber prefilters extend the life of the main membrane considerably.
3. Reagent and Media Bottles
GL45 borosilicate bottles are the workhorses here. They store mobile phase, buffers, and media, they go in the autoclave, and the GL45 thread has become the closest thing the lab world has to a universal standard, so caps and bottle-top filter adapters interchange across brands.
Sizes worth having on the shelf: 100 mL, 250 mL, and 1 L. The 100 mL bottle is what people forget, and it is the one you will grab for fresh mobile phase on a method tweak. DWK’s DURAN bottle range shows the typical capacity-to-thread mapping, including the small GL25 and GL32 necks on 25 and 50 mL bottles.
How many? A chromatography lab with two instruments is comfortable with six 1 L bottles, four 250 mL, and four 100 mL. That sounds generous until bottles start cycling through the wash and the autoclave continuously.
Skip soda-lime glass bottles entirely. Type 1 borosilicate costs a little more and resists the thermal shock of autoclaving.
4. Pipette Tips
Filtered tips and standard tips, in the volume ranges your pipettes actually cover. If you run PCR or anything contamination-sensitive, filtered tips are non-negotiable. Low-retention tips earn their price premium when you pipette viscous buffers or work below 10 µL.
Check compatibility before the big order. Pipette manufacturers do not agree on a tip standard, and a tip that fits loosely will wick sample into the shaft, which ruins the pipette and the day. Order a small evaluation pack first if you are switching brands.
Order more than the usage estimate suggests. In my experience a new lab underestimates tip consumption by about 40%, usually because two or three people share one workstation in the first month.
Racked, sterile, and sealed beats bagged refills for a new team. Refills save money but they also save money by transferring the loading mistakes to your people.
Watch how tips are stored too. UV light degrades the filter membrane in filtered tips over time, so cases left on a sunny windowsill are quietly compromised. A closed drawer does the job and costs nothing.
5. Nitrile Gloves and Basic PPE
Gloves disappear faster than anything else in a lab, so treat them like a consumable with a real burn rate, not a one-time purchase. Nitrile is the default: better puncture resistance than latex and no Type I latex allergy risk. Fisher’s glove polymer comparison is a useful one-pager on how nitrile, latex, and neoprene actually differ on chemical splash and puncture performance.
Buy at least two sizes. The one-size-fits-all approach fails because loose gloves make people clumsy with small vials, and clumsy people drop 2 mL vials.
A realistic burn rate for a four-person lab is a box (100 gloves) per person per week, sometimes two. Order by the case and store cases under the bench.
Thickness is the spec worth reading. A 4 mil glove is fine for general handling; 6 mil or better holds up for extended solvent contact, at the cost of some touch sensitivity. Keep both around. People doing fine work with small vials will thank you for the thin ones, and the people washing glassware in solvent will go through the heavy ones anyway.
Add safety glasses and lab coats sized for your actual team. This is the cheapest insurance you will ever buy.
6. Vial Racks and Storage Boxes
A rack for every vial format you run, plus freezer boxes if anything lives at -20 or -80 °C. Cardboard freezer boxes with dividers are fine; the racks on the bench should be solvent-resistant polypropylene, because the cheap ones turn brittle next to acetonitrile.
This sounds like furniture, not a consumable. It is not furniture. The day your 9-425 vials roll off an overcrowded bench is the day you become a believer. We wrote a whole guide on organizing vials with trays and racks if you want layout ideas.
One rule from a lab I worked in: the rack count should always be at least double the number of people prepping samples at once. Waiting for a free rack is a small frustration that happens forty times a week.
7. Labeling Supplies
Solvent-resistant labels and a laboratory-grade marker. Regular adhesive labels fall off in the fridge, dissolve in the cryostat, and generally give up exactly when you need traceability most.
Cryo labels survive liquid nitrogen. Solvent-resistant labels survive a splash of methanol. Neither costs much. Pair them with a simple labeling convention written down somewhere everyone can see, because “vial 37” means nothing to the person who inherits your sequence. A convention that names project, prep date, and prep initial in that order will outlive any fancy inventory software.
Buy more label sheets than you think you need and store them flat. Curled labels jam printers and refuse to stick on cold vials, and the workarounds (tape over everything) defeat the point of the label.
8. Cleaning Supplies
Lint-free wipes, a bottle of IPA, bench paper, and brushes for glassware. That is the whole category, and it is the one new labs remember last and need first.
Lint-free wipes matter more than people expect. Paper towels leave fibers on vial septa and in vial mouths, and those fibers end up as particulates your needle spears or your filter catches. Bench paper saves the laminate benchtop from the stains that make every future inspection walk a little slower past your bench.
For glassware, a pair of good bottle brushes in two diameters plus a mild laboratory detergent covers most needs. Buy the long-handle brush for 1 L bottles; the short one simply never reaches the bottom curve where residue actually sits. Skip the dishwasher for anything volumetric; mechanical washing is fine for beakers, hard on graduated glassware.
9. Waste Containers
Solvent waste bottles with proper caps, a sharps container, and labeled bags for contaminated disposables. Set the labels up before the first drop goes in, because relabeling a mystery mixture is both a safety problem and a disposal surcharge.
Segregate halogenated from non-halogenated solvent waste from day one. The disposal contract will charge you based on what is actually in the bottle, and mixed waste is billed at the worst-case rate.
Use rated polypropylene waste bottles with GL45 threads and vented caps where regulations require them, and keep secondary containment trays under every waste bottle. A five-dollar tray is cheaper than one spill incident report, which is a document nobody enjoys writing twice.
Check your local regulations before the first solvent goes in, because waste rules differ more between regions than almost any other lab topic. What a German lab may pour, a California lab may need manifested. A one-hour call with your disposal contractor during setup week saves months of confusion later.
10. The Spares Kit
Everything above, plus a buffer stock. Septa and caps, a second box of every filter type, spare pipette tips, one extra bottle of each size.
Here is my rule of thumb: whatever item would stop your most important instrument if it ran out, keep three weeks of buffer stock. Vials, caps, and filters top that list for a chromatography lab. Our guide on the signs it’s time to reorder consumables turns that into a simple checklist you can pin above the stock shelf.
The first supplier order is also the moment to negotiate. Suppliers move on volume, and a new lab placing a consolidated first order has more leverage than it thinks.
How to Sequence the Buying If Budget Is Tight
Not every lab gets an unlimited first purchase order. If you have to phase it, here is the order that hurts least.
Buy items 1, 2, and 9 first. Vials, filters, and waste containers are the minimum for running a single safe HPLC method end to end. Then pipette tips, gloves, and bottles, which is the daily working set. Racks, labels, and cleaning supplies can lag a week or two, though labeling really shouldn’t, because unlabeled samples have a way of becoming permanent mysteries.
One more budget note: the cheapest per-unit price is rarely the cheapest total cost. A supplier who ships in a week at 10% higher unit price beats the one who ships in six weeks when your instrument is idle. Factor lead time into every comparison the same way you factor price.
Three Ordering Habits That Pay for Themselves
The list above is what to buy. These three habits are how to buy it without leaking money.
Consolidate suppliers where you can. Splitting an order across four vendors means four shipping fees, four sets of paperwork, and four chances for a backorder to stall your setup. A single supplier who covers vials, filters, and bottles can usually match the piece-by-piece pricing and will fight harder to keep your next order.
Standing replenishment belongs on the fast movers. Vials, tips, and gloves have predictable consumption once methods are running, and most suppliers will set a recurring order with better terms. Set the trigger point at the level where one busy week cannot wipe you out.
The last habit is the unglamorous one: record what you actually use. A simple spreadsheet with date, item, and quantity takes thirty seconds per order and turns your second purchase order from a guess into a forecast. Every later negotiation starts with real numbers, which is exactly the position you want to be in.
Conclusion
A new lab does not fail because someone picked the wrong centrifuge. It stalls because a 0.22 µm filter or a box of 9-425 caps ran out on a Tuesday, and the replacement arrives the following Monday. That is the whole argument for this list. Cover the ten categories above before the first sample is prepped, weight your order toward whatever stops your critical instrument, and negotiate the consolidated first order while you still have leverage. Then set up storage properly from the start using our consumables shelf-life guide and keep stock levels honest with our procurement manager’s guide. Set up once, correctly, and your first month is about science instead of shipping delays.
Frequently Asked Questions
How much should a new lab budget for consumables?
Most small analytical labs should expect consumables to be 10-20% of their first-year equipment budget, with vials, filters, tips, and gloves taking the largest share. Track actual usage for the first two months, then adjust ordering on real numbers rather than estimates.
Should I buy brand-name consumables or compatible ones?
For commoditized items like 9-425 vials, GL45 bottles, and standard syringe filters, well-made compatible products perform the same job at a lower price, as long as the supplier certifies dimensions and provides lot traceability. Brand-name parts make more sense where instrument-specific tolerances are critical.
What consumables do HPLC labs use most?
Autosampler vials and caps, syringe filters, and mobile phase bottles lead the list, followed by pipette tips and gloves. Most labs find vials and filters together account for the majority of reorder volume.
How do I store consumables before use?
Keep them sealed in their original packaging in a cool, dry cabinet away from direct sunlight and solvents, and rotate stock first-in, first-out. Septa and filters have shelf lives, so don’t strip packaging for “tidiness” until the item is actually in use.
Is it cheaper to buy consumables in bulk?
Usually yes, per-unit, but only for items with long shelf lives and stable usage. Bulk-buying vials and gloves is smart; bulk-buying filters with a two-year shelf life for a method you run monthly is how stockrooms end up with expired stock.