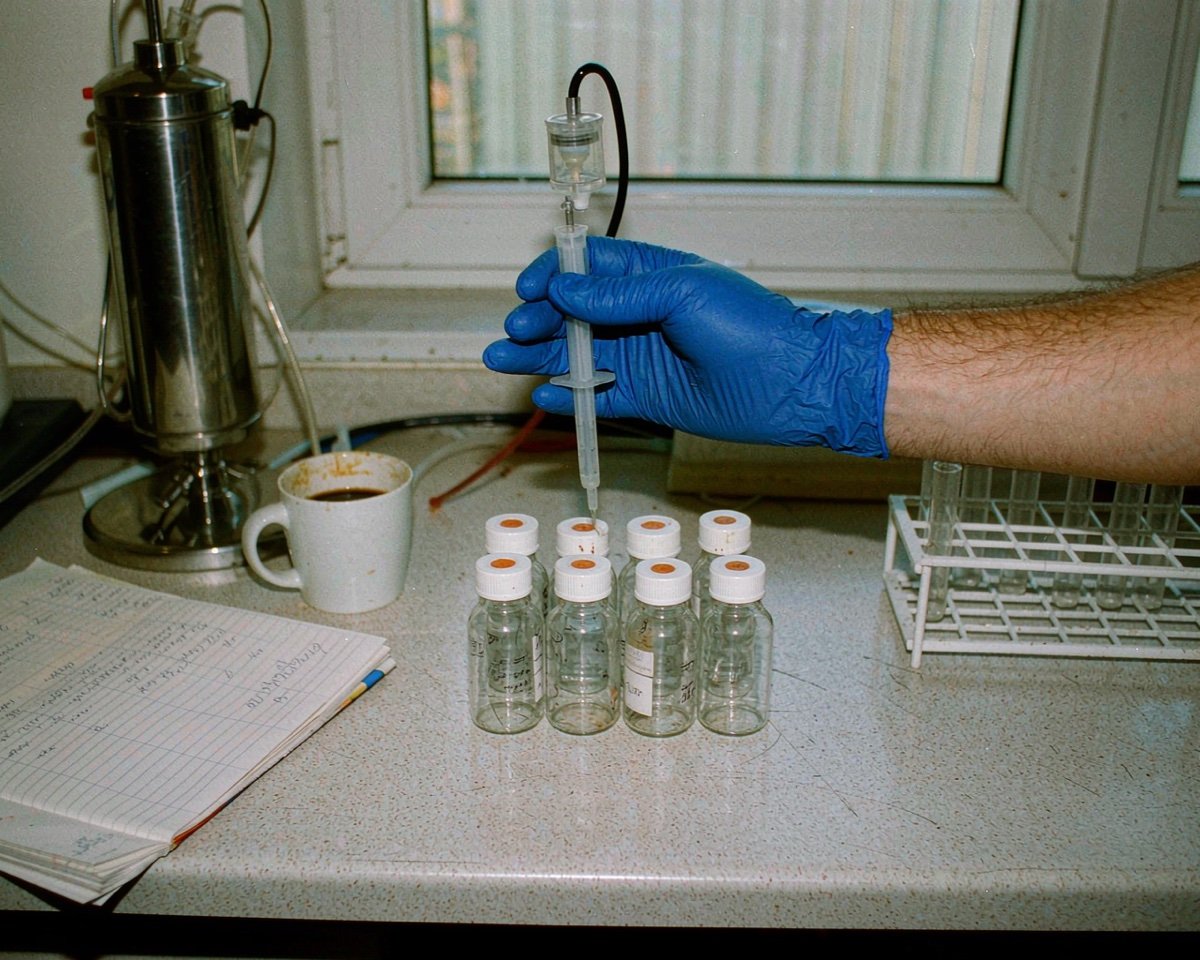

You pull a used cap off a vial, and the septa comes with it, half-shredded, wrapped around the puncture site. Or worse, you never see it happen, and instead your sequence starts throwing pressure alarms because a plug of silicone is sitting in the needle. Septa sticking is a small failure with expensive consequences.
I ran into this on a 40-vial sequence a few years back. Injection 37 started showing random area drops, and the culprit turned out to be septa fragments caught in the needle seat. One cap supplier change and the problem vanished. That experience taught me to treat “sticky septa” as a diagnosable symptom, not bad luck.
The direct answer: septa stick when the material is too soft or tacky for your needle, when the needle tip is dull or the wrong shape, when you over-tighten the cap and squeeze the septa into the needle path, or when vacuum inside the vial pulls the punctured plug down onto the needle. Fix the material match, the needle condition, and the torque, and the sticking usually stops.
The Four Causes, Ranked by How Often I See Them
1. Wrong septa hardness for the needle
Soft septa seal beautifully and pierce easily, but their silicone surface is tacky, and a tacky surface grabs a steel needle. Hard septa resist grabbing but demand more force to pierce, which raises the odds of coring instead. The sweet spot depends on your needle gauge and tip style.
Most 9mm autosampler caps use 1.0mm PTFE/silicone laminates around 45 Shore A. If your lab runs fine needles (0.47mm ID class, the 26s gauge range), a softer laminate is generally safe. If you run larger side-port needles or re-pierce the same vial repeatedly, step up in hardness or move to a pre-slit design. Our guide to PTFE vs silicone vs PTFE/silicone septa covers the material trade-offs behind that choice.
2. Needle condition
A needle with a dulled or burred tip does not slice. It punches and drags, and dragging is exactly the motion that peels silicone and carries it out of the cap. Autosampler needles are consumables too, and labs that replace septa on schedule but run needles until they bend are solving half the problem.
Quick check: pull the needle out under magnification, or run a fingertip gently along the shaft to feel for a hook at the tip. If your injection precision has quietly degraded along with the sticking, the needle is probably the shared root cause. Septum coring and septa sticking are cousins (a blunt needle shears a plug out of the septa the way a cookie cutter punches dough, as one autosampler mechanics deep-dive puts it), and both improve the day you put a fresh, sharp needle in the tray.
3. Cap torque
Over-tightening a screw cap bulges the septa downward into the vial and pre-compresses it against everything that touches it, including the needle. Under-tightening is worse in the other direction, letting the septa shift laterally so the needle hits it off-center, at its thickest, most mobile point.
Hand-tight plus a small quarter-turn is the honest default. If your lab shares caps across benches and torque is all over the place, that variance alone can explain why sticking shows up on some sequences and not others. The septa thickness guide on our site makes a related point: thickness, hardness, and compression interact, and cranking any one of them up usually creates the problem you were trying to prevent.
4. Vacuum lock during aspiration
This one surprises people. When a non-slit septa seals tightly around a needle and the autosampler withdraws liquid faster than air can enter, a partial vacuum forms inside the vial. That vacuum pulls the punctured septa material down against the needle, and the pull also skews your injection volume. MicroSolv’s technical notes on pre-slit septa describe this mechanism in detail.
The fix is a pre-slit septa, which lets air equalize as the sample leaves. The trade-off is that pre-slit septa seal less absolutely against evaporation, so they suit short sequences better than week-long stability studies. If your samples sit in the tray for days, keep solid septa and manage the other three causes instead.
How to Confirm Which Cause You Have
Diagnosis takes ten minutes:
Pull two or three suspect caps and look at the puncture site. A clean round hole points to a needle or vacuum issue. A ragged, torn hole with hanging bits points to a dull needle or an over-compressed septa.
Weigh a vial before and after a 24-hour wait in the tray. Unexpected mass loss plus sticking suggests the seal was compromised, which often traces back to torque.
Swap one variable at a time. New needle on the same caps, then new caps on the same needle. Running both changes at once tells you nothing if the problem disappears.
Prevention Checklist
Match septa hardness to needle gauge, and move to pre-slit if you re-pierce or draw fast.
Replace autosampler needles on a run-count or calendar schedule, not on failure.
Standardize cap torque across the lab. Hand-tight plus a defined quarter-turn beats everyone’s personal grip.
Keep caps and septa dry and dust-free in storage. Grit on the septa surface turns any needle into sandpaper.
Change septa at defined intervals, not when they start leaking. Restek’s GC inlet maintenance guide makes this exact argument for inlet-side septa, and the sample side deserves the same discipline. Our own how-often-to-replace-septa guide gives interval suggestions for the vial side.
When Sticking Is Telling You Something Bigger
Occasional sticking is a nuisance. A sudden jump in sticking across a whole batch of caps is a supplier event. Lot changes in silicone formulation, adhesive lamination, or curing all change how a septa behaves under a needle.
If a new lot starts sticking where the old one never did, stop and compare lots side by side before you blame your method. Then document what you find, because that record is exactly what you want on hand when you raise it with the vendor. Our walkthrough of what to do when a consumable lot fails incoming inspection follows the same playbook.
Conclusion
Septa sticking is almost never random. Soft or tacky material meeting a dull needle, uneven cap torque, and vacuum lock during aspiration cover the overwhelming majority of cases, and each one has a cheap, testable fix. The stakes are bigger than a shredded cap: every fragment that sticks to a needle is a fragment that can end up in your sample, your injector, or your data. Spend ten minutes diagnosing which cause you have, standardize the torque, sharpen or replace the needle, and switch to pre-slit septa when re-piercing or fast draws are part of the workflow. If you want to go deeper on the fragment problem specifically, our septum coring guide pairs well with this one, and the septa thickness guide explains why the hardness dial and the sticking problem are so tightly linked.
Frequently Asked Questions
Does a sticky septa affect injection volume?
Yes, it can. If the septa material drags on the needle or vacuum pulls the seal down during aspiration, the draw volume shifts along with the mechanical sticking. If you see both sticking and volume variability in the same sequence, fix the septa-needle interaction first and re-check precision.
Are pre-slit septa the best fix for sticking?
They are the best fix when the cause is penetration force or vacuum lock, because the needle follows an existing cut with far less resistance. For long-term storage of volatile samples, solid septa still seal more completely, so match the choice to your hold times.
Can over-tightening a cap cause septa fragments?
Yes. Excess torque compresses and bulges the septa, which increases the force the needle needs to punch through and raises the odds it tears instead of slices. The fragments then stick to the needle or fall into the sample.
How often should I replace autosampler needles?
There is no universal number, but labs running high-throughput sequences typically replace on a scheduled interval ranging from weekly to monthly depending on volume. Track injection precision alongside sticking; when both degrade together, the needle is due.