
If you run protein testing in a food or feed lab, the Kjeldahl method is probably the backbone of your work, and the consumables behind it decide whether a run finishes clean or ends in acid on the bench. I’ve spent enough years around digesters to know the gear matters as much as the method.
Kjeldahl protein analysis needs borosilicate digestion tubes, CuSO4/K2SO4 or titanium catalyst tablets, concentrated sulfuric acid, anti-bumping aids, boric acid receiving solution, 0.1 N acid titrant, and acid-rated tubing, seals, gloves, and spill protection.
Read on for the details: what each consumable actually does, where labs overspend, and the few places where the wrong choice costs you a batch.
Digestion: tubes, catalysts, and acid
Digestion is where most of your consumables budget goes, and rightly so. Everything here lives at 420°C in concentrated sulfuric acid, so nothing ordinary survives.
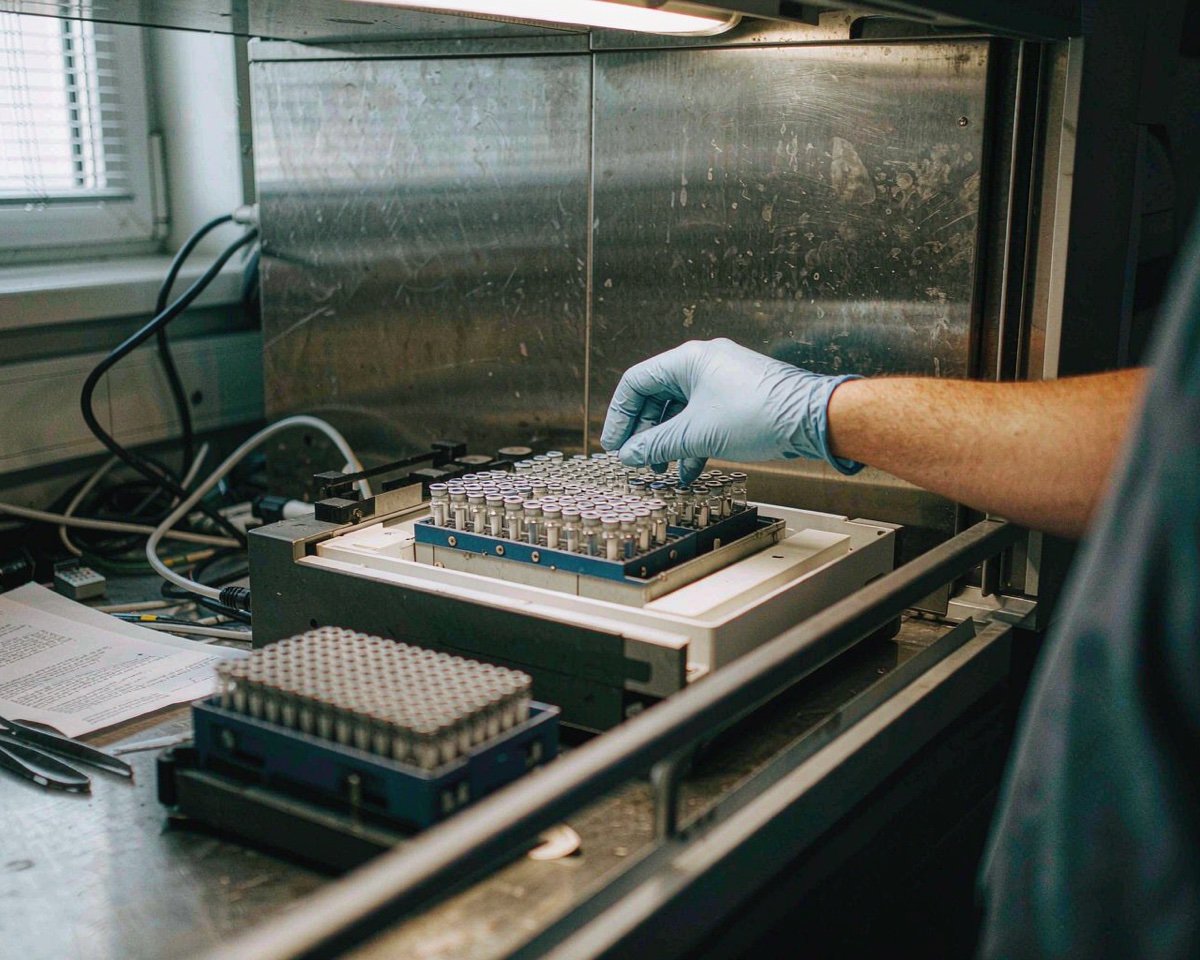
Digestion tubes come in 100 mL and 250 mL sizes (300 mL on some instruments). The size you need depends on sample weight: a 1 g feed sample with 15 to 20 mL of acid wants a 250 mL tube, while micro-Kjeldahl work on 0.2 g of sample fits a 100 mL tube comfortably. Check your instrument’s rack before ordering, because tube diameter and bottom shape vary between manufacturers, and a tube that sits wrong in the block heats unevenly. A typical example is the Labconco digestion tube listing on Fisher Scientific, which spells out the heavy-duty retention lip and contoured bottom that give even heat transfer.
Catalyst tablets speed up digestion and raise the boiling point of the acid mixture. The classic mix is potassium sulfate with copper sulfate (a common tablet holds 3.5 g K2SO4 and 0.1 g CuSO4), while titanium-based tablets suit labs that want to avoid copper in their waste stream. VELP’s soybean application note, for example, digests 0.3 g of sample with two catalyst tablets in a 250 mL tube for 90 minutes at 420°C, which is a good template for plant proteins. Whatever your instrument maker specifies, stick with one tablet type through a validation; switching mid-method means rechecking your recovery.
Boiling aids get overlooked until they aren’t there. Boiling granules or anti-bumping rods keep the digest from superheating and erupting. The BUCHI Kjeldahl Proficiency Guide recommends boiling rods for liquid samples and warns that loose boiling chips can block hoses or damage valves on distillation units, which is a fair point I learned the hard way.
Sulfuric acid itself is a consumable at this scale. Budget 15 to 20 mL per tube, buy the 96 to 98% grade, and keep the bottle closure clean, since a crusted cap drips acid onto everything below it.
Distillation and titration consumables
After digestion, steam distillation liberates ammonia into a receiver, usually 4% boric acid with a mixed indicator like bromocresol green and methyl red. Then you titrate with a standard acid, and this is where your numbers come from.
Titration consumes 0.1 N hydrochloric or sulfuric acid by the liter. A common setup distills into 30 mL of boric acid and titrates with 0.1 N H2SO4, as in VELP’s methods; dairy labs following ISO 8968-1 work the same way. Standardize your titrant regularly, because a drift of 1% in normality is a 1% error in every protein result that day.
The unit itself eats consumables quietly: peristaltic tubing, check valves, seals, and the tubing that carries 32% sodium hydroxide. NaOH lines stiffen and crack within months. Inspect them weekly and replace on schedule, not on failure.
Here’s the anecdote I promised. One Monday we ran a batch of milk samples, and the foam suppression tablet in one tube had gone missing. The digest foamed over during distillation, carried alkaline carryover into the manifold, and flooded it. Half a day of teardown followed, plus fourteen results we couldn’t trust. Since then, antifoam tablets sit next to the unit in a labeled jar, not in a cabinet down the hall.
Glass choices: borosilicate vs boron-rich
Not all digestion glass is equal. Standard borosilicate glass handles the thermal shock of a 420°C block reasonably well, and a good tube lasts dozens of runs. Boron-rich (borosilicate 3.3) formulations push heat resistance further, which matters for high-throughput blocks that cycle hot every day.
Two failure signs tell you to retire a tube: a cloudy or whitened wall where the acid has started leaching the glass, and any hairline crack at the base. Cracks propagate fast. A tube that splits in a 420°C block pours hot sulfuric acid into the heater, and that’s an evacuation, not a cleanup.
This is the same logic that makes borosilicate reagent bottles worth their price elsewhere in the lab, and if you’re weighing materials generally, the glass vs plastic reagent bottle comparison covers where plastic crosses the line.
Safety and handling extras
Nothing exotic here, but the list is short enough that skipping it is tempting. Don’t.
You want acid-resistant gloves (nitrile is fine for splashes, but keep heavier gauntlets for handling hot racks), a face shield for acid dispensing, spill trays under the digester, and sodium bicarbonate within reach. The scrubber that neutralizes acid fumes needs its neutralization solution refreshed, roughly 600 g of sodium carbonate per 3 L on many systems. And racks of hot digests need a dedicated cooling spot, because a 420°C tube on a crowded bench is an accident waiting for someone’s forearm.
For the receiving flasks and burettes, glass must tolerate boric acid and the occasional NaOH splash. Glass handles both without drama; many plastics don’t.
Mistakes that cost labs money
The expensive errors are boring ones. Reusing tubes past their point of embrittlement until one fails mid-run. Mixing catalyst tablet brands without revalidating. Letting titrant sit past its standardization date because the label “looked fine.” Buying the cheapest 0.1 N HCl from a new vendor for a regulated method is also a gamble, since supplier changes to ISO 1871-based workflows deserve at least an in-house check against a reference material.
One more: skipping the blank. Every consumable batch, even filter paper weighing boats, contributes a little nitrogen. Run the blank and subtract it, every time.
Why Kjeldahl persists
Dumas combustion is faster and skips the acid, so why does anyone still run Kjeldahl? Two reasons. Regulators still recognize it as the reference in much of the world, and protein conversion factors are baked into decades of labeling law. A milk lab reports 6.38 times Kjeldahl nitrogen; a wheat lab uses 5.7; most everything else gets 6.25. Those factors trace to specific methods, and switching techniques means re-negotiating your numbers with your customers. So the digester stays, and so do its consumables.
Conclusion
Kjeldahl protein analysis doesn’t ask for much, but it asks for the right things: 250 mL borosilicate digestion tubes that survive 420°C, the catalyst tablets your method was validated with, boiling aids that stop foaming before it starts, fresh titrant, and tubing that doesn’t crack under 32% NaOH. Get those right and the method runs for years with boring, defensible results, which is exactly what you want from a workhorse. Get one of them wrong and it announces itself loudly, usually at the worst possible moment. If you’re building out a food lab from scratch, our food testing lab consumables guide puts Kjeldahl in the wider context, and the reagent bottle cleaning guide will keep your acid and boric acid bottles in service far longer.
Frequently Asked Questions
What size digestion tube do I need for Kjeldahl protein analysis?
Most food and feed work uses 250 mL tubes with 15 to 20 mL of sulfuric acid and 0.5 to 1 g of sample. Micro-Kjeldahl setups with smaller samples can use 100 mL tubes, but always match the tube to your digester’s rack design.
Copper or titanium catalyst tablets: which should I choose?
Copper sulfate tablets (with potassium sulfate) are the traditional, cheapest choice and match most official methods. Titanium tablets avoid copper in wastewater, but switch only after confirming your method’s recovery still passes.
Why does milk use a 6.38 protein conversion factor?
Milk proteins contain about 15.7% nitrogen on average, so total nitrogen is multiplied by 6.38 to estimate protein. Other matrices use different factors: 6.25 for most foods and 5.7 for wheat, reflecting their typical amino acid profiles.
How often should I replace Kjeldahl distillation tubing and seals?
Inspect sodium hydroxide and acid lines weekly and replace them every three to six months depending on use. Any tubing that has stiffened, discolored, or shows surface cracking goes out immediately, before it fails mid-batch.
Is Kjeldahl still the official protein method?
Yes, in most markets it remains the reference method, and ISO 8968-1 for dairy and AOAC methods for many matrices are Kjeldahl-based. Dumas combustion is accepted in some contexts, but Kjeldahl’s regulatory standing keeps it in food and feed QC labs.