
Your usual filter lot is out of stock. The replacement has the same catalog number, the same membrane name, and the same pore size stamped on the housing. It is not automatically the same filter, and your method will find that out for you, usually at the worst moment.
Answer: Validate a new filter lot by running a side-by-side against the old lot under real method conditions: filter blanks to check extractables, sequential filtrate fractions to check adsorption, and recovery comparisons against an unfiltered reference. If recovery, blanks, and flow all match the old lot within your acceptance criteria, the new lot can enter the method.
Why the Same Filter Isn’t the Same Filter
Membrane manufacturing has natural lot-to-lot variation: polymer batches, pore-forming conditions, surface treatments, housing resins. Two lots of “0.45 µm PTFE” can differ in effective area, wettability, and extractables profile while both being in spec.
For most routine work the differences are invisible. For trace methods, LC-MS background, or analytes that bind surfaces, they are exactly the kind of small change that moves a recovery number past its limits. Filtration & Separation’s review of filter revalidation makes the regulatory version of this point: any change in filter, membrane, or process can unseat a validated state, and change control exists to catch it.
The lab-scale version of that principle is what follows.
The Side-by-Side Protocol
Step 1: Define What “Same” Means
Before running anything, write down the acceptance criteria. Typical limits, adjusted to your method:
- Recovery within ±2-5% of the old lot (or within method precision)
- No new peaks in the filtered blank above your reporting threshold
- Flow behavior comparable: no stalling, no unusual hand pressure
- Fraction profile similar (no first-fraction suppression the old lot didn’t show)
Without criteria written first, a side-by-side becomes an argument. With them, it becomes a decision.
Step 2: Build the Reference
You need an unfiltered comparison point: a centrifuged supernatant, a clear standard solution, or a sample prepared by another validated route. Keep everything else identical between the two arms: same diluent, same concentrations, same vials, same sequence, same processing time.
The reference matters because a filtered-versus-filtered comparison only tells you the two lots differ from each other, not which one is right.
Step 3: Run Filter Blanks
Push your diluent (no analyte) through both the old and new filter, using the same syringe, volume, and technique as the method. Inject both blanks under the full method, gradient and wash included.
You’re looking for new peaks, baseline noise, drift, or raised background near your analyte’s retention time. GenFollower’s syringe filter validation guide walks through exactly this blank comparison and the detective work that follows when an extra peak appears, since the filter is only one suspect among syringe, solvent, and vial.
Step 4: Collect Fractions, Not a Pool
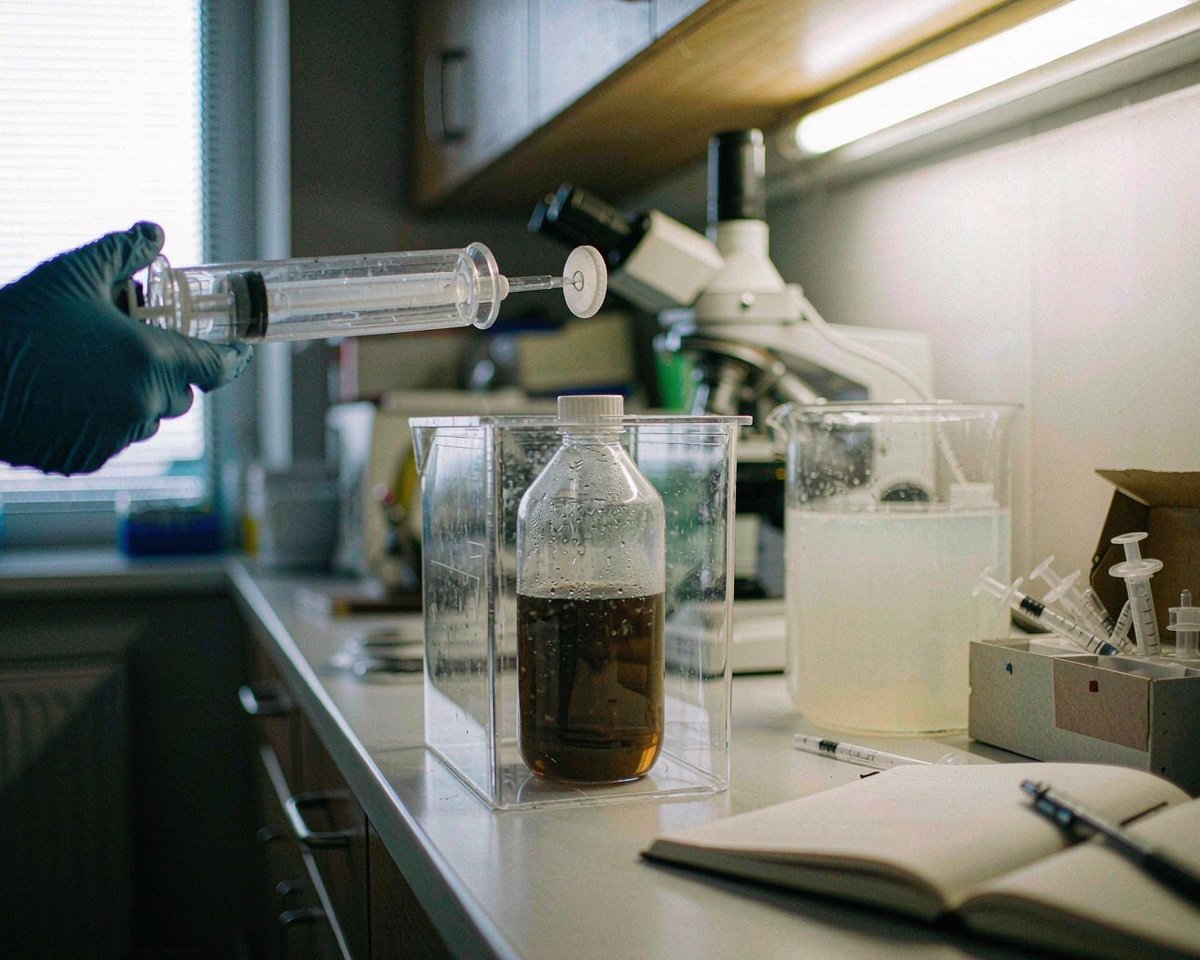
This is the step that catches adsorption differences. Instead of pooling the filtrate, collect it in sequential fractions: first drops, middle, and final. Analyze each against the reference.
The classic failure signature: first fraction low, later fractions climbing toward the reference. That’s the new lot binding your analyte on fresh surfaces, something the old lot didn’t do. Merck Millipore’s hard-to-filter performance data shows how large this can be: 15-25% analyte binding in the first milliliter for some prefilter-equipped filters, with recovery normalizing only by the third.
If the pattern appears, your options are a demonstrated discard volume, a different membrane, or a different lot. Our article on minimum wetting volume and early-filtrate losses covers the discard decision in depth.
Step 5: Compare Recovery and Repeatability
Run the full comparison on independently prepared samples, not repeated injections from one vial. Replicate across at least two operators’ worth of normal handling if your methods see multiple hands, and include your lowest concentration, where absolute losses matter most.
Calculate recovery against the reference for each arm. If both lots pass the criteria written in Step 1, document the comparison and release the new lot into the method.
How Much to Test
Scale the effort to the risk:
- Routine, robust methods: one blank, three recovery replicates per lot, one session
- Trace or regulated methods: full blank comparison, fraction study, replicates at low and high concentration, and retained vials of both lots for audit
- Sterile or process-critical filtration: this scale of testing is a formal revalidation, not a bench check, and belongs under change control
Timing matters as much as scope. Run the comparison when the new lot arrives, not when the old lot runs out during a sequence. A validated backup shelf, one old lot plus one qualified new lot, converts a supply problem into a nonevent.
Whatever you run, file it: lot numbers of both filters, criteria, raw data, and the verdict. The next person who inherits the method should find the answer in the file, not in folklore.
What to Do When the New Lot Fails
Don’t negotiate with the data. The paths, in order of preference:
1. Return the lot and request a different one (this is why suppliers keep multiple lots) 2. Add a validated conditioning step (condition with sample, discard a demonstrated volume) if the only issue is first-fraction adsorption 3. Escalate to a membrane change, which triggers a fuller revalidation of its own
And a prevention habit: qualify a second lot of every critical filter during method development, before supply pressure ever forces the issue. Our guide to low analyte recovery covers where losses hide when a filter is only part of the story, and our syringe filter extractables article covers the background side of lot differences.
Conclusion
A new filter lot earns its way into a method with evidence, not with a matching catalog number. Run a blank comparison for extractables, collect fractions to expose adsorption, compare recovery against an unfiltered reference, and apply criteria you wrote before the data existed. An afternoon of side-by-side testing protects months of method history. When the comparison fails, don’t force it; the fix is always cheaper before the lot enters routine use.
Document the failure itself too. A lot that fails your side-by-side is evidence you will want if the supplier’s next lot arrives equally different, and it is the record that justifies switching membranes under change control rather than under deadline panic. For the adsorption deep-dive, read our minimum wetting volume article, and for what to do when recovery drops for other reasons, our low-recovery troubleshooting guide is the next stop.
Frequently Asked Questions
Do I need to revalidate the method for every new filter lot?
Not usually. A documented side-by-side comparison against your acceptance criteria is enough for most methods. Full revalidation is reserved for changes in membrane type, pore size, or supplier, not for routine lot replenishment.
How many fractions should I collect in the comparison?
Three is enough to see the pattern: first filtrate, middle, final. If the first fraction runs low and the rest recover, you’ve found surface adsorption and need a demonstrated discard volume.
What’s the most common failure in filter lot comparisons?
First-fraction analyte loss on the new lot. The membrane or prefilter binds a few percent of the analyte before surfaces saturate, which shows up as low recovery at low concentrations.
Can I skip the blank if the membrane is unchanged?
No. Extractables come from housing resins, support layers, and surface treatments as much as from the membrane, and all of those can shift between lots. The blank is the cheapest part of the comparison and the one that catches LC-MS surprises.