
Ask a GC lab what they replace on their inlet and you’ll hear “septa, liner, O-ring.” The inlet seal rarely gets mentioned until a method stops reproducing and someone spends two days chasing phantom retention time drift.
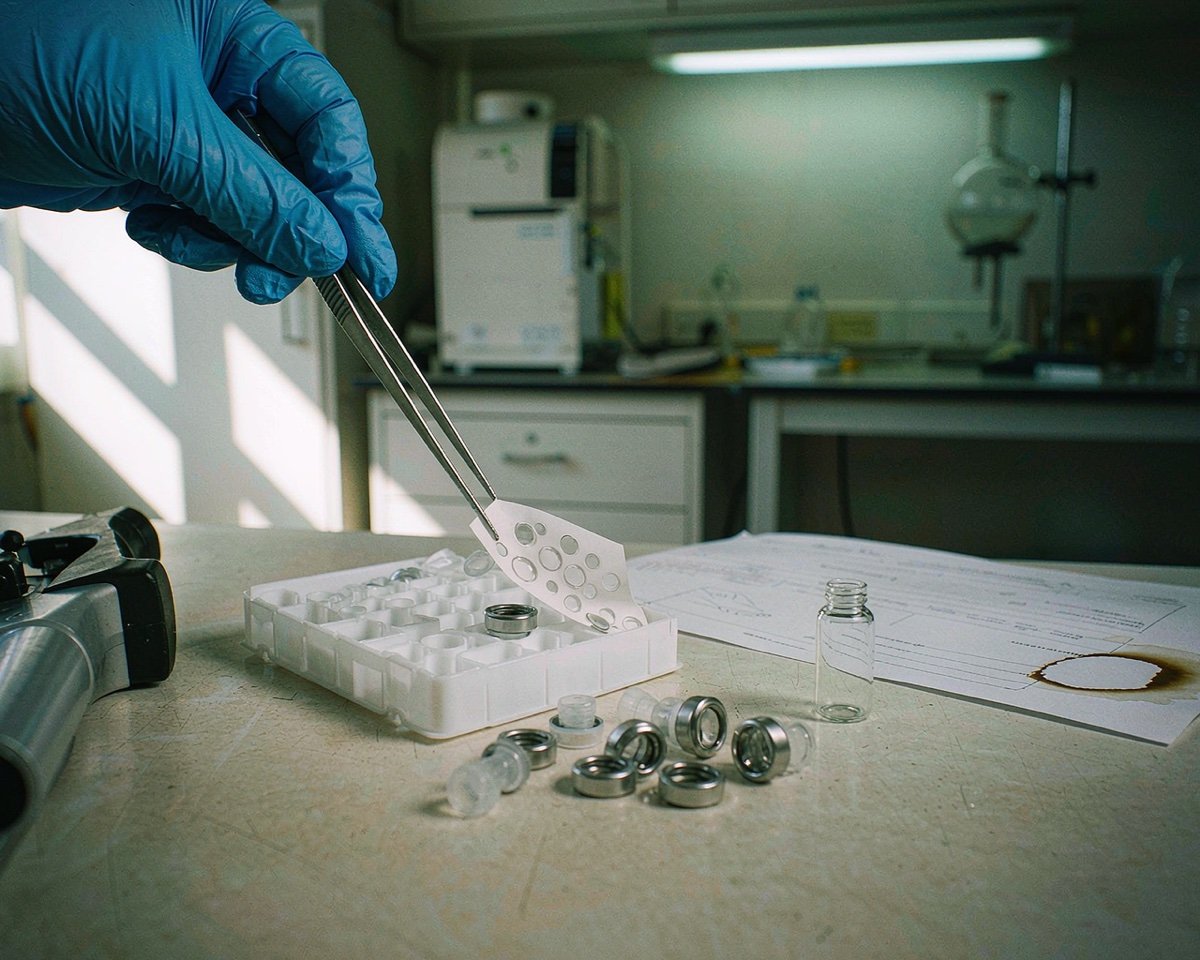
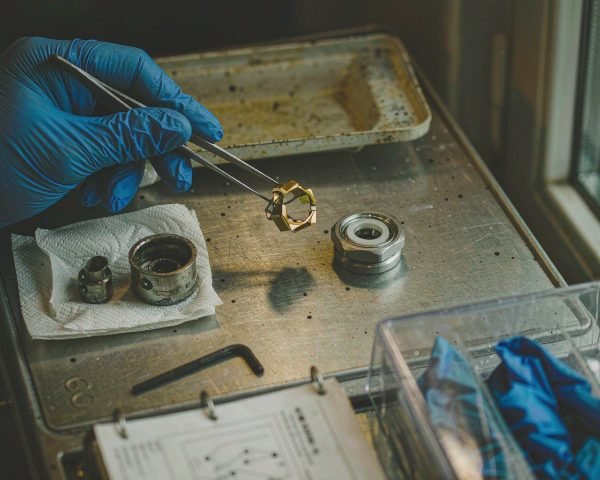
An inlet seal is the metal seal (gold-plated or stainless steel) that sits at the bottom of a GC split/splitless inlet, between the reducing nut that holds the liner and the inlet base body. It’s the last gas seal between your carrier gas and the atmosphere, and most labs now treat it as a consumable: inspect it at every liner change and replace it on a schedule, not after it leaks.
Here’s how it works, how to spot a tired one, and how I’d set up the replacement habit.
Where the Seal Actually Sits
On Agilent-style split/splitless inlets, the gold seal sits in the reducing nut at the bottom of the inlet body, directly below the liner’s O-ring and the column ferrule. When you tighten the reducing nut, the seal compresses between the nut and the inlet weldment, closing the leak path around the liner seal area.
Agilent’s gold seal replacement guide walks through the whole assembly: you remove the liner, cap the column, take off the insulation cup, loosen the reducing nut, and find the seal (with a washer on some configurations) inside it. It’s a two-minute job once you’ve done it a few times, and the 8890 and 8860 systems even walk you through it with built-in guided maintenance.
What a Leaking Seal Costs You
A small leak at the inlet is one of those faults that mimics everything else. Retention times creep. Peak areas wobble. Baseline noise rises, and you might see ghost peaks from air and contaminants pulling in through the leak.
The leak direction matters too. Agilent’s GC troubleshooting documentation lists inlet leaks among the first things to check when retention times stop repeating, and their prep-run leak test explicitly probes the gold seal fitting along with the septum nut and column fitting. Carrier escapes, oxygen sneaks in, and at inlet temperatures a steady oxygen feed will oxidize your column’s stationary phase. A $10 seal quietly shortening the life of a $500 column is bad math.
Shimadzu’s inlet maintenance documentation builds the same discipline into its septum replacement procedure: no work above 50 °C, clean tools, and injection counters reset so seal wear can’t hide.
I once inherited a pesticide method where RTs shifted about 0.02 minutes every day and everyone blamed the column. It was a gold seal that had been reused through four liner changes on a dirty soil extract. New seal, drift gone. Two days of chasing a ten-dollar part, which is exactly why I now replace seals on schedule.
Gold vs Stainless Steel
Both seal fine when new. The difference is chemistry.
Bare stainless steel is active. At inlet temperatures it can catalyze breakdown and adsorb active compounds (think pesticides, amines, anything with a labile functional group). Restek’s inlet maintenance guide is blunt about it: especially for sensitive or splitless analyses, avoid bare stainless steel and use highly inert gold-plated seals to reduce breakdown and adsorption of active compounds.
Agilent splits their lineup the same way: standard gold seals for routine work, Ultra Inert gold seals for trace and active-compound methods, and a cross-cut design for inlets running high total flows (200 mL/min and up). My default for environmental and pharma residue work is gold, full stop. Stainless earns its place in routine, rugged methods where activity isn’t the limiting factor and budget matters.
When to Replace It
The common practice, and the one I follow: replace the inlet seal at every liner change. Here’s the reasoning. The cost is trivial compared to the troubleshooting time a marginal seal costs. And you’re already in there; the reducing nut comes off anyway when you deep-service the inlet, and Agilent’s guidance is to inspect the seal surface for contamination whenever you’re in that space.
Restek takes the same position and goes further: their chromatographers recommend replacing septa, liners, O-rings, and inlet seals together during GC inlet maintenance, because multiple components can be tired at once and each item is cheap next to unplanned downtime.
How often is that in practice? Depends entirely on the method. A clean headspace method might go weeks between liner changes; a dirty soil extract at 300 °C might need daily service. Restek suggests building your own preventative schedule per analysis: track how long your method runs before data problems appear, then change consumables just before that point. If you want a structure for that habit, my guide to GC inlet liners pairs directly with seal replacement.
Symptoms That Say “Now”
If you’re between scheduled changes, replace the seal immediately when you see: retention times that won’t repeat, a prep-run leak test that flags the gold seal fitting, rising baseline noise at high inlet temperature, or unexplained analyte breakdown (extra peaks) with active compounds.
Installing One Without Leaks
The mechanical steps matter as much as the schedule. Agilent’s guide: cool the inlet to near room temperature, zero the inlet pressure, remove the liner and cap the column, then take off the insulation cup and reducing nut. Fit the new washer (if your seal uses one) with the flat side oriented as the manual shows, then seat the seal on top. Tighten the reducing nut securely with a wrench; the seal is gas-tight only when the nut is properly torqued, and a hand-tight nut is a slow leak waiting for Monday.
For the septum retainer above, Agilent’s guidance is finger-tight plus a modest additional turn (about 1 mm of C-ring showing), and over-tightening there causes coring. So the habit is: firm on the bottom seal, restrained on the top septum.
Then, before heat: purge. Agilent says to let the inlet and column purge with carrier gas for at least 15 minutes after seal replacement before heating anything, so oxygen gets swept out. Skipping the purge and cranking the inlet to 250 °C on ambient air is how you age a column fast. Finish with a leak check (electronic detector or the prep-run leak test) before you trust the system. My checklist for how often to replace inlet septa covers the top-of-inlet side of the same routine.
Maintenance Kits and Other Habits
If you’re doing this quarterly, buy the parts as a kit. Restek and others sell inlet maintenance kits bundled with seals, O-rings, septa, and liners matched to your GC model, so the drawer never runs empty mid-sequence. On newer Agilent systems, use the built-in guided maintenance screens, which reset the maintenance counters for you and stop the “when did we last change that” guessing game.
The habit that actually saves weeks: log seal changes alongside liner changes on the instrument. When a method drifts three months from now, the log tells you whether the seal had 200 or 900 injections on it.
Conclusion
An inlet seal is a small metal disc doing an outsized job: it’s the last barrier keeping carrier gas in and oxygen out at the bottom of your inlet. Leaks there masquerade as retention drift, poor reproducibility, and baseline noise, and they shorten column life while they’re at it. Choose gold-plated seals for sensitive or active-compound work, keep stainless for rugged routine methods, and replace the seal at every liner change as your default. Install it with a properly tightened reducing nut, purge with carrier gas for at least 15 minutes before heating, and leak-check before the first injection. Pair the seal with a fresh liner, septum, and O-ring each service, and track it all in a log. It’s five dollars of prevention against days of troubleshooting, which makes it one of the best consumable habits a GC lab can build.
Frequently Asked Questions
What does an inlet seal do on a GC?
It seals the joint between the reducing nut at the bottom of the split/splitless inlet and the inlet base, keeping carrier gas in and atmospheric oxygen out. A leaking seal causes retention time drift, poor reproducibility, and gradual column damage from oxygen ingress.
How often should I replace the inlet seal?
The most common practice is to replace it at every liner change. It’s inexpensive, you’re already disassembling the inlet, and a marginal seal costs far more in troubleshooting than the part does.
Are gold inlet seals better than stainless steel?
For sensitive, trace, or splitless analyses, yes: gold-plated seals are far more inert and reduce breakdown and adsorption of active compounds. Stainless steel works for rugged routine methods but can create activity at high inlet temperatures.
How tight should the inlet seal nut be?
Tighten the reducing nut securely with a wrench so the seal is gas-tight, following your instrument manual’s guidance. Then purge the inlet with carrier gas for at least 15 minutes before heating, and run a leak check before injecting.