
# What Consumables Does Cleaning Validation Sampling Need?
Cleaning validation proves your equipment is clean enough for the next batch, and sampling is where that proof actually comes from. The analytical methods get all the attention, while the sampling program quietly burns through vials, swabs, bottles, and labels every campaign. If those consumables are wrong, the data is wrong, and no calculation will fix it afterwards.
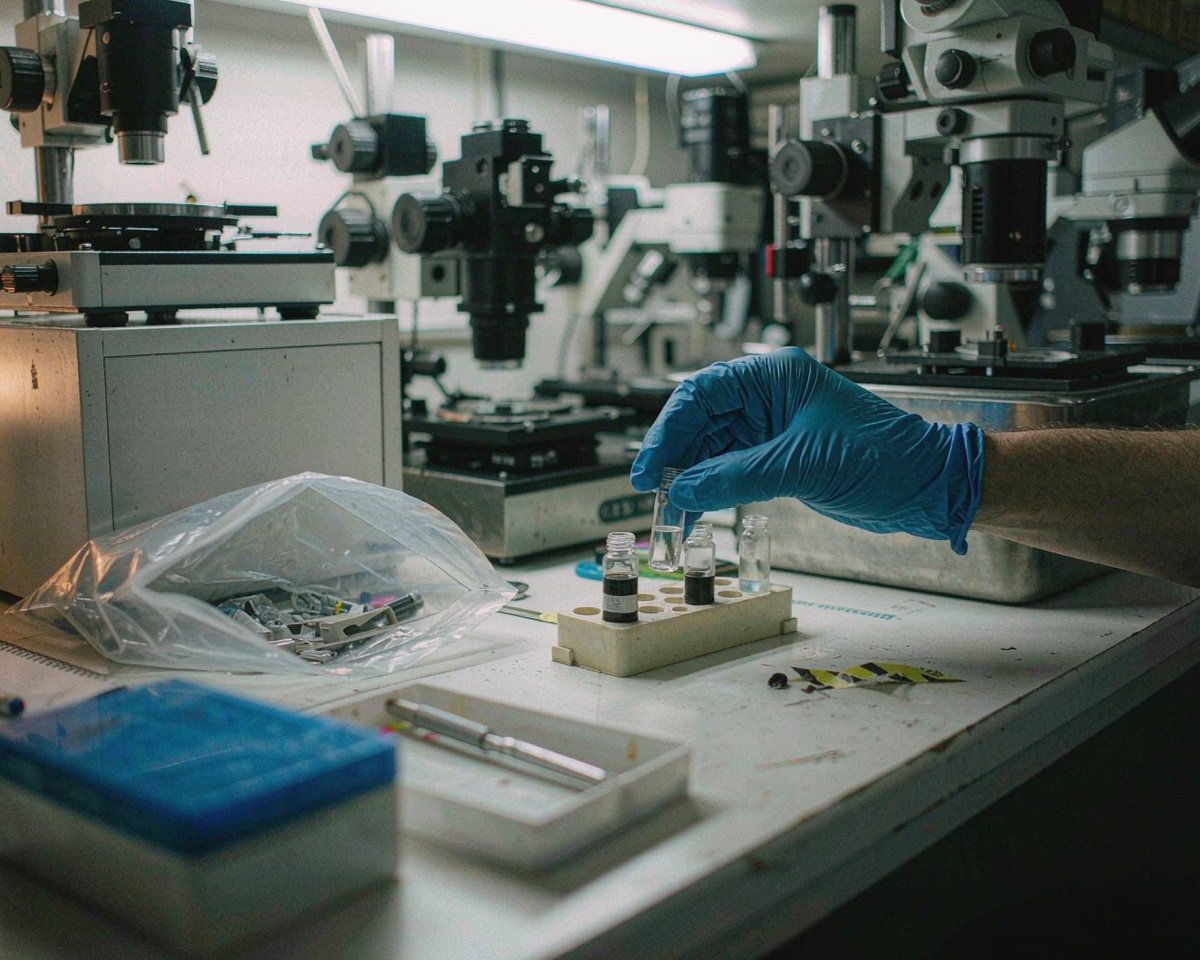
The core kit is TOC-certified sample vials, validated swabs matched to your test method, pre-cleaned containers for rinse samples, powder-free gloves and clean apparel, and chain-of-custody labels. Each item either carries your sample or defends it from contamination.
Below is the full kit, what each item has to guarantee, and the specs I would check before signing a purchase order.
Why Consumable Quality Is a Regulatory Topic
Regulators treat sampling as part of the validation, not as a chore after it. The FDA’s inspection guide on cleaning validation expects sampling methods to measure residues quantitatively, which is impossible if your container adds background carbon or your swab sheds fibers into the extract. PIC/S recommendations on qualification and validation carry a dedicated cleaning validation section covering how and where samples are taken. EU GMP Annex 15 sits underneath both, requiring that sampling and acceptance criteria be justified in advance.
The practical consequence is simple. A swab is not just a swab, it’s part of the analytical method, so auditors may ask where it came from and what its certificate says.
The Core Kit at a Glance
| Consumable | Job in the study | Spec to check |
|---|---|---|
| TOC-certified vials | Hold rinse and grab samples for total organic carbon analysis | Certified background, ideally under 100 ppb, often 10-20 ppb |
| Swabs | Wipe a defined surface area for residue extraction | Material matched to the method; low extractables |
| Rinse-sample containers | Collect final rinse water from the system | Pre-cleaned, certified where available |
| Grab-sample bottles | Pull water samples from sample ports | Clean, inert, individually labelled |
| Gloves and apparel | Keep the analyst off the sample | Powder-free nitrile; dedicated clean-room garments |
| Labels and custody forms | Tie each sample to a location, time, and analyst | Solvent-resistant; pre-printed IDs if you can |
TOC Vials: Background Carbon Is the Whole Problem
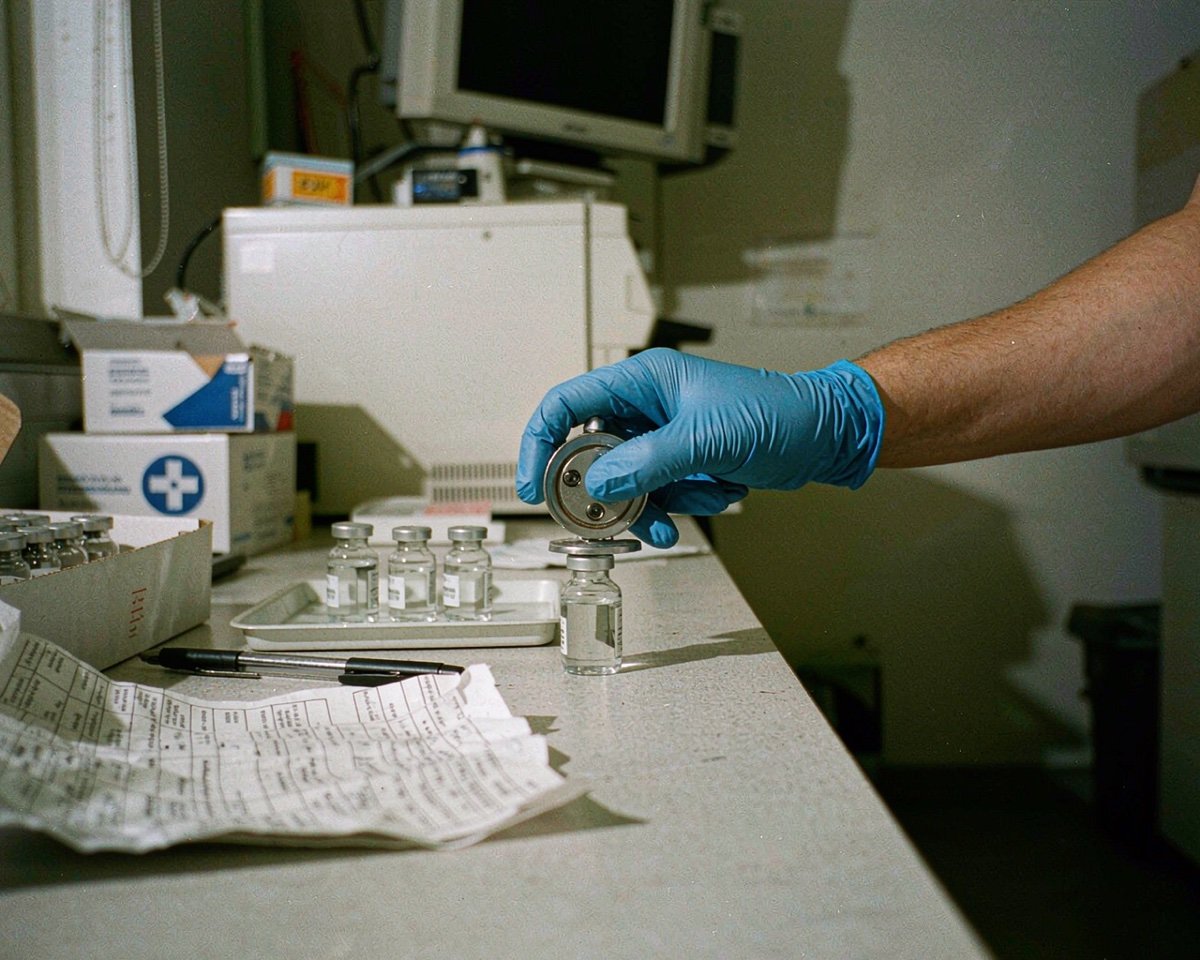
TOC, or total organic carbon, measures how much carbon a sample carries, and it is the standard way to test rinse water from pharmaceutical systems under USP General Chapter <643>. If your vial adds carbon, the analysis counts it as residue from the last batch. That is why serious vendors certify their containers. Thermo’s TOC certified containers, for instance, are tested so each lot contributes less than 10 or 20 ppb as background, and the certificate ships in the box.
For equipment rinses I standardize on the 40 mL autosampler-compatible vial certified to under 10 ppb, because the same container works for the instrument, the standards, and the storage shelf.
Cheap vials look identical on the bench. The difference shows up as a rising baseline.
I once watched a colleague chase a phantom TOC spike for three days. The vials were certified and the water system passed every on-line check, so the culprit turned out to be a rinse sample collected in a reused centrifuge tube someone grabbed from a drawer. A certified container would have saved a week of rework and one very uncomfortable deviation report.
Swabs: Match the Material to the Analyte
Two materials cover most programs. Cotton swabs work well when the extract goes to HPLC, because cotton absorbs solvent and releases residues efficiently; a published swab study on stainless steel recovered over 90% of spiked residue using cotton swabs and a simple extraction (PMC study of swab method validation). For TOC swabbing, switch to polyester or knit polyester, since cotton is itself organic and will inflate your carbon result.
The swab head matters too. A wide, flat head fills a 10 cm x 10 cm stainless-steel template evenly, which is exactly what your recovery factor assumes. A little round head forces the analyst to press harder, and pressed swabs shed fibers and pick up gasket particles.
If the method was validated with a specific swab, re-validating recovery is the price of switching brands mid-campaign. Most teams decide it is not worth it.
Rinse Sampling, Swab Sampling, and What Each Consumes
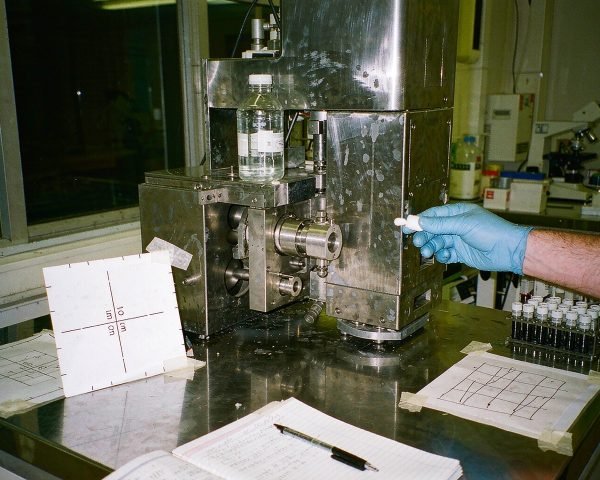
Rinse sampling floods the system and tests the final water, so it covers surfaces a human arm can never reach. Swab sampling localizes, which is why it belongs at worst-case spots: the 10 cm x 10 cm template on the filling needle, the inside of the transfer hose, the valve cavity nobody can see. Most protocols use both, and regulators accept either as long as you justify the choice.
Each approach drinks from a different cupboard. Rinse programs go through batches of pre-cleaned 250 mL and 1 L bottles, while swab programs go through vials, swabs, and pre-labelled sample bags. Order for both techniques together so the campaign never stalls.
Recovery Studies and Limits, Explained Briefly
Before you sample anything, you need a limit. MACO, the maximum allowable carryover, is the amount of residue permitted in the next product. Teams usually calculate it two ways and take the stricter result: one criterion caps carryover at 1/1000 of the smallest therapeutic dose, the other at 10 ppm of residue in the next batch.
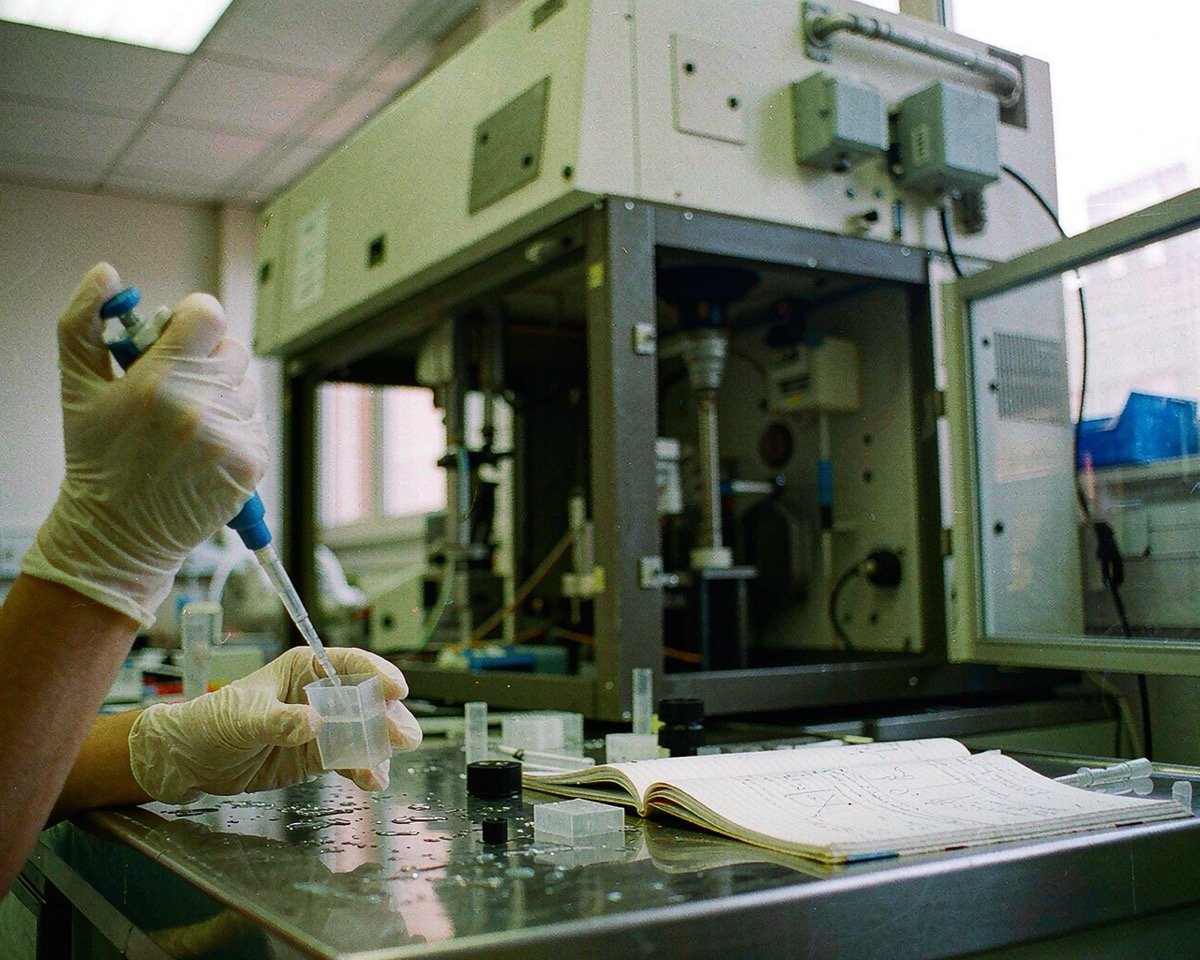
Then comes the recovery study. You spike coupons with a known amount of residue, swab them exactly as you would the equipment, and analyze. Recovery tells you how much of the surface residue your technique actually recovers, and the correction factor in your limit calculation depends on it. The published example above recovered more than 90% from electropolished stainless steel, but that number only holds if the swab material, the extraction solvent, and the vial background all stay the same.
Recovery is where consumable quality quietly protects your data. Swap in an uncertified vial and the blank eats into the signal; swap in a different swab and your correction factor is a guess.
Gloves, Apparel, and the Analyst as a Contamination Source
Powder-free nitrile gloves, changed between sampling locations, are the baseline. A glove that just handled the detergent bucket should not open a sample port, and hair, watches, and wrist jewelry all end up in rinse samples more often than anyone admits. Dedicated clean garments over street clothes are the norm inside classified areas.
In practice, the analyst is usually the biggest contamination source in the room. Budget the gloves like they matter, because they do.
Labels and Chain of Custody
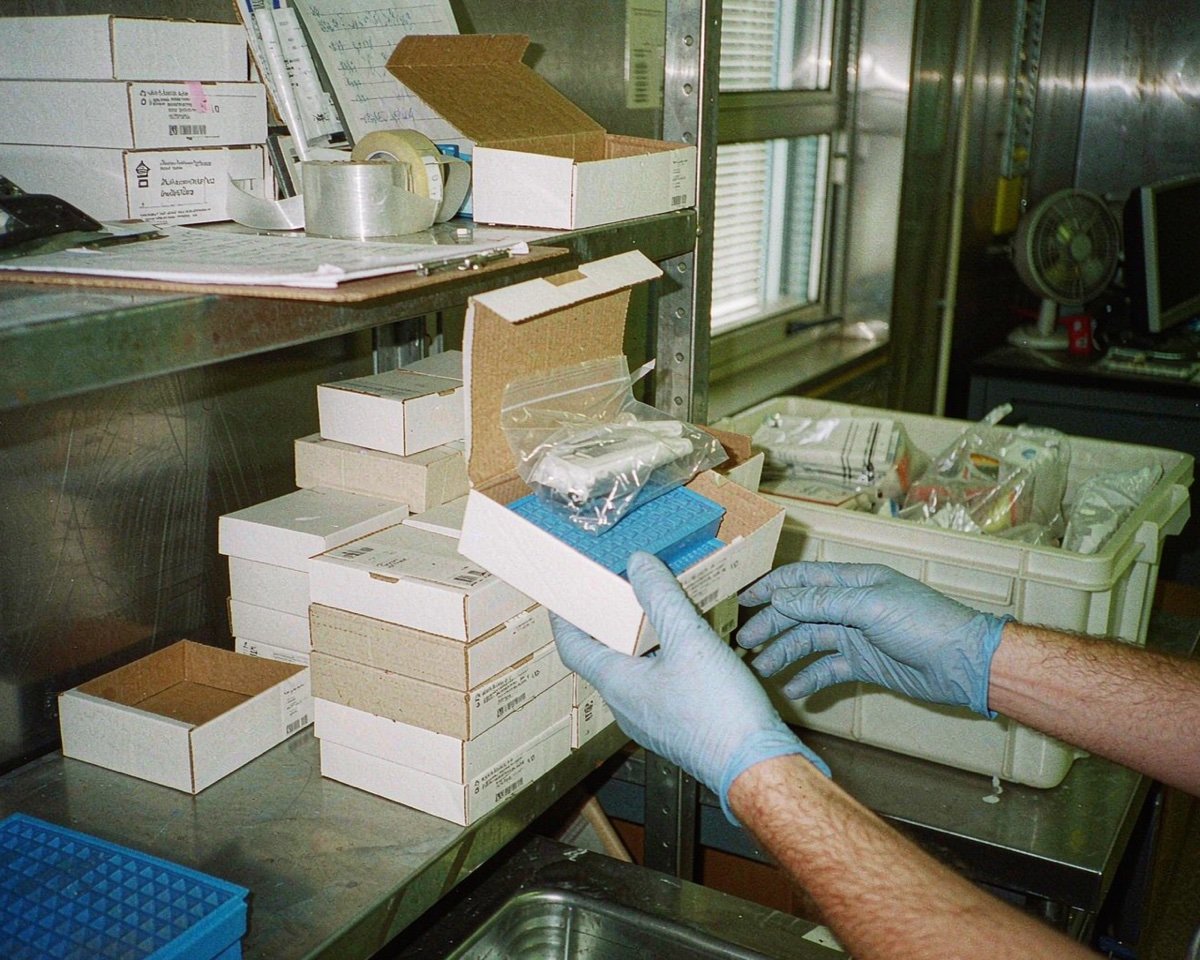
Every vial, bag, and bottle should carry a pre-printed ID that maps to a sampling log: location, date, time, analyst, and equipment. Handwritten labels on wet bottles wander, and solvent-resistant markers cost almost nothing. The guide to labeling and tracking samples properly covers the workflow end to end.
What the Certificate of Analysis Should Tell You
The certificate is the difference between a clean result and a defensible one. For TOC vials, look for a lot-specific background value with the test method named. For swabs and gloves, look for low extractables, and when a supplier claims sterile or low bioburden, know what each claim actually guarantees; the sterile vs low-bioburden explainer breaks that down. And when the paperwork arrives, the CoA vs CoC guide helps you read what you are holding.
One habit helps more than any clause: bank a few extra certified vials from every lot. If a retest ever questions a result, testing the retained container closes the argument fast.
Conclusion
Cleaning validation sampling does not need exotic equipment; it needs ordinary consumables with extraordinary paperwork. Certified low-TOC vials keep background carbon from impersonating residue, validated swabs make the recovery factor real, pre-cleaned containers protect rinse samples, and gloves plus disciplined labeling keep the analyst out of the data. Each one costs a fraction of what a failed validation costs. My default recommendation: spend where the certificate is, and treat any consumable without one as a liability rather than a bargain. If you are planning a wider program, the TOC quality and cost guide is a sensible next read.
Frequently Asked Questions
Can I use normal HPLC vials for TOC cleaning samples?
Usually no, or at least not safely. Regular vials have no certified background level, so container carbon can easily exceed the low ppb limits your method targets. TOC-certified containers ship with a lot-specific certificate that auditors recognize.
Why do swab recovery studies use spiked coupons?
A recovery study needs a surface with a known amount of residue so you can measure how much your swab actually recovers. Spiked stainless-steel coupons simulate the equipment surface under controlled conditions. Without this step, your carryover calculation has no correction factor.
What TOC background should sample vials have?
Look for certified background under 100 ppb as the working ceiling, with 10-20 ppb the common commercial standard. Lower background gives your blank more headroom, which matters when limits are tight.
Are sterile swabs required for cleaning validation?
Not usually. Cleaning validation is a chemical cleanliness test, so low extractables and proven recovery matter more than sterility. Sterile or low-bioburden claims become relevant when microbiological or endotoxin limits are part of the same protocol.
How many swabs does a typical campaign consume?
It depends on equipment count and sampling points, but a single filling line can easily need 50 to 100 swabs per run once templates, worst-case locations, and repeat samples are counted. Recovery studies and retests add more, so most teams order well above the protocol estimate.