
# 9 Ways Your Samples Get Contaminated Before Injection
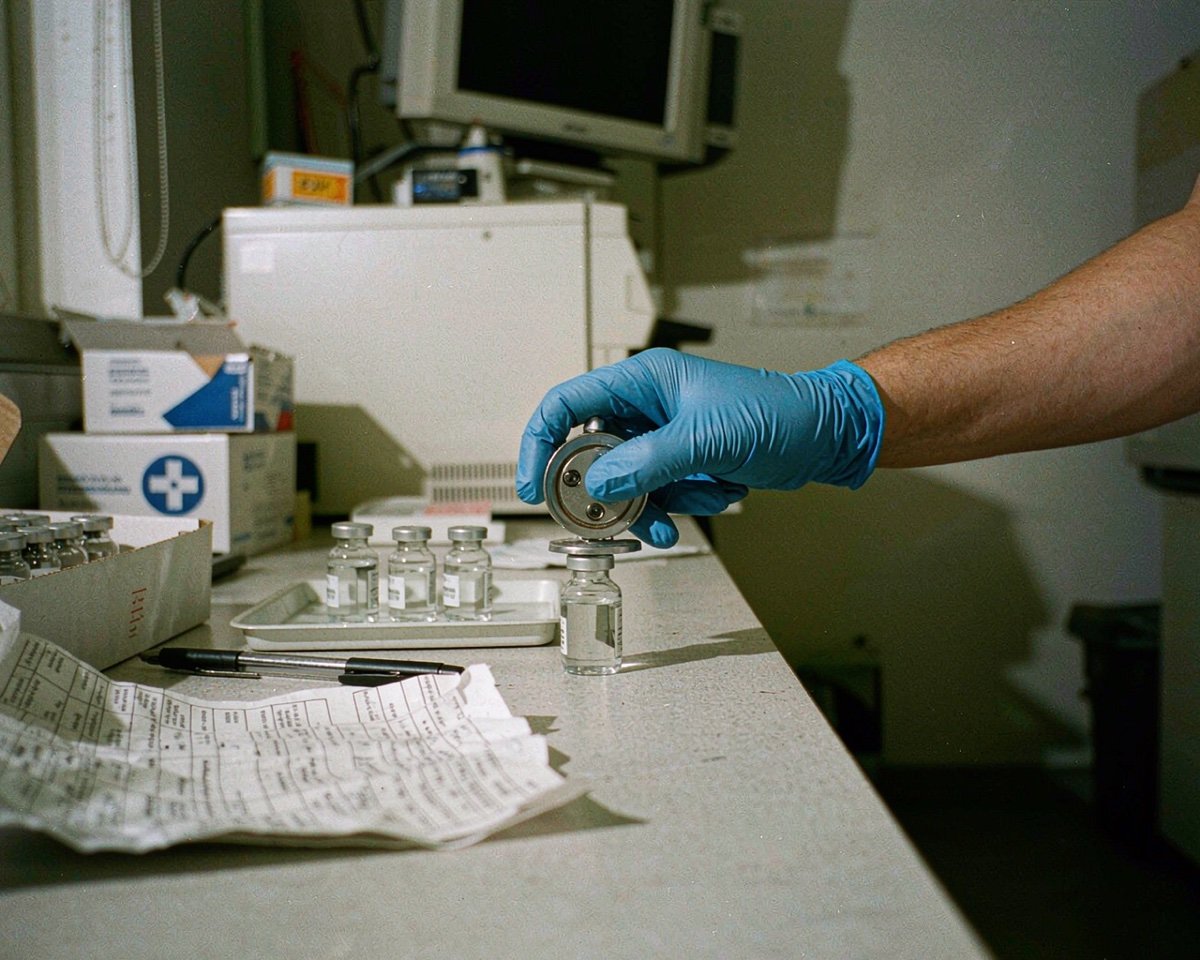
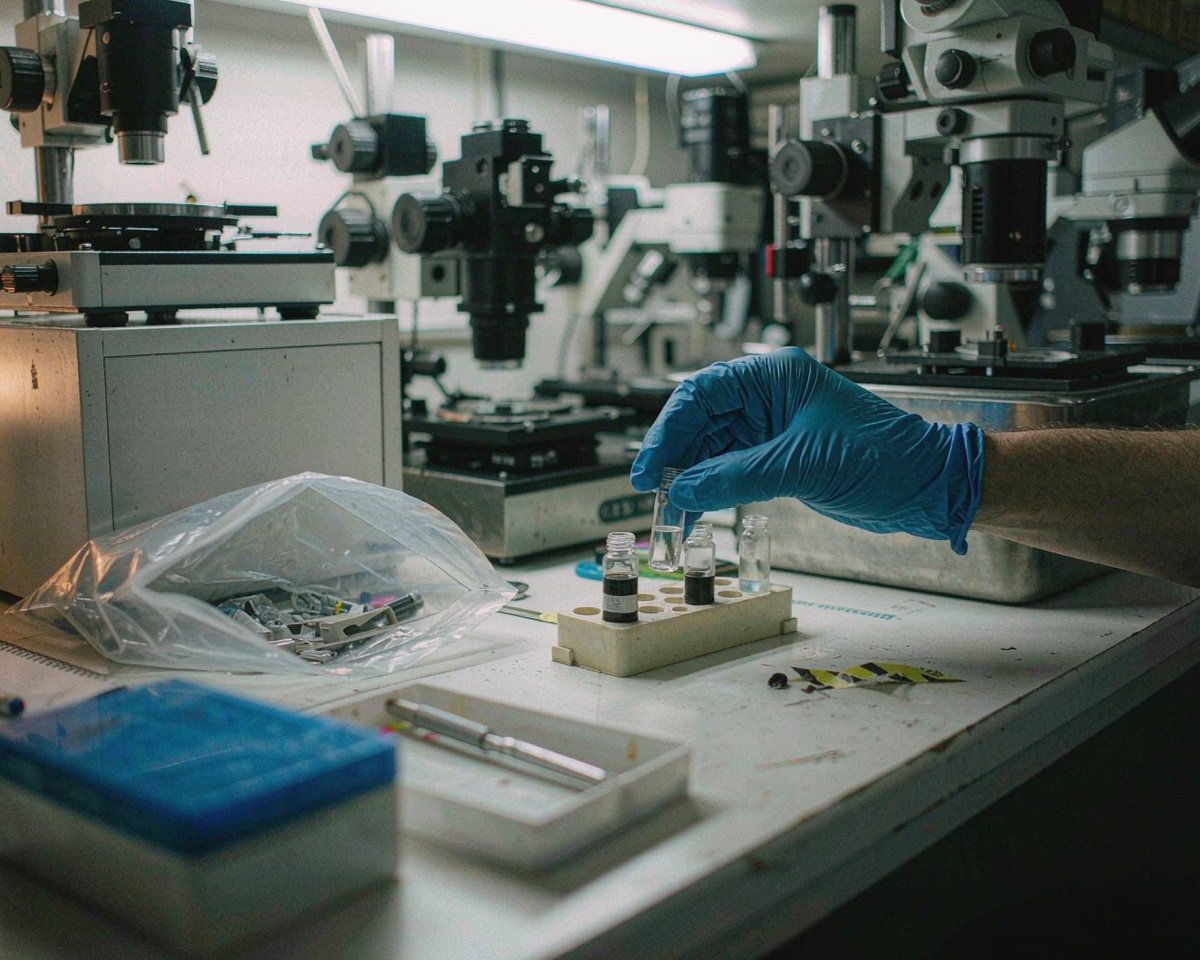
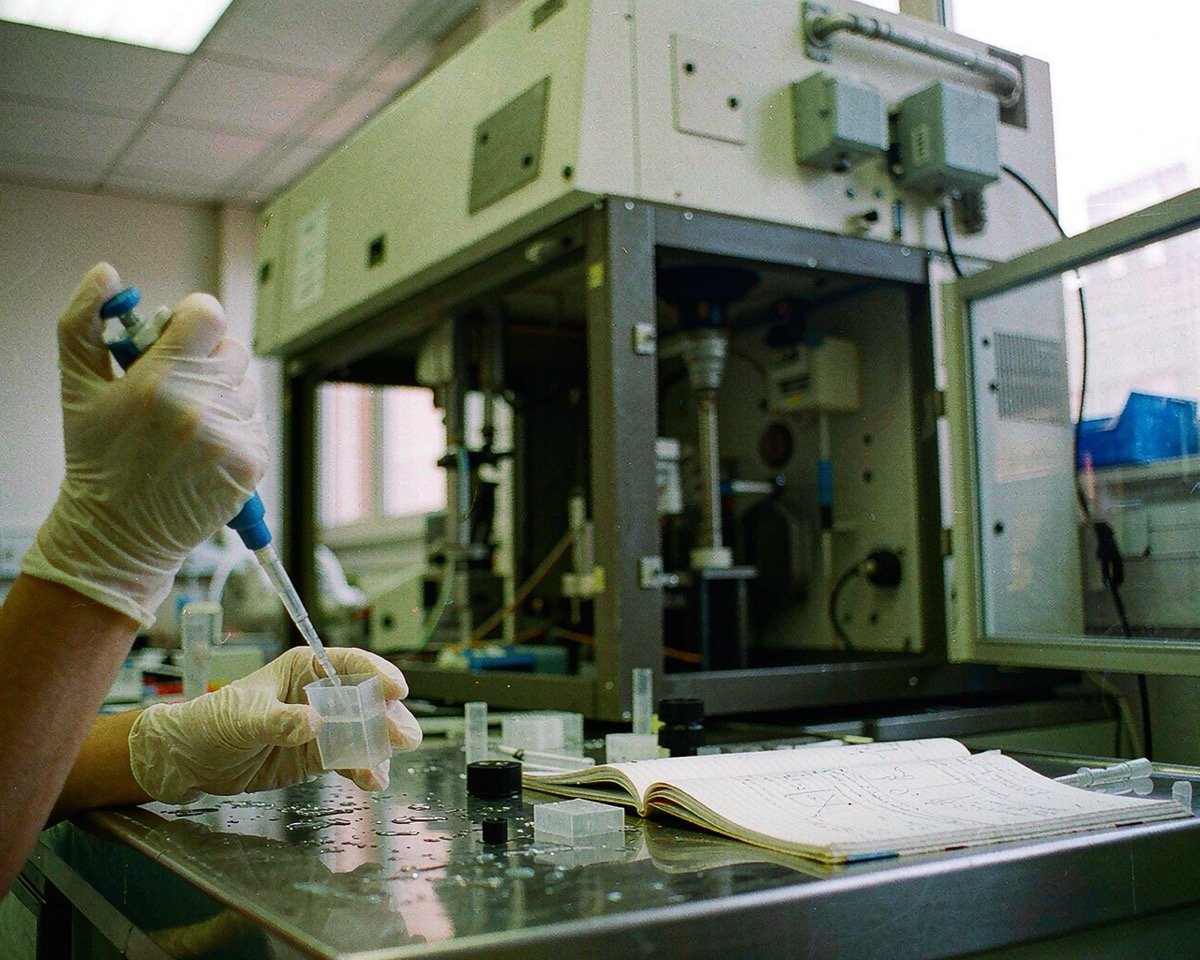
A sample can leave the reactor perfectly clean and arrive at the needle ruined. After ten years around HPLC and GC labs, I can tell you that most sample contamination I have ever chased down came from the bench, not the instrument. Glassware, gloves, water, plastic, and a hundred small habits nobody questions.
Most pre-injection sample contamination comes from the bench, not the instrument: dirty glassware, wrong gloves, airborne dust, low-grade water, septa coring, leaching plastics, reused filters, detergent film, and label adhesive. Each has a cheap consumable or habit fix.
I go through all nine below, with what each one does to your chromatography and the fix that actually works. If you only read one section, make it number five, because it quietly explains a lot of mystery peaks. And if your blanks are already clean, you might still find one or two habits here worth stealing.
1. Dirty Glassware That Never Got Truly Clean
A volumetric flask can look spotless and still carry a dried film from last week’s extraction. That film might hold micrograms of your previous analyte. When you dilute a fresh sample in it, those micrograms dissolve right back in, and your next trace-level result is quietly inflated.
The chromatography symptoms are easy to miss. You get carryover-style peaks in blanks, slightly high areas on low standards, and replicate results that never quite agree. Trace methods suffer first, because at low ng/mL levels even a few particles of dried residue are real signal.
The fix is boring and non-negotiable. Rinse glassware with solvent immediately after use, then wash with lab-grade detergent, then rinse with tap water at least three times. Finish with a final rinse of purified water and let items dry inverted on clean foil, not on a towel. For trace metal work, an acid soak is worth the extra hour.
Want a quick audit? Hold a flask up to the bench light and tilt it. Water should sheet off evenly; if you see droplets clinging in a pattern, there is a film, and film means residue.
If a method matters, I would rather run single-use autosampler vials and reserve careful washing for flasks and beakers. One rerun costs more than a whole sleeve of vials.
2. The Wrong Gloves (or No Gloves at All)
Powdered latex gloves are still everywhere in some labs, and they are a contamination machine. The powder is talc, the latex itself leaches plasticizers, and both end up on everything you touch. Bare hands are just as bad: skin oils and hand cream leave residues that dissolve straight into your solvent front.
You see it in the data as unexplained peaks near your analyte, extra noise in LC-MS, or a rising background across a sequence. One screening study of specimen collection devices found measurable plasticizers leaching from gloves and vials at levels above 100 ng per device, which is enormous if your target analyte sits at low ng/mL.
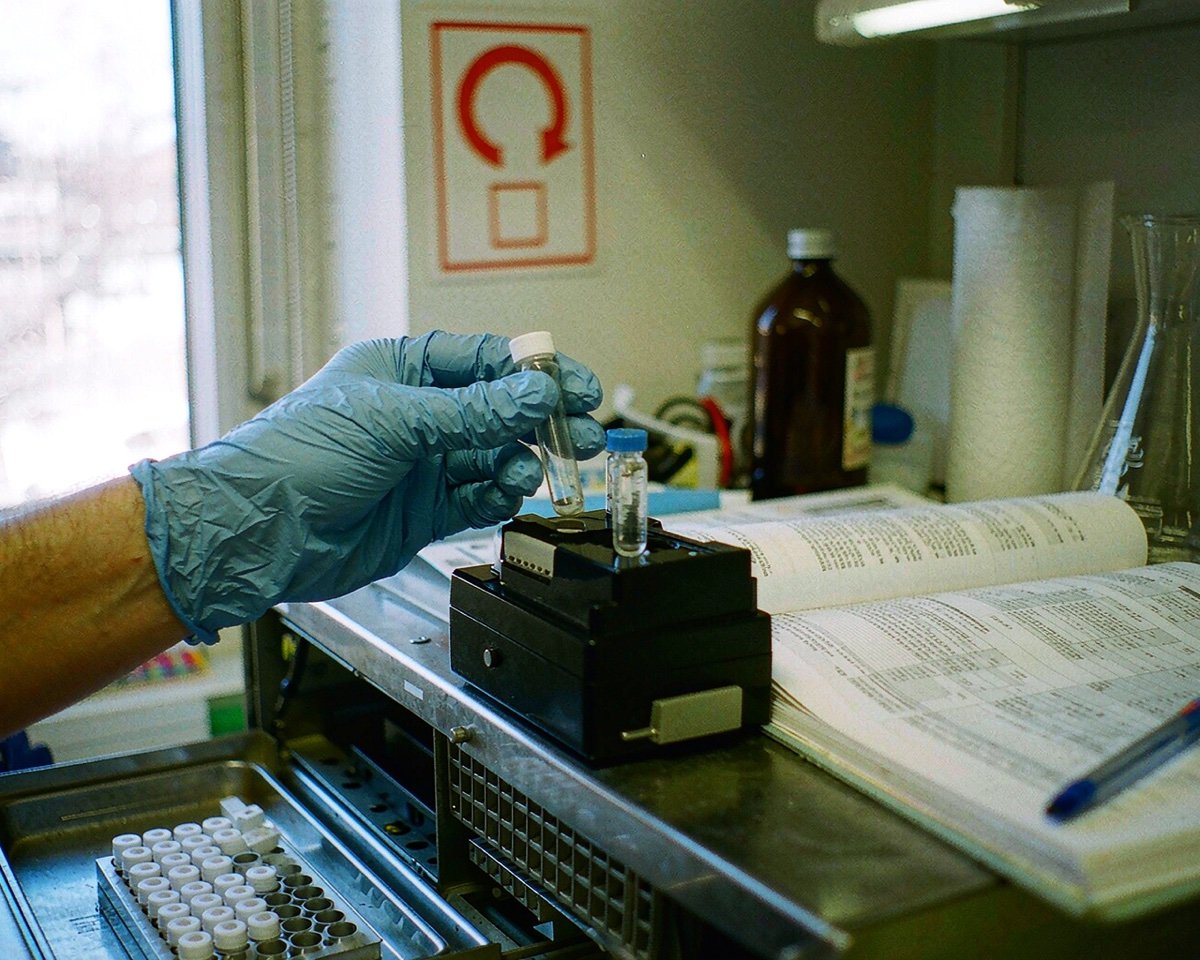
Use powder-free nitrile gloves, and change them when you switch tasks. Never touch the inside of a vial cap, the septum surface, or the tip of a pipette. If you handle GC septa or inlet parts, clean forceps beat even clean gloves. Septa absorb finger oils, perfumes, and hand creams, which then bleed out during the run, so this is one habit that pays off twice.
One small rule helps more than any lecture: whatever the glove touched last, the next sample inherits.
3. Airborne Particles and Bench Dust
Every open vial is a petri dish for whatever is floating past. Bench dust, fibers from paper towels, skin flakes, and powder from the balance room all drift onto racks and into samples. Under an old HVAC system or a fan in summer, it gets worse.
Particles wreck chromatography in two ways. The obvious one is mechanical: they clog a 0.22 µm inlet frit or the needle, so pressure climbs and injection volumes drift. The sneaky one is chemical: the particle partially dissolves in your solvent and shows up as a spike or an early eluting lump that ruins integration.
If your lab sits near a grinding room, a balance, or a busy corridor, multiply the risk. I have watched a foil-covered rack and an uncovered rack, prepared side by side from the same stock, produce visibly different backgrounds by the end of a shift.
Keep vials capped until the moment you fill them. Do not pre-fill a whole tray and leave it open while you answer email, because the third vial in the tray will collect more dust than you want to think about. Filter every sample through a 0.22 µm or 0.45 µm syringe filter right before injection, and wipe the bench with lint-free wipes instead of paper towels. A closed rack inside a cupboard beats a beautiful open rack on the windowsill every time.
4. Low-Grade Lab Water
Water is a reagent, and in dilution-heavy methods it is often the biggest reagent in the vial. Yet I still see labs dilute standards with RO water or whatever comes out of the general tap on the analyzer bench.
Low-grade water carries ions, organics, bacteria, and their byproducts. In an isocratic run you might get away with it. Run a gradient and the organics concentrate on the column head during the low-organic hold, then elute together as a cluster of ghost peaks that appear even in a blank with no injection at all. Agilent’s LC troubleshooting notes on ghost peaks specifically call out “purified but not HPLC-grade” water as a classic cause, with the baseline fingerprints to prove it.
Use Type I water for mobile phase, standards, blanks, and final rinses of anything that touches your sample. That means 18.2 MΩ·cm resistivity and TOC below about 10 ppb, which is how ELGA defines Type I grade water. For glassware washing, Type III is perfectly acceptable, just never let it be the last thing in the flask.
One more trap: ultrapure water degrades fast. Once the polisher stops running, dissolved CO2 and organics creep back in, so draw what you need fresh rather than storing a jug of it open on the bench.
5. Septa Coring and Fragment Fallout
Every time a needle punches through a vial septum, it can shear off a tiny plug of rubber or PTFE. The plug does not stay on the needle. It drops into the sample, or in GC it falls into the inlet liner where heat bakes volatiles out of it and sweeps them onto the column.
Your data tells on you. Phantom peaks appear at random retention times. Peak areas wobble between replicates. The needle occasionally draws air instead of sample because a fragment is stuck in it. Restek’s septum troubleshooting guide names the usual culprits: overtightened caps, a punctured-out septum, a damaged needle, or a beveled tip style that cuts like a hole saw.
The fix starts with consumables and ends with habit. Choose pre-slit or PTFE-faced septa for autosampler work, cap the vials to spec instead of gorilla-tight, and retire a septum after a handful of punctures. Most standard septa are good for three to five punctures at best, so a vial that gets reinjected all afternoon is already past its limit. Inspect the needle under magnification if coring shows up mid-sequence.
My full septum coring guide walks through each cause with photos. It is the section of this article I would print and tape inside the autosampler door.
6. Plasticizers and Leachables from Cheap Plastics
Plasticizers are not bonded to the plastic they soften. They migrate. Cheap polypropylene tubes, no-name pipette tips, aggressive solvent in a budget vial cap: all of it can shed phthalates, adipates, and stabilizers into your sample while it sits waiting for the autosampler.
On the chromatogram, leachables look like a family of recurring peaks at the same retention times in every vial, including your blanks. If those retention times overlap your analyte, you have a quantitation problem, not just an ugly baseline. A review in PMC lists the usual offenders in a chromatography lab: gloves, septa, vial caps, syringes, filters, and even the lab air.
Buy consumables that are certified low-extractable for the sensitivity you actually run, and keep the bargain tubes for waste and non-critical work. Test every new lot of caps and filters with a solvent blank before you trust it. Glass stays the default for anything trace-level or solvent-hot, and cap liner chemistry matters more than most buyers think. One quiet afternoon spent running blanks against a new consumable lot has saved me weeks of chasing phantoms.
My default, for what it is worth: glass vials for anything under about 100 ng/mL, plastic only when the sample demands it.
7. Syringe Filters Used Past Their One Sample
A syringe filter is a single-use device, and the moment you stretch it to two or three samples, you are running a carryover experiment. The membrane holds the tail of the last sample, the housing holds a droplet, and the next push shoves both into your clean sample.
Reused filters also change character with use. Solvent swells the membrane, extractables climb, and a loaded filter starts shedding trapped particles back into the filtrate. The classic symptom is an analyte showing up in your blank at a level that scales with whatever was filtered before it.
One filter, one sample, no exceptions in my lab. If budget pressure is real, calculate what a rerun or a failed batch costs and compare. Discard the first 1 mL of filtrate or pre-rinse with solvent, because it carries the wetting extractables. Match the membrane to the solvent too, since a mismatched filter swells, sheds, or dissolves far sooner than anyone expects.
If you must reuse a filter for identical low-stakes matrix, at least document it and validate it first, and read our honest breakdown of whether syringe filters can be reused before you decide.
8. Detergent Film from Vial Washing
Washing and reusing vials can work. What usually fails is the rinse, not the wash. A film of detergent, plus the calcium and magnesium in tap water, dries onto the glass wall and sits there until your sample dissolves it.
I once lost three days to a wandering background peak in a fluorescence method before someone admitted they had poured ordinary dish soap into the vial wash bucket. The peak tracked the vial position, not the sample, which is the tell: instrument problems follow the sequence order, washing problems follow the vial.
Wash with lab-grade detergent only, and rinse generously. Make the final rinse purified water, always. Dry inverted and capped loosely with foil. If you want a spot check, fill three washed vials with clean diluent, run them as samples, and compare against fresh vials from the box. If the backgrounds differ, your wash process is the contamination source. For high-sensitivity work, the honest answer is that fresh vials cost less than the doubt.
The economics shift with sensitivity. At UV wavelengths, a good wash routine can be fine. At trace MS levels, the arithmetic almost never favors washing.
9. Marker Ink and Label Adhesive Migrating Through Caps
That fast swipe of solvent-resistant marker across a cap feels efficient. It is also a delivery system: ink solvents can wick through or around the septum, and some adhesives soften in solvent vapor and migrate toward the vial mouth. Headspace methods show it worst, because everything volatile in the closed vial ends up in the injection.
The pattern in data is a cluster of small unknown peaks, heaviest in the vials that were labeled late or relabeled. Chemists spend days blaming the matrix when the answer is a Sharpie. Headspace and volatile methods are the most exposed, because the closed vial concentrates everything that off-gasses from the closure area.
Label the glass wall, not the cap or the septum. Better yet, use labels designed for vials, the kind with solvent-resistant adhesive that survives freezers and water baths without creeping toward the closure. Our guide to picking vial labels that survive freezers and solvents covers which adhesive types hold up and which ones quietly fail.
For a short sequence, a log sheet and rack position might be all the labeling you need, and nothing migrates from a spreadsheet.
Conclusion
Sample contamination before injection is almost never one dramatic failure. It is nine small leaks, and each one is cheap to close. Swap powdered gloves for clean nitrile. Keep vials capped and filtered. Feed the method Type I water. Replace septa before they shred, and treat syringe filters as single-use, because they are. Wash glassware like the rinse matters more than the wash, because it does. Label the glass, not the closure. None of these fixes costs much, and together they remove most of the mystery peaks you would otherwise meet at 11 p.m. in front of a sequence. Pick the two sources you recognize from your own bench and fix them this week. If you want a next step, our guide on why samples should be filtered before injection pairs well with this one, and so does the septum coring walkthrough.
Frequently Asked Questions
What is the most common source of sample contamination before injection?
Dirty or poorly rinsed glassware and reused consumables top the list in my experience. Septa coring and low-grade lab water run close behind, especially in gradient HPLC methods where ghost peaks show up in blanks.
How do I know if contamination comes from the vial or the instrument?
Run fresh vials filled with clean diluent after your problem sequence. If the extra peaks follow the vial, the problem is consumables or prep. If they persist even in brand-new vials and instrument blanks, look at the injector, mobile phase, and column.
Can I reuse HPLC vials if I wash them carefully?
For non-critical routine work, many labs do it successfully with lab-grade detergent and a purified water final rinse. For trace, MS, or regulated work, fresh certified vials remove a whole category of risk for pennies per sample.
Do syringe filters themselves contaminate samples?
They can, mainly through extractables and wetting agent in the first portion of filtrate. Pre-rinse with solvent or discard the first 1 mL, and use a membrane rated for your solvent and sensitivity level.
What water grade should I use for sample dilution?
Type I water, with 18.2 MΩ·cm resistivity and low TOC, is the safe default for standards, blanks, and diluents. Type III is fine for washing glassware, but it should never be the final rinse or the dilution medium.