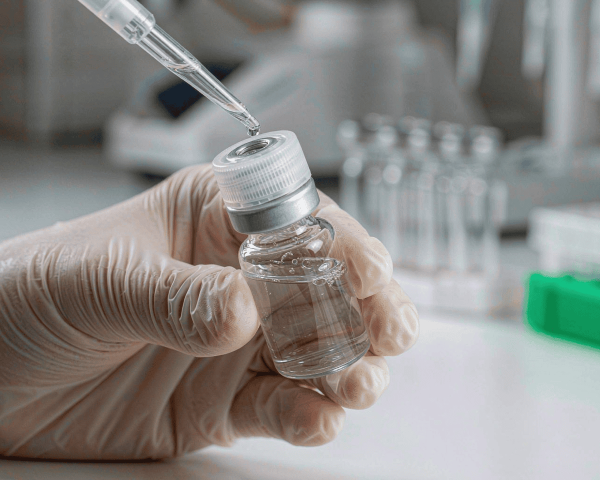

Ever watched your peak areas swing by ten percent run after run and blamed the pump? Before you touch the instrument, check the vials. Tiny air bubbles in the sample are one of the most common causes of bad injection reproducibility in HPLC and LC-MS. And here’s the thing — most bubbles get introduced while you’re filling the vial, not while the autosampler is working.
The short answer: fill slowly against the vial wall, stop at about two-thirds full, tap out any bubbles that form, and use a degassed diluent. Do that consistently and you’ll kill most bubble problems before they start.
In this guide, I’ll walk through why bubbles matter, the exact filling technique I recommend, and what to do when a bubble is already trapped in a limited-volume vial.
Why a Tiny Bubble Actually Matters
When an autosampler needle draws sample, it creates a slight vacuum inside the vial. If an air bubble sits right where the needle port opens, the needle pulls air instead of liquid. The result is an under-injection — and your peak area drops even though the sample is fine.
MicroSolv’s chromatography knowledge base spells it out clearly: a bubble trapped in the sample area can interfere with optimal sample aspiration and sometimes forces you to dislodge it before analysis. In a busy lab, that means re-running sequences, wasted time, and data you can’t trust.
Bubbles cause trouble beyond the vial too. If air gets into the metering syringe or transfer lines, it compresses and expands during volume measurement, creating apparent volume movement without delivering liquid. Agilent’s technical notes on sampler air bubbles make the same point: air bubbles in the lines cause incorrect sampling and injection precision, which shows up as poor chromatographic reproducibility.
Fill Slowly and at an Angle
The fastest way to create bubbles is to blast liquid into an empty vial from a pipette or syringe. Rapid dispensing traps air, especially when the target has a narrow internal diameter.
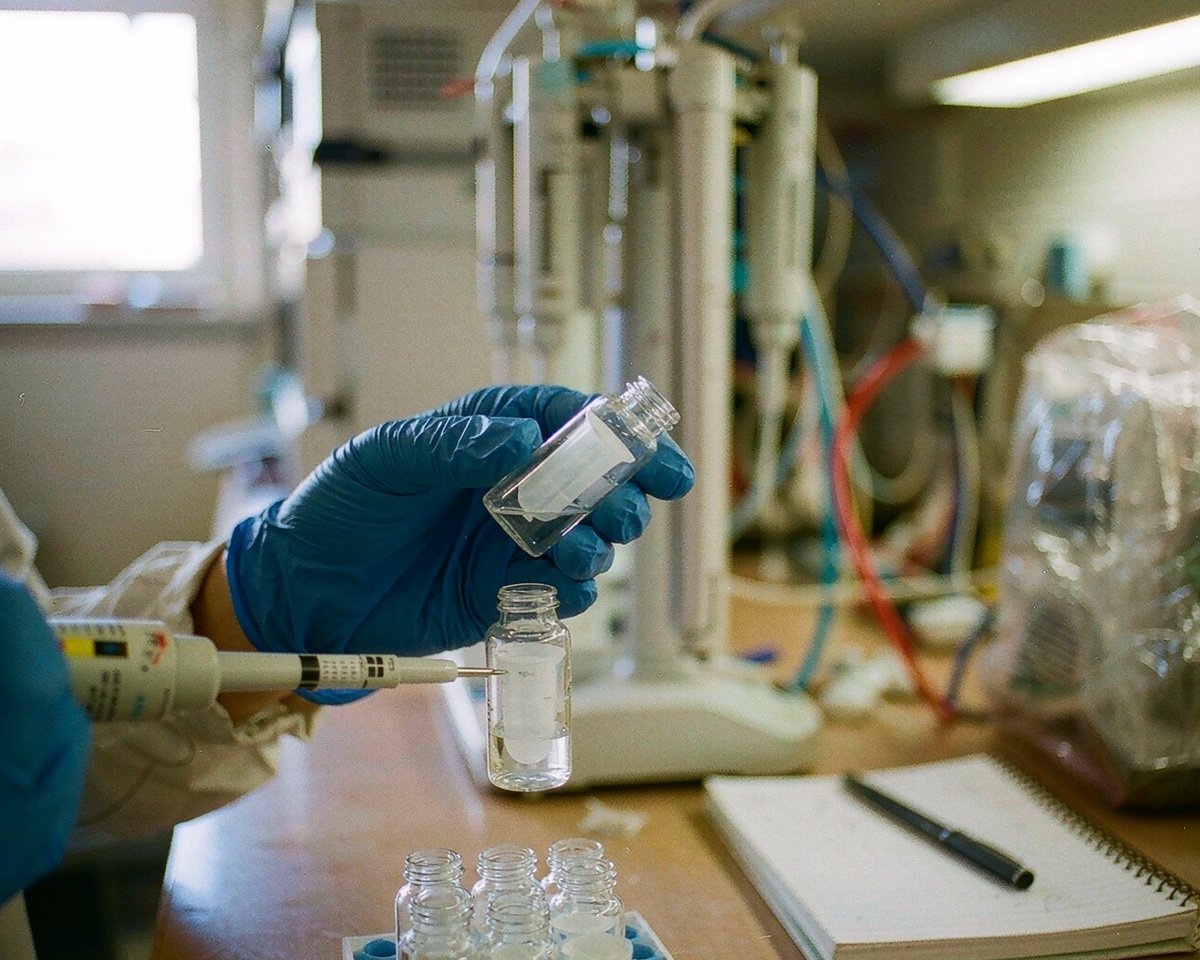
I fill every vial the same way now: I hold the vial at a slight angle and let the liquid run down the inner wall instead of free-falling to the bottom. The slower the transfer, the less air gets churned into the sample. If I’m using a syringe, I depress the plunger gently and never let the last drop “spit” out of the tip.
MicroSolv recommends the same approach for limited-volume reservoirs — fill slowly and consistently, and avoid rapid dispensing into narrow geometries. When you’re processing a large batch of samples, this becomes a discipline rather than a technique: a steady rhythm at the bench prevents most trapped-air problems before they happen.
Leave the Right Amount of Headspace
Overfilling is the second-biggest bubble mistake I see. When the liquid meniscus touches the septum, the vial loses its air cushion. The autosampler then struggles to aspirate, and the reduced pressure above the liquid can even pull dissolved gases out of solution — forming a bubble right at the needle.
As a practical rule, I fill a standard 2 mL vial to between one-half and two-thirds of its volume and leave at least 5 to 10 mm of air space below the cap. If you only have 200 µL of sample, don’t use a 2 mL vial — that’s when geometry starts working against you (more on that below).
Underfilling matters too. A nearly-empty vial gives the needle very little liquid to grab, and any slight misalignment in needle depth leaves you aspirating air. This leftover liquid is part of what chromatographers call the residual volume of the vial — the amount the needle simply can’t reach. If you’re routinely working with small volumes, the solution isn’t a smaller fill — it’s a smaller vial or an insert.
Get Rid of Bubbles That Form Anyway
Even with careful filling, bubbles appear. Sometimes the sample itself contains dissolved gas that comes out of solution as it warms up on the autosampler tray.
The fix is simple and takes five seconds: tap the vial gently on the bench, or give it a quick spin in a small centrifuge. MicroSolv’s guidance for limited-volume vials is exactly this — gently tap the vial if a bubble is observed, and visually inspect samples before loading them into the autosampler.
If I’m filling a large batch, I inspect each rack before it goes on the instrument. A bubble sitting at the bottom of a conical vial is easy to miss, so I hold the rack up to the light and look through the glass. Catching one bubble at the bench beats catching it in a re-run.
Degas the Diluent and the Mobile Phase
Here’s a bubble source most people don’t think about: the liquid itself. Solvents and buffers dissolve air, and that air can nucleate into bubbles when pressure drops during aspiration.
That’s why modern HPLC systems have online degassers. Agilent’s LC maintenance documentation explains that a vacuum degasser removes dissolved gases from the solvent as it flows through — and that proper degassing matters most when you need the best injection precision and retention-time reproducibility.
For sample preparation, I apply the same logic to the diluent. If I’m making a batch of standards or diluting samples in a buffer, I sonicate the diluent for a few minutes first. Degassed diluent means fewer surprises later, especially for aqueous or high-buffer-content samples that tend to hold dissolved gas.
Pick Geometry That Works With You
If bubbles keep appearing despite careful filling, look at the vial itself. Limited-volume vials and inserts concentrate the sample in a narrow reservoir — great for recovery, but that same geometry makes them more prone to trapping air during filling.
MicroSolv notes that narrow internal geometries can promote bubble formation, and that low-volume inserts with a wider conical bottom are generally less prone to trapped air. So if you’re constantly fighting bubbles in micro-vials, an insert with a broader conical base might be the practical fix — you keep the recovery benefits without the bubble headaches. If you decide to go the insert route, our guide on vial inserts covers which type matches which sample volume.
And if you’re working with very small volumes, check the vial size itself before anything else. I covered the relationship between injection issues and vial size in our guide to choosing the right vial size for your autosampler — a mismatch there causes problems that look exactly like bubble trouble. Pair that with the sample preparation habits I outlined in our HPLC sample-prep guide and most bubble problems disappear.
When the Bubble Is in the Autosampler, Not the Vial
Sometimes the vial is perfect and the instrument is the problem. Air can seep into the sampler’s lines after the system has been idle — Agilent’s guidance for its preparative samplers recommends priming all lines before running injections, and warns that air in the solvent distribution assembly causes incorrect sampling and injection precision.
If you see bubbles in the sample-loop tubing or your injection volumes are inconsistent, purge the autosampler and prime the lines before you suspect the vials. A quick prime cycle usually clears it.
Conclusion
Air bubbles in autosampler vials are a silent killer of data quality — they cause under-injections, variable peak areas, and frustrating re-runs. The good news is that most bubble problems are preventable with technique: fill slowly against the vial wall, stop at two-thirds full, tap out visible bubbles, and degas your diluent. When small volumes force you into limited-volume vials, choose a geometry that doesn’t trap air, and always inspect racks before loading. If problems persist, prime the autosampler before blaming the vials. Master these habits and your injection precision will thank you — and if you’re still chasing peak-area drift, our guides on choosing the right injection volume and improving results with proper sample preparation are good next stops.
Frequently Asked Questions
Why do I see air bubbles in my sample vial after filling?
Most bubbles come from rapid dispensing, overfilling, or dissolved gas coming out of solution. Fill slowly against the vial wall, leave headspace, and tap the vial to release trapped air before loading it into the autosampler.
How full should I fill a 2 mL autosampler vial?
Fill it to roughly half to two-thirds of its volume and leave at least 5 to 10 mm of air space below the cap. Filling to the brim removes the air cushion the autosampler needs for reliable aspiration.
Can bubbles in the vial cause split or missing peaks?
Yes. If the needle aspirates air instead of sample, you get under-injections, variable peak areas, and sometimes missing or shrunken peaks with otherwise stable retention times.
Should I centrifuge vials before loading them?
If you can, yes — a brief spin settles bubbles at the surface quickly. A gentle tap on the bench works too. Just avoid vigorous shaking, which re-introduces air.
Do vial inserts make bubble problems worse?
Narrow inserts and limited-volume vials trap bubbles more easily than standard vials. Inserts with a wider conical bottom are generally less prone to trapped air, so choose that geometry if bubbles keep forming in your micro-vials.