In general, people use Standard Operating Procedures every day. It is a step-by-step guideline for your business or any operation you do.
Standard Operating Procedures let you do things in order. The SOP will give your operation a structure, and you will do your tasks more effectively.
This article will find out how you can use standard operating procedures in HPLC analysis. Also, you will find out what the benefits of an SOP are and how to write them correctly.
What is the Standard Operating Procedure?
You already have an idea about what Standard Operating Procedure (SOP) is, but we will explain it a bit more. Let us start by saying that SOPs are used globally in most businesses, they don’t only apply to chromatography. Additionally, in our own experience, they are ideal to optimize work in a lab.
If you have a lab or any scientific-related business, it is good if you use SOP. Using it regularly will provide you with so many benefits, to list some of them:
1. Increased efficiency and, as a result, profitability
2. Manufacturing and service consistency and dependability
3. Fewer mistakes throughout the board
4. A method for resolving partner disagreements
5. A secure and healthy atmosphere
6. Employer protection in areas of possible liability and personnel issues
7. A road plan for resolving difficulties and the absence of emotion from troubleshooting. This will allow the necessary concentration on problem-solving
8. The first line of defense in any examination. No matter if it’s by:
- A regulatory authority,
- A partner or potential partner,
- A customer,
- A business performing due diligence for a potential acquisition.
9. Increased value to your company if you ever decide to sell it.
Every company has a target market, and each entrepreneur has their management style. Also, each sector has its own set of best practices. As a result, no two firms will have the same set of SOPs.
And that is okay. Do you know why? Because if you want your business to be about value creation, best practices, and the highest reach in the market, your SOPs will have to be unique to your business model!
How do You Use SOP in HPLC Analysis?
Now, we like to use a simple but effective operating procedure. We will tell you how to use machines and do the analysis properly in the following few paragraphs.
Also, at the end of the General instructions section, you will find a Youtube link that will lead you to great video on SOP for HPLC analysis.
So, let’s get started. Get comfortable because this is going to be a long, yet worthy ride.
Quick Summary of the General Instructions
Just to give you an idea of how an SOP is structured, we have created a full step-by-step guide. But before we get into it, we want to give you a quick summary that would work as an index for the SOP:
First thing, you have to start up the System. Then, after you turn it on, there will be many steps to do before the actual analysis. For example, you will have to login into a specific program. We will tell you more details about the PC system below.
Second, after turning on all the devices and setting up all the settings, you have to start the solvent phase transitioning, as Garner Research Group says.
Then, as a third step, you will have to prime the HPLC pumps. We will give you a set of guidelines for this step too. Just keep reading.
After priming the HPLC pumps, you have to program the software on your PC to start running your method.
Now it is time to prepare the sample for the wanted analysis. This step is pretty much straightforward.
Then you have to do the injection, wash it, and shut down everything. Et voilà!
This might seem very hard to do, but it is not. You have to have some knowledge of the analysis procedures.
Also, if you’re doing your first-ever analysis, it is best if you have someone nearby. You know, to help you with any difficulties.
You can watch the following video of fellow scientists using SOP in HPLC analysis. It is detailed, and it is a great way to see in real life how it works. The video is provided by DPU Pharmacy.
Here’s another video showing a different approach to SOP in HPLC:
Step-by-Step Guide on How to Make an HPLC Analysis While Following SOP
We will continue with the steps we wrote above but in more detail. We suggest you take notes or bookmark this article for future reference!
First Step: Starting up the System
At least 10 minutes before running samples, turn on the UV detector for the HPLC you will be using. If the detector is already turned on, but the UV lamp isn’t, press “Shift” + “Lamp” twice to turn it on. This might differ depending on the system you use, always refer to the users’ manual.
If the notification “System is not calibrated” appears, you have to recalibrate the System. You can find the suitable protocol in the users’ manual.
Each pump must be set up so that you can control it remotely by the computer. Use the arrow keys to cycle through the pumps’ main menu until you reach the “Mode Local” choice.
Carry out the same steps for all pump units. It will take a few minutes to set up the System.
Second Step: Solvent Phase Transitioning
You may need to switch the HPLC system to another one. You might damage the equipment if you don’t transition a solvent system appropriately.
Remember to be careful with the equipment. We always are!
You should cleanse the System using a solvent compatible with both systems. To avoid cross-contamination, mark and segregate the solvents used for eluent and washing.
Third Step: Prime the HPLC Pumps
It is vital to remember to prime the HPLC pumps. But, you have to do it under the following circumstances:
– Start the pumps for the first time after they’ve been idle for more than 24 hours
– Start the pump after a solvent change
To prepare the pump for pumping, extract several milliliters of eluent with the syringe ( 3 × 2~4 mL ). To eliminate air bubbles and ensure proper pump operation, you must prime the System. Before breaking the seal with the priming syringe, always close the draw-off valve.
Fourth Step: Running a Method with Epower Software
Fill in the following fields in the main Empower window:
1. Sample name – include your sample number/ID number.
2. Injection volume – set it to whatever you need/want.
3. Run time – same as Instrument Method.
4. Function – here, you have to inject the samples you prepared.
5. Method set – select a method set.
To achieve a spectrum backdrop, your first injection that day should be a blank sample.
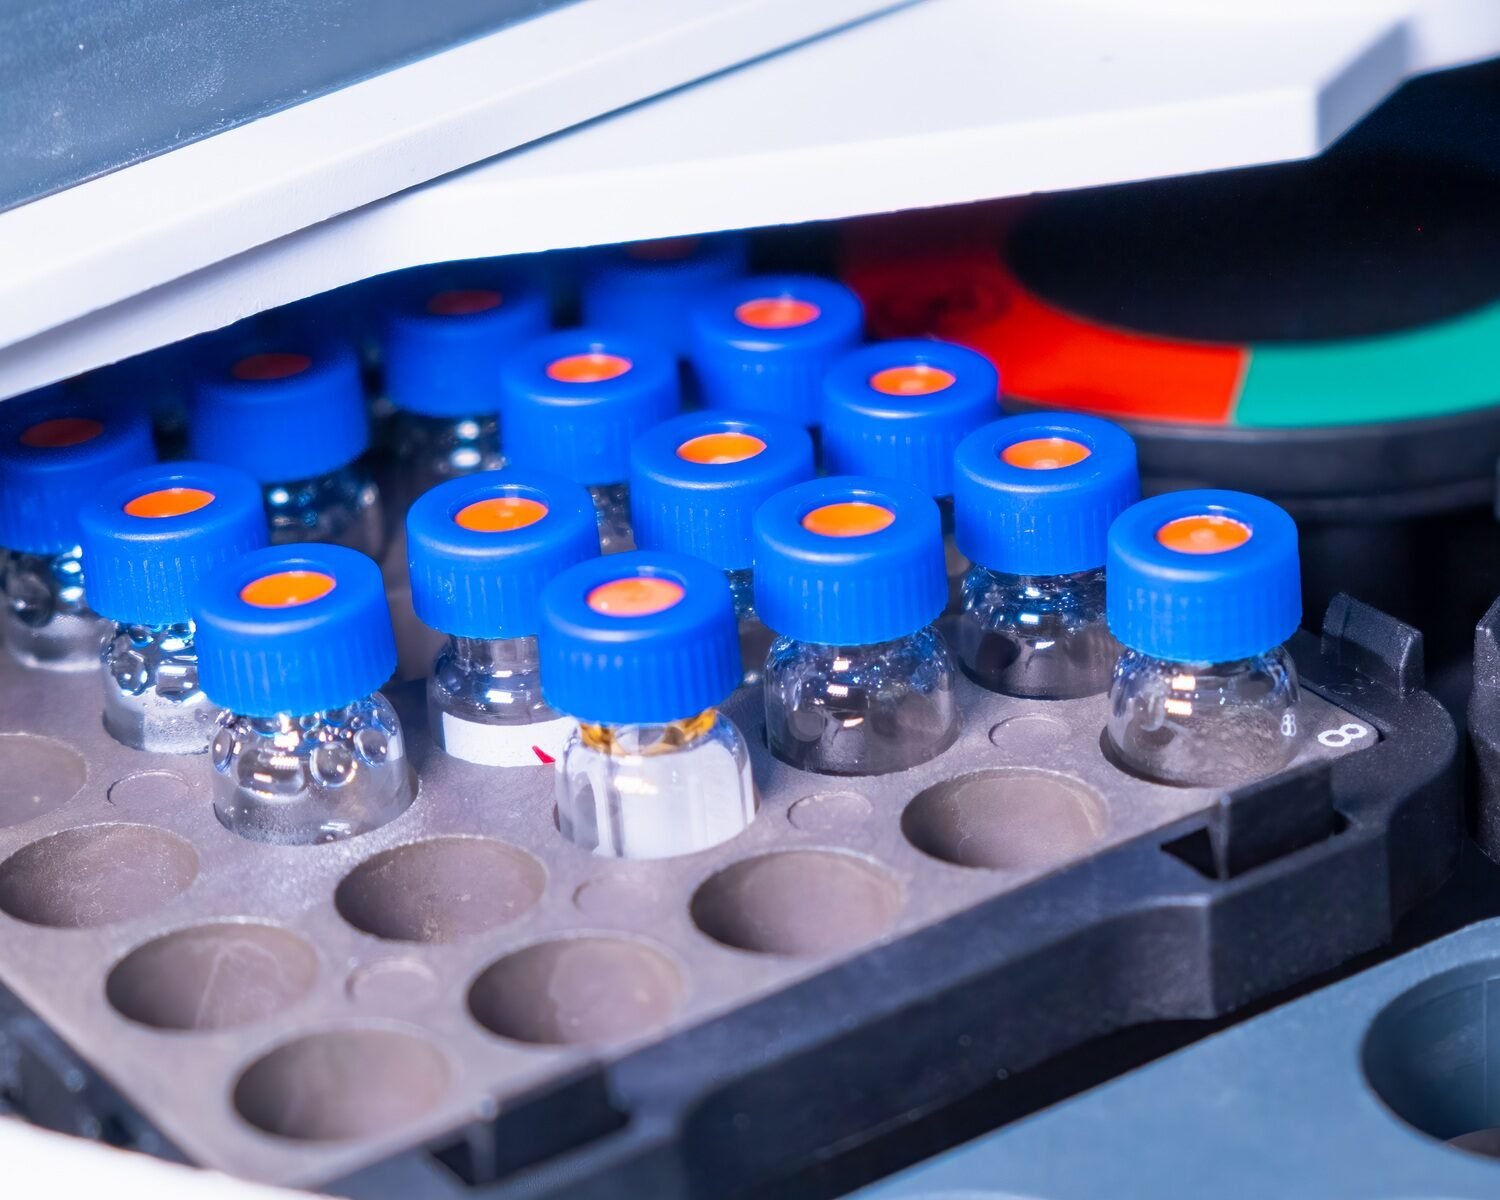
Fifth Step: Prepare the Samples for HPLC
Here we are! Now we are entering the final few steps.
How are your notes going, good? If you have any questions, don’t hesitate to send us a message.
Filter the sample or solvents through a 0.2 um filter. Filter those precious samples after preparing a 50 um solution—Prep the solution with HPLC solvent. Or, you know, any other solvent you can use.
Be aware that you can’t inject unfiltered samples.
Also, another point for you to write down. If you add salt to the instrument, there will be participation, and you will drown in further maintenance. So use volatile buffers.
Sixth Step: Injection Time!
Fill your sample HPLC syringe with a volume equal to or more than the sample loop.
Then, depress the syringe plunger gently (be careful not to damage the delicate metal!).
After doing that, carefully turn the injector knob from LOAD to INJECT. Ensure the notification reads “Running injection” instead of “Waiting for the injector.” The notification will take about five to six seconds to change.
Seventh Step: Washing Party
Like we say at the lab: Now that you made lunch, you have to wash the dishes!
Wash the column and injector equipment after using HPLC. If you’re using aqueous buffers, wash away any:
1. Bases,
2. Buffer salts,
3. Acids.
Do the washing part with a 10 percent MeOH/H2O solution.
If, for example, your buffers store a lot of phosphates, follow the simple procedure. We use it all the time! So, you want to fill the phosphate-contaminated pump with clean water at 0.005 mL/min. Let it stay overnight.
However, it is best if you don’t use phosphates!
Eighth Step: Done!
You did it! Now you just need to shut down all the equipment you turned on before.
Here is a quick guide:
Turn off the UV detection lamp and pump. Open the reference valve until the pressure reads 0, and shut it securely again.
In the Advion Mass Express program, click the giant “Standby” button. Then, please shut down the solvent flow to the HPLC linked with it.
That is it!
Conclusion
Without the proper guides, we wouldn’t have all the knowledge we have. So, trust the process, and make sure you write down the steps.
Standard Operating Procedures are, as previously said, not the same for every business. So yeah, maybe you won’t use it as we do, but the important thing is that you create your own SOPs to standardize the work.
It would help to write your SOPs in clear language to ensure that procedures and activities go as planned. It also helps to keep everyone on the same page at the lab.
Make it with as many details as you can to maintain consistency in performance. Apart from keeping the performance, you will also prevent unworkable processes.
Our last suggestion: test your SOPs before sharing them with co-workers!